3 Fall Cricut Signs- Ideas to Craft Right Now
Note: As an Amazon Associate, I earn from qualifying purchases. If you click on a link from Amazon or another of my advertising affliates, I will earn a small commission at no additional cost to you. Please see my full disclosure policy here.
All over Pinterest and google whenever I search for fall signs, I’m seeing these adorable farmhouse inspired fall mini signs. I just had to make some and I want to share with you how to make some too. They are super easy to make with a few supplies and perfect fall decor to make with your Cricut Joy. Who’s ready to make the cutest Cricut Fall Signs.
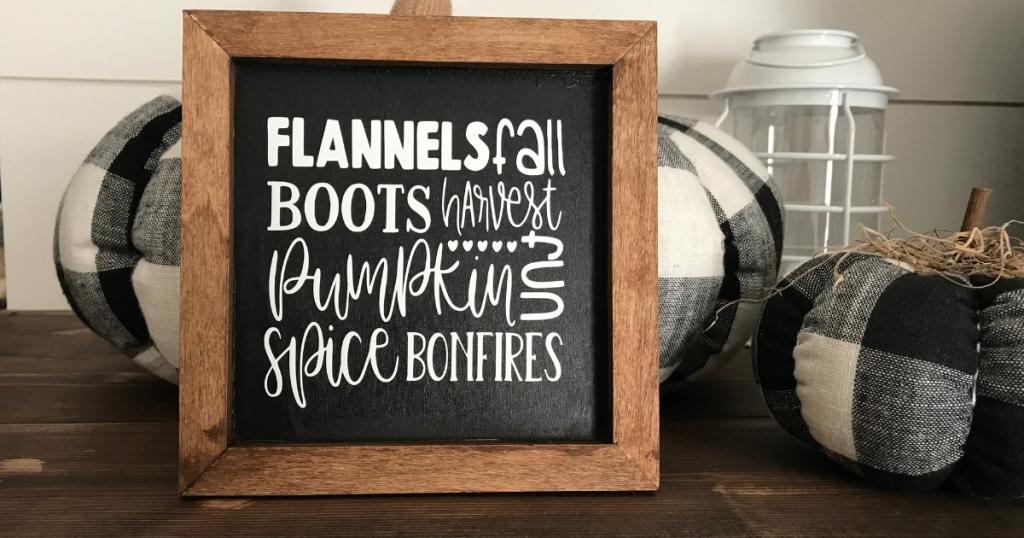
I’m really into making small pieces of fall decorations to match my other decor, just like these Fall Wood Slice Craft. My fall decor Ideas for this year are all about the mini, but I also want you to realize that even with the Cricut Joy, you can make tons of home and holiday decor. These fall Cricut projects are also great for using up scrap pieces of vinyl too.
Also you will be on trend and totally in style with these mini fall signs for your fall decorations. Even better these signs will be made in 4 easy steps.
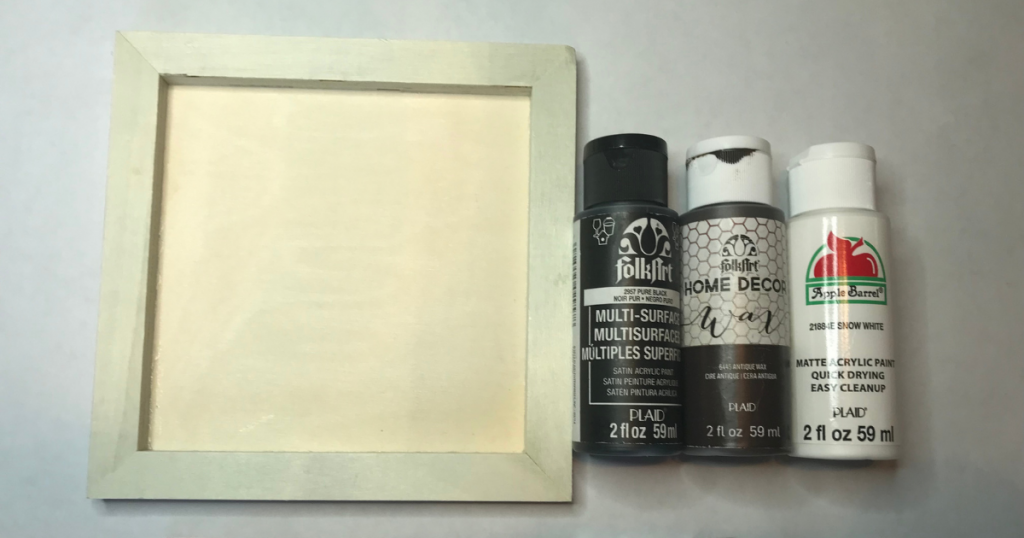
Materials for Cricut Craft Ideas for Fall
6×6 Wood Panels (these are similar)
Pure Black Folkart Paint
Apple Barrel Snow White Paint
Folkart Antique Wax
Cricut Joy
White Permanent Cricut Smart Vinyl
Plaid Crafts Flat Brush Set
Black Cricut Vinyl
Transfer Tape
Cricut Tools
Let’s Create Easy Fall Cricut Signs
First Step:
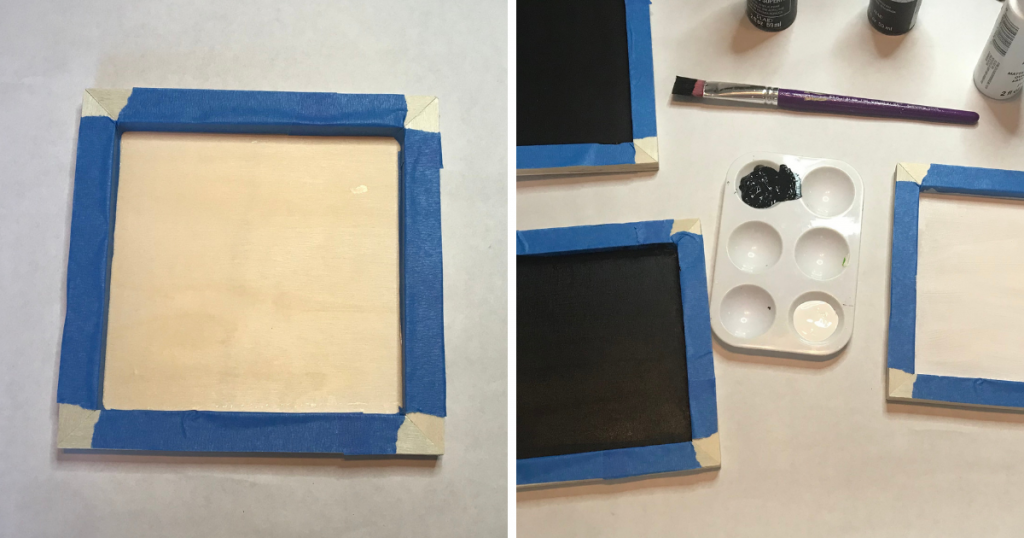
Paint the inside of the wood panels. I tape off my projects, but paint the insides only using black or white. I did two black signs and one white sign. Each sign has two coats of paint.
Second Step:
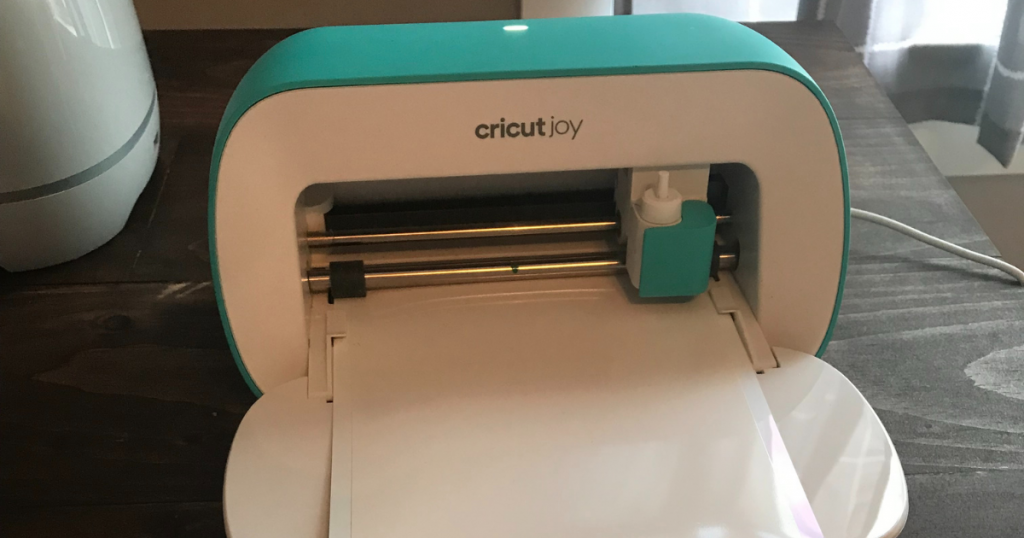
When the paint is drying its time to design in **Cricut Design Space. All the images I used are available with a **Cricut membership and here is the link (if you want to make them like me). Cut the designs with your Cricut Joy or other Cricut machine for the fall signs in permanent vinyl. I used what I had (remember its a great scrap projects) so the white was with the smart vinyl and the black was Cricut vinyl.
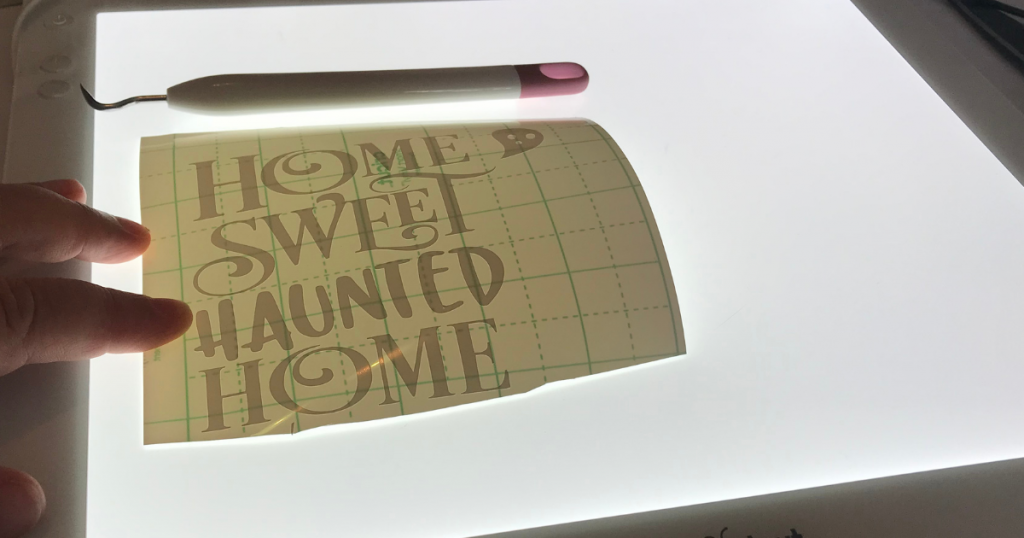
Weed the design and remove the extra vinyl you don’t need. Now your vinyl designs for the fall signs are ready for when the paint is dry.
Third Step:
Use the Folkart Antique Wax to give the outline of the signs a stained look. I used a lint free cloth to apply the antique wax and this gets a bit messy. Once again I taped the edges and added on the antique wax. This gets messy and the corners were a little tough to get the wax into. I didn’t get a picture adding on the wax because I had it all over my hands and no one was here to take a picture for me.
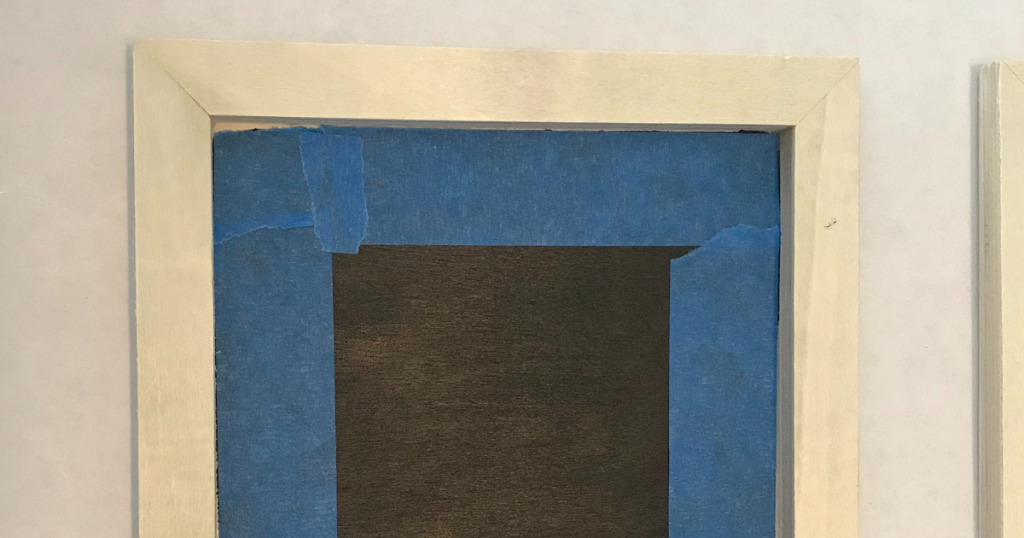
When the wax is dry, do any paint touch ups.
Fourth Step:
Make sure the paint is complete dry and using transfer tape add the designs in vinyl to the pained mini fall signs.
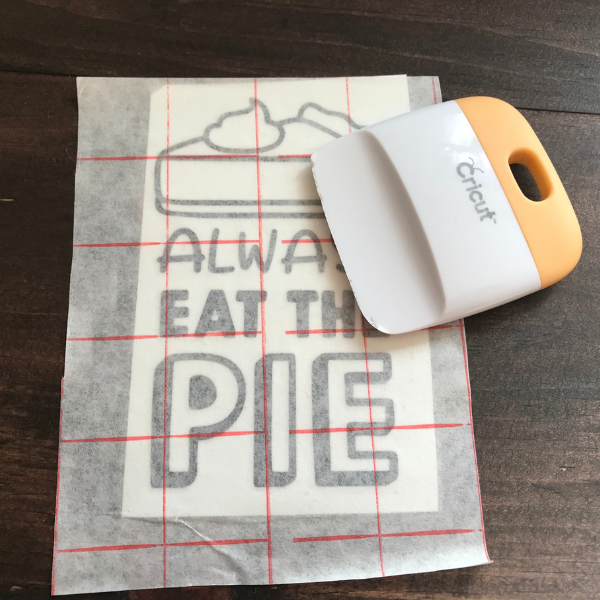
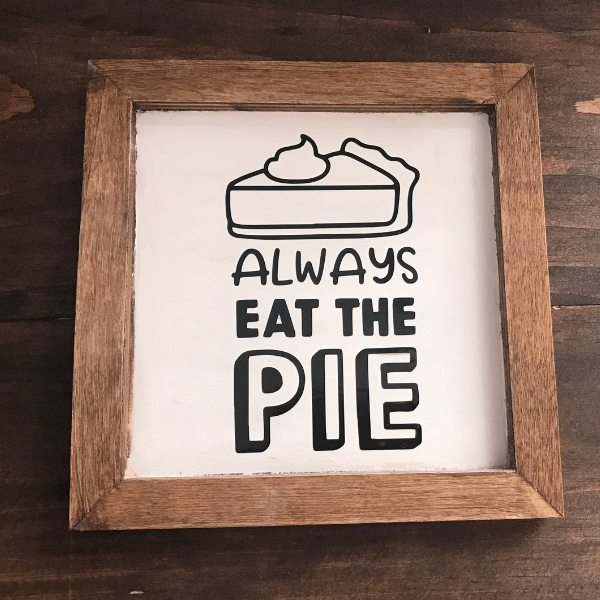
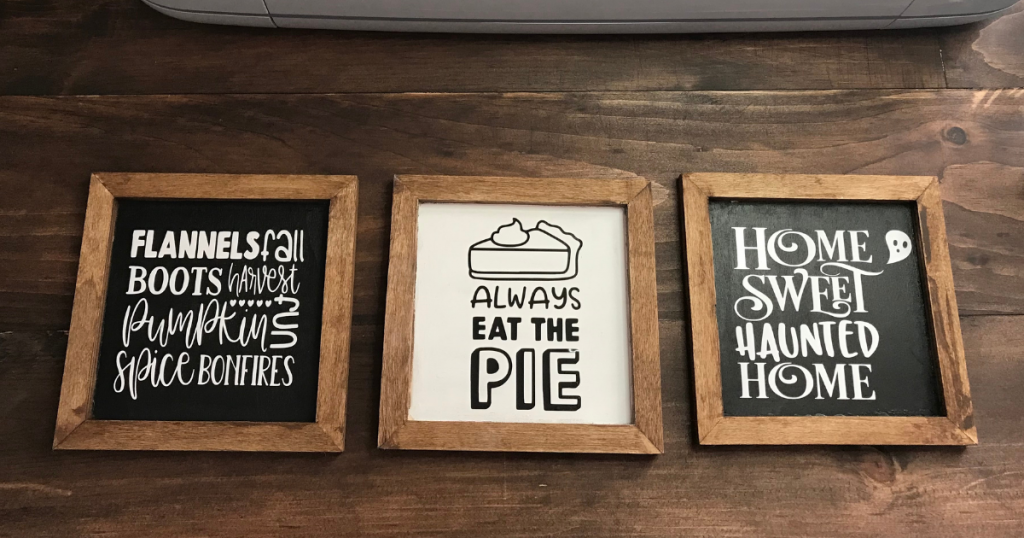
In 4 steps you now have 3 super cute Cricut fall signs to decorate your home., They are easy to make and add that extra to your fall decorations. These mini fall signs are perfect for any spot in your home. I was so happy the package came with 3 because I did one for fall, one for Halloween and one for Thanksgiving.
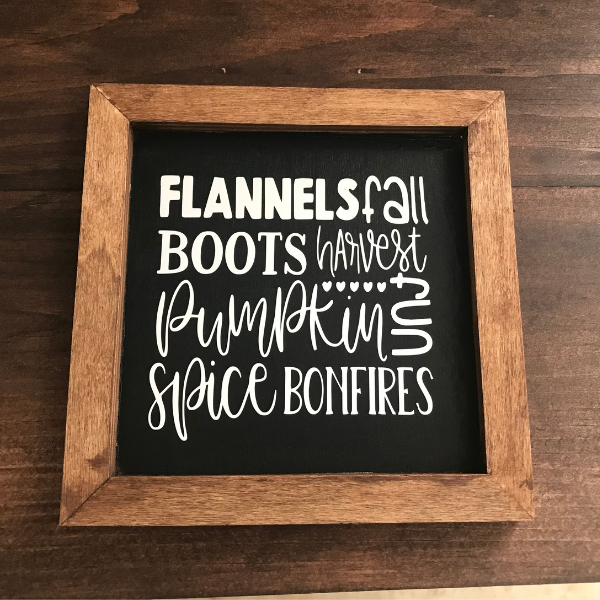
I’m in love with these signs and want to make more! Who’s with me? Just think of al the DIY Cricut signs you can make with wood panels, paint, vinyl and your Cricut machine.
Halloween Cricut Sign
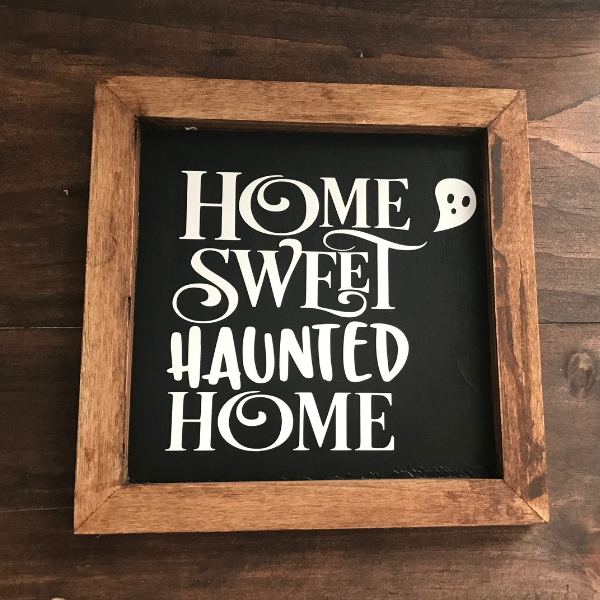
Thanksgiving Cricut Sign
