DIY 4th of July Paper Craft
Note: As an Amazon Associate, I earn from qualifying purchases. If you click on a link from Amazon or another of my advertising affliates, I will earn a small commission at no additional cost to you. Please see my full disclosure policy here.
Summer is in full swing, schools out for the summer, Father’s Day gifts are ready, so I started thinking what is next. Independence Day of course, the 4th of July.
I have so many decorations for all the holidays throughout the year, but my 4th of July decorations are sad and minimal. This year that is going to be different. I am hard at work creating some new decorations.
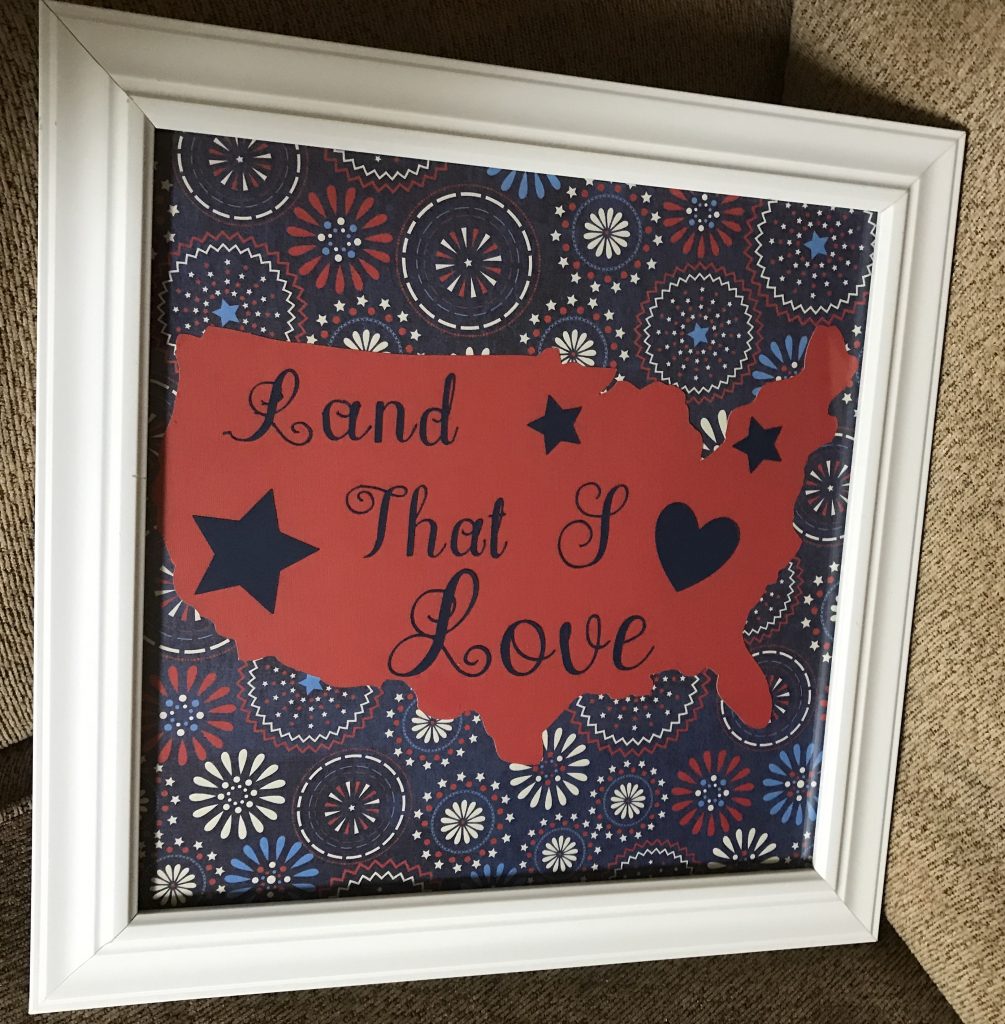
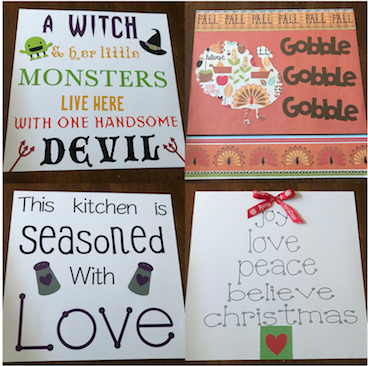
I have a 12×12 frame that is perfect for a sign designed with scrapbook paper. I make different holiday signs throughout the year for this frame.
This project was free for me because I already had all the supplies I needed, but it’s a cheap and easy DIY decoration. If you have to buy the 12×12 frame, just think of it as a decoration for all year because you can change the picture at anytime.
Supplies for 4th of July Cricut Sign
12×12 Frame or Canvas
Red, White, Blue Printed Scrapbook Paper
Red Cardstock
Blue Card Stock
Glue Pen
Adhesive Squares
Cricut Explore Air 2
This could also be created on a canvas (sometimes cheaper then a frame) you could paint the canvas or Mod Podge scrapbook paper to the canvas. Then add the outline of the map with the words.
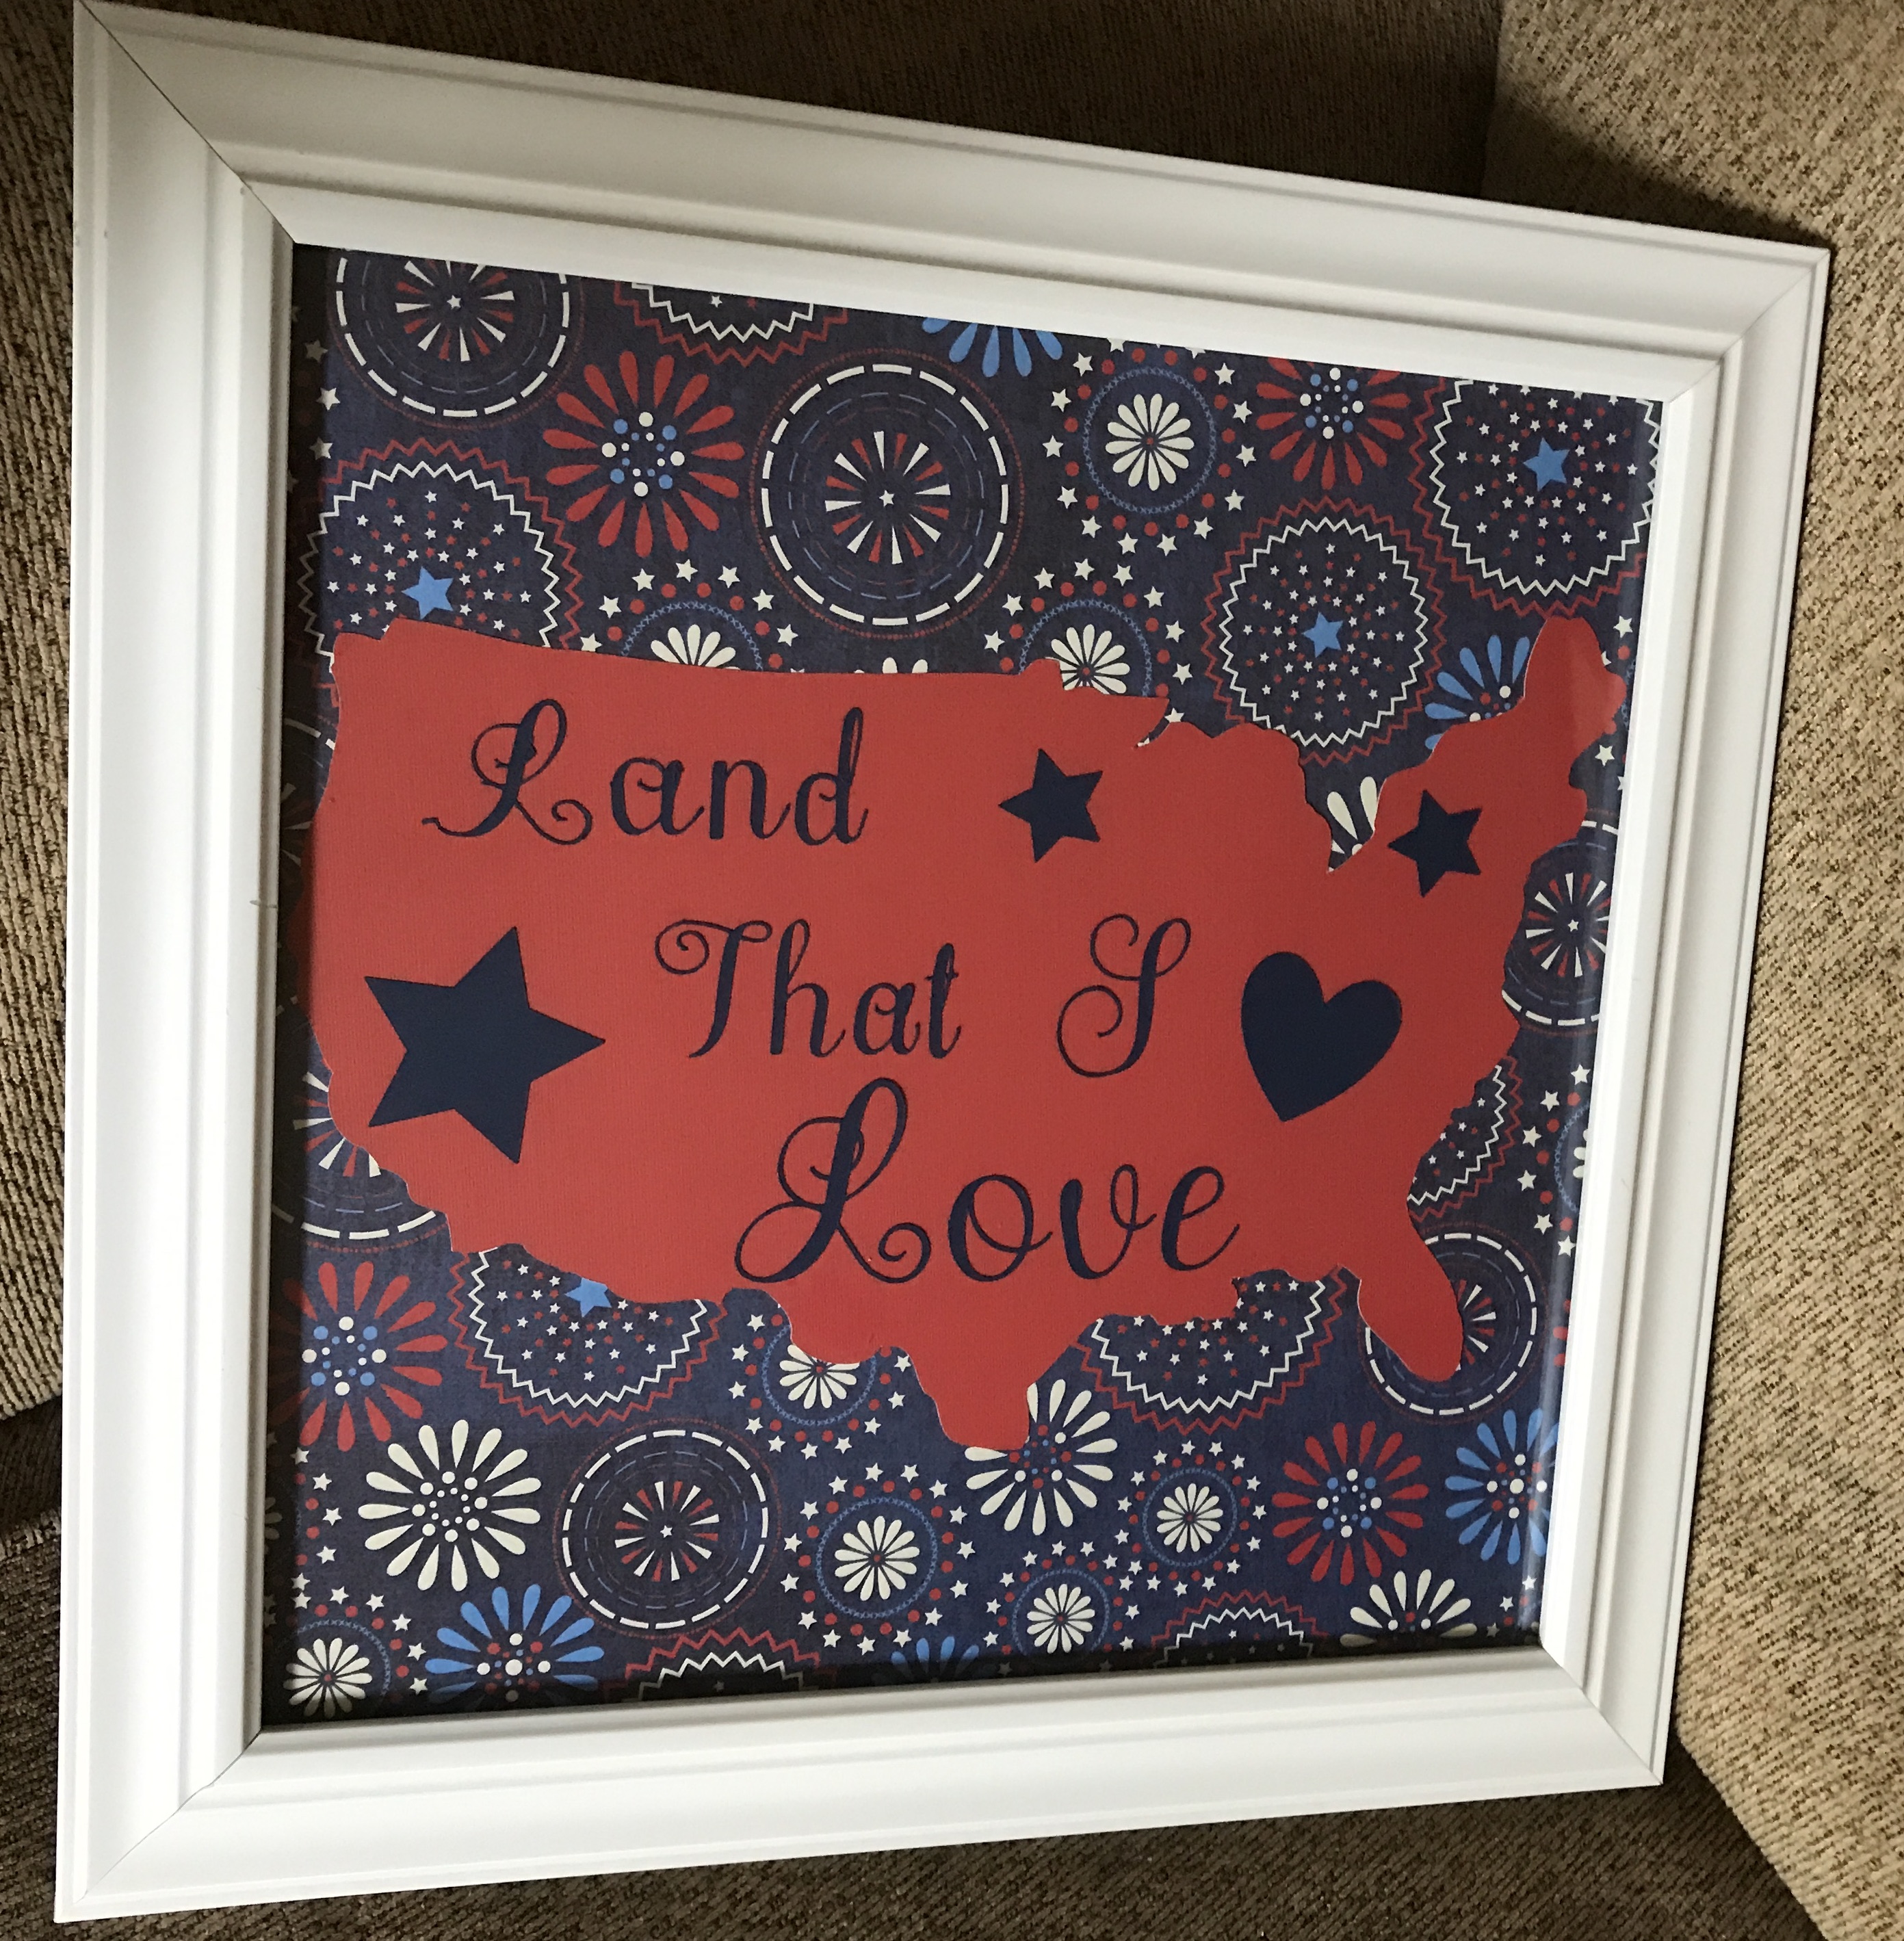
Using my Cricut Explore in Cricut Design Space™, I created the outline of America (in deep red card stock) and added the text “Land that I Love.” I used the Elizabeth font for the text. Then I added a few stars and a heart. The text, stars, and the heart are in blue cardstock. Then I lay everything out on the paper and if it looks great, it’s time to glue.
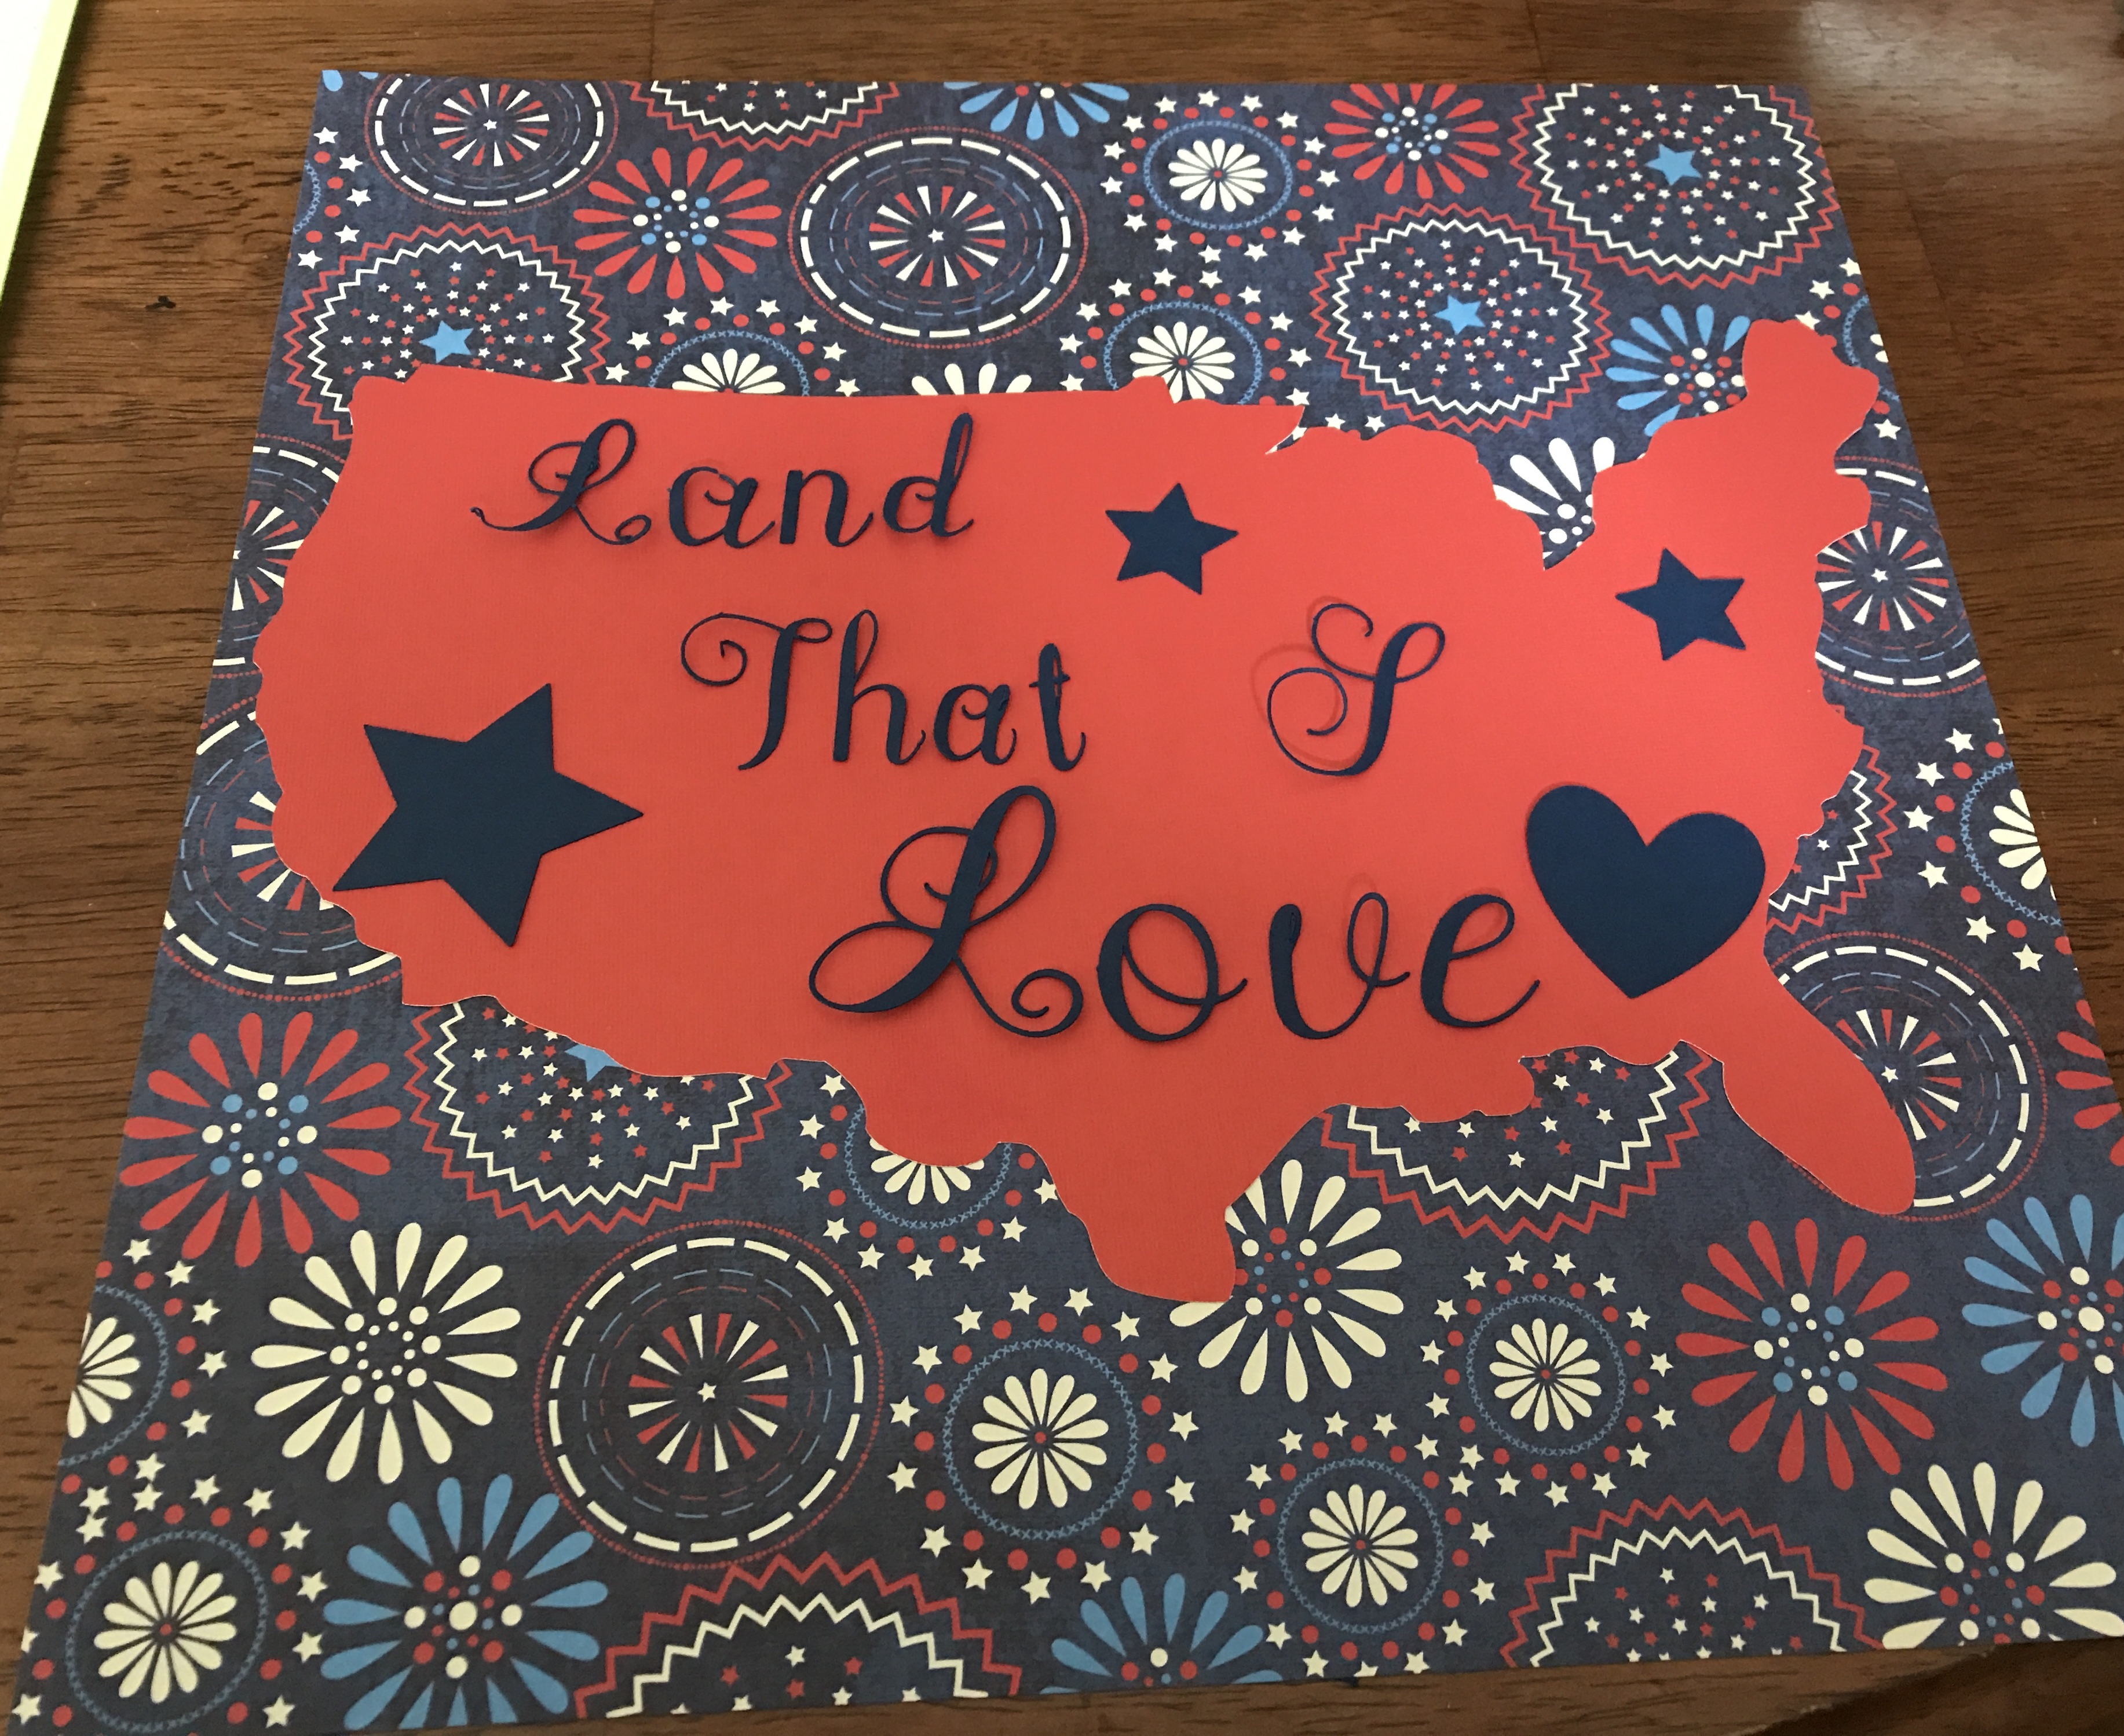
Remember to just use a little glue. I love the glue pen it’s my favorite glue, it dries clear and you only need a little bit of glue. This glue pen is perfect for this project.
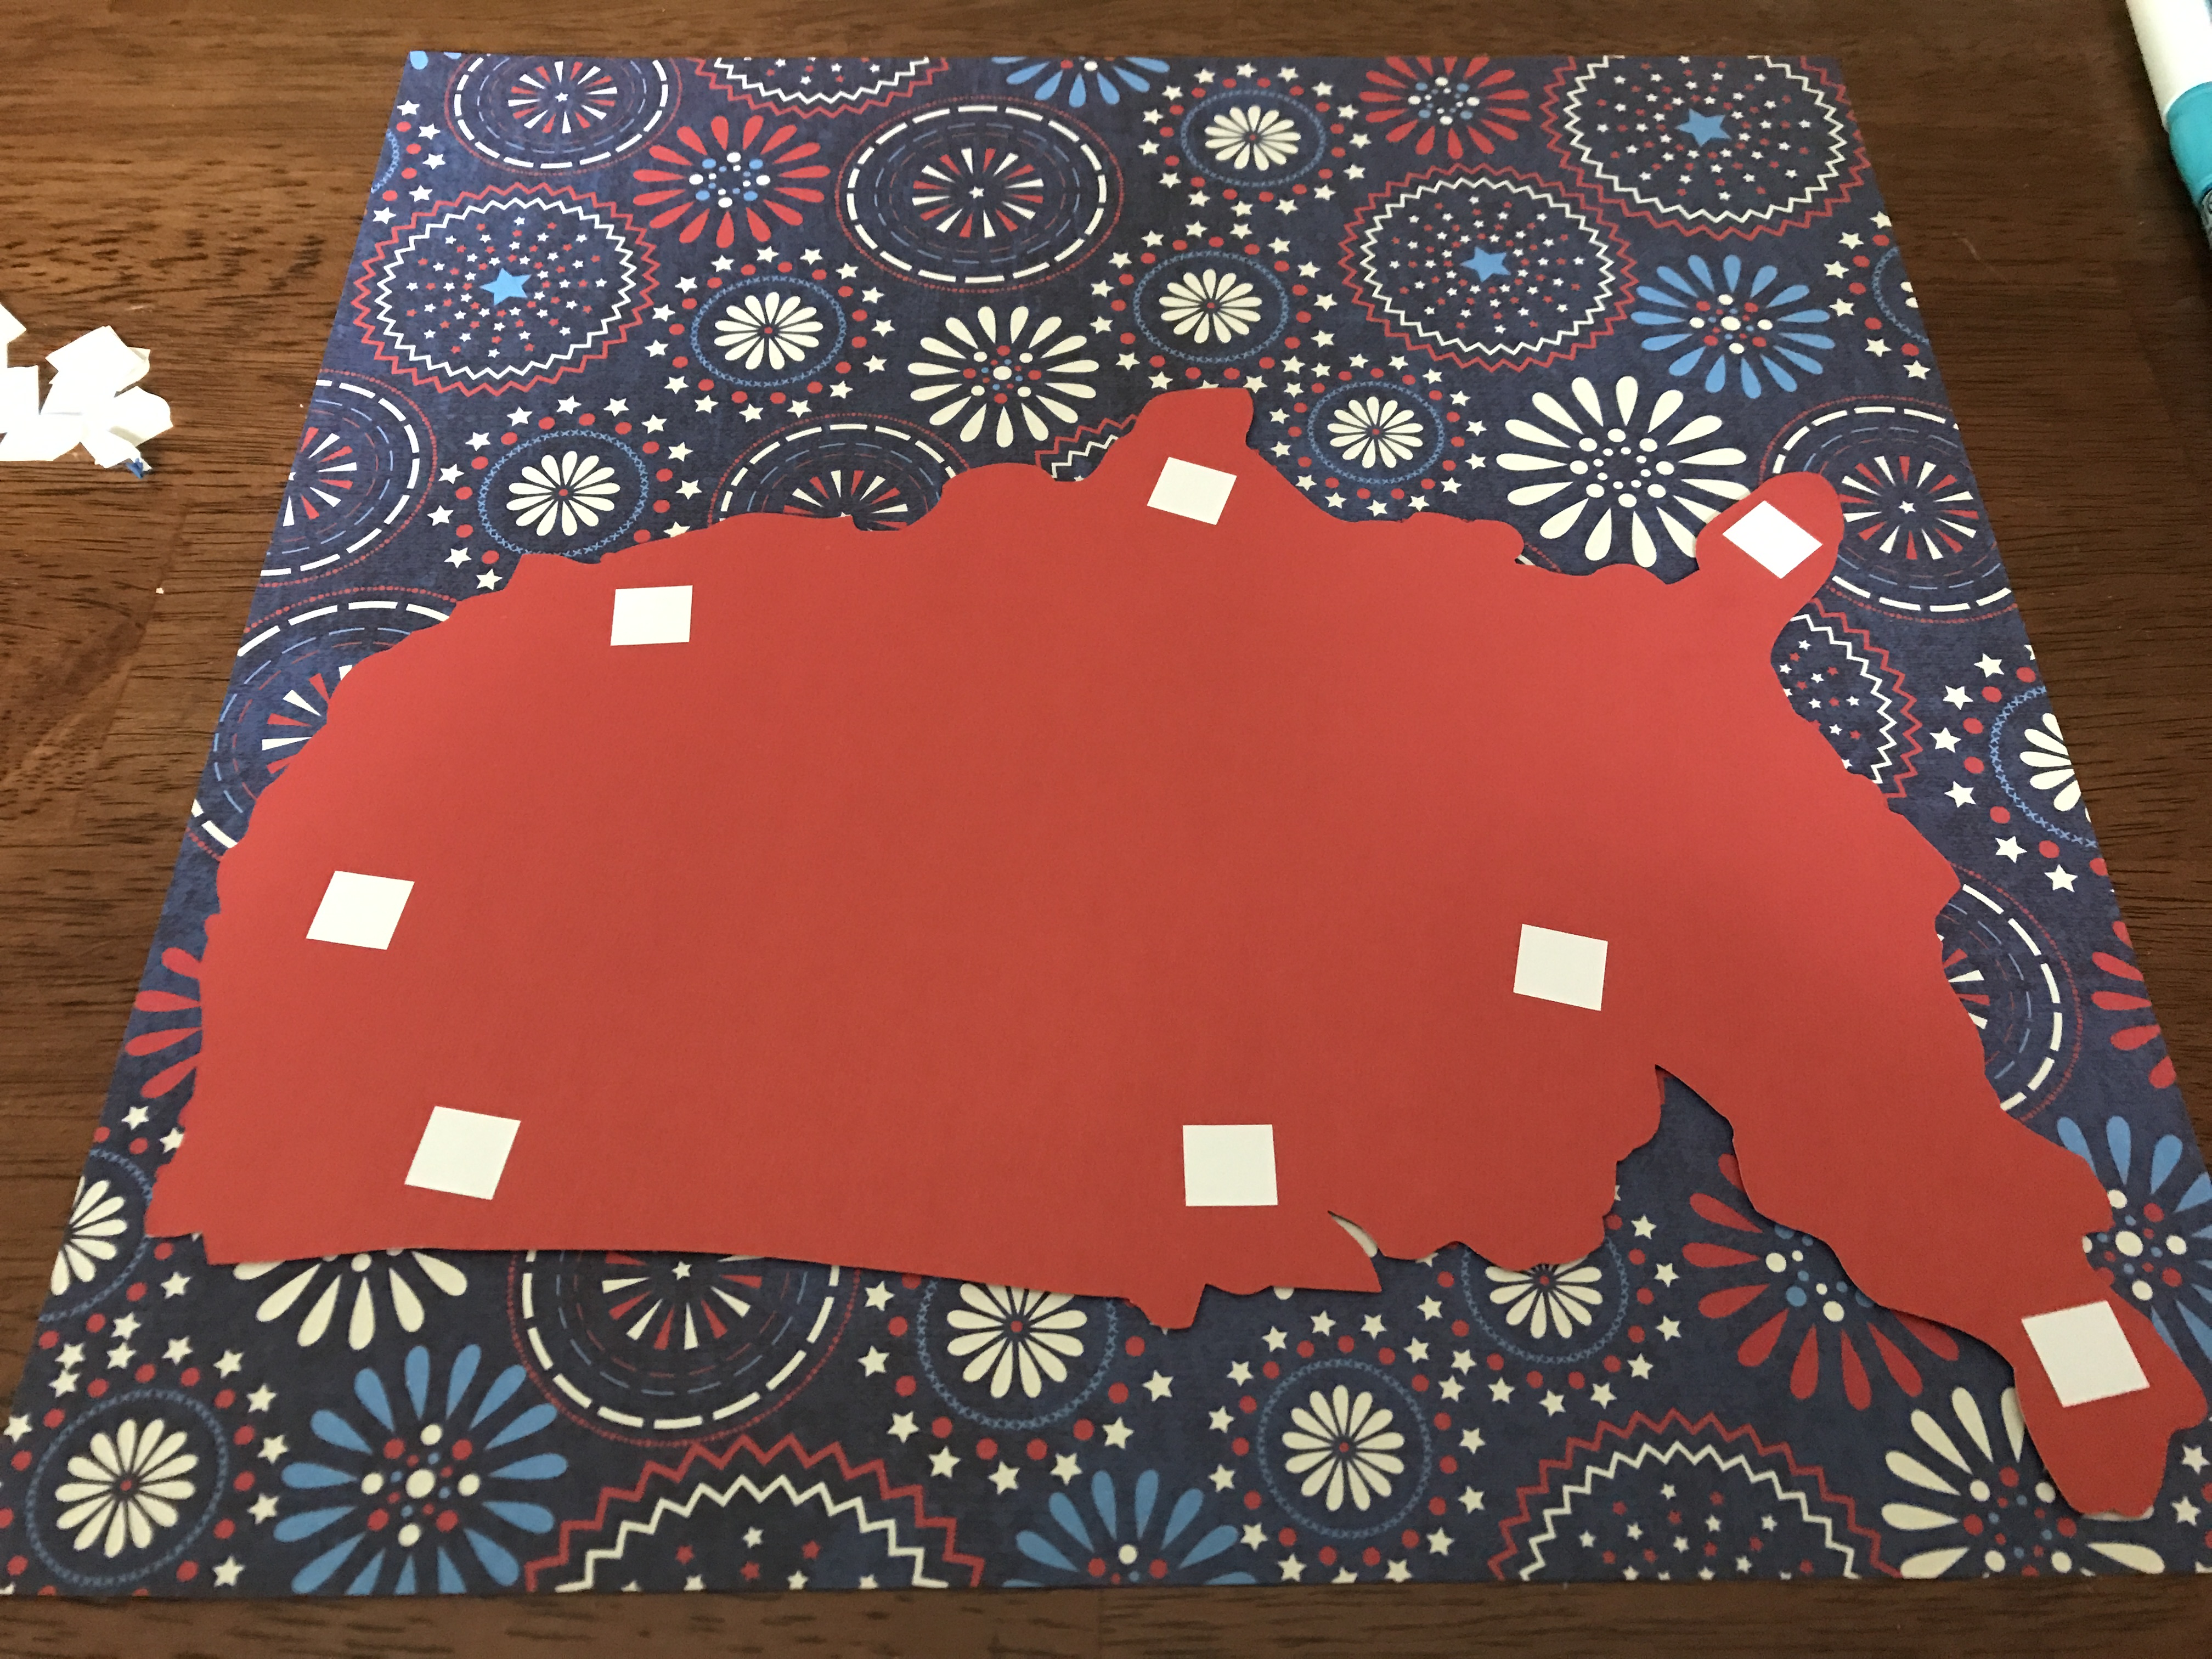
After all the letters, stars, and heart are glued I let that completely dry before I attached the outline of America to the decorative paper. To attach the outline of America, I used the adhesive squares, I love these squares because you can reposition them if you have to.
Now your project is complete! I couldn’t take a picture of it on the wall because the sunlight was to bright and it only showed the reflection of me and the window. It looks adorable on the wall and it matches the 4th of July decorations I am creating perfectly.
Below I found some adorable 4th of July inspired scrapbooking kits that would be perfect for this project. I think my favorite is the Doodlebug Kit.
