Buffalo Check Embroidery Hoop Wreah
Note: As an Amazon Associate, I earn from qualifying purchases. If you click on a link from Amazon or another of my advertising affliates, I will earn a small commission at no additional cost to you. Please see my full disclosure policy here.
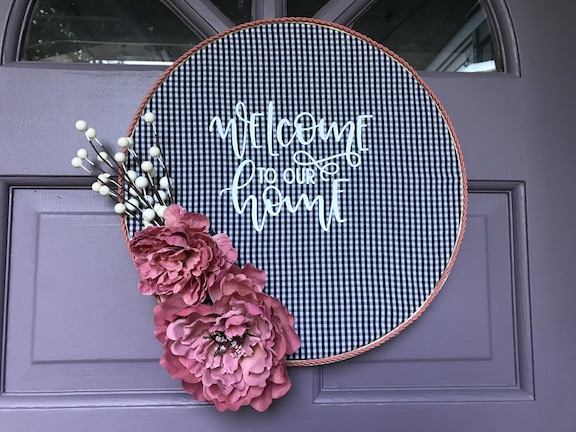
This month I’m joining with some blogging friends for an Upcycle Clothing or material item. At first I wasn’t sure what to do or if I should even participate because I don’t sew and had no ideas of what to do with a piece of clothing or material. My first thought was a rag wreath, but I went a little crazy with them last year- like my Halloween Fabric Wreath or my Halloween Bandana Wreath. Then I found inspiration at the craft store with all the embroidery hoop decor. This is how I created this beautiful Buffalo Check Embroidery Hoop Wreath with a buffalo check shirt from Goodwill.
My Husband Has Too Many Hobbies | Across the Blvd
Stone Cottage Adventures | Purple Hues and Me
Domestic Deadline | Sew Crafty Crochet
Sum of Their Stories | Cookies, Coffee, and Crafts
Below are some affiliate links and I may make a commission for purchases made through the following links.
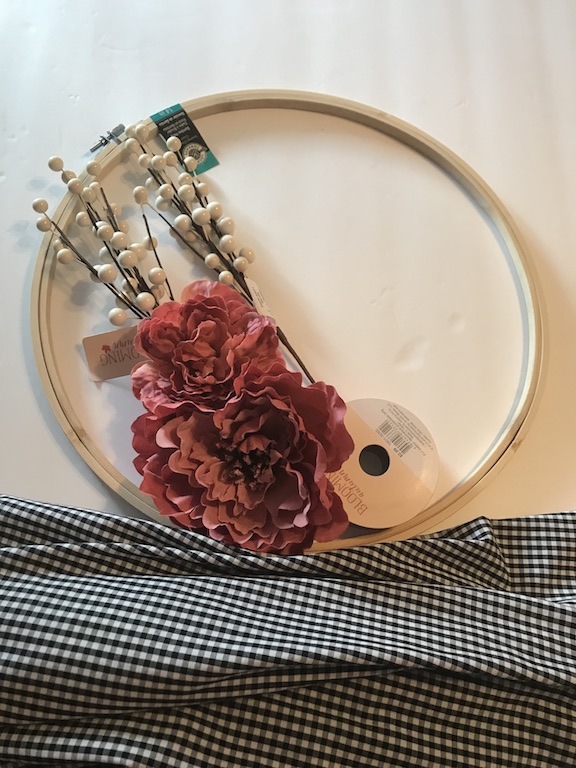
Supplies:
14 inch Embroidery Hoop
Buffalo Check shirt
White Cricut Iron On Lite
White Berries
Florals
Rope Ribbon
Hot Glue Gun/Glue
Buffalo check is so popular right now, but I’ve always been a fan of flannel and plaid way before it was “in style” and before it was called a camp shirt. I’m so happy it’s back in style because now their are so many choices and styles for fashion and home decor.
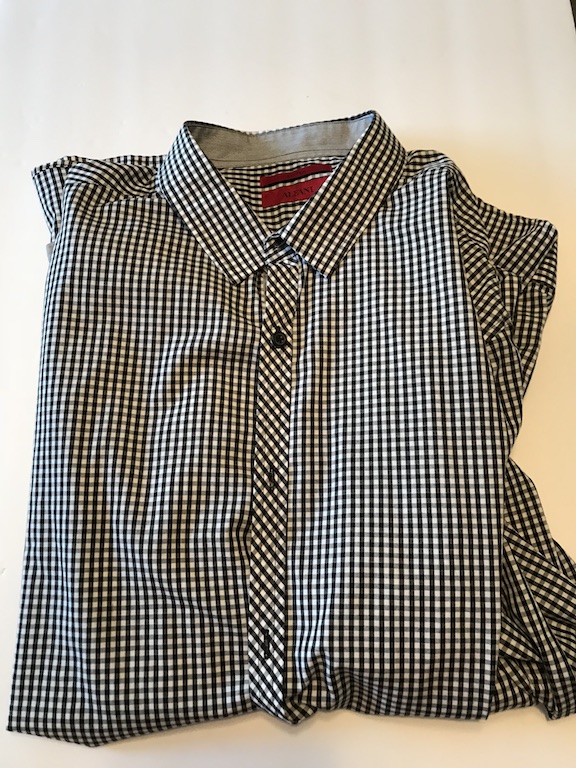
At Goodwill, I was searching for a pretty plaid shirt and I found a few, but then I saw the buffalo check. I was sold. It was the perfect choice and even better, it was 50% off. It was $2.83. Even better I have lots of buffalo check left for other projects. I found all the florals and rope ribbon 50% off at Joanns. At home I had the white Cricut Iron on and the hot glue. Oh I forgot the embroidery hoop, it was under $2 at Michaels with a coupon.
Let’s Create a Buffalo Check Embroidery Hoop Wreath
To get started I put the embroidery hoop on the back of the shirt and cut around the hoop, leaving extra fabric.
Using my Cricut Maker, I used an SVG from Lovesvg for the “Welcome to Our Home.” Before pressing in the saying, I place everything on the wreath to get the right placement for the words.
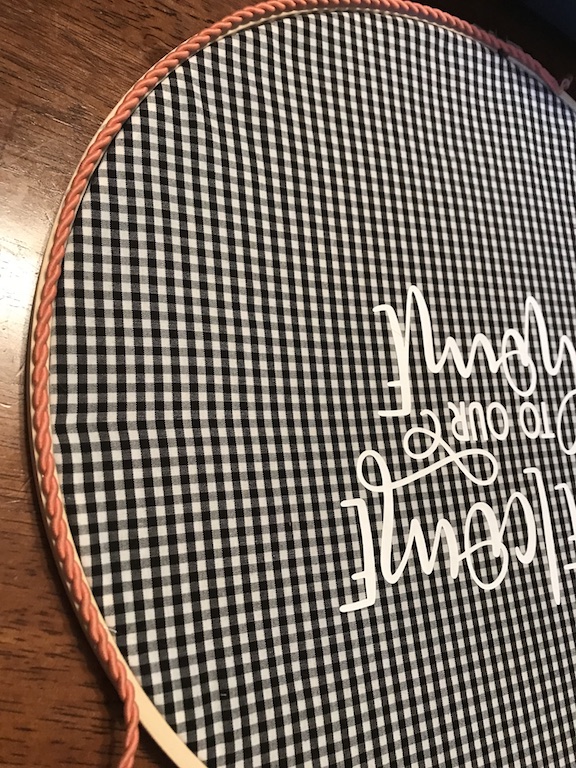
Using my Cricut EasyPress I added the words to the fabric. Make sure your fabric is going in the right direction before you heat press. My kids were arguing over the color of a straw and I almost forgot.
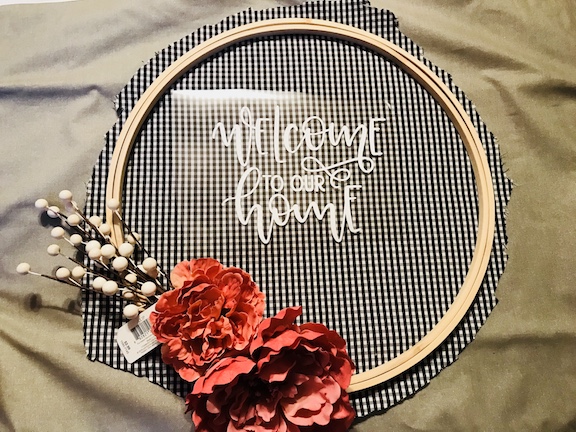
The buffalo check embroidery hoop wreath is ready for the rope ribbon. I started hot glueing the rope ribbon at the bottom of the wreath by the screw to open and close the hoop.
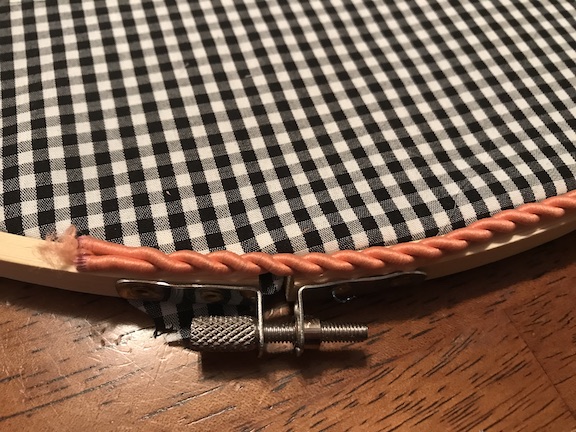
Put thin strips of hot glue and do a little at a time.
For the rest of the project, I hot glued the berries and florals to the fabric. I put pressure on the back of the fabric to get a good hold. I’m happy to report I didn’t burn myself this time with the hot glue. I made sure to place the florals to cover the screw on the hoop.
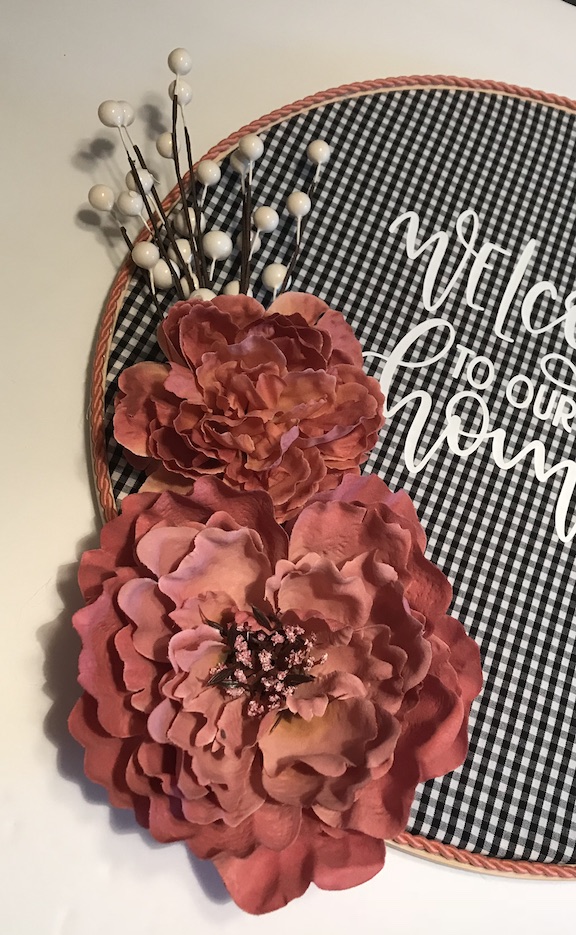
I’m so happy I decided to take on this upcycle challenge because this is one of my favorite projects. At first I wasn’t sure about the pink florals for autumn, but I love the color. This will be a year round wreath. I’m thinking of adding it to our Kitchen gallery wall since our main door walks into our kitchen. The final cost for this material upycle project is about $10.
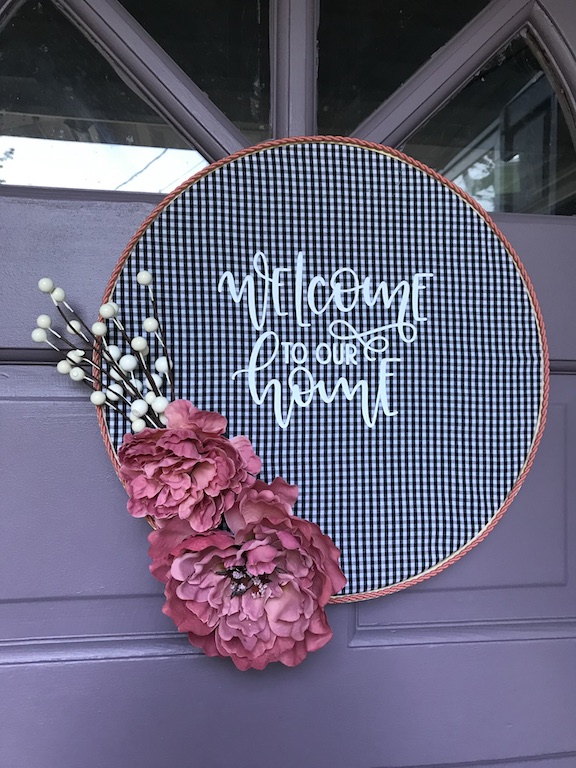
Here it is on the door and I love how it looks. In different light, the flowers look different colors.

Let’s see all the other wonderful upcycled projects my talented blogging friends created!
 Loading InLinkz ...