Cricut Tutorial to Create a Construction Card
Note: As an Amazon Associate, I earn from qualifying purchases. If you click on a link from Amazon or another of my advertising affliates, I will earn a small commission at no additional cost to you. Please see my full disclosure policy here.
I was going through my scrapbooking paper looking for some inspiration and I came across this stack of “Little Boys and Their Toys”. I have used many of the pages, but it still has tons of cute pages left. I think the paper is from Hobby Lobby, but I’ve had it for so long, I can’t remember. If you love this paper stack and card, I found it on Amazon (the link is at the end of the post). Using stacks of paper is a great way to start making cards because all the paper matches perfectly. Making cards is one of my favorite things to do on my Cricut and I want to share this tutorial with you.
Below are some affiliate links and I may make a commission for purchases made through the following links.
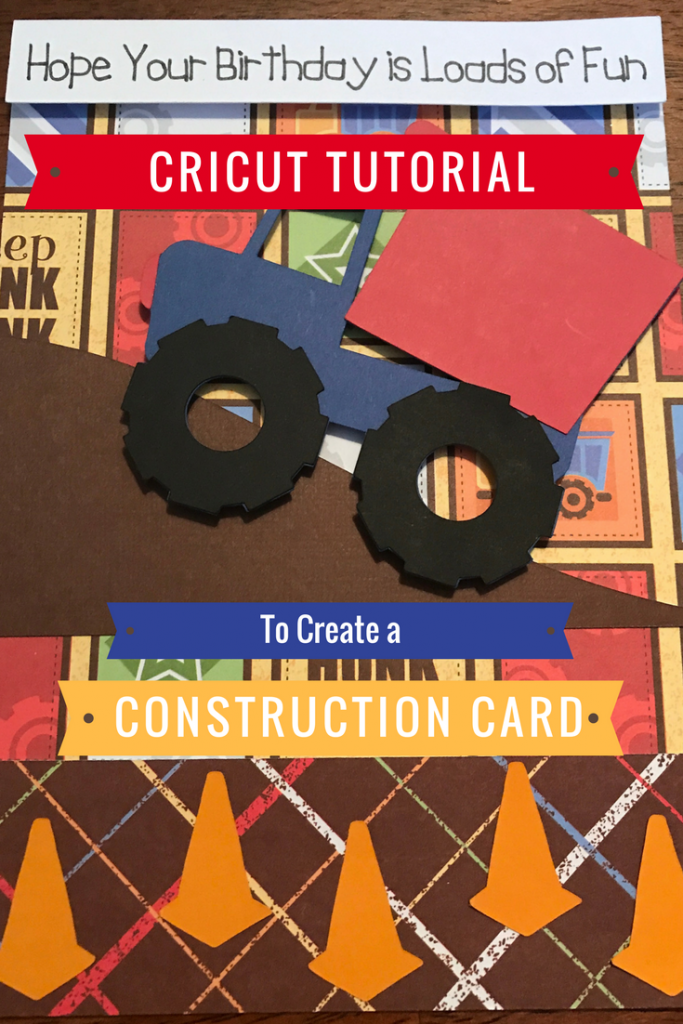
Using the paper from the stack and plain colored card stock, I created this tough, cute construction card. I created the card using my Cricut Explore Air Wireless Cutting Machine in Cricut Design Space.
I started with a 5×7 rectangle for the base of the card (this is the paper with the squares and Honk Honk written on it).
Then I made a rectangle that is 5 inches wide by 1.516 height for the bottom of the card to put the cones on (brown paper).
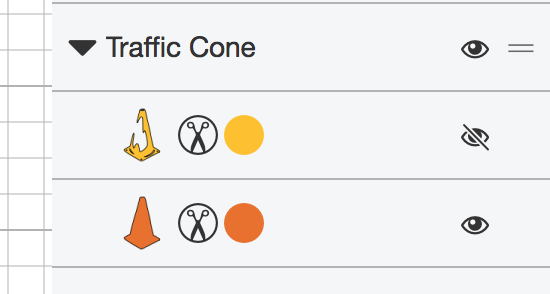
Then I added the cones to the brown rectangle and sized them to fit. In Design Space, search for a “Traffic Cone.” For the traffic cone, it has 2 layers, I hid the top layer by clicking on the eye and just used the bottom layer. It worked perfectly.
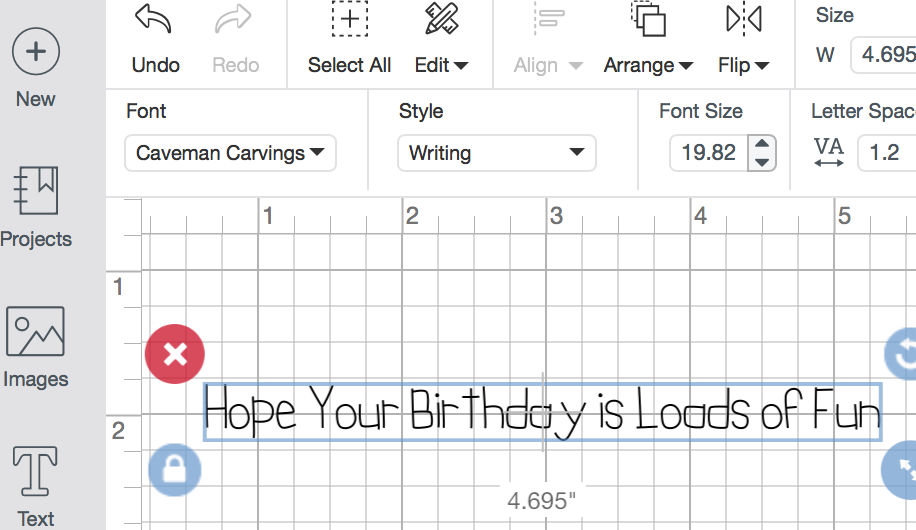
Then I made the small white rectangle for the top of the card to add the birthday saying to. The white rectangle is 5 inches wide by .736 height. For the birthday message I used the font Cavemen Carvings. Cavemen Carvings is such a cute font, I find myself using it a lot lately. Plus I think it looks kid friendly!
To add the birthday message to the card:
- Type the text
- Choose the font and style- writing
- Layer the text onto the white rectangle, highlight the rectangle and text (at the same time) and hit attach
The letters will now be attached to the rectangle. Attach is at the bottom of the layers menu.

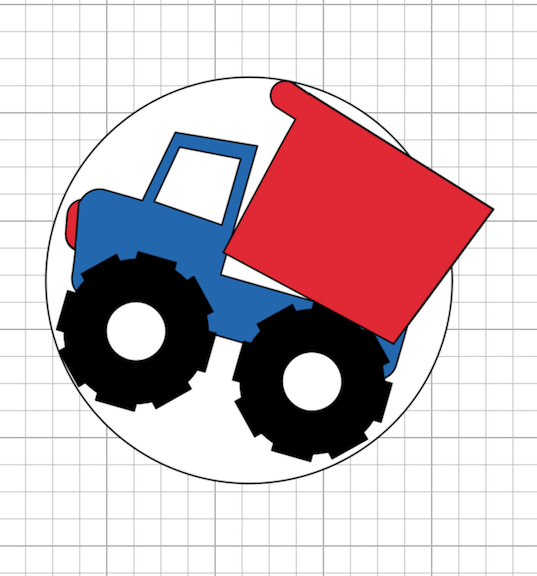
Now it’s time for the middle of the card and to create the dump truck and the hill. Just search Design Space for dump truck and this is one of the first ones. This dump truck has a circle behind it, but go into the layers menu, click on the eye by the circle and hide it. The dump truck is 4.034 wide by 3.513.
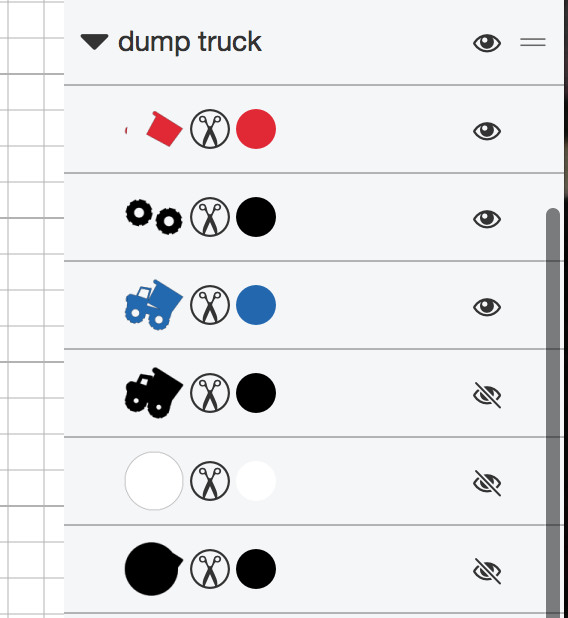
For the hill, I searched hill and found an over the hill with words, but the hill was perfect for what I needed. Go into the layer menu, click on the eye and hide the orange hill with words. Now your hill is all set for the dump truck. The hill is 5.035 wide by 2.144.
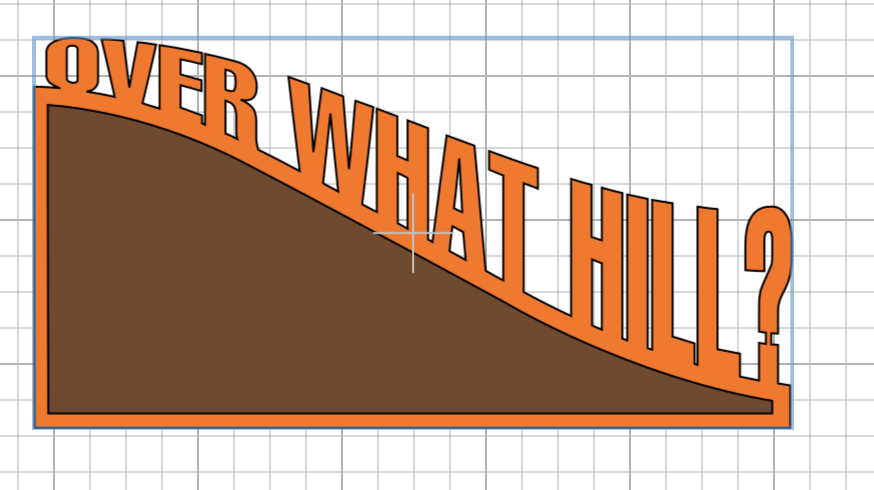
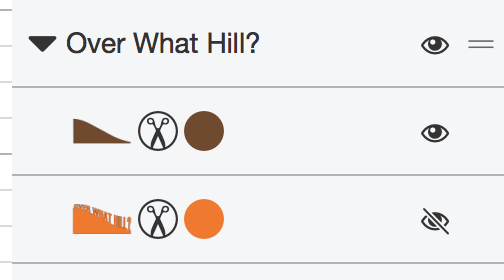
That’s one of the things, I love about design space is being able to hide parts of an image and using what you need.
I put the hill in the middle of the card and had the dump truck driving up it, just like it was at a construction site, going to work.
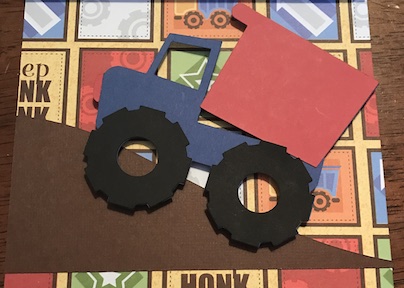
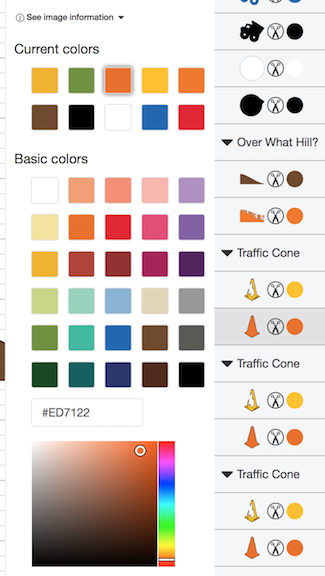
Remember you can change the colors of any part of this card to match the paper you have, creativity and imagination have no limits. To change the color of an image in design space:
- Go into the layers menu
- Click on the circle next to the scissor image (for example the orange circle next to the cone) it will show all the colors
- Click and choose the color from the color panel
Now that all the images are cut and ready to go, it’s time to create the card.
For glueing I like to use:
Forever In Time 3D Pop Dots Square Dual-Adhesive Foam Mount, 1/4-Inch, 528 Per Package
3L Repositionable Permanent Mounting Squares, 1/2-Inch x 1/2-Inch, 1000pk, White
EK Tools Zig Memory System 2-Way Squeeze and Roll Glue Pen, New Package
I used Forever In Time 3D Pop Dots Square Dual-Adhesive Foam Mount, 1/4-Inch, 528 Per Package for the white rectangle birthday message and the dump truck. I used 3L Repositionable Permanent Mounting Squares, 1/2-Inch x 1/2-Inch, 1000pk, White
for the hill, the brown rectangle at the bottom and to attach the yellow rectangle to the card. For the cones I used the EK Tools Zig Memory System 2-Way Squeeze and Roll Glue Pen, New Package
. This is my favorite glue pen, and honestly the only one I use now.
This card will make any child who loves dump trucks, construction or getting dirty happy, maybe a few grown ups to. I hope you found this tutorial helpful and please leave any questions in the comment section, I would love to help.
May your coffee always be full and crafting projects aplenty.
Jenny