Create a Decorative Clipboard with Cricut
Note: As an Amazon Associate, I earn from qualifying purchases. If you click on a link from Amazon or another of my advertising affliates, I will earn a small commission at no additional cost to you. Please see my full disclosure policy here.
Staying home and distance learning has lots of positives and negatives. Somedays its really, really hard to see the positives when the kids are screaming at each other over the kitchen table. Distance learning is taking a toll on all of us and I even have a degree in teaching, but the sibling arguing takes it to a whole new level. To help keep my sanity (the kids too), I bought clipboards and I’m creating a decorative clipboard with my Cricut Joy for each of them.
Hopefully it will help separate them and allow everyone to peacefully do their work. So many times I hear “You are reading to loud, counting to loud or I don’t want to hear about that anymore.” Who else could just list all the crazy things your kids have said to each other.

Supplies for Creating a DIY Clipboard
Clipboard
Cricut Joy (Buy on Cricut or Buy on Amazon)
Cricut Weeding Tool (Buy on Cricut or Buy on Amazon)
Waverly Black Craft Paint (I love this one too)
Flat Paintbrush (this is my favorite set)
Painting Tray
Cricut Joy Transfer Tape (Buy on Cricut or Buy on Amazon)
Smart Vinyl Permanent in White (Buy on Cricut or Buy on Amazon)
Cricut Brightpad
Let’s Create a Decorative Clipboard with Cricut

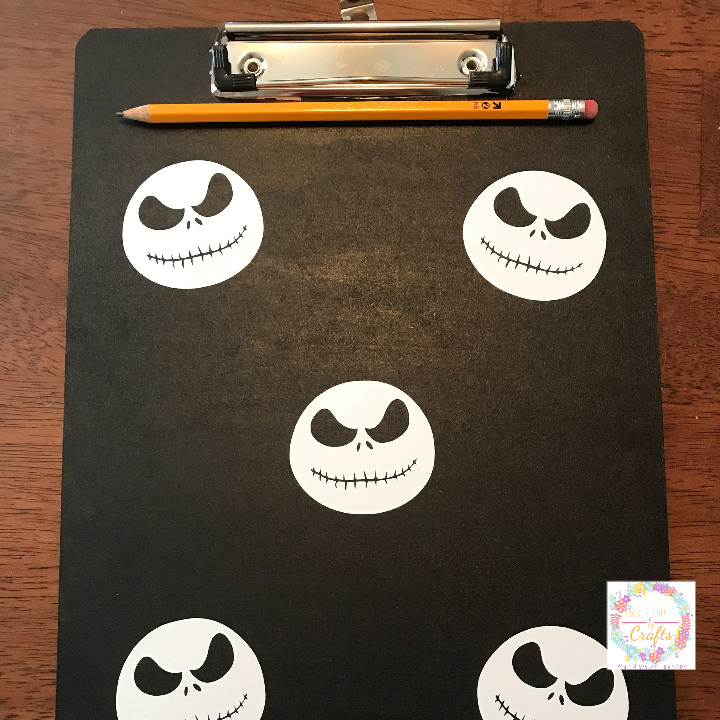
The first step is to paint your clipboard (if you need to). My son loves Jack Skellington and asked for a Jack board. Instead of adding or layering the vinyl, I decided it would be easier to paint the board black. The Waverly craft paints are one of my favorites because it goes on smoothly and dries fast. The clipboard really paints well and I gave each side two coats. My favorite flat brushes made this paint job super easy.

When the clipboard was drying, I created my design in Cricut Design Space. I have many Jack images in my uploads because I use them for Halloween or scrapbook pages. Jack Skellington is a huge part of our Halloween celebrations. Honestly they watch The Nightmare Before Christmas so many times between from September to December that I completely lose count. If you love Jack (like my family does), I’ve made Jack Skellington Christmas Ornament and Jack Skellington Ping Pong Ball Lights.
If you are new to Cricut and need help uploading images, I share all of my Uploading Tips and Tricks. Cricut Design Space™ also has Jack and lots of The Nightmare Before Christmas images available.
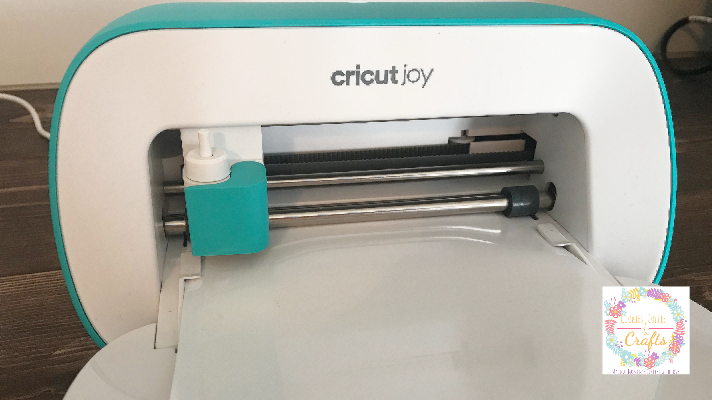
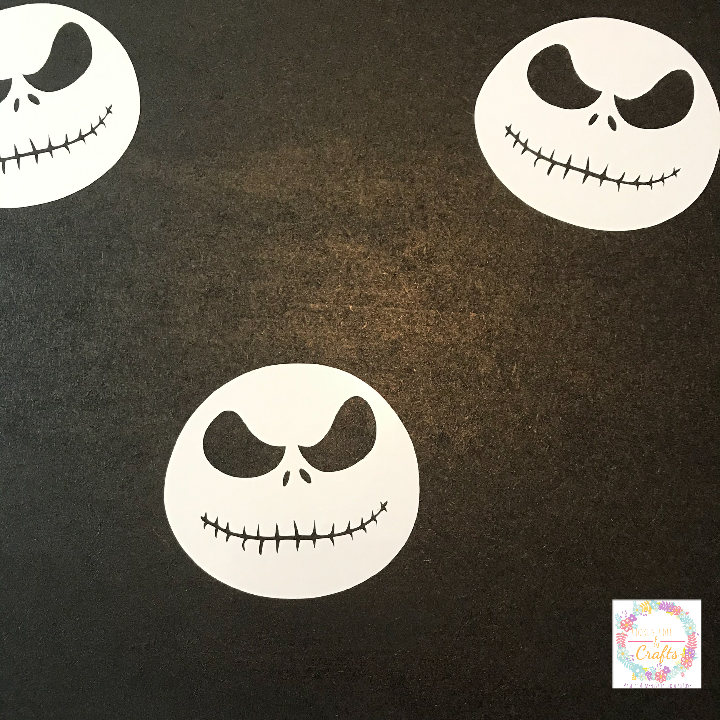
My new crafty best friend is my Cricut Joy! Seriously I love everything about it. Even better is that this project uses the Cricut Joy Smart Vinyl and you don’t even need a mat (Win! Win!). The Jack face I’m using is about 2×2.
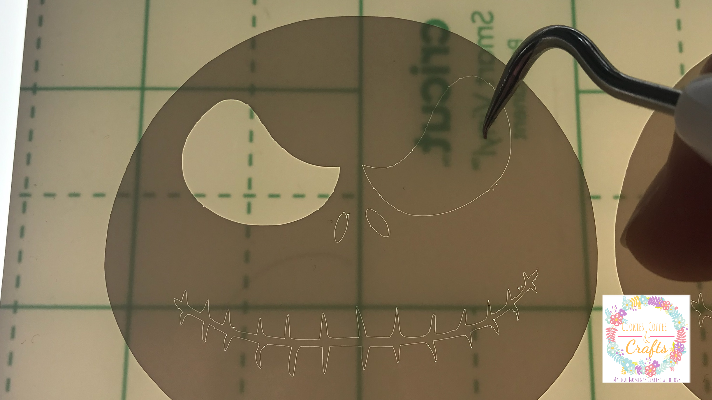
Weed all you designs and my Cricut Brightpad came in really handy to get all those tiny noses of Jack. It makes weeding so much easier to see.
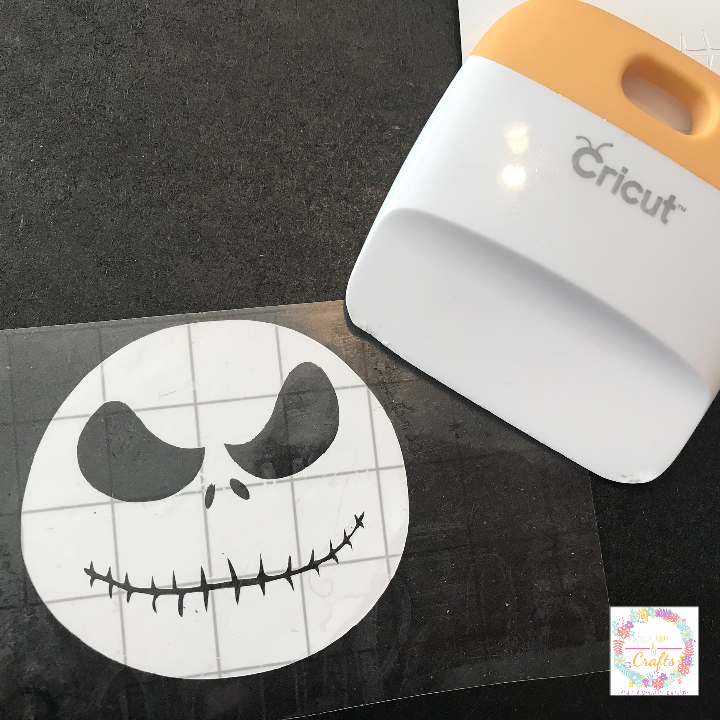
When the board was dry, it was time to make the decorative clipboard craft. My son put the Jack faces on the clipboard where he wanted them and then I used the Cricut Joy Transfer tape to add the design to the clipboard. It was fun giving him a lesson in how to apply vinyl. He can’t wait to do more projects. We decorated both sides of the clipboard with vinyl Jack faces.
DIY Jack Skellington Decorative Clipboard
Making a DIY decorative clipboard is super easy and is a fun craft to do with the kids. The Cricut Joy is the perfect size for these projects and the smart material makes it even easier.

Are you ready to make a decorative clipboard now?

