Create Cricut Joy Planner Stickers to Stay Organized
Note: As an Amazon Associate, I earn from qualifying purchases. If you click on a link from Amazon or another of my advertising affliates, I will earn a small commission at no additional cost to you. Please see my full disclosure policy here.
Who loves picking out a new planner for the year? It’s one of my favorite things to do because I know it’s something that I’m going to use all year long. It’s truly my life line. Planners, planner stickers, markers, I’ll just take them all. Cricut Joy Smart Label Paper gave me this brilliant idea to make my own customized planner stickers that fit my life. Here is my tutorial to make your own Cricut Joy planner stickers.
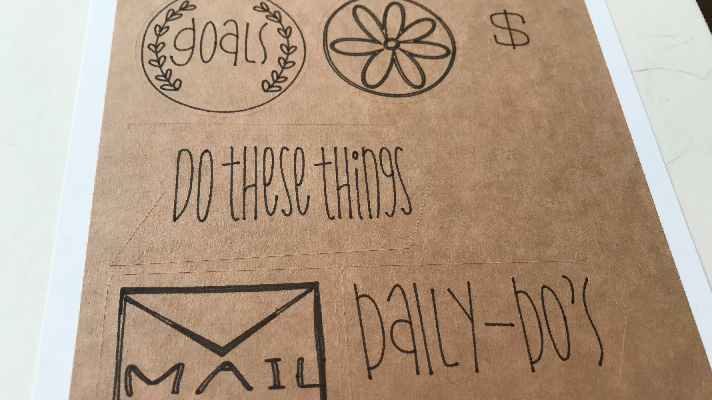
One thing I was going to make was customized stickers for the kids school stuff. Like dress down day, early dismissal, more, but as I write this the school year is still an unknown to us. We should be finding out soon. These planner stickers are so easy to make I can whip some up in 5 minutes.
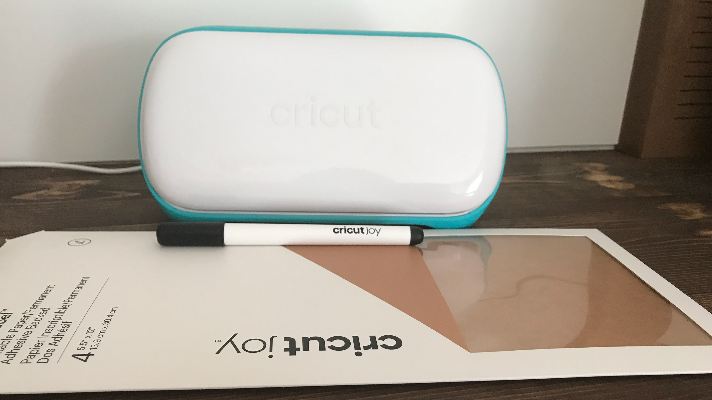
All About the Cricut Joy Smart Label Paper
– Smart Material so no mat is needed
– Just write/draw, peel and stick
– No transfer tape is needed
– Permanent so it may leave residue if you remove it
One of the best things about the Cricut Joy are the smart materials and no mat. It makes creating so easy.
For my planner stickers, I am going to use some basic shapes, a few drawings, and notes on some. Anything that’s a planner sticker catches my eye and I will stop and read it (way more than plain writing). Plus it’s an easy way to see your week visually. I’ve also made planner stickers with the Cricut Joy Adhesive Paper , they are just so pretty.
Materials for Cricut Joy Project
Cricut Joy and Pen (Buy on Cricut/Buy on Amazon)
Cricut Joy™ Smart Label™ Writable Paper
Let’s Create Some Cricut Joy Planner Stickers
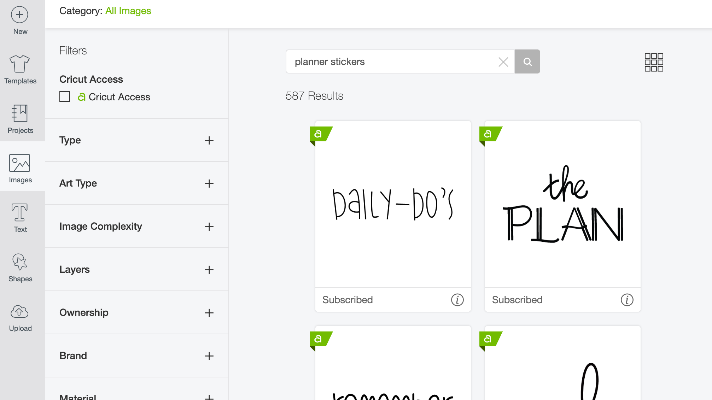
In Cricut Design Space, choose the images you want. If you search “planner stickers” in images, you will find all kinds of draw images for your planner stickers.
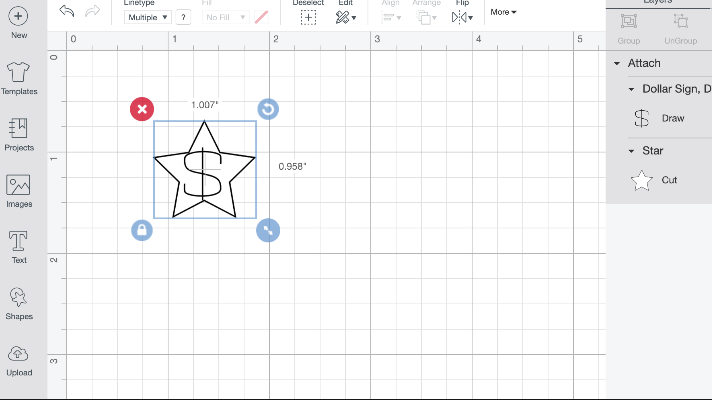
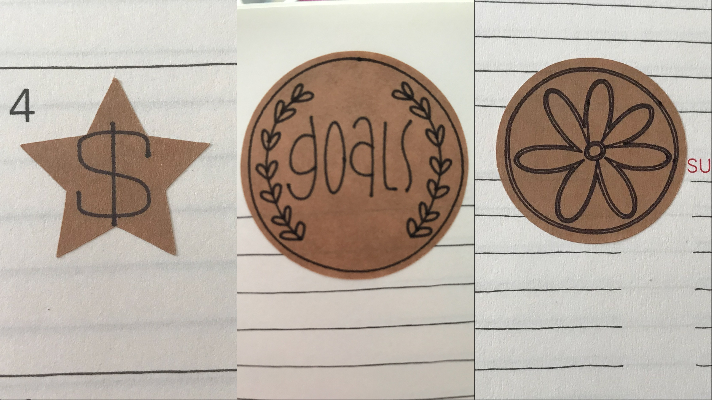
For example, if you have something to pay or buy, I did a star shape with a money symbol. The money symbol was already labeled draw and all I had to do was attach it to the star. It took just a minute to make a planner sticker.
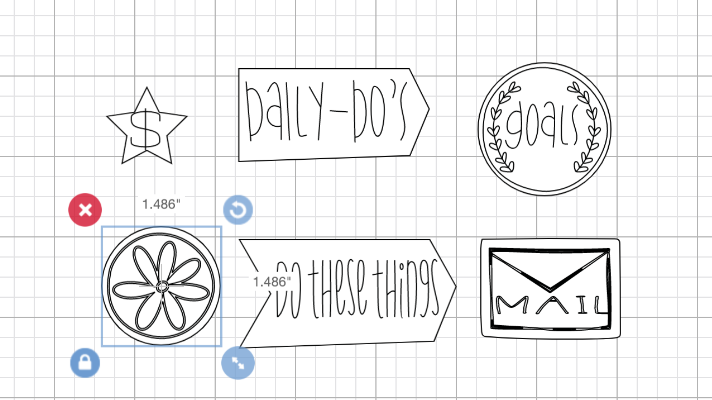
My planner stickers are all cut and draw, so some images had to be change from print to draw, make sure you choose your marker color.
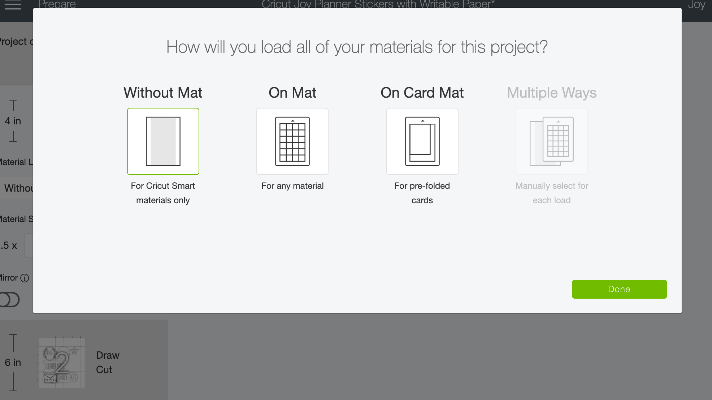
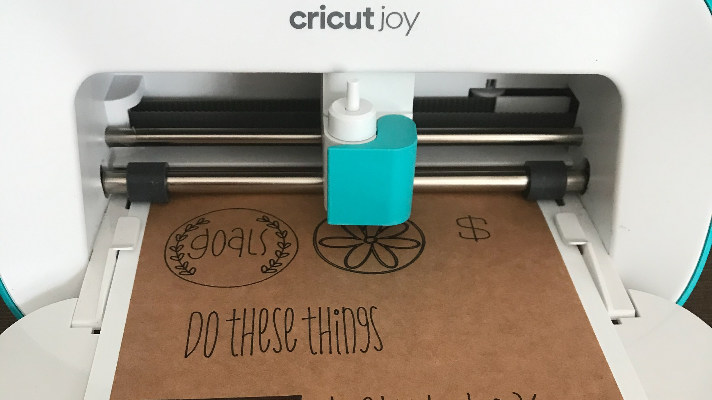
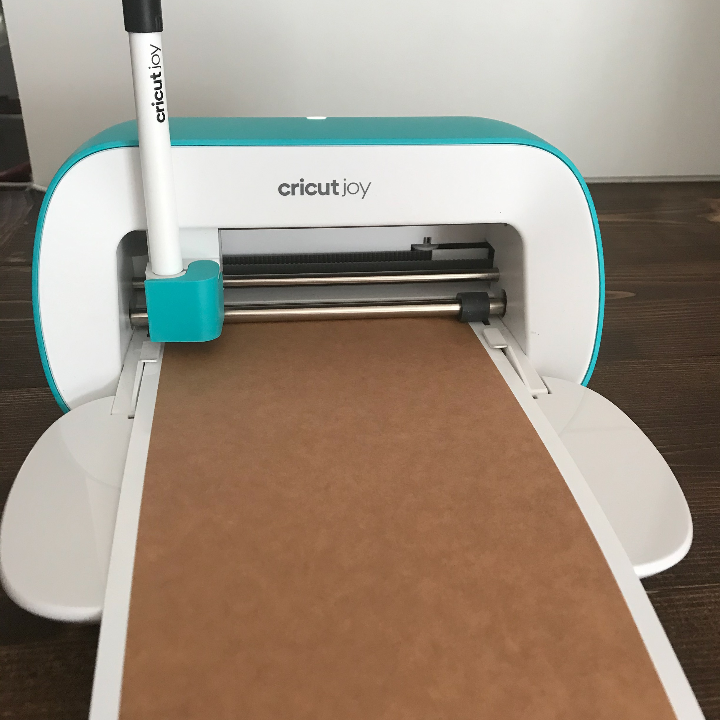
I synced all of the colors to be white to cut them all at once. Follow the on-screen prompts- choose without mat and follow the prompts of when to add the pen and the blade.
These are a good start to my planner. I’ll be making more soon for school once I know what’s happening and anything in the future, I can just make a planner sticker for it.
