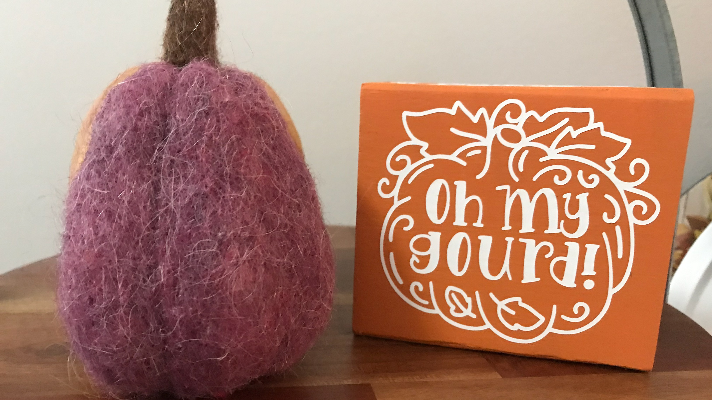
Cricut Joy Project for Fall- Tabletop Dice
Note: As an Amazon Associate, I earn from qualifying purchases. If you click on a link from Amazon or another of my advertising affliates, I will earn a small commission at no additional cost to you. Please see my full disclosure policy here.
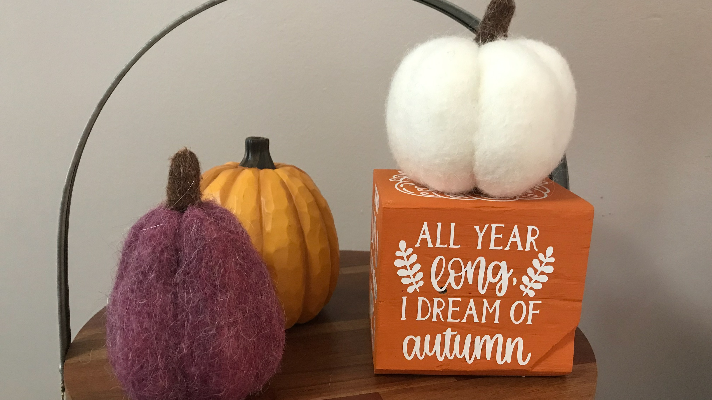
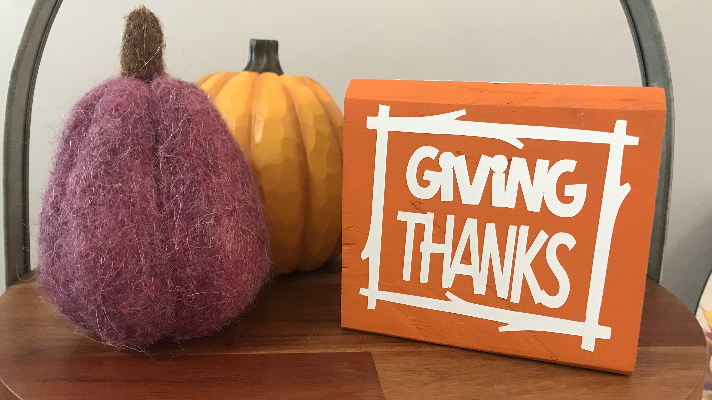
Do you see all kinds of images in Cricut Design Space and have a hard time choosing just one? I know I do sometimes, but for this project you get to choose 6! The 6 images will go on this table top dice fall decor. This is an easy Cricut Joy project for fall that will fit perfectly on your coffee table, tiered tray or anywhere in your home.
Materials for Fall Cricut Craft
4×4 post cut to 4 inches
Folkart Chalk Paint in Monarch
Plaid Flat Paint Brush Set
Folkart Clear Wax
Cricut Tools (Buy on Cricut or Buy on Amazon)
White Cricut Joy Smart Vinyl Permanent/Cricut Joy Transfer Tape
Cricut Joy (Buy on Cricut/Buy on Amazon)
Cricut Brightpad
Let’s Create a Cricut Joy Project for Fall- Tabletop Dice
To get started, I went in our scrap wood pile and found a square piece of a 4×4. That was some good luck. My scrap wood 4×4 pieces are all from a pallet that I found. That was a super heavy pallet to carry. So give pallet wood a try before buying a 4×4. If buying or finding wood is not for you, you can buy something similar **here to create the project on.
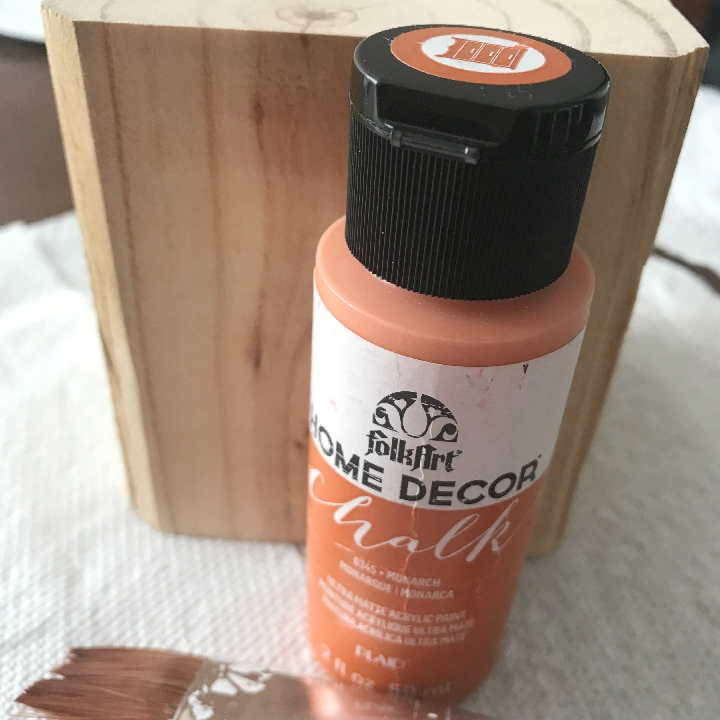
I gave it a good sanding so no one will get a splinter. Then I painted it with two coats of Monarch Folkart. I added on the clear wax, waited 24 hours and then buffed it with a lint free cloth. You only have to do this step if you use chalk paint, if you use acrylic or latex paint, just add on your Cricut vinyl decals.
Using Cricut Design Space to Create the Fall Tabletop Dice
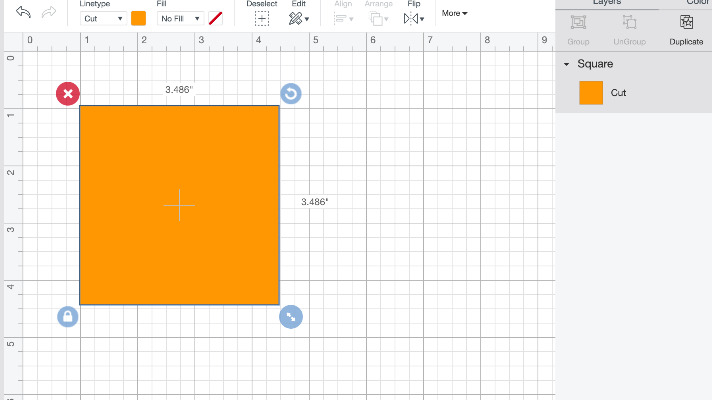
In Cricut Design Space™, I made a 3.5×3.5 square to make my designs on. Even though I get to choose 6 images, it was still hard to narrow it down. If you would like to use these sayings, here is my Cricut Design Space for Fall Tabletop Dice.
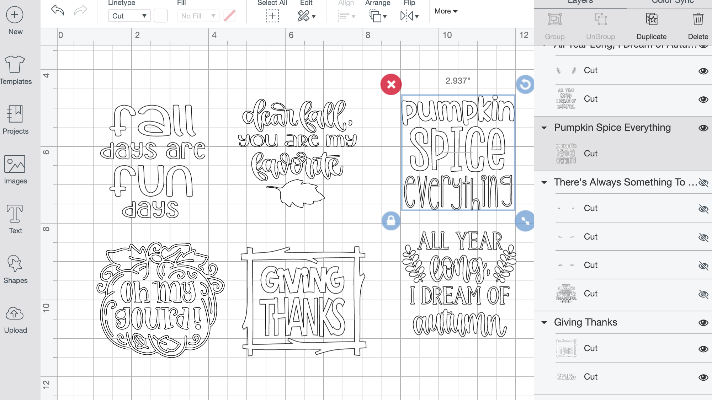
I went with images that had print instead of cursive writing so my kids could enjoy reading it. They have a tough time reading cursive. The screenshot is a little fuzzy, but these are the images that I chose to use.
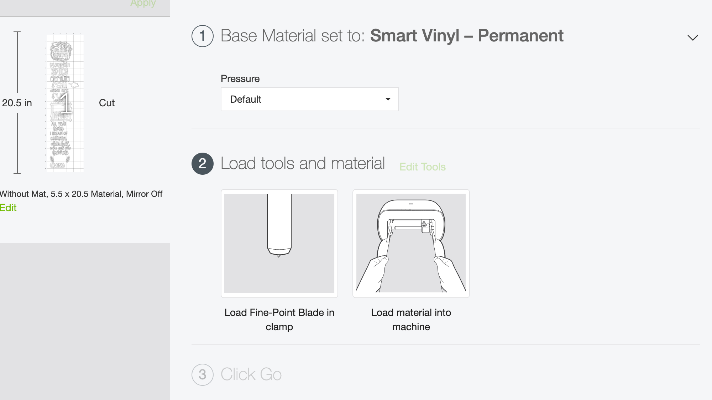
Then using my Cricut Joy and the white Smart Vinyl, I cut the images.
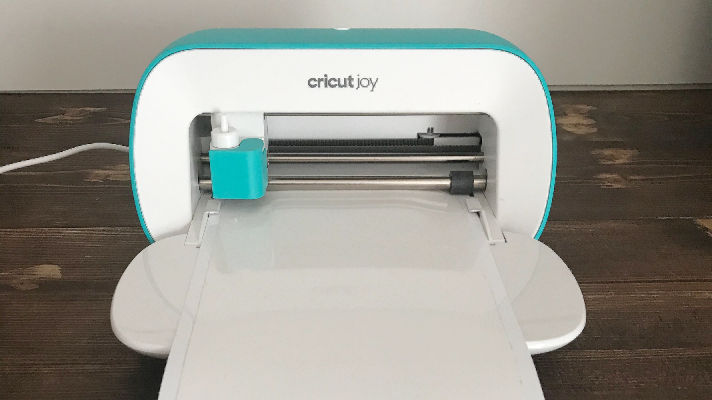
I love using the Smart Vinyl because you don’t need a mat. It’s awesome! Hit Make It, choose without a mat, and Smart Vinyl- Permanent. If you want to know more about the Cricut joy, here is my complete guide.
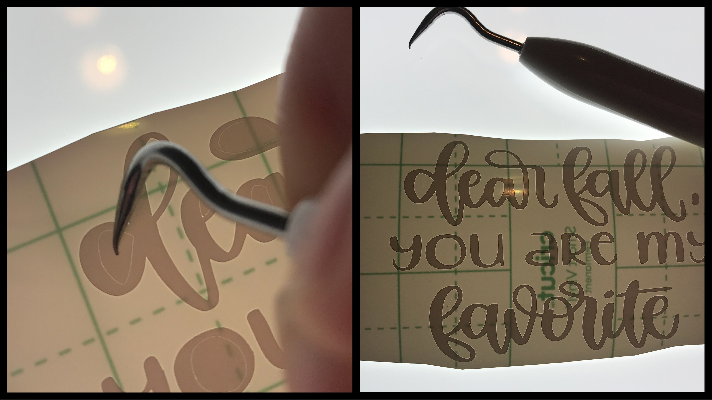
Use your weeding tool and weed the design by removing all the unwanted vinyl. Since this was a lot of small weeding, I used my Cricut Brightpad when I weeded them.
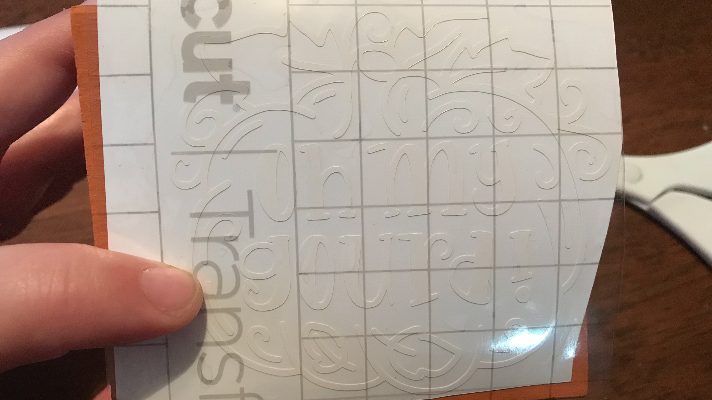
Add the images to the tabletop fall decoration with the Cricut Joy Transfer Tape.
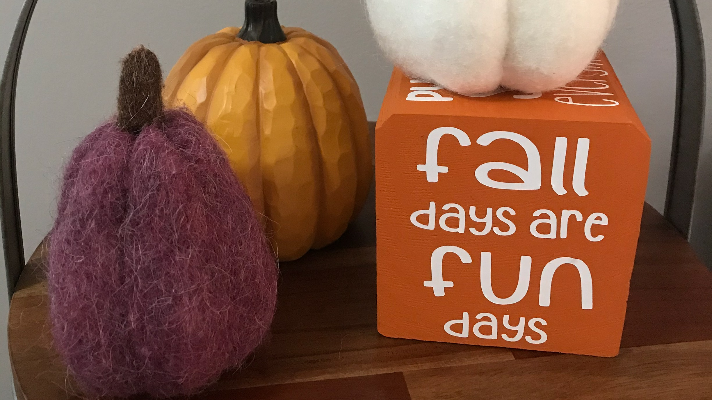
Your fall Cricut Joy Project is ready to decorate your home. It’s cute, functional and if you have kids they will love it. Just think you get to pick a different fall saying everyday on the same decoration.
