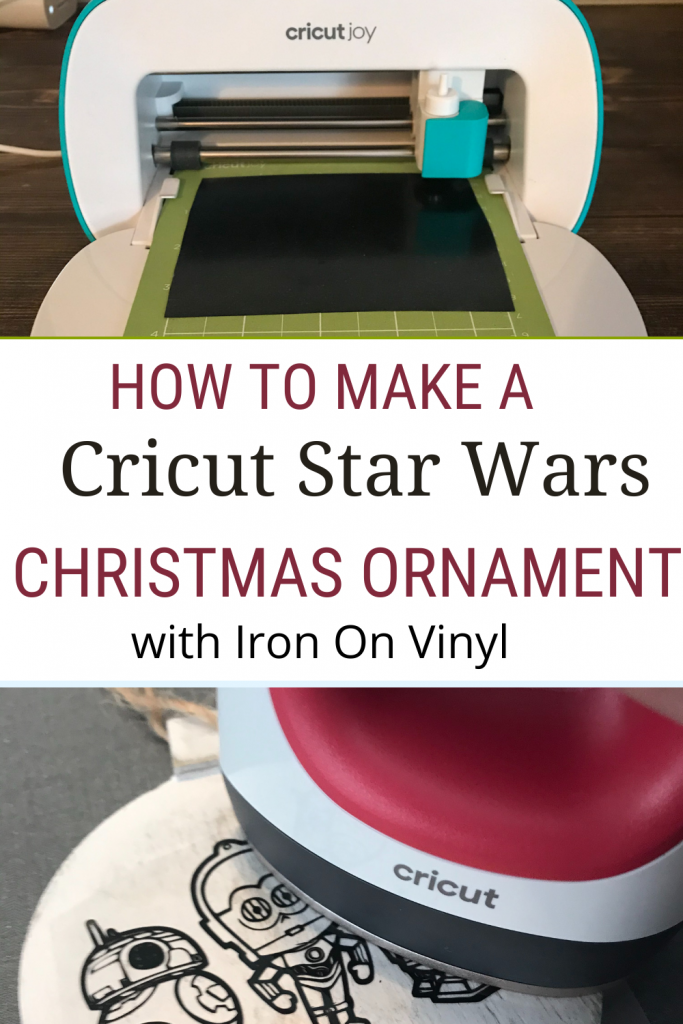
Cricut Star Wars Ornament
Note: As an Amazon Associate, I earn from qualifying purchases. If you click on a link from Amazon or another of my advertising affliates, I will earn a small commission at no additional cost to you. Please see my full disclosure policy here.
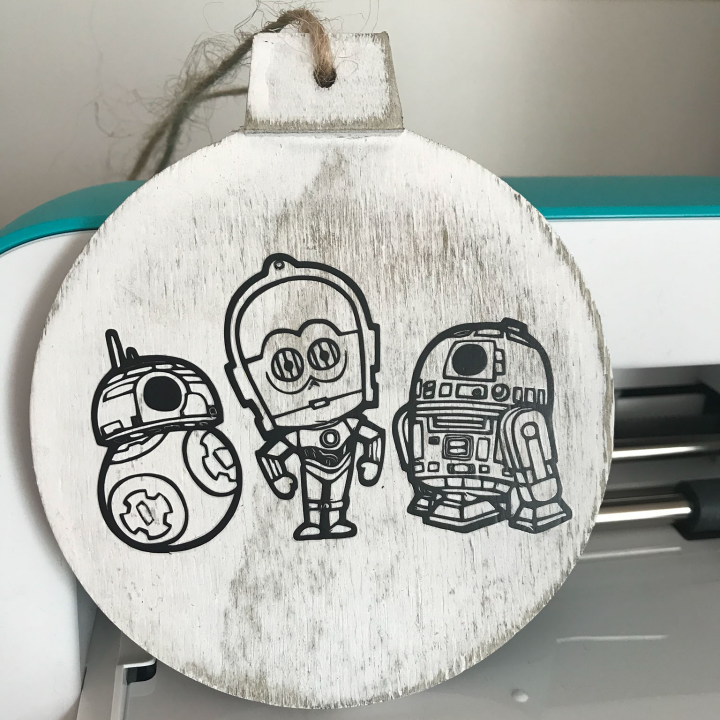
Since being in quarantine and having Disney +, the kids have fallen in love with Star Wars. Star Wars Clone Wars, Star Wars Rebels, and the Mandalorian are favorites in our house. Ahsoka Tano is my daughter’s favorite and the droids are my son’s favorites. I like making them homemade ornaments for Christmas and this year it’s all about Star Wars. In Cricut Design Space, I found a droid image to make my son a Cricut Star Wars Ornament. My daughter will be getting one too, but I just didn’t have time before this post. It’s time for the November Pin Challenge!
The purpose of the Pinterest Challenge is to motivate us to not just pin, but to make it happen! This month’s challenge is all about Christmas! The pin I chose was How to Put Heat Transfer Vinyl on Wood Ornaments . Did you know you can use iron on vinyl on wood? It’s so easy and has a different look than adhesive vinyl. I love the way iron on looks on wood. The Cricut Easypress Mini is perfect for this project. I use it all the time to make face mask.
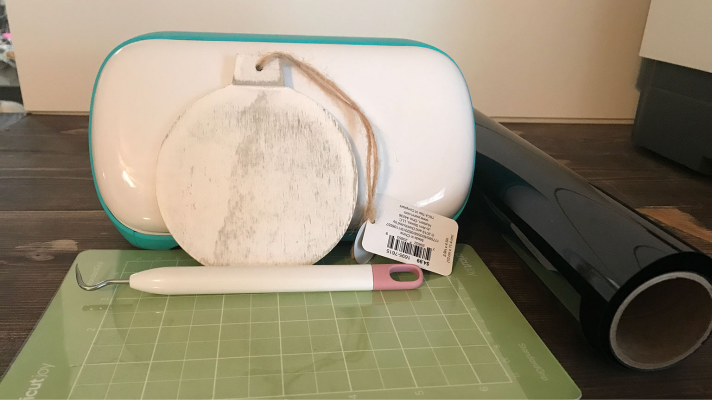
Materials for Cricut Christmas Ornaments
Black Iron on Vinyl Buy on Cricut / Buy on Amazon
Wooden Ornament
Cricut Easypress Mini Buy on Cricut/Buy on Amazon
Easypress Mat Buy on Cricut/Buy on Amazon
Weeding Tool Buy on Cricut/Buy on Amazon Cricut Brightpad
Let’s Create a Cricut Star Wars Ornament
In Cricut Design Space™, I found a Resistance Droids image to use on the Christmas ornament. The Star Wars images are not included in the Cricut Access Premium, but you get a discount when you make purchases. The Star Wars Droid image was $1.93. 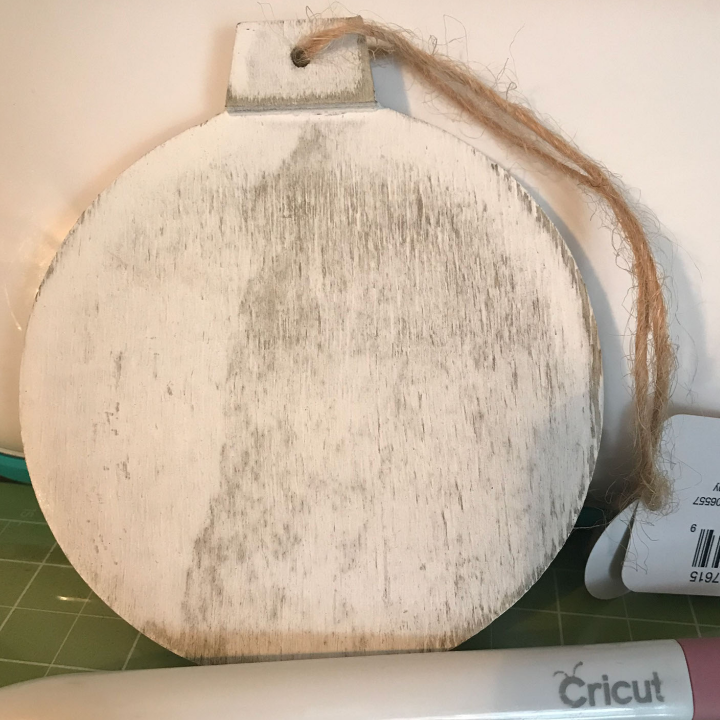
At Joann’s last year, I found a wooden round ornament, that I will be using as the ornament base. I’m hoping to find another ornament just like this for my daughter. It’s important to use iron on vinyl only on paint that has completely cured, which makes store bought signs and ornaments perfect for this. If the paint is not cured 100%, it could peel off.
I sized the design In Cricut Design Space™ to fit on my ornament. Remember anytime you use iron on, you must have the mirror image on and put the shiny side of the iron on down on the mat. If you have never used iron on vinyl or need more tips, here is my full step by step guide.
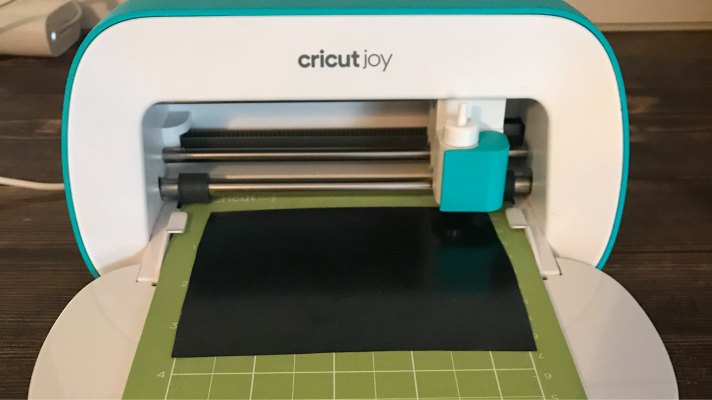
My Cricut Joy is the perfect size for this project and I love it! Once the design was cut. After the design was cut, I realized the resistance droids words were to big for the ornament and I didn’t weed it right. I decided to just not use because my son knows them more as rebel or republic droids, not the resistance.
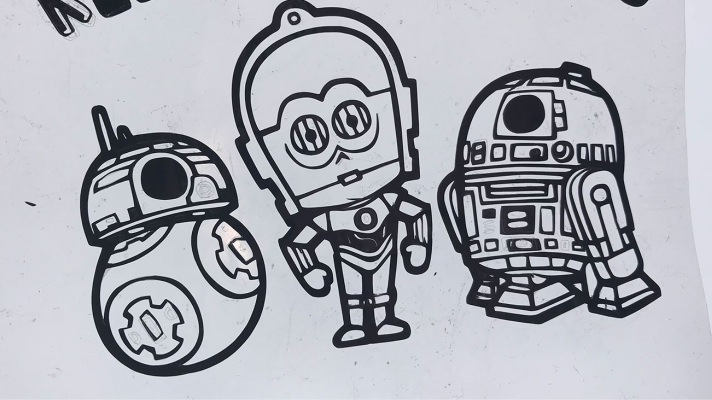
The Star Wars Resistance Droids, have a lot to weed so I used my Cricut Brightpad. When I weed something intricate like this, I like to see the image as I weed it on my computer.
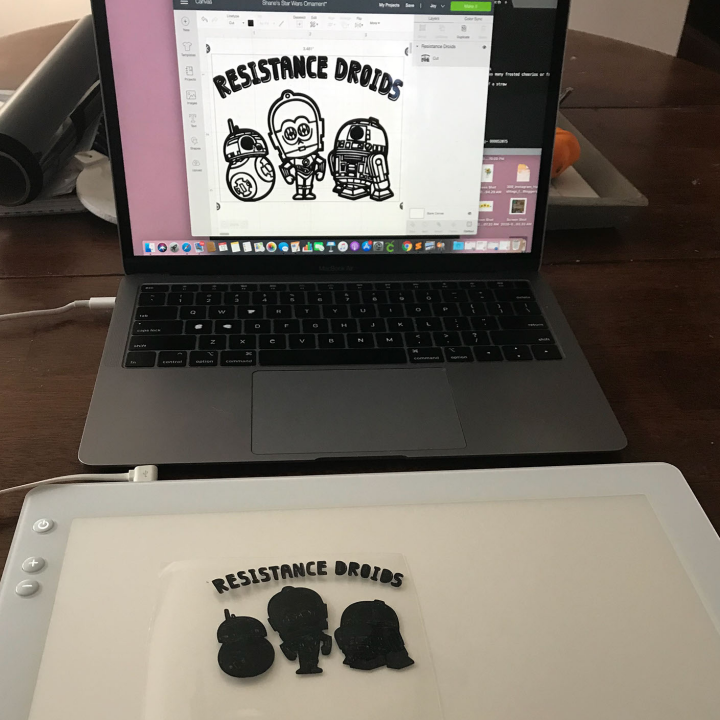
The weeding on this was tough. It seemed so easy to weed, but when it’s only about 3×3, it gets trickier because the pieces are so small. Now it’s time to get out the Cricut EasyPress Mini and warm it up. Here are the heat guide instructions. From my experience with the EasyPress Mini it’s best to constantly keep it moving.
Heat Instructions for EasyPress Mini on Wood:
Preheat 5 Seconds
Medium 40 Seconds
Constant movement with firm pressure
Warm peel
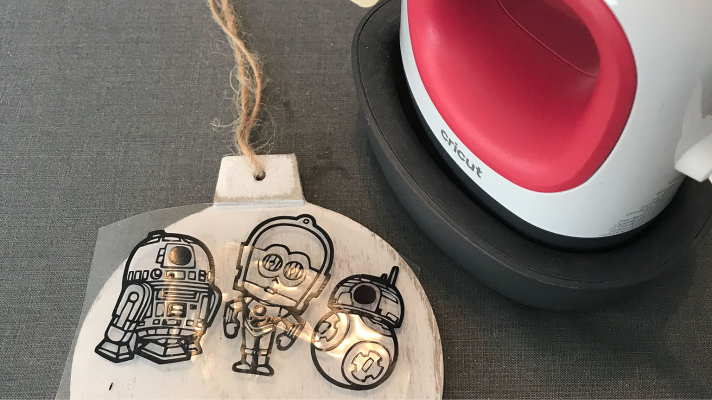
Lay the wooden ornament on the Easypress mat. Place the design where you want it and follow the heat instructions. Your Star Wars ornament will be ready in 45 seconds.
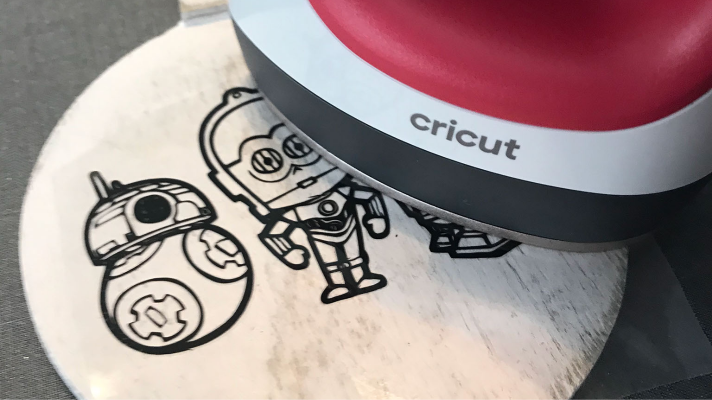
The iron on adhered nicely to the wood and just has such a nice look to it.

Since I fell in love with this ornament, I decided to decorate the back of it. This was not in my original design, but I decided to add the year and the iconic “May the force be with you.” I just googled the saying and found one that I liked. Follow the same steps and create the back of the ornament.
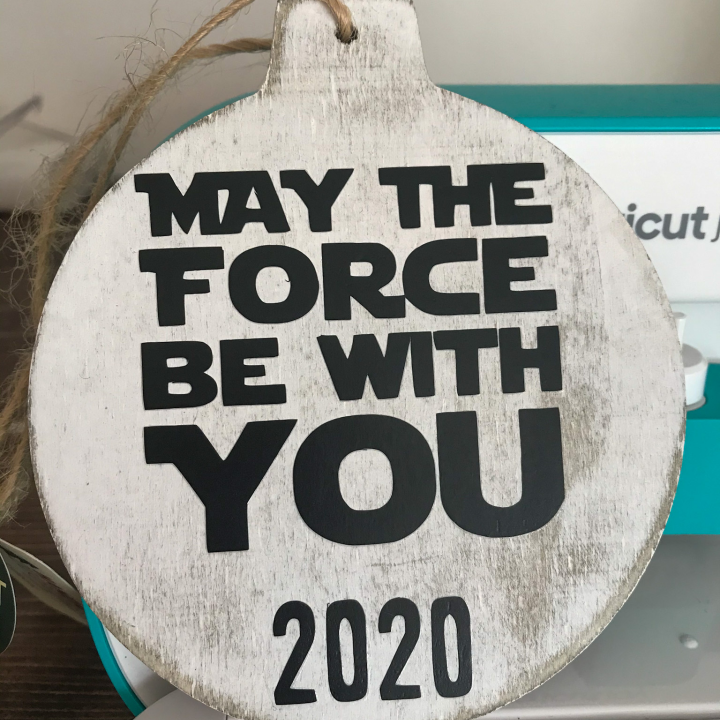
Your Cricut Star Wars Ornament is ready! Personalize it with a name or add the year if you like. I can’t wait to see my son’s face when he opens it.
It’s time for the November Pin Challenge! The purpose of the Pinterest Challenge is to motivate us to not just pin, but to make it happen! This month’s challenge is all about Christmas! The pin I chose was (place your Pin project title and link here)
Project goes here
For more Pinterest inspired projects from this month’s Pinterest Challenge hosts, check out the links below ↓

My Pinterventures • Cookies Coffee and Crafts
Slices of Life • Sew Crafty Crochet • Our Sutton Place
Purple Hues and Me • Sum of their Stories
Life Beyond Kitchen • Mom Home Guide • Our Good Life • Love My Little Cottage
Decorate & More with Tip • Modern on Monticello
Now, let’s see what the other hosts have created ⇓⇓
