DIY 4th of July Picture Frame
Note: As an Amazon Associate, I earn from qualifying purchases. If you click on a link from Amazon or another of my advertising affliates, I will earn a small commission at no additional cost to you. Please see my full disclosure policy here.
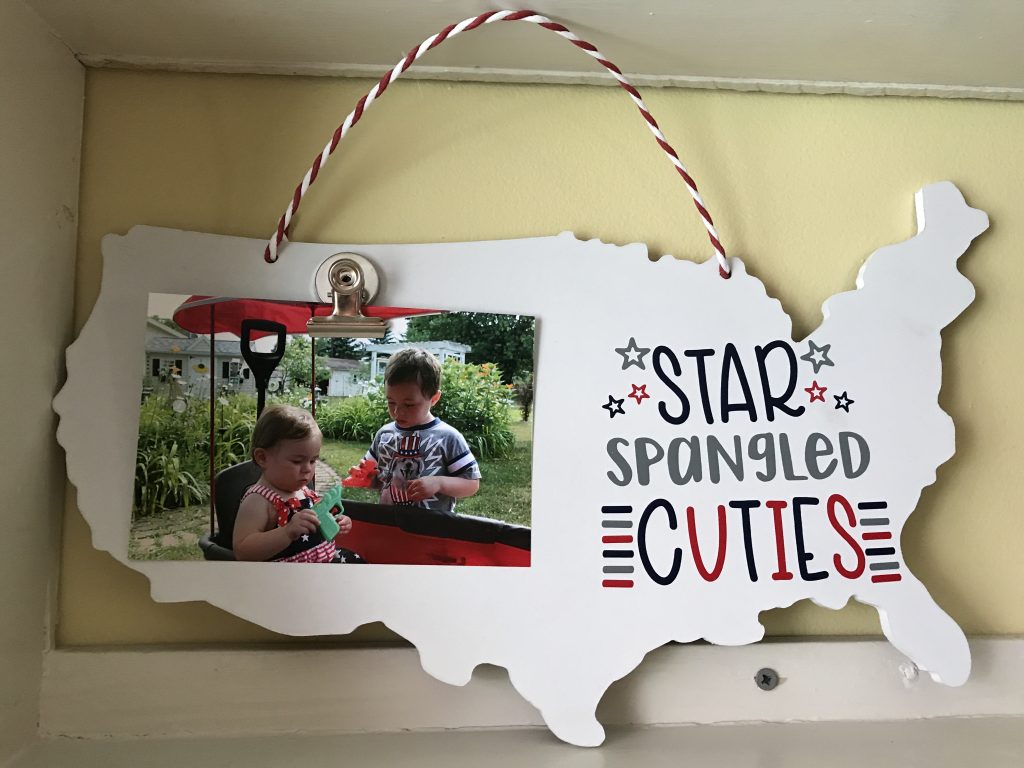
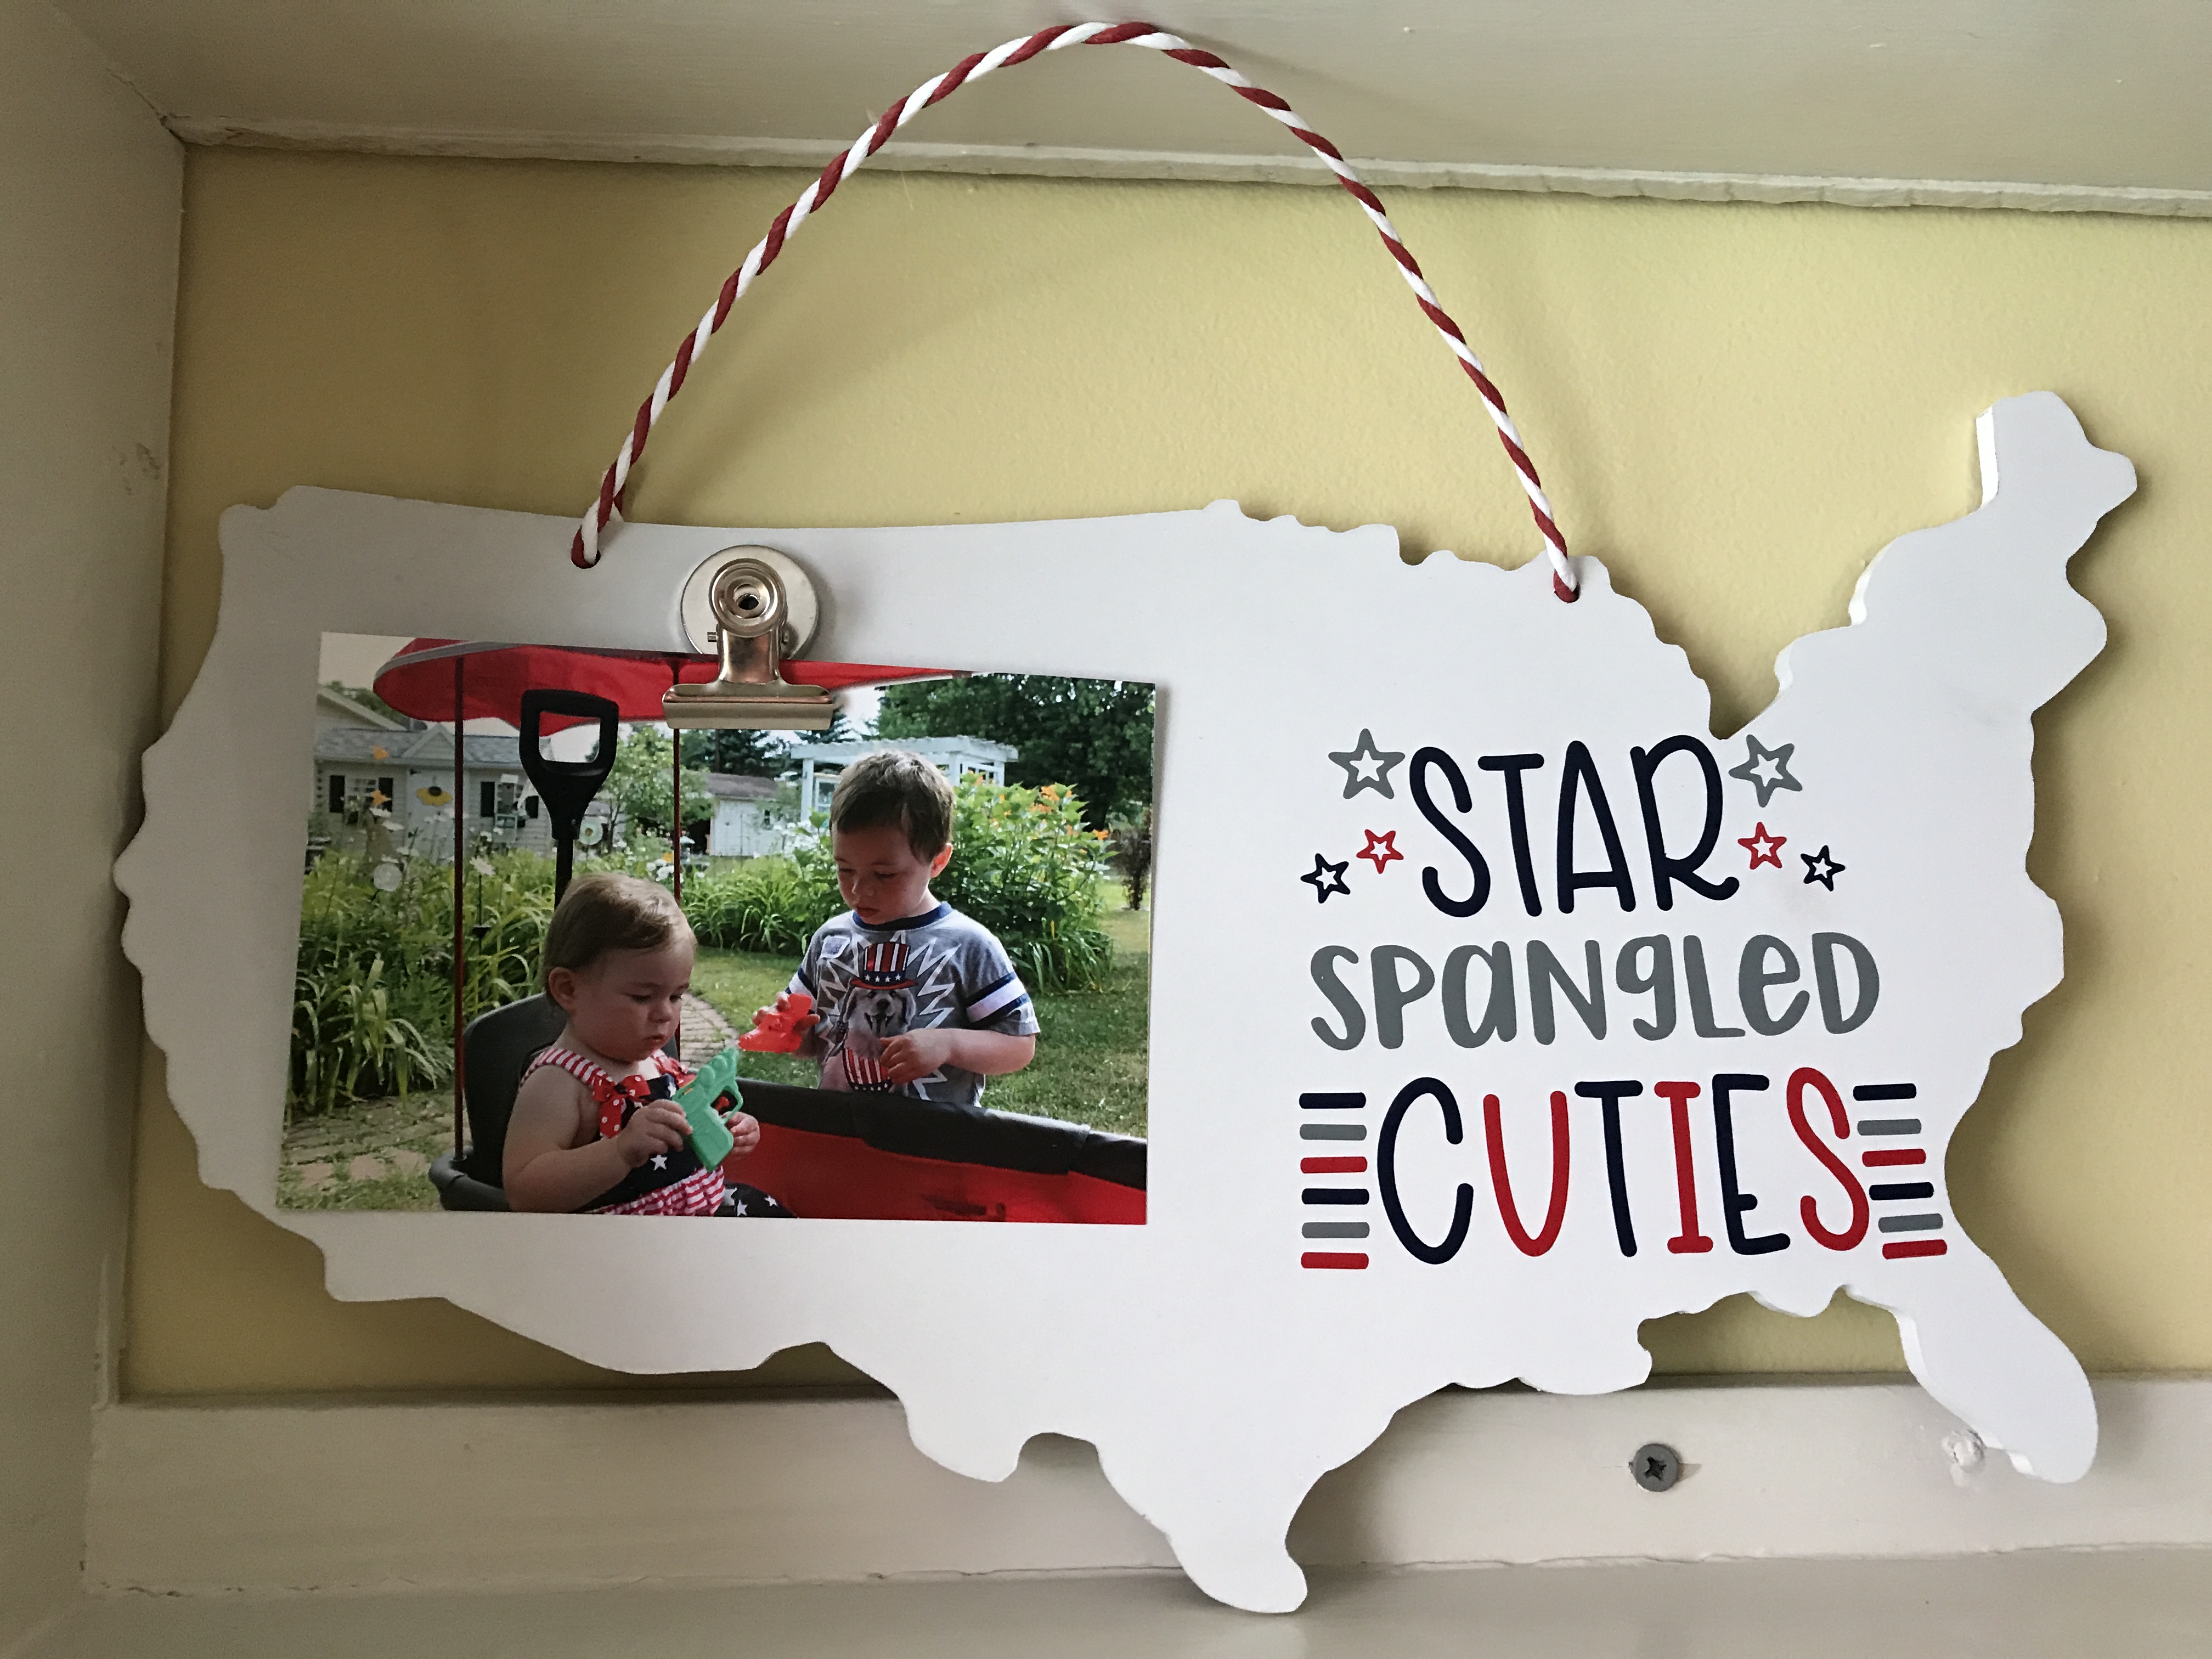
Do you have your 4th of July outfit and accessories ready? At a parade, picnic, BBQ, lake, boat or at home, memories will be made and photographs will be taken. Here is a simple DIY Picture Frame to display your favorite memory from the 4th of July.
This project is simple, easy and budget friendly.
Supplies for DIY 4th of July Picture Frame
USA Map Outline from Target
Silver Vinyl
Dark Blue Vinyl
Red Vinyl
Transfer Tape
Cricut Explore Air 2 Machine
Cricut Basic Tool Set
4×6 Picture
Metal Clip
Hot Glue
Let’s Create DIY 4th of July Picture Frame
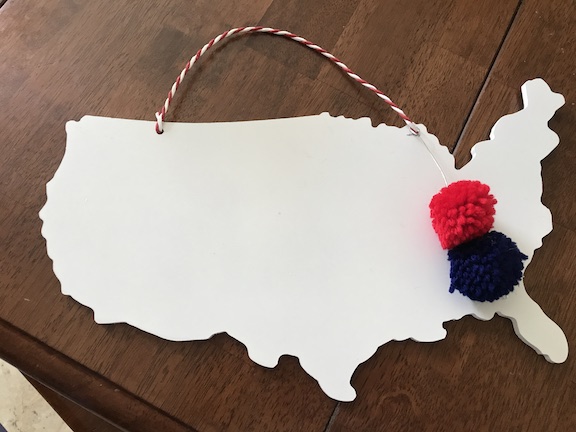
For this project I found the map of the USA at the Target dollar spot, it was $3 and I already had the vinyl for this project. I bought a package of clips at the Dollar Store. I cut off the pom poms because they would have covered the image and find out how I used them in my new blog post coming out later this week of 4th of July Decorating Ideas.
Here is the link for the free svg that I used for the Cricut picture frame.
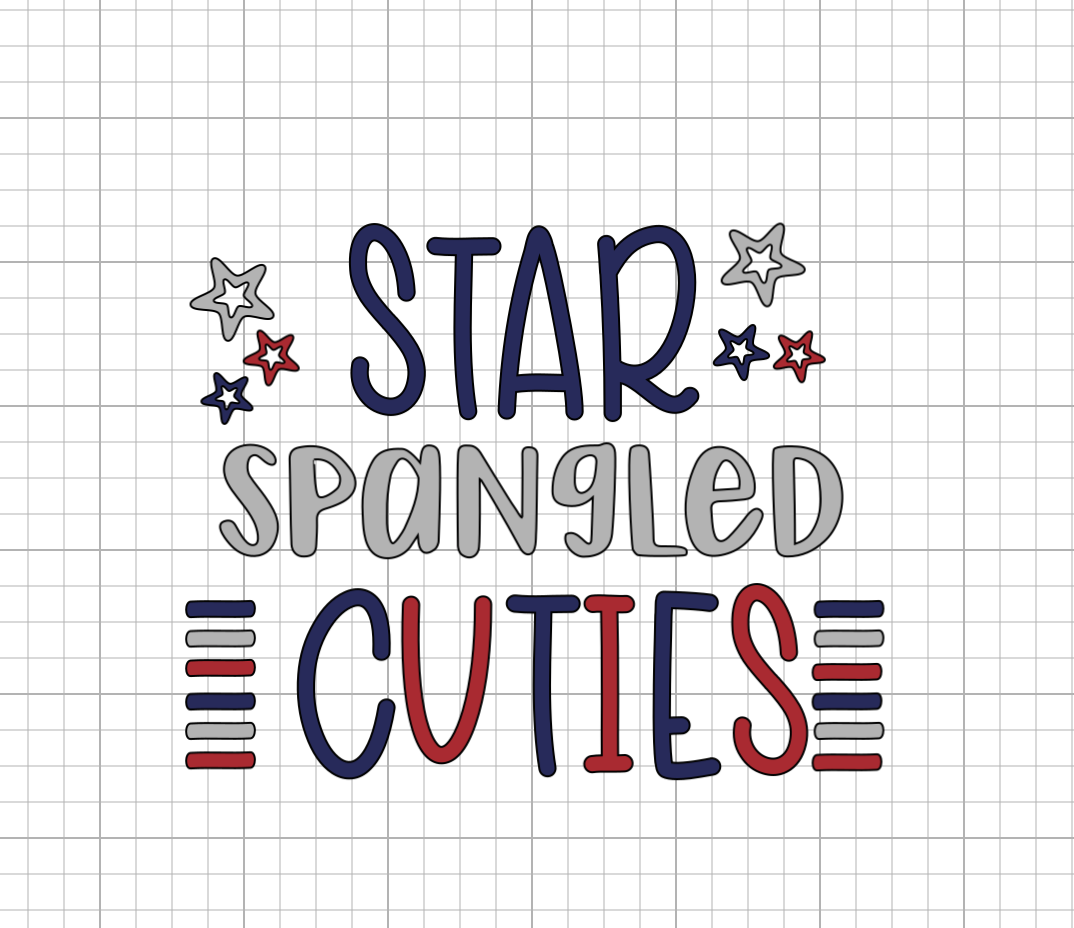
Now I changed this from “Star Spangled Cutie” to “Star Spangled Cuties” because I wanted to put a picture of both of my children on the frame. To do this in Cricut Design Space, I ungrouped the word Star and Cutie. These words are both the same font so I copied the “S” from star and added it to the word cutie and changed the color of the s to fit the color pattern of cuties.
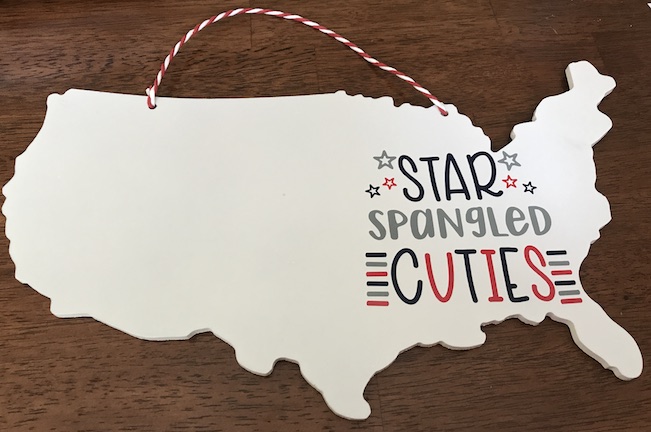
This is my finished image for the picture frame.
Cut everything in vinyl with a Cricut Explore Air . After cutting the image, weed the vinyl and to transfer it to the frame.
Then I just used a 4×6 picture to lay on the map outline to figure out where to place the words. Then I used transfer tape to add the words to the frame. This is my favorite transfer tape transfer tape.
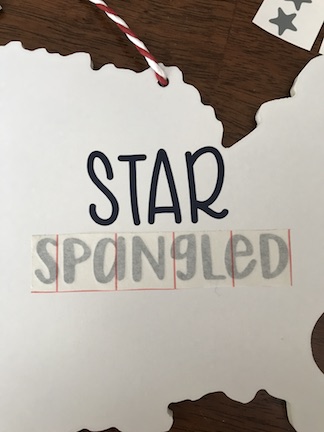
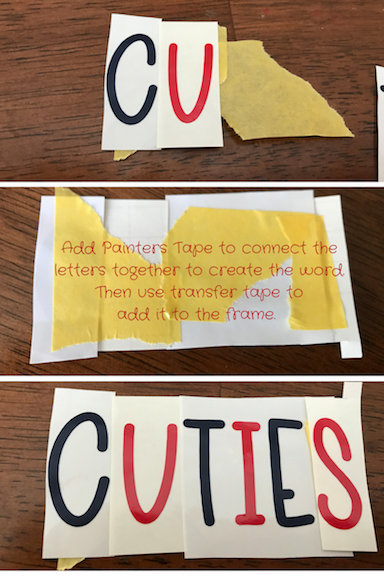
For the word Cuties, I used painters tape to connect the letters together so I could transfer the word together. I should of cut the painters tape so it looked nice, but I just tore it off. When your in that moment creating, you don’t always remember to make everything look amazing for your blog.
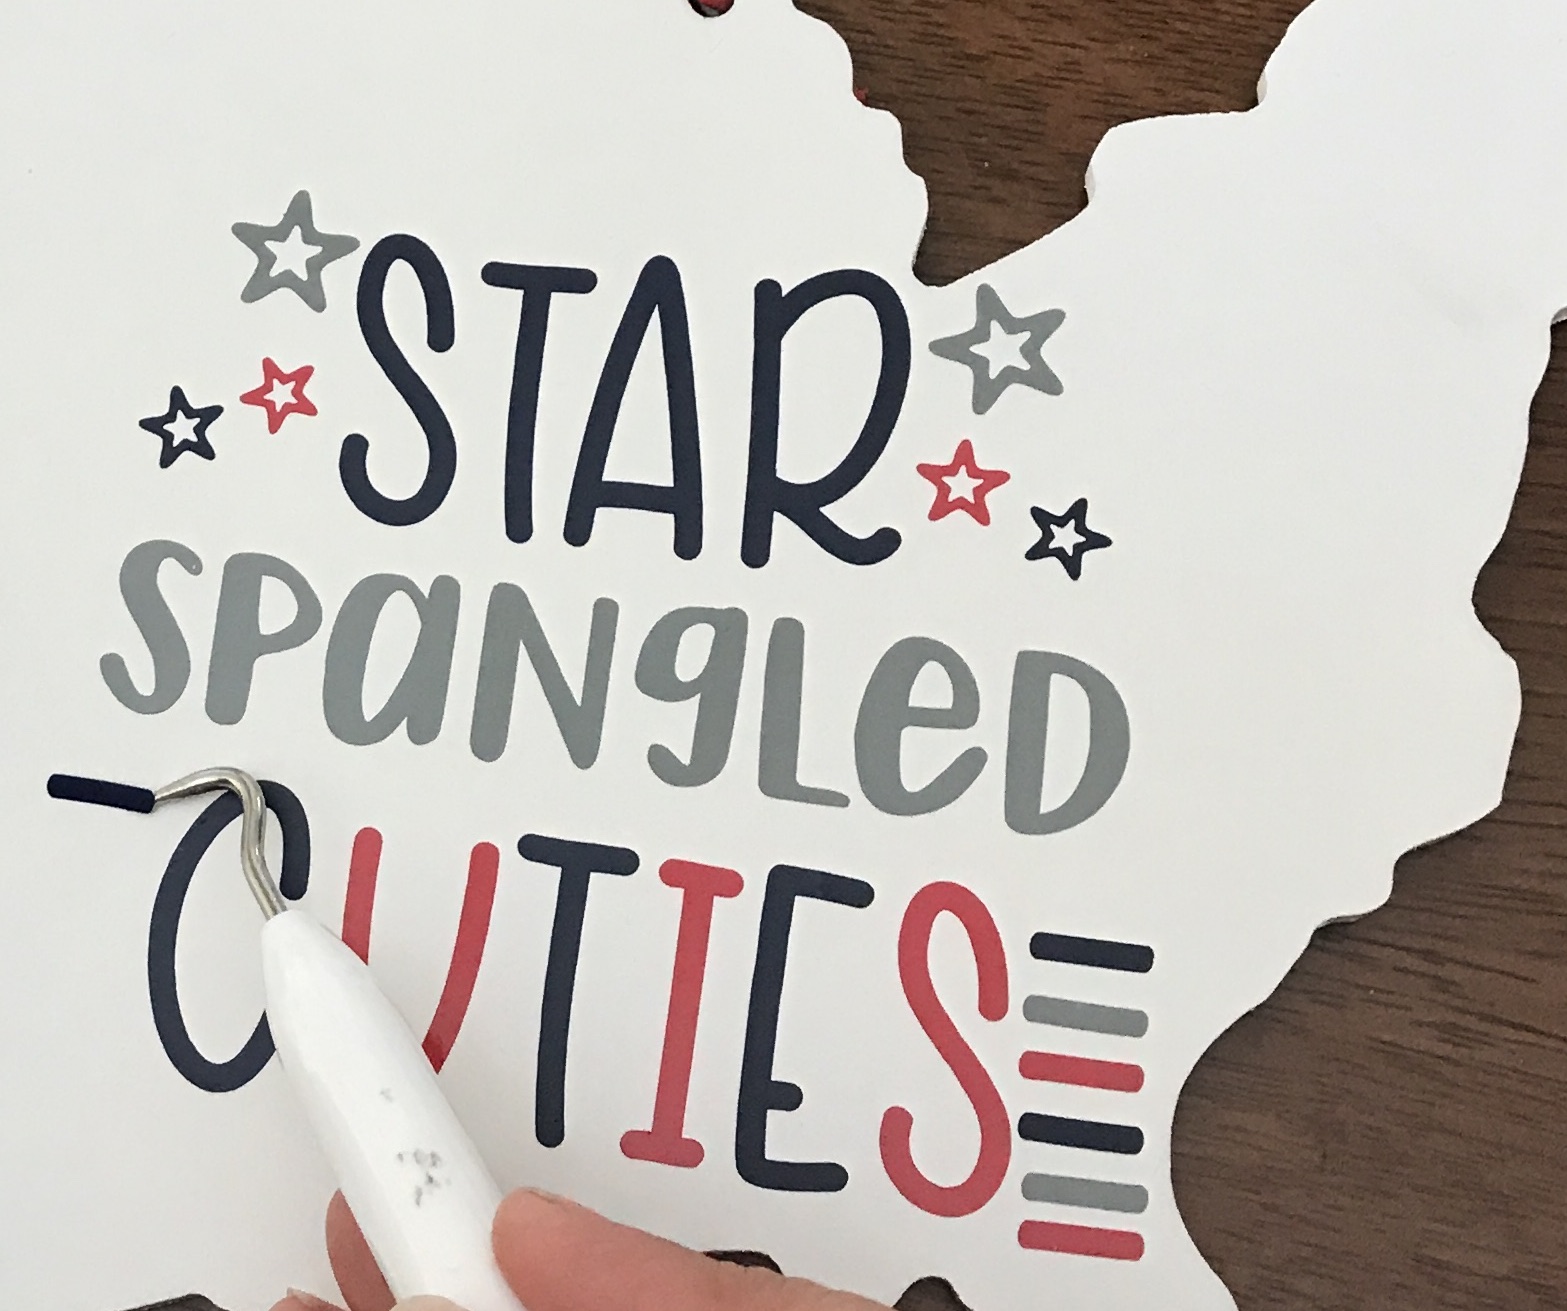
Nest use the Cricut Tools to put on the stars and the small rectangles next to the word cuties. I didn’t use transfer tape for these I just added them (like a sticker). Just rub over them with your fingers to help make them stick.
Now all your project needs is a clip to hold your favorite picture. The frame could be hung up or you could put it on a stand to display it.
Just put a little hot glue on the round part of the clip and glue it to the board.
Star Spangled Cuties is all set to display your favorite memory from the 4th of July.
Happy Creating!
