DIY Fall Dollar Tree Wreath
Note: As an Amazon Associate, I earn from qualifying purchases. If you click on a link from Amazon or another of my advertising affliates, I will earn a small commission at no additional cost to you. Please see my full disclosure policy here.
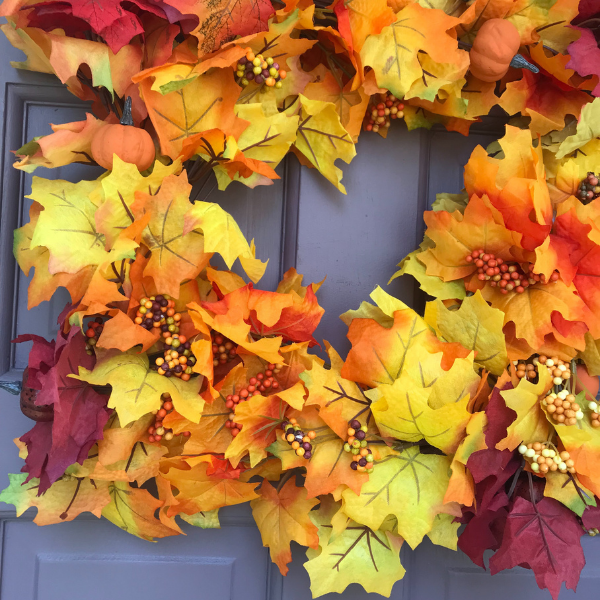
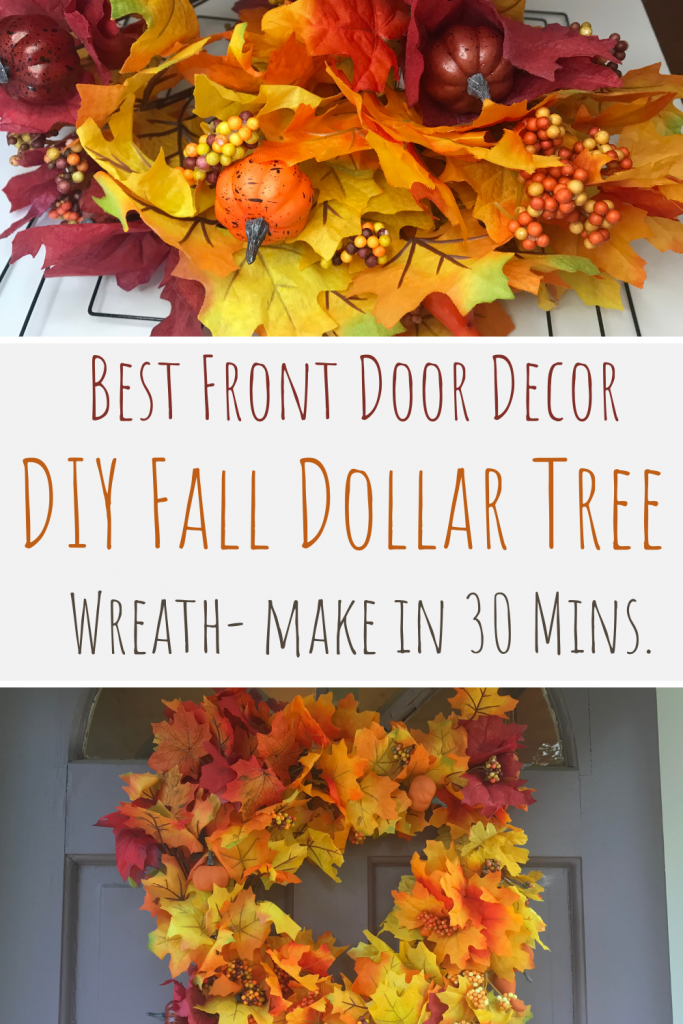
As the mornings become cooler and cooler, the whisper of fall is in the air. I always find the colors of autumn mesmerizing and they make me so happy. I wanted to create a DIY fall Dollar Tree wreath that was like a scenic fall drive full of colorful leaves for your front door. This fall wreath is an easy DIY, but it does take about 30 minutes to make. It takes a little longer because of rearranging the leaves and having to cut some (still really simple). The other great thing about this wreath is it can decorate your door from September to Thanksgiving.

Supplies for a DIY Fall Door Decor
10-15 Maple Leaf Bushes with Pumpkin Accents and Maple Leaf Bushes
Square Metal Wreath Form- 14 inches
5/8 Ribbon- this one is similar to the one I used
Hot Glue Gun/glue sticks
Monarch Chalk Paint
Paint Brush
Wire Cutters
I found the leaf picks at the Dollar Tree in July and I fell in love. I had a vision of a fall wreath, plus I love making new wreaths for every season. Sometimes I feel silly buying items out of season. I’m not trying to rush summer, but if I wait they will be gone. Also my Dollar Tree has only had these square wreath forms in the store so I was excited to make my first ever square wreath.
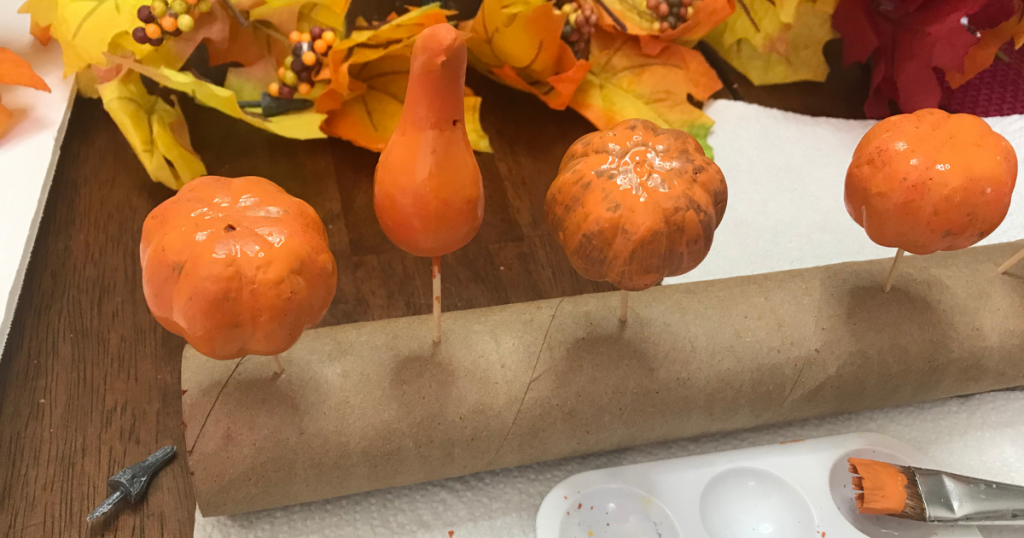
This is a personal preference, but on some of the leaf picks are pumpkins and acorns. I painted the pumpkins with monarch chalk paint to give them a more natural look. The pumpkins were kind of a pain to paint so I ended up leaving the acorn the color it is. I did all the painting before assembling the wreath. When the wreath was finished I was really glad that I painted them.
For this DIY fall decor, you are going to repeat the same step over and over until the whole wreath form is covered. The leaf stems will overlap each other and the wire frame. Sometimes at the end of the wreath form, you will have to cut the leaf picks and attach them (they will be too long and show).
How to Make a DIY Fall Dollar Tree Wreath
The first step is to paint the pumpkins if you choose too. Remove the stems and start painting them. While the pumpkins are drying, you can get started with assembling the wreath.
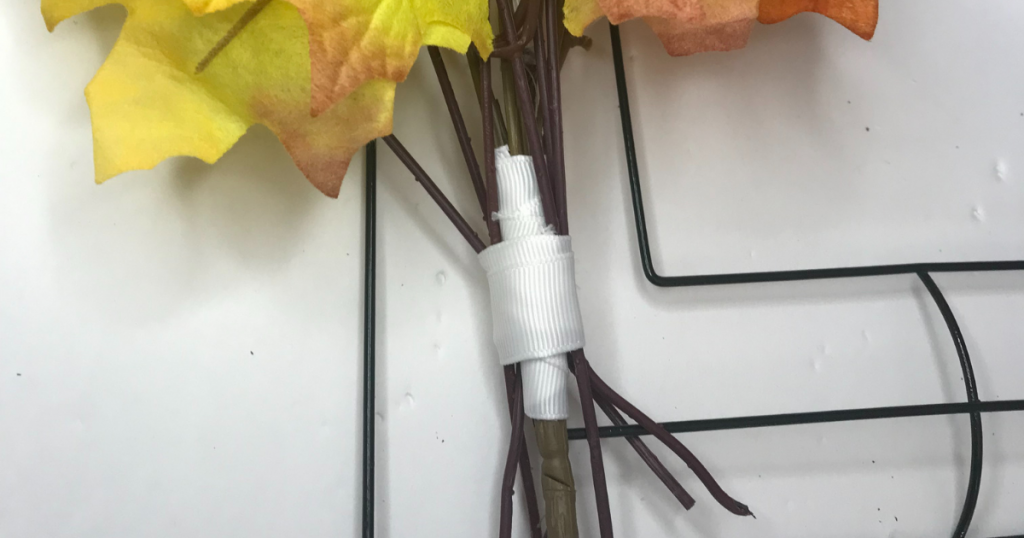
To get started place the first leaf pick on the left side of the square frame. Place the top of the leaves just above the wire frame so it doesn’t show.
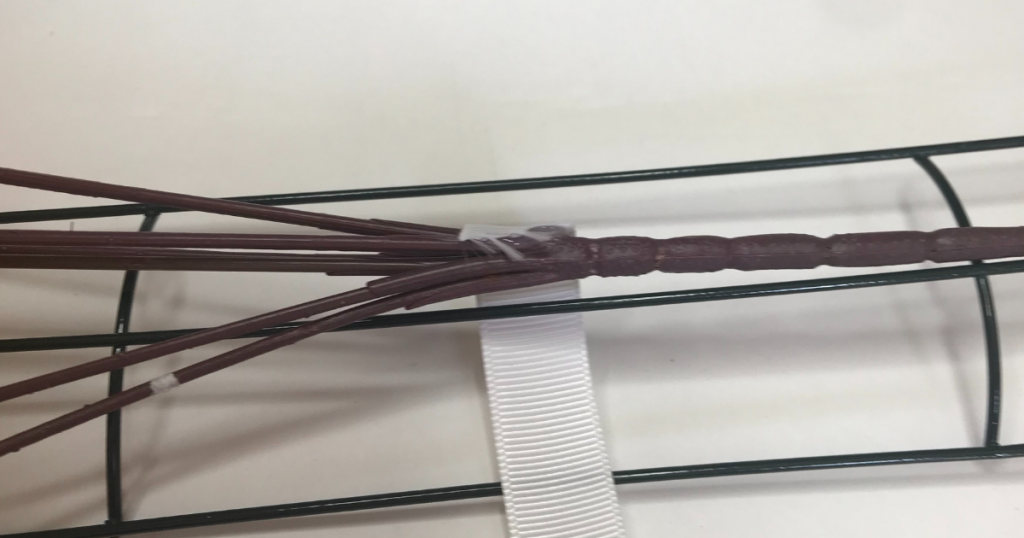
Put a dab of hot glue to attach the ribbon to the wire frame and then wrap the ribbon around the leaf stem to attach it. When it’s secure, cut the ribbon and hot glue it. I used some white 5/8 grosgrain ribbon from the Dollar Tree that I already had. The ribbon doesn’t show so you can use anything you have.
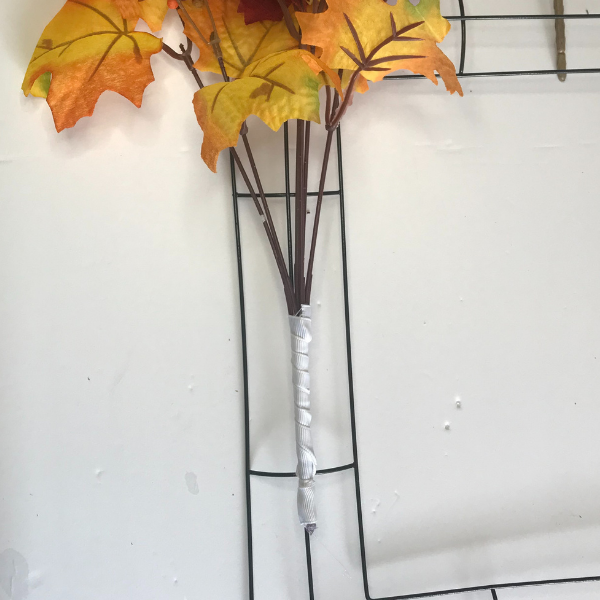
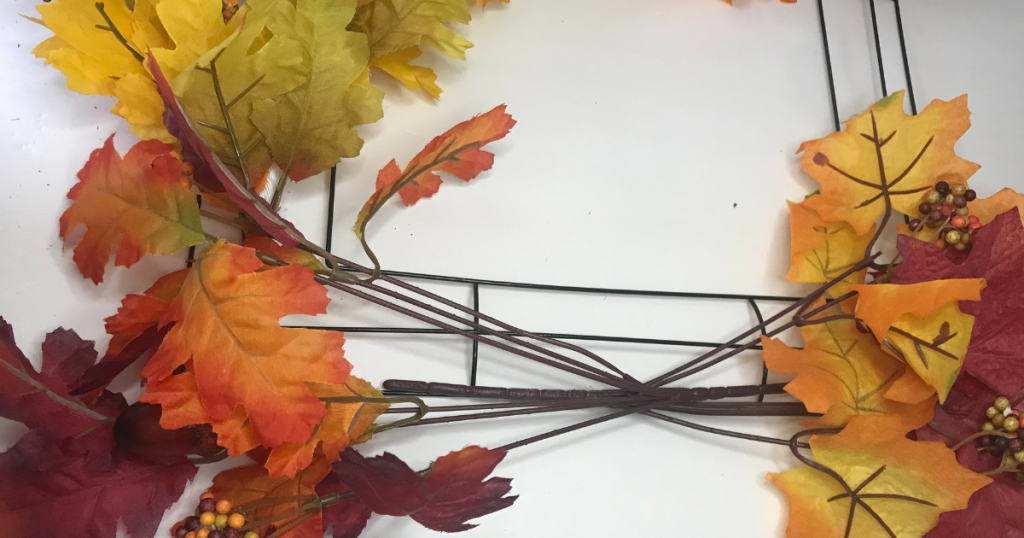
Repeat this step all the way around the wreath until it’s complete.This is what the back of my wreath looks like when it’s finished (just to give you an idea).
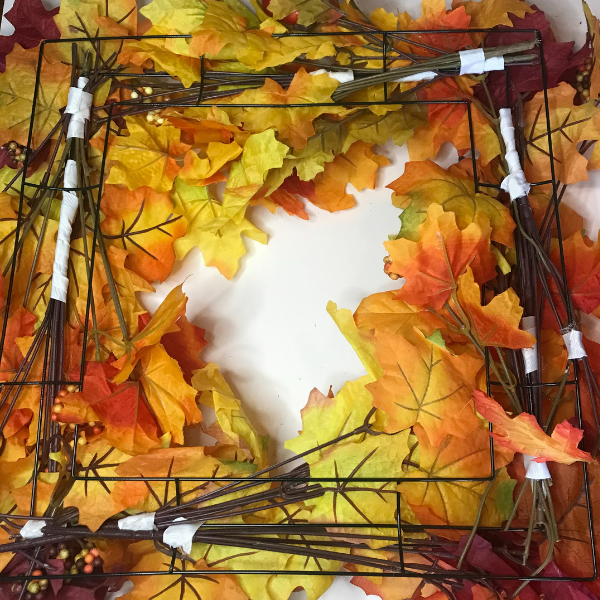
This is an easy way to make a DIY wreath and using the ribbon to secure the leaves will make your wreath nice and sturdy.. Make sure to overlap the leaves so the stems, the wire frame, and the ribbon don’t show.
Hang it up and make sure you like the look of it. If you want it fuller, just add more leaves.
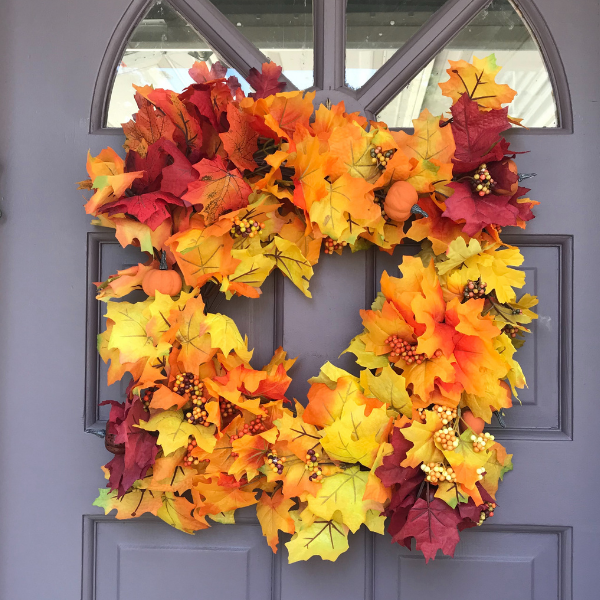
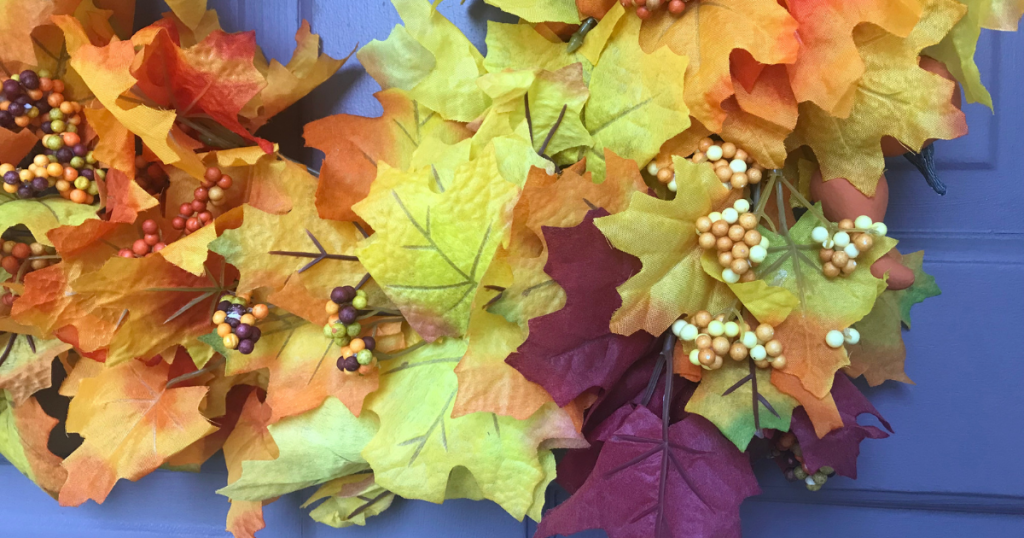
Aren’t these fall colors of yellow, orange, and red amazing? Your front door will look colorful and ready for fall all the way to Thanksgiving. The autumn leaves are gorgeous and full of all the fall vibes.
