DIY Frozen 2 Birthday Banner with Cricut
Note: As an Amazon Associate, I earn from qualifying purchases. If you click on a link from Amazon or another of my advertising affliates, I will earn a small commission at no additional cost to you. Please see my full disclosure policy here.
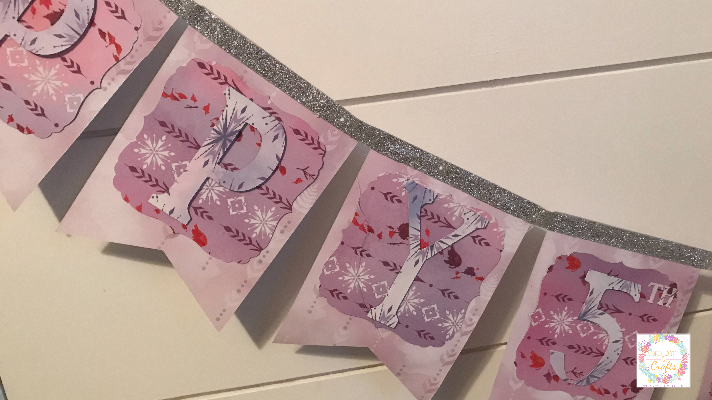
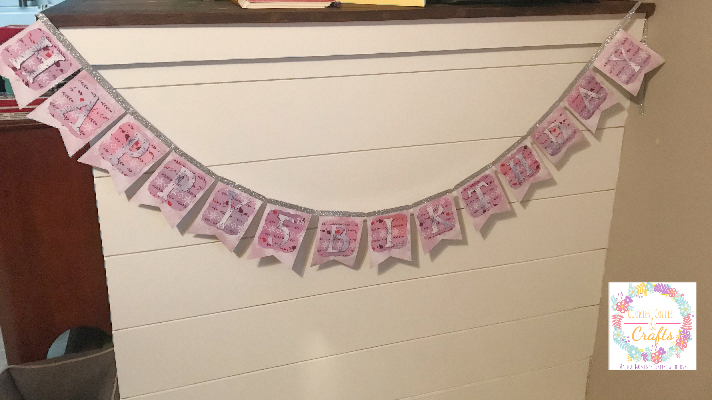
Who’s ready to go into the unknown? Yeah I know it’s a bad Frozen 2 pun, but thats the base of the movie. I hope I didn’t ruin it for anyone. Trying to make birthday decorations during the quarantine and having all the craft stores closed was tough. Using a Frozen 2 scrapbook pad of paper, I was able to make this super cute DIY Frozen 2 Birthday Banner. It’s perfect for a Frozen 2 themed party.
Materials for Frozen 2 Party Decoration:
Cricut Maker (Buy it on Amazon or Buy it on Cricut)
Frozen 2 Scrapbook Paper Pad
Silver Ribbon (This one is similar to the one I used)
Hot Glue Gun/Sticks
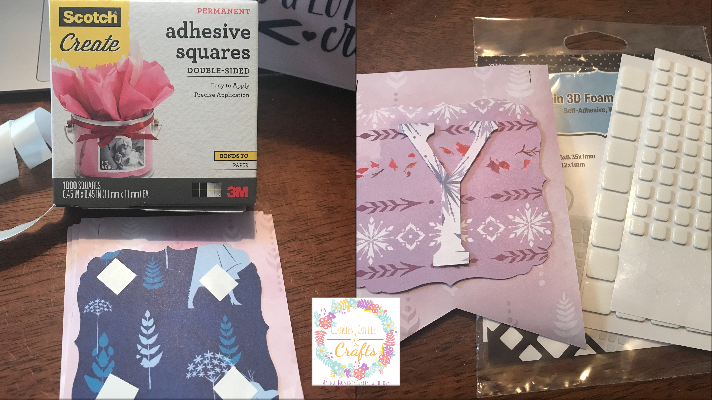
Double Sided Adhesive Squares
3D Foam Squares
Cricut Design Space Designs: Pennant, Square Flourish Note, A Child’s Year Font
Let’s Create a DIY Frozen 2 Birthday Banner with Cricut
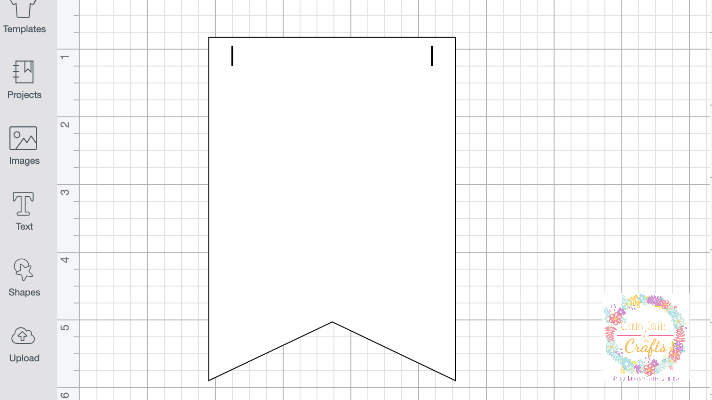
To get started in Cricut Design Space™, I chose to use a decorative banner pennant (#M42044) as the base of the happy birthday banner.
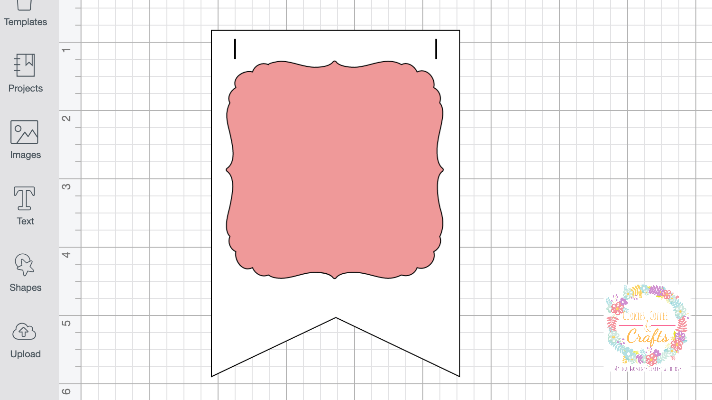
After a lot of time deciding on which paper designs to choose (it was a tough choice), I finally figured it out and chose to put a square flourish note (#MABC8D4B) on top of the pennant. This is where I will put the letters of the banner.
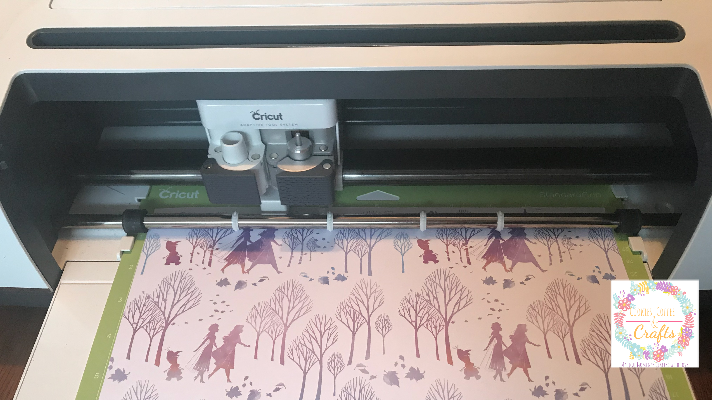
I have been a Cricut owner for several years now and I have always had an access plan. Here are the Cricut Access Membership Plans and they are great plans that include many images, fonts and free projects to create in Design Space. It makes creating with my Cricut so easy. Everything for this banner is free with a membership plan.
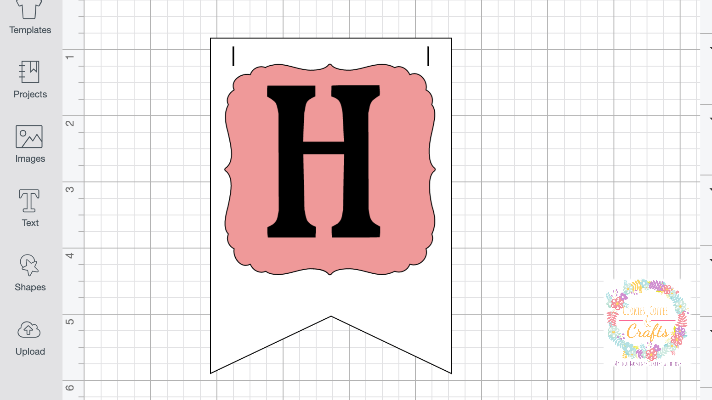
My original plan was to use a font like Frozen 2, but I wasn’t sure how it would cut and decided I didn’t really like the look of it. So I used A Child’s Year which is a Cricut Access Fonts. It’s one of my favorites and I use it a lot. You know how you have those go to fonts, well this is one of mine.
Size all of the letters for Happy 5th Birthday (or whatever age you are creating this for) on the square flourish notes.

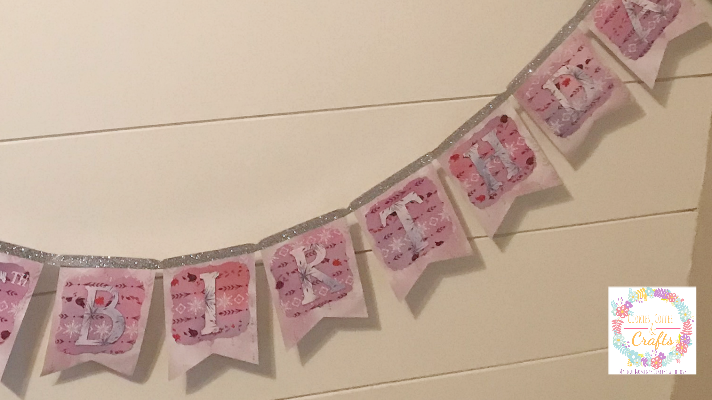
When your Frozen 2 themed birthday banner is ready, cut the design with your Cricut Maker. For glueing the banner together, I used double adhesive square for attaching the square note to the pennant and 3D Foam Squares for the letters.
Putting Together the Frozen 2 Happy Birthday Decoration
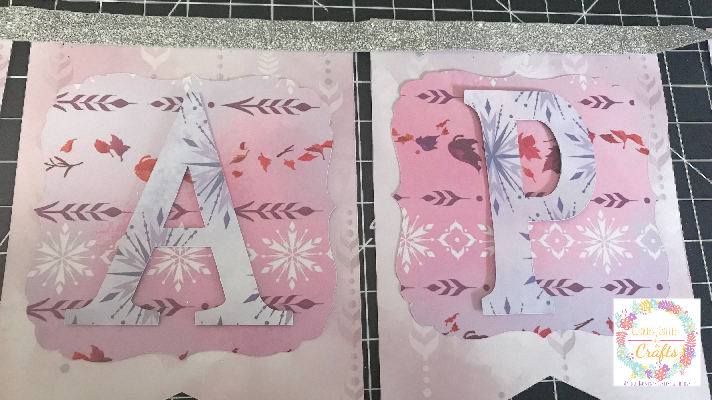
Now it’s time to take all the Cricut birthday banner pieces and create the Frozen 2 banner. I was disappointed after I cut the banner, when I realized I didn’t have any ribbon or fabric that was Frozen 2 themed. I just love adding ribbon or fabric to my banners.
My craft stash saved me again because I thought to myself, I must have something I can use. That’s when I found the silver glittery ribbon that was perfect.
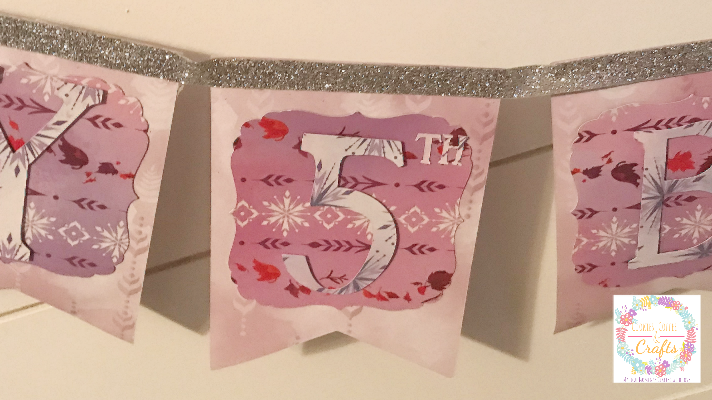
The glittery ribbon didn’t fit into the slits on the pennant, but I realized those slits are really really small (so beware of that). Why not add it to the top? It was the perfect idea. Use hot glut to attach the Frozen 2 themed pennants to the glittery ribbon.
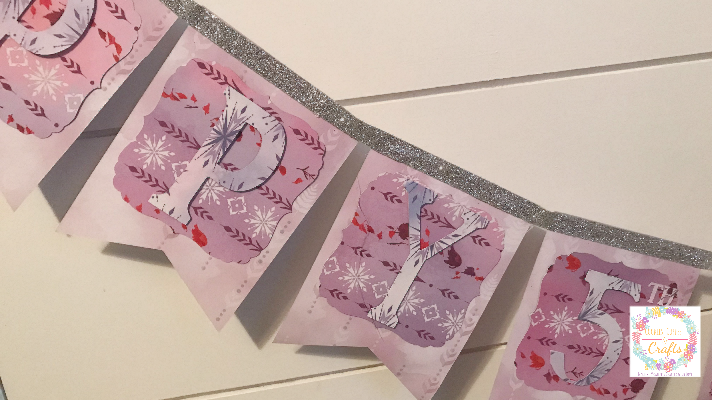
Your Frozen 2 themed birthday decoration is all set and your Cricut created another great birthday banner. My daughter loves it and the glittery ribbon was the perfect touch it was missing.
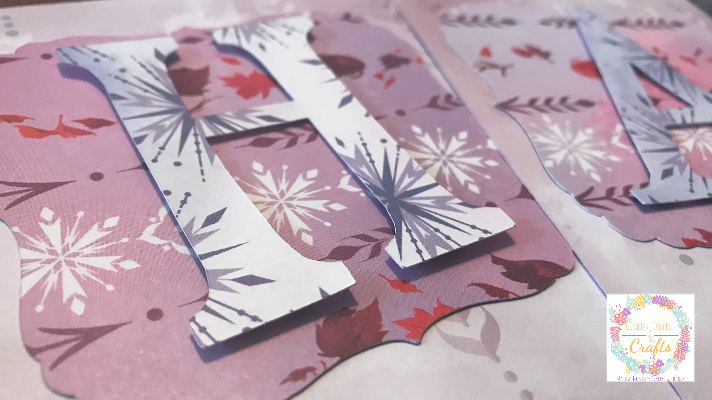
Here are some close ups.
