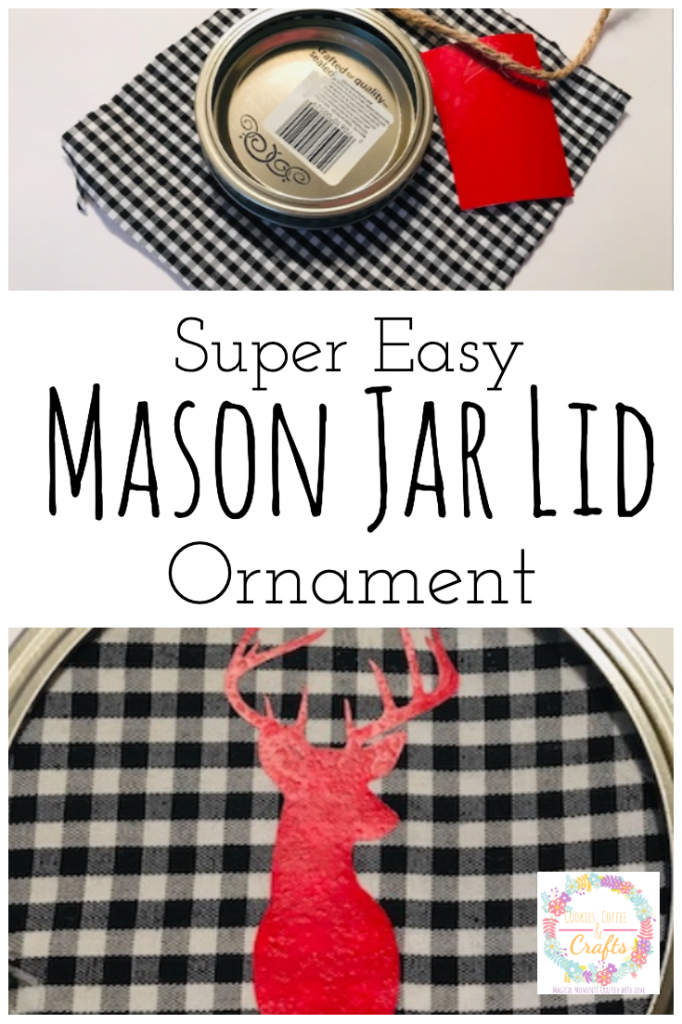
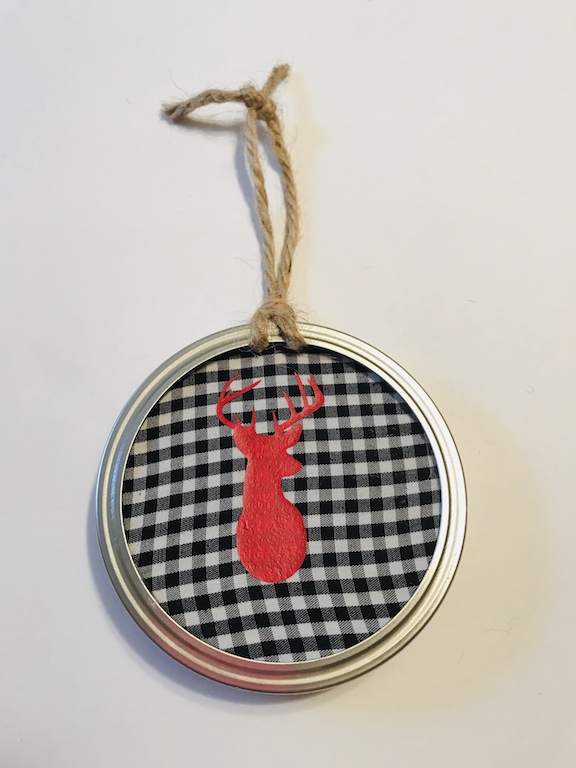
DIY Mason Jar Lid Ornament
Note: As an Amazon Associate, I earn from qualifying purchases. If you click on a link from Amazon or another of my advertising affliates, I will earn a small commission at no additional cost to you. Please see my full disclosure policy here.
Christmas will be here soon and if your a last minute shopper or maker, I’m here to help today. A mason jar lid ornament is a quick and easy last minute Christmas gift, which is perfect for the December Pinterest Challenge hosted by My Pinterventures. The purpose of this Pinterest Challenge is to motivate all the participants of this hop (and you too) to not just pin, but to make it happen! This month, I chose to create a mason jar lid Christmas ornament. It makes a perfect last minute Christmas gift.
My inspiration for this is from Mason Jar Lid Ornaments by Clean & Scentsible.
My DIY Mason Jar Lid Ornament is for my brother who loves deer. He will enjoy hanging this on the tree for many years to come. Plus I love a project that I have all the supplies for in my craft stash.
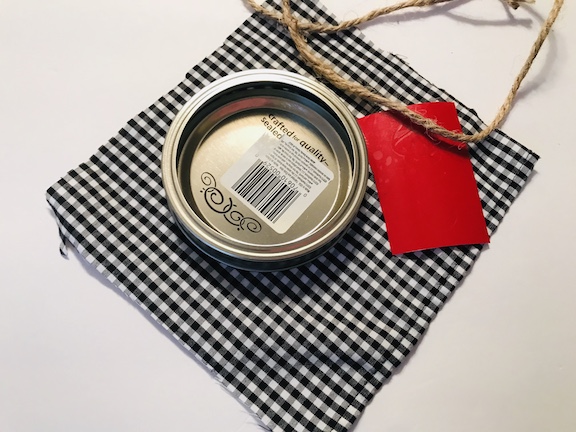
Supplies for Super Easy Mason Jar Lid Ornament:
Mason Jar Lid
Buffalo Check Material
Red Iron On
Cricut EasyPress
Cricut Maker
Twine
Let’s Learn How to Make a DIY Mason Jar Lid Ornament
For the ornament I used a leftover piece of the Buffalo Check shirt from my Buffalo Check Embroidery Hoop Wreath and my No Sew Fabric Pumpkins. Then using my Cricut Maker, I cut the deer head design using red iron on. If you don’t have a cutting machine, you can use a punch to create a design or cut and trace a design.
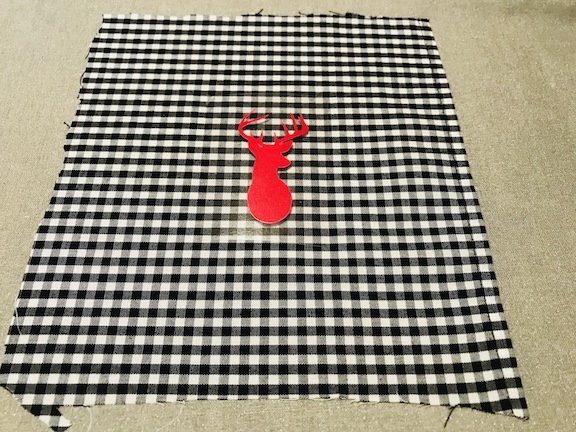
The first step is to place the deer head design in the middle of the buffalo check square and iron on the design using the Cricut EasyPress. The Cricut EasyPress is amazing and makes projects like this so easy. Here are the 5 Reasons Why I Love my Cricut EasyPress . It would make a great gift for Christmas too.
Next add on the twine to hang the ornament by tying it onto the lid ring.
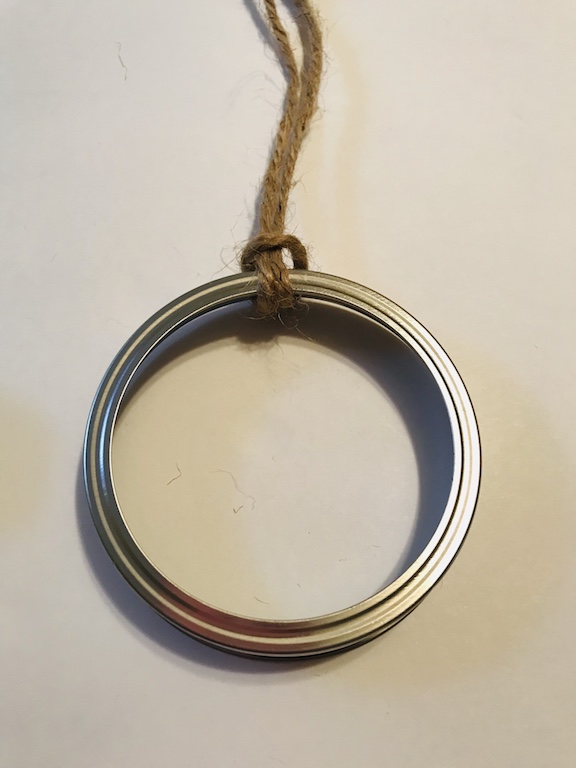
Place your deer head in the center of the ring and hot glue it in place once you have it where you want it.
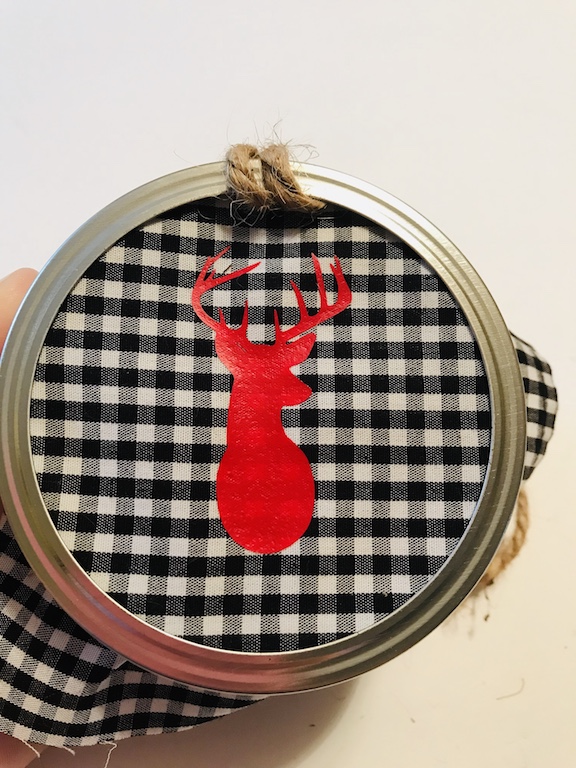
I just hot glued the fabric to the back of the lid.
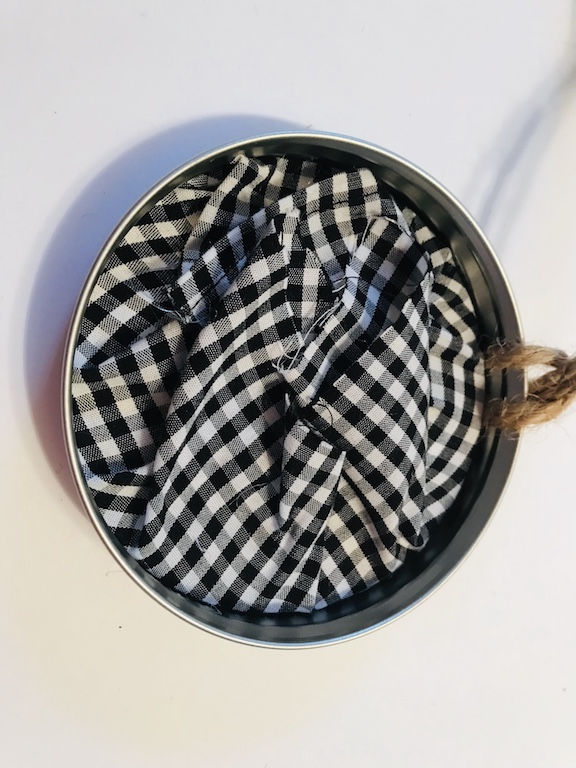
Then I placed hot glue around the inside of the ring to keep the lid in place.
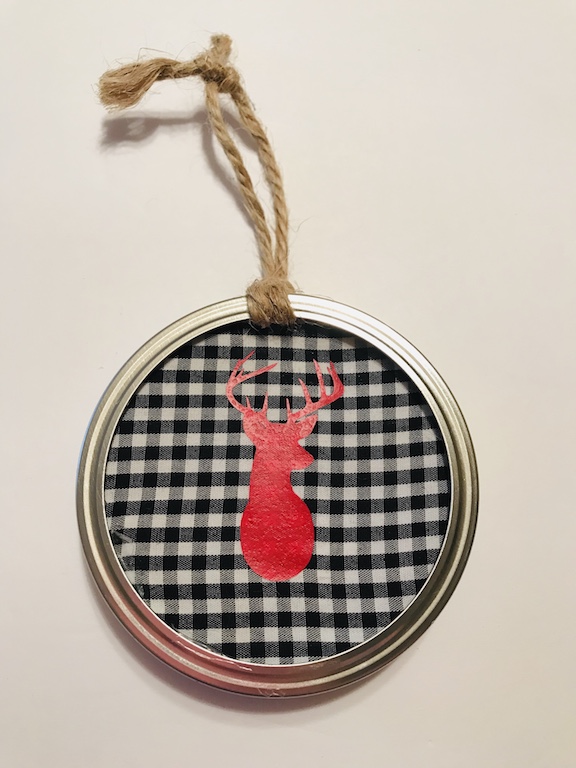
Remember when I said it’s quick and easy- this takes about 5 minutes to make. In 5 minutes you can give someone a lifetime of memories hanging it on the Christmas tree.
To join next month’s #pinterestchallenge, click here to sign-up ⇒ January Pinterest Challenge
Now let’s see what other things Pinterest inspired! Head over and visit the other hosts to see what they crafted, cooked, built, or tried!

Erlene – My Pinterventures • Jenny – Cookies Coffee and Crafts
Debbee – Debbee’s Buzz • Laurie – My Husband Has Too Many Hobbies
Julie – Sum of their Stories • Lynne – My Family Thyme
Lisa – Blogghetti • T’onna – Sew Crafty Crochet
Beverly – Across the Boulevard • Debra – Shoppe No. 5
Roseann – This Autoimmune Life • Terri – Our Good Life
Kelley – Simply Inspired Meals • Joanne – Our Unschooling Journey
• Gail – Purple Hues and Me
Kristie – Teadoddles • Marie – The Inspiration Vault
Lydia – Lydia’s Flexitarian Kitchen • Pili –My Sweet Things
Michelle – Our Crafty Mom
Alexandra – Eye Love Knots• Shirley – Intelligent Domestications
Lauren – Mom Home Guide • Susan – Suzerspace
T’onna – Sew Crafty Crochet • Pamela – Busy Lifestyle Gal
Marci – Stone Cottage Adventure • Bri – Halfpint Design
 Loading InLinkz ...