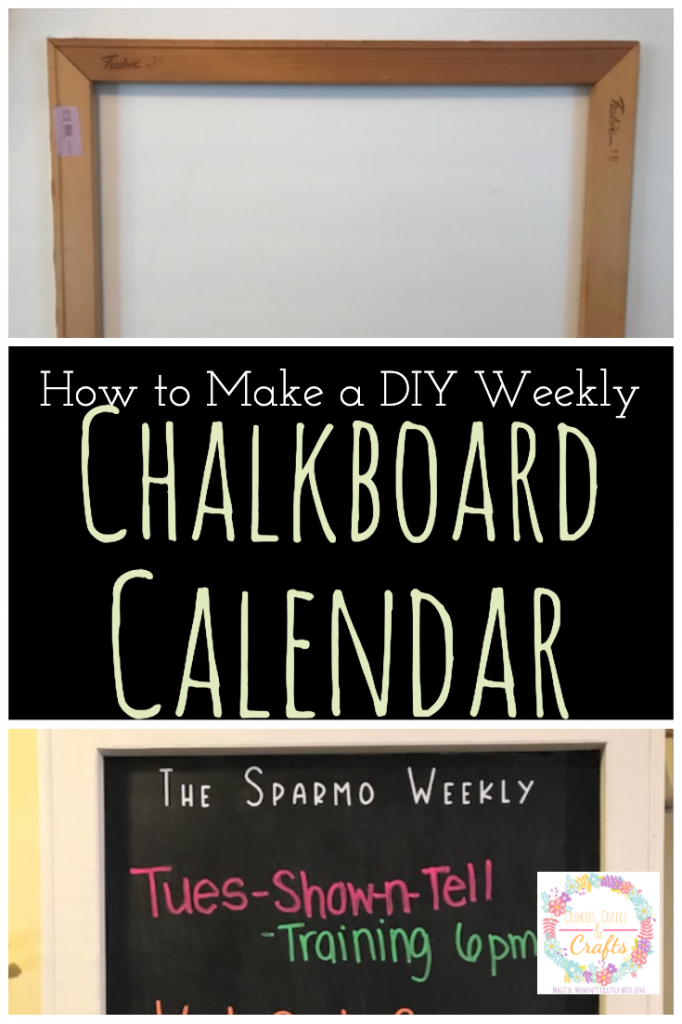
DIY Weekly Chalkboard Calendar
Note: As an Amazon Associate, I earn from qualifying purchases. If you click on a link from Amazon or another of my advertising affliates, I will earn a small commission at no additional cost to you. Please see my full disclosure policy here.
In my email from Hobby Lobby I saw the monthly chalkboard calendar and I fell in love. It was so pretty and I’m a total calendar nerd. Calendars, markers, pens I love colorful organization. Even though I loved the Hobby Lobby chalkboard, it had 2 issues. First it was to expensive and it was to big for the space that I had. My husband right away said “let’s make one.” Here is our story of how to make a DIY Weekly Chalkboard Calendar (it’s a super Easy DIY Project). The original plan was to create a monthly calendar, but one day I forgot something important. I realized I needed something more specific. A Weekly Chalkboard Calendar highlighting the important events for the week was just what I needed, it goes perfect in our family command center.

The Rules:
- Upcycle an item(s) from a thrift store, resale store, or garage sale into a new piece of decor.
- There’s no monthly theme.
- There’s no budget to stick to.
Meet the Hosts
Angela | Simply Beautiful by Angela
Jennifer | Cookies Coffee and Crafts – Marie | The Inspiration Vault
Debra | Shoppe No. 5 – Michelle | Our Crafty Mom
Habiba | Craftify My Love – Ali | Home Crafts By Ali
Jeanie | Create and Babble
Make sure you follow our board on Pinterest for more upcycled decor inspiration!
Below are some affiliate links and I may make a commission for purchases made through the following links.
Supplies for DIY Weekly Chalkboard in Family Command Center
Thrift Store Wood Frame
Plywood 1/4 inch
Black Chalkboard Paint
Wood Glue
White Vinyl
Wood Putty
Chalkboard Markers
Let’s Learn How to Make a DIY Weekly Chalkboard Calendar for your Home
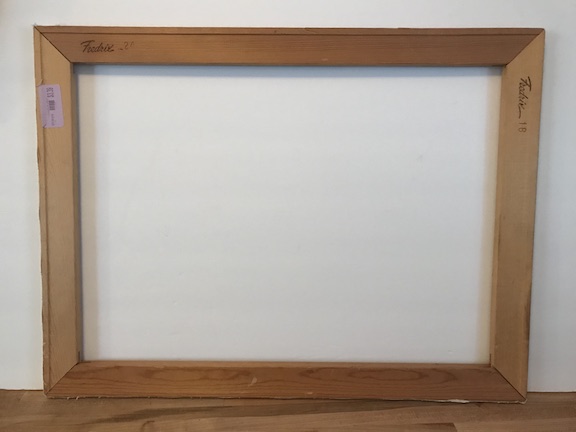
To get started I went to the thrift store and found a frame. It was a plain wooden frame that had some canvas left on the edges. Using a 5-in-1 Tool I took out all the staples and removed the canvas.
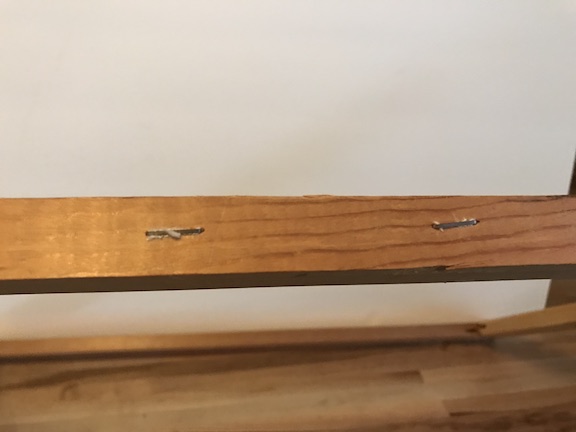
Then it needed some love with wood putty in the corners and to cover the name on the wood frame.
After some putty and sanding it was time to paint the frame. I painted the frame white. Please take my advice and paint the frame and the chalkboard separately. For the chalkboard, I used a thin piece of plywood from our scrap wood and cut it slightly larger then the frame to leave space to glue the wood and to nail it in. Paint the plywood with chalkboard paint (it usually takes 2 coats) and then follow the directions to season the chalkboard for use. Glue the chalkboard to the frame using wood glue and my husband put in a few nails with the nail gun.
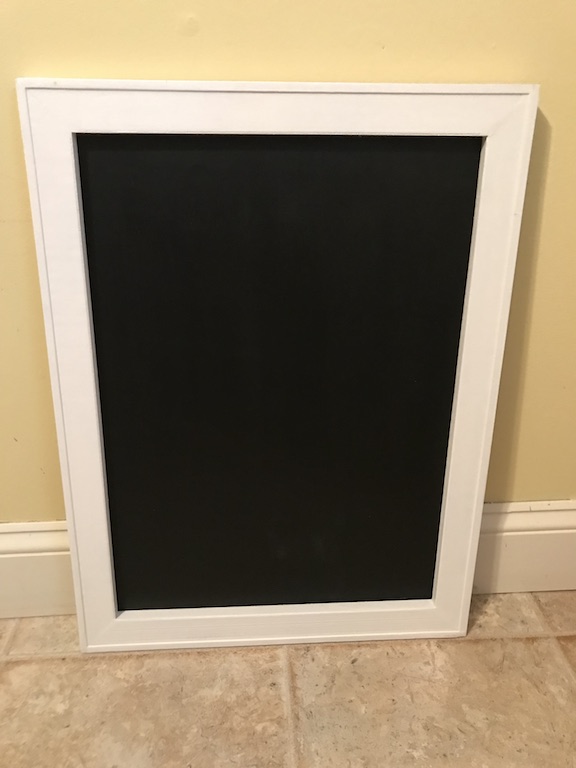
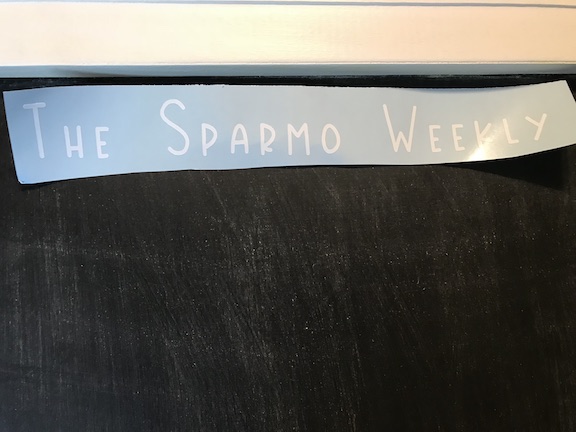
At the top of the weekly calendar I added “The Sparmo Weekly” in permanent vinyl.
I found these colorful chalkboard markers at Target and took out my calendar book.
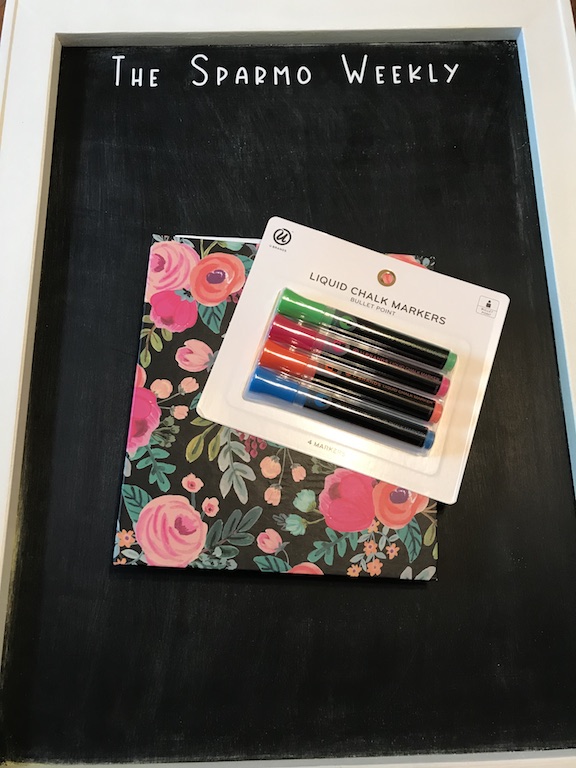
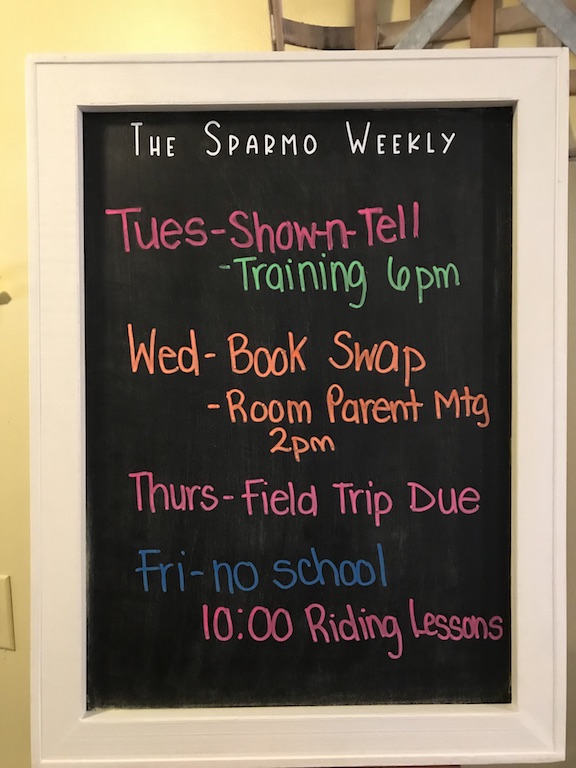
It was fun writing on the chalkboard and I love the colorful markers. I’m glad I made the weekly calendar because it helps me focus on the weekly plan and helps me organize what needs to be done. I had a plan of exactly where to put it in the kitchen with the wall organizer my husband built, but the studs in the wall are not going to let that happen. The wall organizer is heavy so we will be figuring out a new plan.
And now for more thrifty goodness!
Check out what my fellow upcyclers created below!
 Loading InLinkz ...