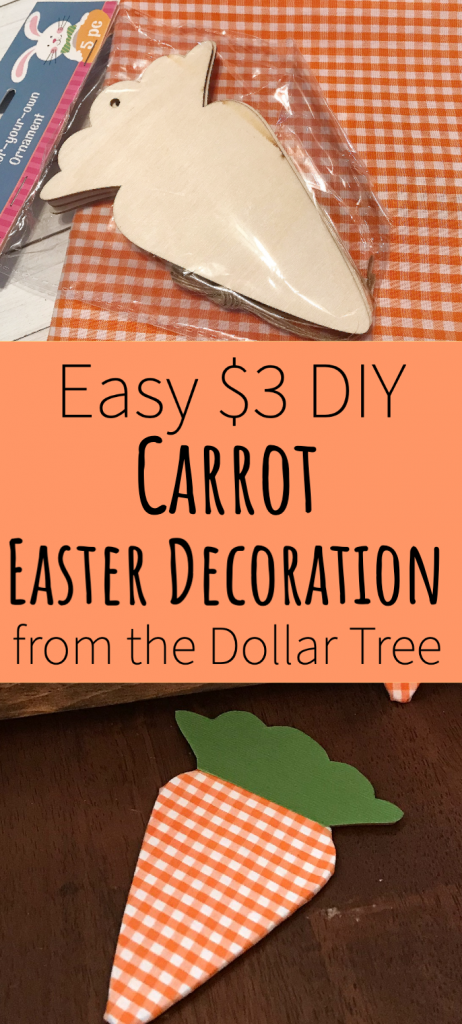
Easy $3 Carrot Easter Decorations (from the Dollar Tree)
Note: As an Amazon Associate, I earn from qualifying purchases. If you click on a link from Amazon or another of my advertising affliates, I will earn a small commission at no additional cost to you. Please see my full disclosure policy here.
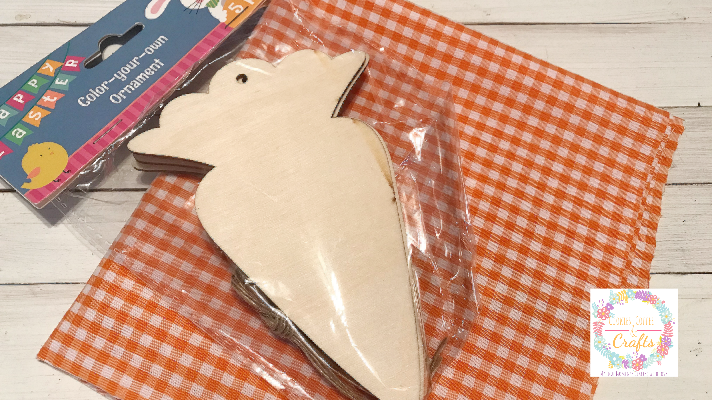
I went to Hobby Lobby for some orange plaid because I just have a plaid obsession and found out my idea is trending. Who knew! At Dollar Tree, I found these wooden carrots and decided to decorate them with orange gingham fabric. Here is my step by step for Easy $3 Carrot Easter Decorations from the Dollar Tree.
Many of the supplies I already had at home, but the wooden carrots are $1, a $1 for the orange gingham, and a $1 for the Mod Podge. Easy, inexpensive and stunning!
Supplies for Easter Craft from the Dollar Tree
Wooden Carrots
1/4 Yard Orange Gingham (you will have extra)
Green Card Stock
Fabric Mod Podge or Matte Mod Podge
Brush Set for Mod Podge
Scissors
Mod Podge Smoothing Roller
Easy Step by Step Directions for DIY Carrot Easter Decorations
I tried a few different ways before deciding on using fabric squares to put on the wooden carrots from the Dollar Tree. That was the easiest quickest way, but you will get a little messy with mod podge.
Cut the fabric squares about 5 inches wide and 6 inches tall.
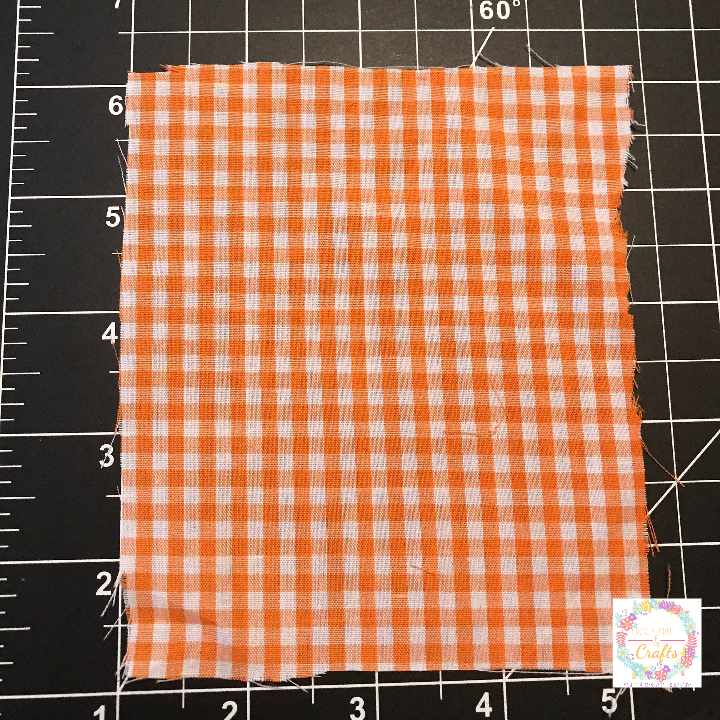
I know it will seem like to much, but more is always better than less. Start at the top of the carrot with the straightest part of your fabric.
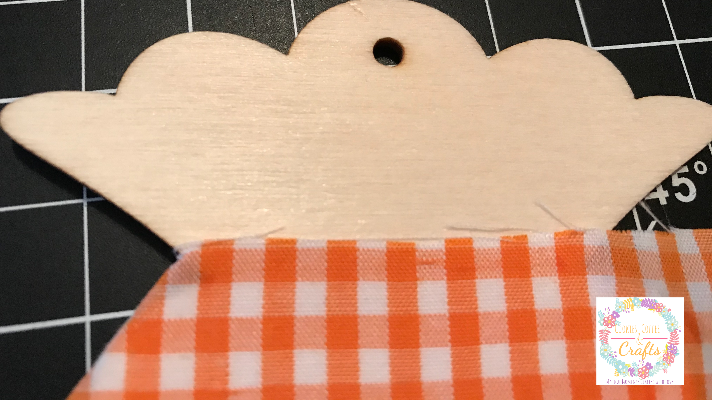
Apply the fabric mod podge or the mod podge to the wooden carrot with the brush. If you love to Mod Podge, I highly recommend these brushes, they make the Mod Podge so easy to apply and leave very little brushstrokes. A makeup wedge or paint brush can be used to apply the Mod Podge too.
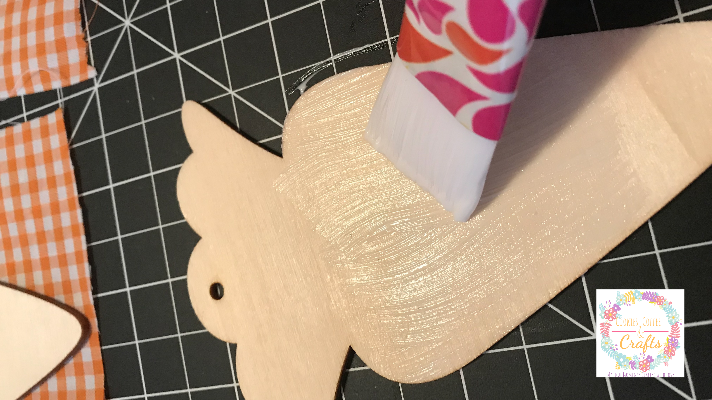
Then lay your fabric on top and use the roller to smooth out the fabric. If you don’t have a roller, use a scrapper or a credit card, they will all work to to get a smooth finished.
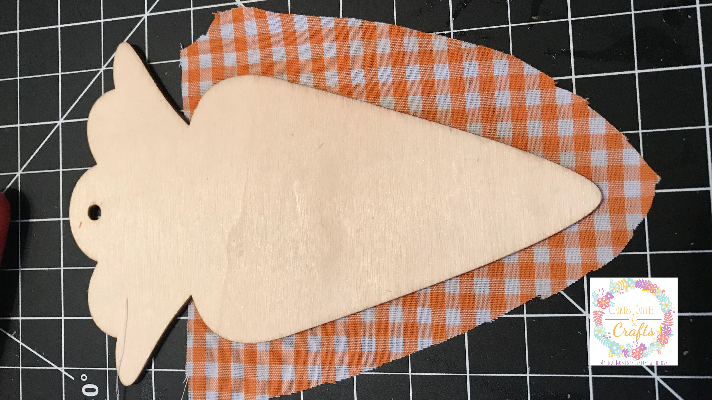
Flip the carrot over and cut off all the extra that you won’t need. I finally got smart on my second carrot that this was the way to go.
Apply mod podge to the back of the carrot and wrap the carrot like a present. Starting at the top was the easiest then do the sides, the point and then the other side of the carrot.
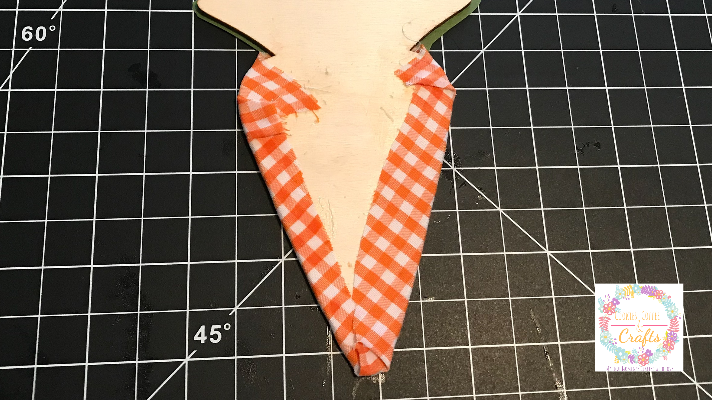
Just repeat the same steps on the all the carrots. It’s a really easy Easter craft that will look great in your home.
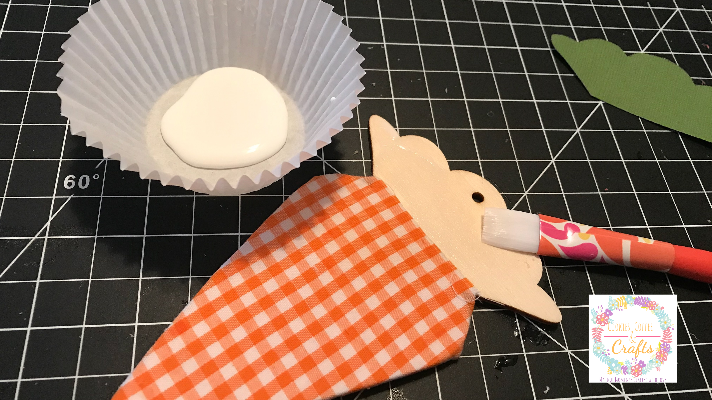
For the top of the carrot, I used green card stock. Trace the top of the carrot onto the card stock and cut them out. Then use mod podge to add them to the top of the carrot.
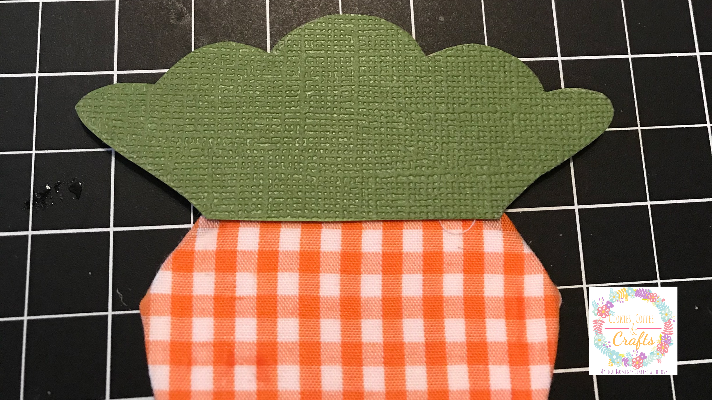
I’m going to use these as table decor with my other Easter decorations and they would look great in a centerpiece. Or as a decoration on the Easter table.
Carrot Easter Decorations
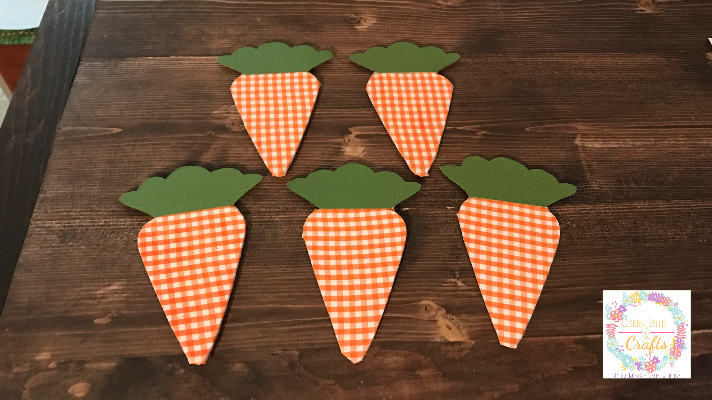
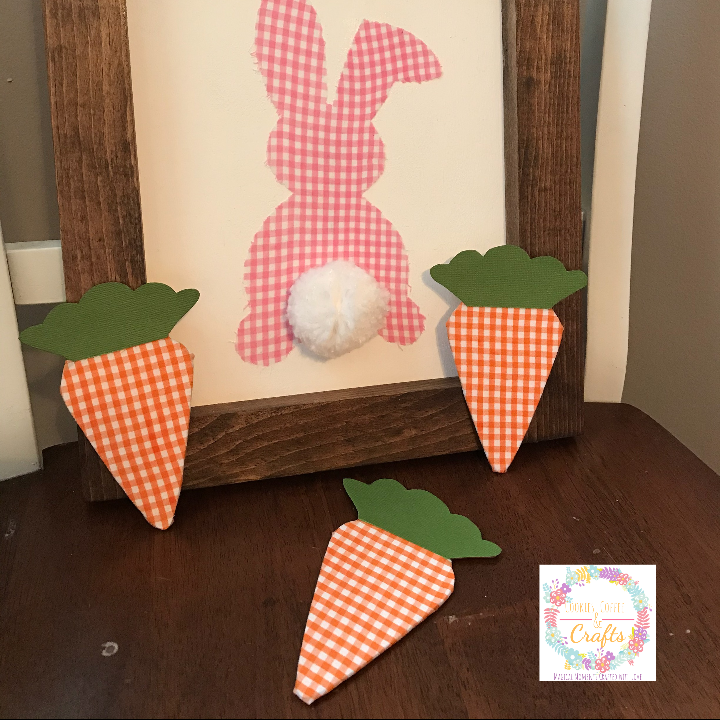
These orange plaid carrot Easter decorations are super cute, inexpensive, and can be used in a variety of ways in your Easter decor. My carrot Easter decorations, look great by my Rustic DIY Bunny Sign.

