Emoji Valentine’s Day Shirt Made with the Cricut EasyPress
Note: As an Amazon Associate, I earn from qualifying purchases. If you click on a link from Amazon or another of my advertising affliates, I will earn a small commission at no additional cost to you. Please see my full disclosure policy here.
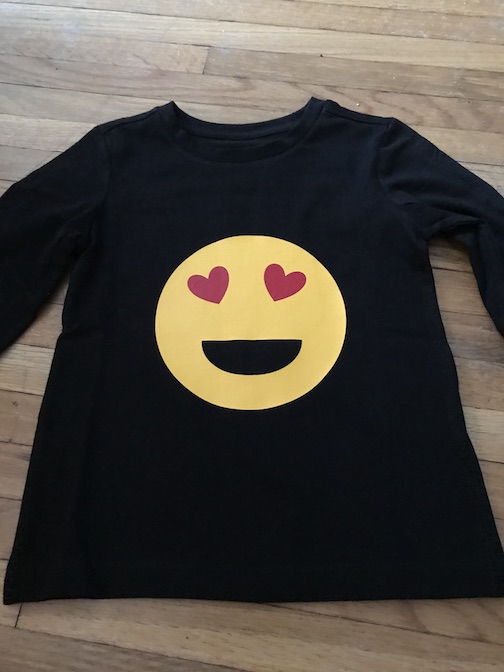
Today I am going to share how I made an Emoji Valentine’s Day Shirt with my Cricut EasyPress. My son really wanted an Emoji Valentines Day shirt after seeing the Emoji movie. The Easypress makes its so easy to create any kind of shirt now. Today I’m joining with my Cricut friends to bring you Valentine’s Day with Craft and Create with Cricut.
Below are some affiliate links and I may make a commission for purchases made through the following links.
An Emoji Valentines (and many other emojis) are super easy to make using simple shapes in design space. For the Emoji Valentine’s Day shirt you need a circle, hearts, and a half circle. Once you get the basic Emoji Valentine created, just size it accordingly for your shirt.
How to Create an Emoji Valentine’s Day Shirt with the Cricut EasyPress:
Step 1:
In Cricut Design Space™click on shapes and insert a circle and make it yellow. Then go back to shapes and click on heart and insert and make the heart red. Then duplicate the heart.
Step 2:
Put your hearts on the circle towards the top as the eyes and tilt each of the hearts. Once you have the hearts in place, hide the yellow circle, highlight the 2 hearts and attach them.
Step 3:
Click on the eye next to the yellow circle and unhide it. Go to images and search for a half circle. Add the half circle as the mouth.
Step 4:
Place the hearts (as the eyes) and the mouth (the half circle) where you would like them, go to the layers panel and click on the eye to hide the hearts. Then highlight the circle and the half circle and hit attach. Now the Cricut will cut the mouth out of the circle.
Step 5:
Go back into the layers, click on the eye by the hearts and unhide them. You are now ready to cut your design.
Important things to remember:
Turn the Cricut setting to iron on vinyl
Lay the shiny side down on the mat when cutting the vinyl
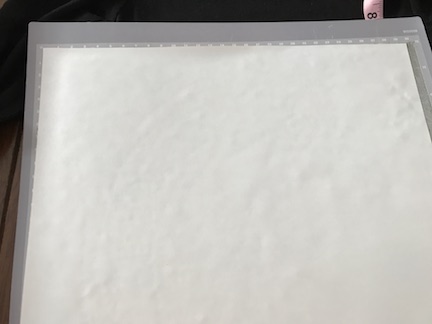
Click mirror image for each mat once you hit cut
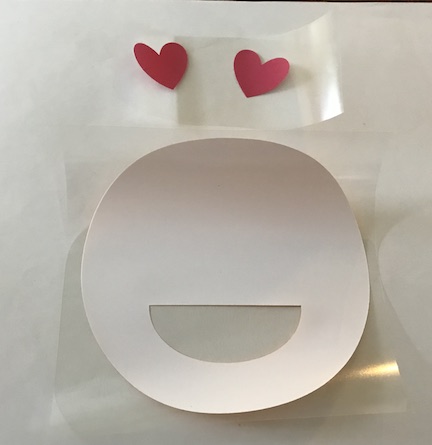
Once all your pieces are cut, weed the vinyl and your ready to use your heat press. This part is so easy and simple, the Cricut Easy Pressis amazing!
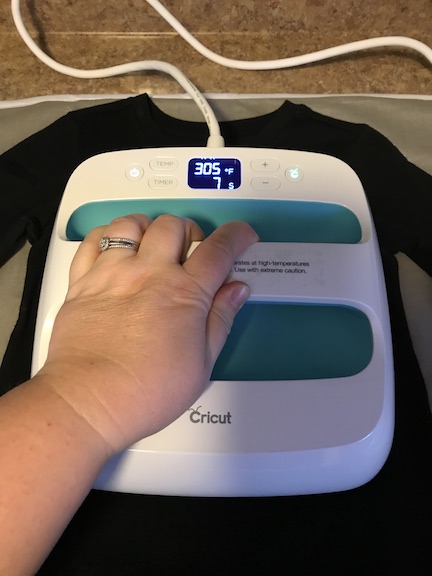
Follow the easy press instructions and heat up the shirt where the iron on vinyl will go. Then set the easypress to the temperature and time for your material. Here are the Cricut EasyPress Settings
First easypress on the yellow circle, let it cool and remove the film.
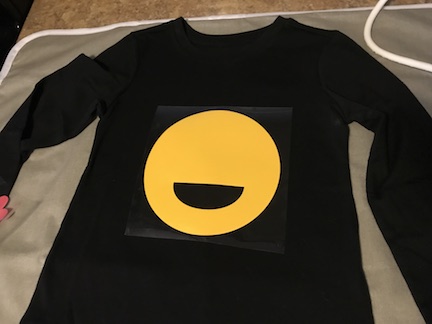
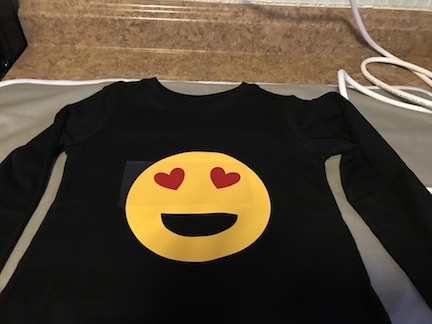
Then add the hearts and easypress them, let it cool and remove the film.
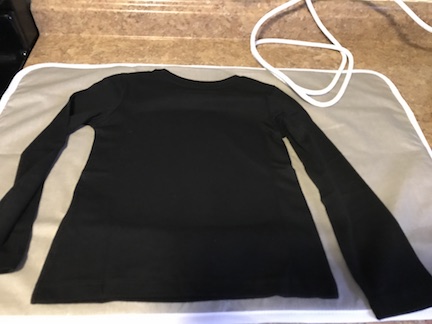
Remember to turn the shirt over and use the easypress on the back of shirt for 10-15 seconds.
The Emoji Valentines Day Shirt was a big hit (it got lots of love) and I made one for my niece to. She also loves Emojis. Making the shirt was so easy & fun, plus I see more Emoji shirts in my future. My son was told he has the coolest shirts and people were in awe that I made it. It’s the cutest when he says “my mommy made it.” He’s the cutest 4year old ever. If your interested in creating an Emoji Valentine’s Day Shirt here is the link.

Now let’s see what my blogging besties have made for Valentine’s Day with their Cricut machines:

DIY Valentine’s Day Sign / Patterned Paper Heart Banner (Print Then Cut Tutorial) / Be Still My Heart T-Shirt / Star Wars Valentine’s Cards / I Love You More than Coffee / Emoji Valentine’s Day Shirt