Fall Decor with Cricut
Note: As an Amazon Associate, I earn from qualifying purchases. If you click on a link from Amazon or another of my advertising affliates, I will earn a small commission at no additional cost to you. Please see my full disclosure policy here.
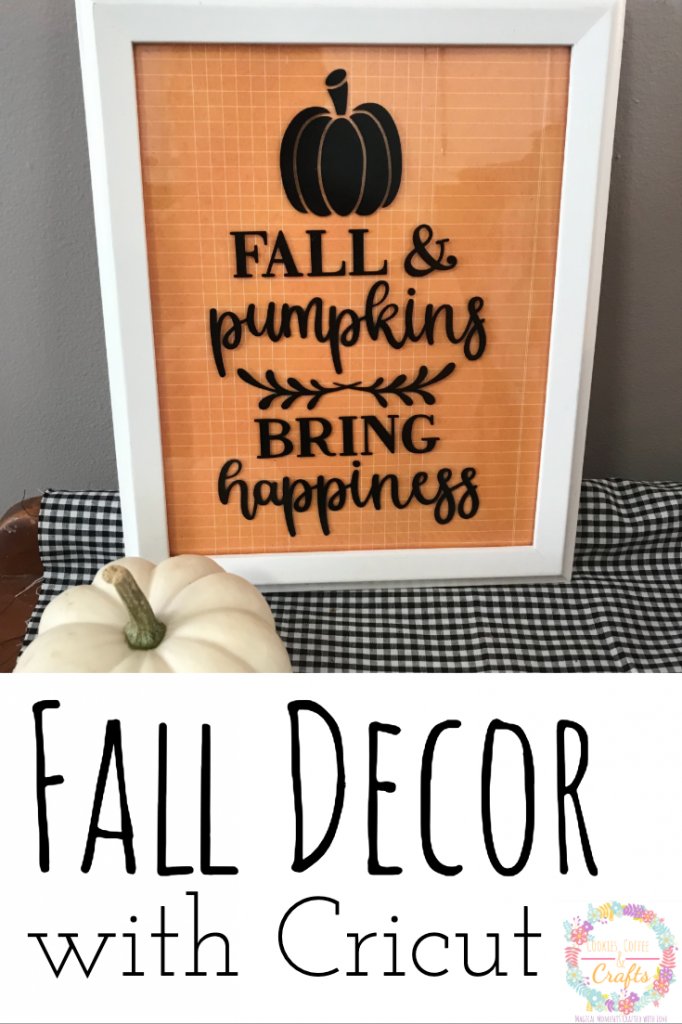
When people ask you what do you like best about your Cricut? You know what I tell them- everything! It’s the truth. Cricut project possibilities are endless, all you need is an idea, Cricut Design Space and supplies. Creating seasonal and holiday decor (along with my birthday ideas) with my Cricut Maker is perfect. Today I’m sharing a really, really easy fall decor with Cricut Idea. This cricut project all started at the thrift store with this 89 cent frame.
This post contains affiliate links which means I may make a small comission of any sale that is made by clicking on any of the products with no cost to you. Your support is greatly appreciated.
The Rules:
- Upcycle an item(s) from a thrift store, resale store, or garage sale into a new piece of decor.
- There’s no monthly theme.
- There’s no budget to stick to.
Meet the Hosts
Angela | Simply Beautiful By Angela – Gail | Purple Hues and Me – Jenny | Cookies Coffee and Crafts – Pili | My Sweet Things – Meredith | Southbound Blog – Chas | Chas’ Crazy Creations – Angie | Grandma Creates – Molly | Just a Little Creativity – Beverly | Across the Boulevard
And now for more thrifty goodness!
Supplies for Fall Pumpkin Sign
8×10 Frame
Fall Scrapbook Paper
Cricut Maker (or other cutting machine)
Black Permanent Cricut Vinyl
Transfer Paper
Cricut Tools
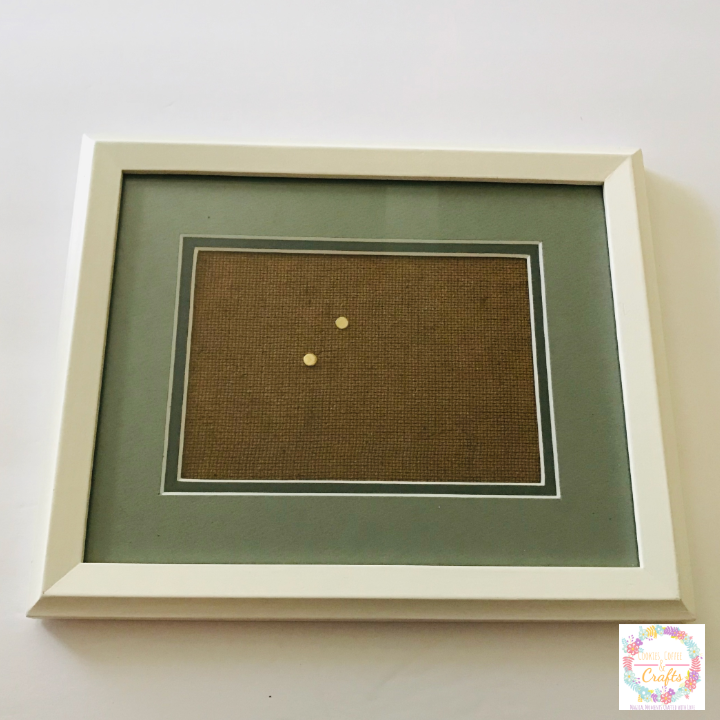
The best place to find frames for your home or for seasonal/holiday decor is the thrift store. My daughter fell in love with this picture frame so I gave it an update and it decorates her room. This one was in perfect shape and just needed a good cleaning. I grabbed a couple frames that day because the selection was so good because hey it’s a thrift store and you never know.
Let’s Create Fall Decor with Cricut
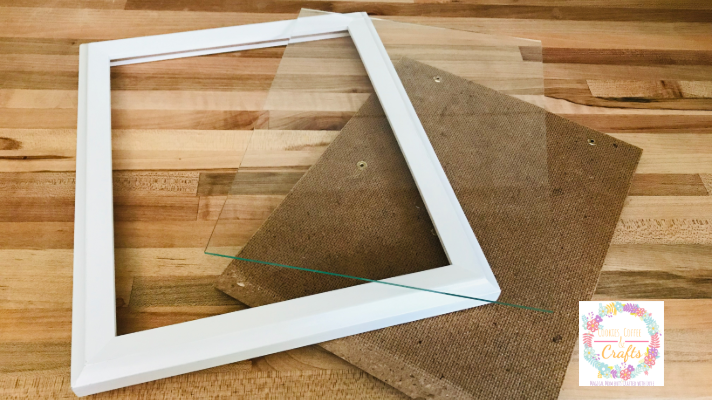
After cleaning your frame, choose the scrapbook paper for the background. If paper is not your thing (I have a paper obsession) burlap or fabric would work too. Cut the scrapbook paper the size of your frame. For me it was 8×10.
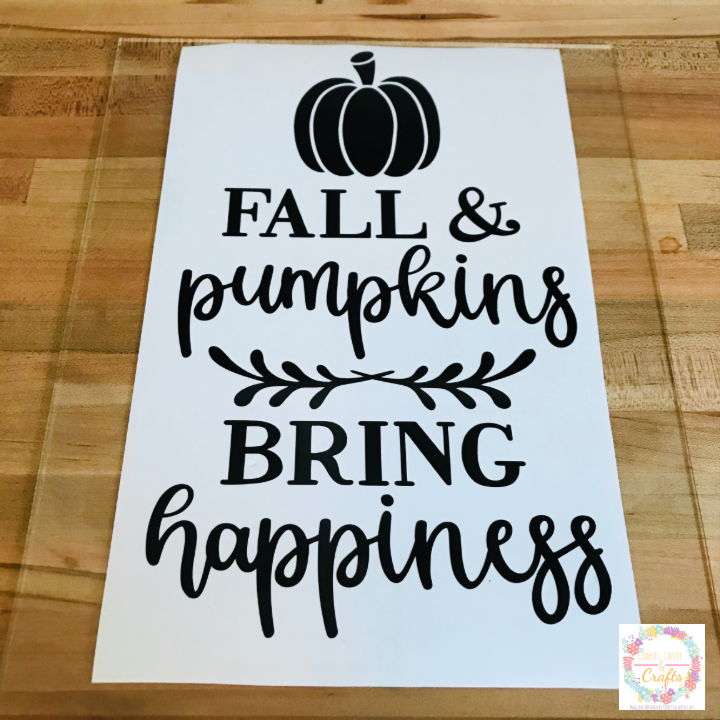
In Cricut Design Space™, I chose a fall svg from the images in Design Space. With my Cricut Access Premium this svg cut file was free. This sign is 100% accurate, I will take all of the happiness that fall and pumpkins bring me.
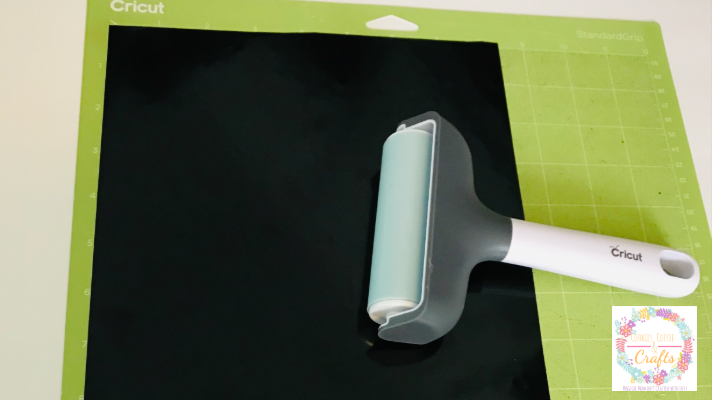
I cut the design using my Cricut Maker in black Cricut vinyl. My favorite Cricut tool is the brayer, it makes attaching the materials to the mat so easy.
The new permanent Cricut vinyl is amazing, this bulk roll is perfect to have on hand. Cricut ideas are fun because you can pick any image you want, cut it and create it.
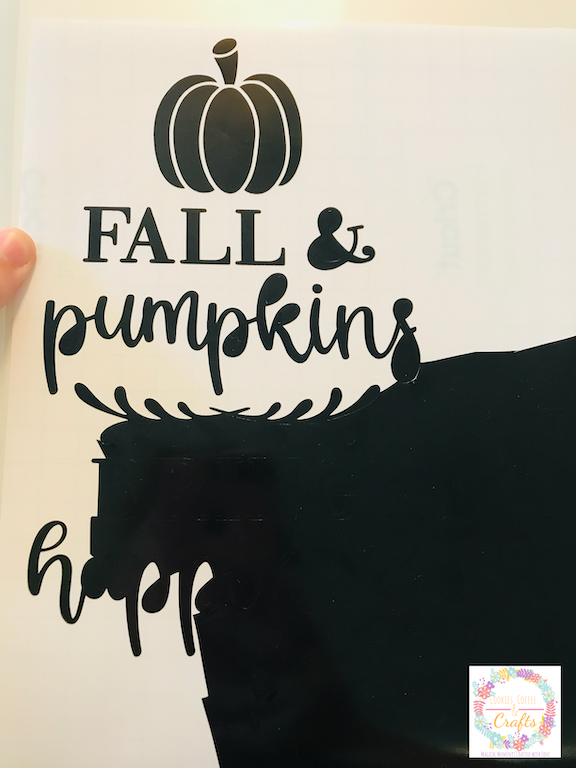
Using your Cricut weeding tool, weed the design and take out all the extra pieces you don’t need. Since this had a bit of weeding, I used my Cricut Brightpad for extra light.
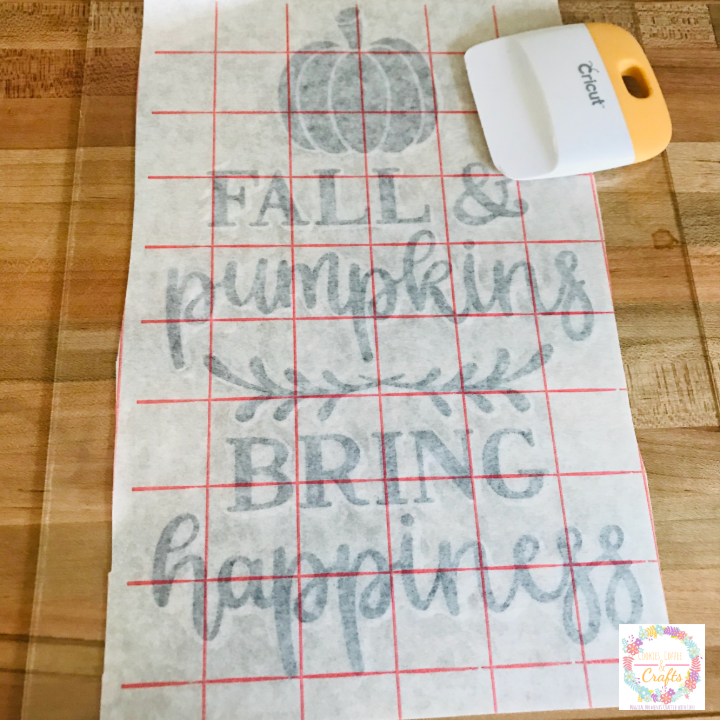
After weeding use transfer paper to add the svg to the glass of your picture frame. To do this I had the frame taken apart and I’m just working with the glass piece.
Take your scrapper and go over the entire design and then start peeling the transfer paper in the corner, nice and slow.
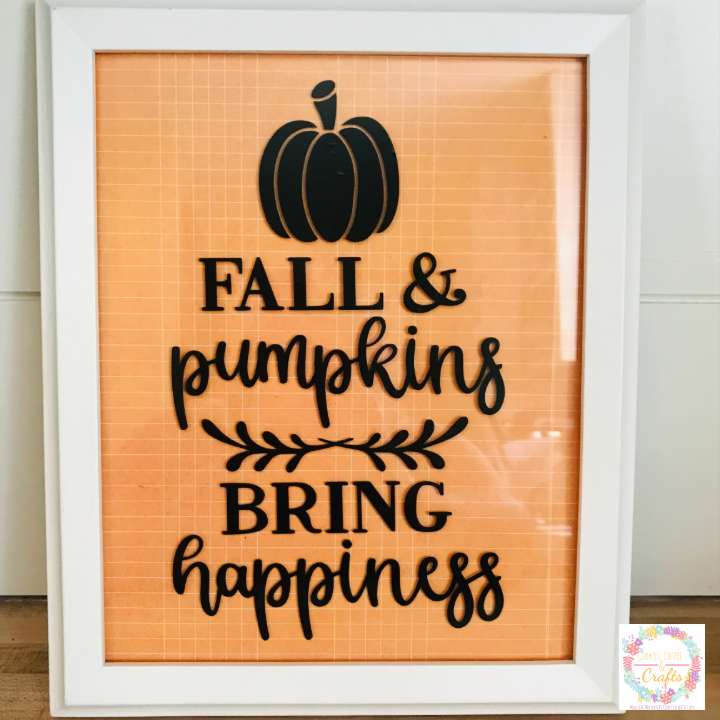
Put your picture frame back together and here is your pretty fall decor with Cricut all finished!