Fall Dollar Tree Pizza Pan Craft
Note: As an Amazon Associate, I earn from qualifying purchases. If you click on a link from Amazon or another of my advertising affliates, I will earn a small commission at no additional cost to you. Please see my full disclosure policy here.
Seasonal decor is my favorite kind. It’s fun to make your home cozy and festive for the fall season. It’s my favorite time to decorate, but it doesn’t have to cost a fortune to decorate your home. This Dollar Tree Pizza Pan Craft is easy, perfect for on a budget, and fun to make. I just made a Spring Pizza Pan Wreath that is adorable and full of spring colors and cheer.
I like to paint my decorations with chalk paint and add on wax, which means you have to wait 24 hours. My original idea was to add the antique wax too, but I changed my mind and decided to keep it just white. If you choose to use regular craft paint, you don’t have to wait.
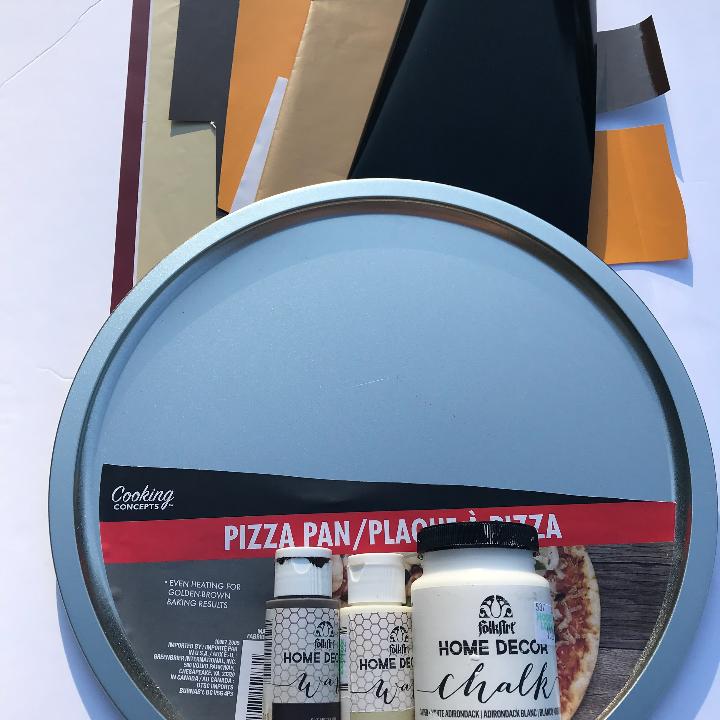
Materials for Fall DIY Dollar Tree Craft
Dollar Tree Pizza Pan
Folkart Chalk Paint in White Adirondack
Plaid Flat Paint Brush Set
Folkart Clear Wax
Permanent Cricut Vinyl in Black, Dark Red, Bracken, Parchment, Tangerine
Transfer Paper
Cricut Maker (Buy it on Amazon)
Cricut Tool Set
Fall Pizza Pan Craft Cricut Design Space File
Let’s Create a Fall Dollar Tree Pizza Pan Craft
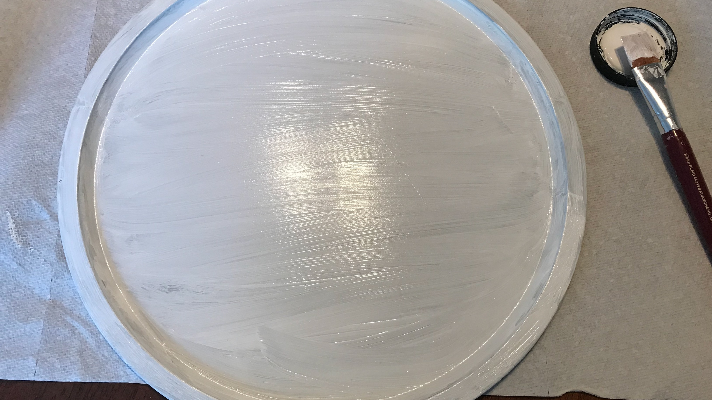
Start by painting your pizza pan with the Folkart Chalk Paint in White Adirondack . I did three coats of the chalk paint for a nice finish. Then I added the Folkart Clear Wax on top. The clear wax gives it a nice smooth finish, but wait 24 hours for it to cure before adding the vinyl fall saying.
I’ve been using the white chalk paint for my DIY Fall Wood Book Stack and my Dollar Tree LED Candle Makeover.
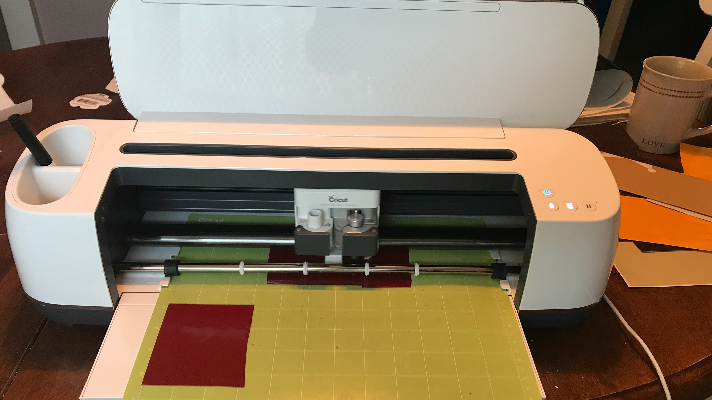
As the paint was drying and in between coats, I created the design in Cricut Design Space. The design is made to fit on the 9.5 inch Dollar Tree Pizza Pan. Use the Design Space file above to make yours today.
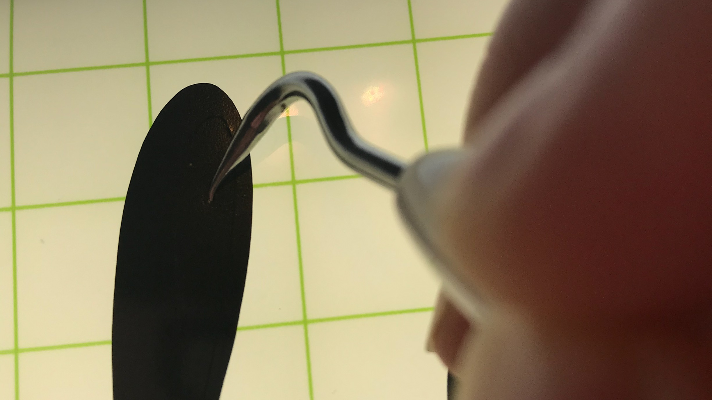
The whole design was cut in vinyl using the Cricut Maker. Weed the design and remove the excess vinyl. With this design, the top of the nut and pumpkin stem are the same color as the words and cut with that part of the design.
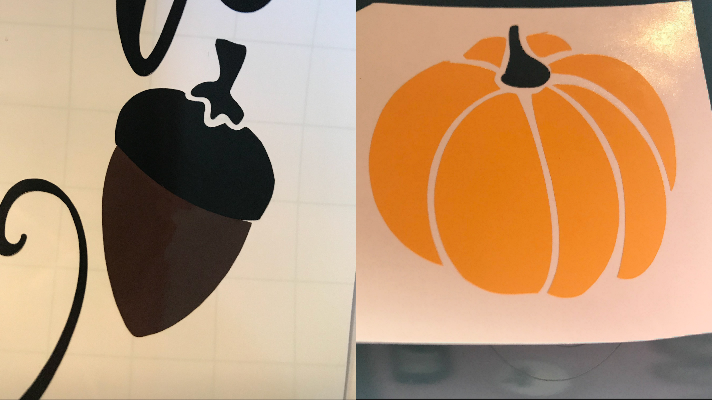
I added the top of the pumpkin to the pumpkin and the bottom of the acorn to the welcome fall part.
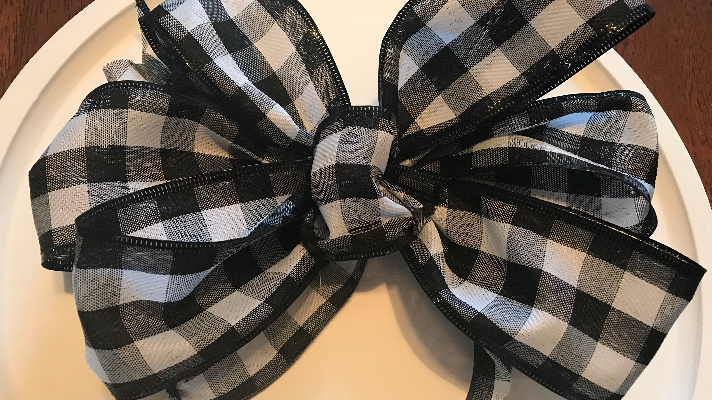
Using the Dollar Tree Buffalo Check ribbon and the Bowdabra, I made a bow for the top of the easy pizza pan door hanger.
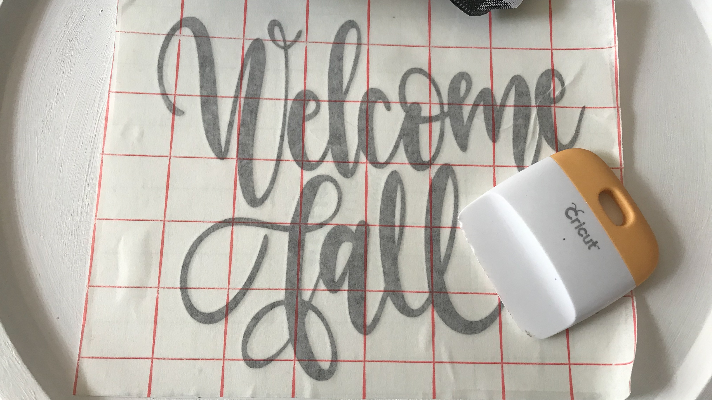
After waiting the 24 hours for the wax to cure, add the fall saying with transfer tape to the pizza pan. The last step is to hot glue on the bow to the top and add twine to hang it. I just hot glued the twine to the back of the pizza pan. If you would like the pizza pan door hanger to not bang on the door, I suggest adding felt to the back of the pan.
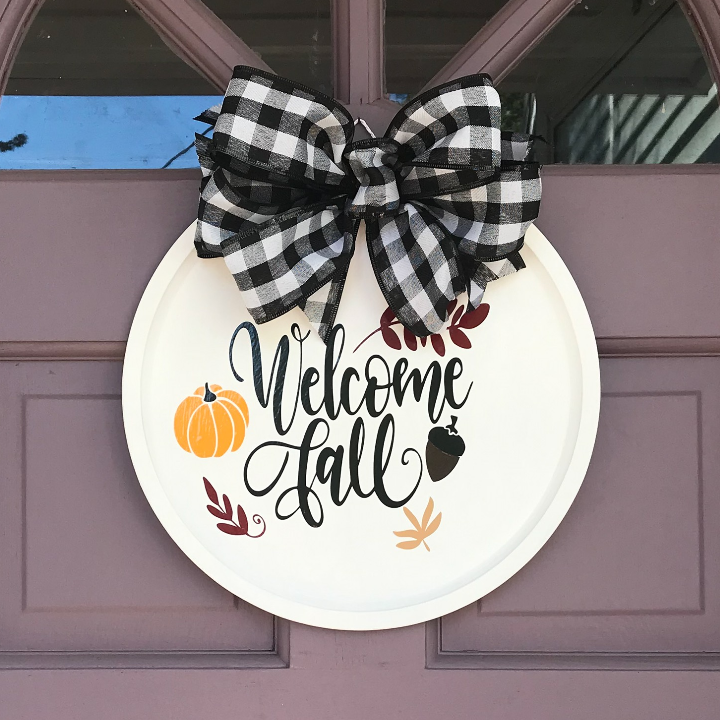
Fall PIzza Pan Door Hanger
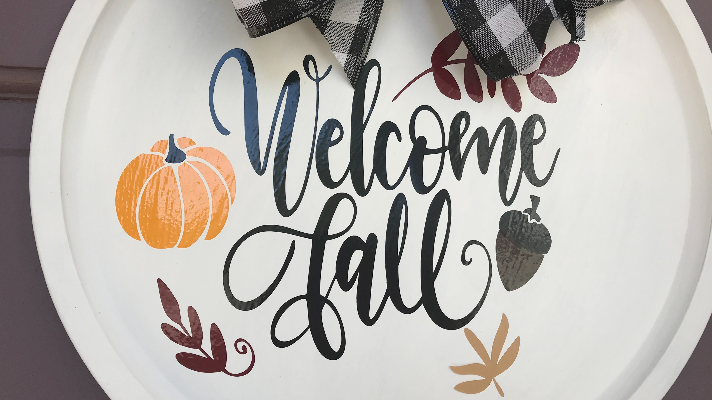
Can you believe that this was a plain old pizza pan for $1? A little paint, Cricut magic and a pretty bow makes your front door look amazing!

