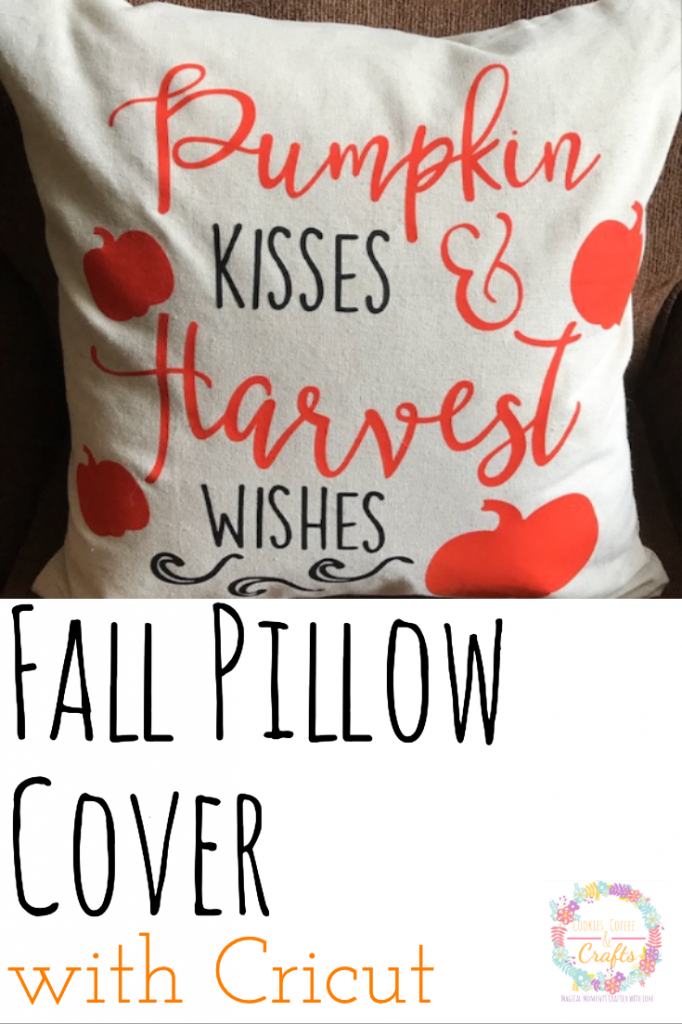
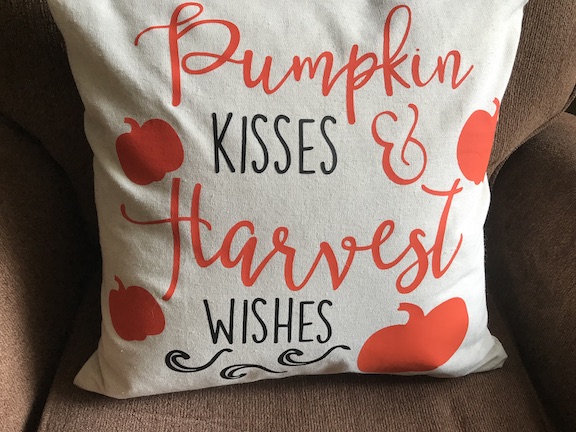
Fall Pillow Created with Cricut EasyPress
Note: As an Amazon Associate, I earn from qualifying purchases. If you click on a link from Amazon or another of my advertising affliates, I will earn a small commission at no additional cost to you. Please see my full disclosure policy here.
Decorating for fall is one of my favorite times to decorate, I just love pumpkins and the colors of fall. This fall I have my Cricut EasyPress so I will be making all sorts of new items. My first fall project for this year is a fall pillow created with my Cricut EasyPress.
On the first Wednesday of each month, a group of DIY and crafty bloggers join forces to bring you the #BringontheCrafts blog hop. Each blogger creates a fun craft or DIY project to share that goes with a monthly theme.
August’s theme is fall. Each blogger chooses their own craft to make as long as they love it and it’s fall themed.
If you’d like to participate next month, you can request to join our Bring on the Crafts Facebook group. Next month’s theme is Halloween!
Now let’s see all of those amazing craft and DIY projects!
Below are some affiliate links and I may make a commission from your purchase.
Supplies For Fall Pillow Cover
Pumpkin Kisses & Harvest Wishes SVG
Cricut Everyday Iron-On Vinyl 12″X24″-Orange
Siser EasyWeed in Black
Cricut Maker
Cricut EasyPress
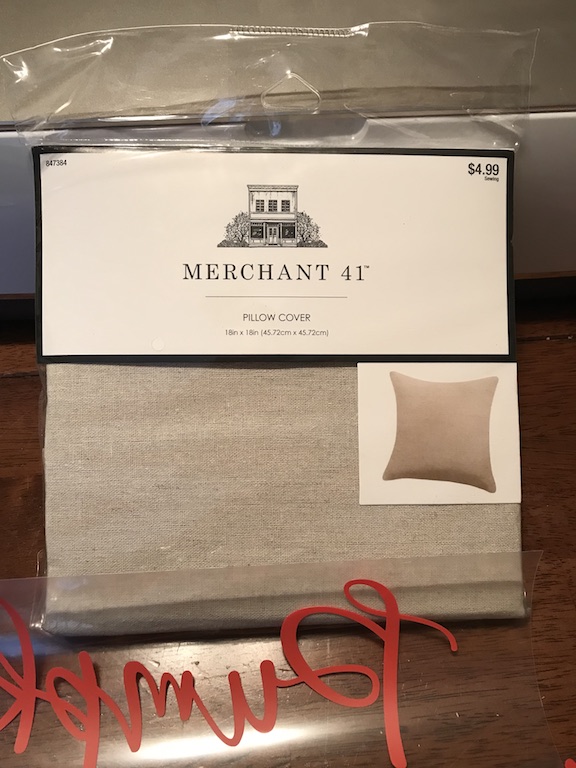
18×18 Pillow Cover (this one is similar)
18×18 Pillow Form (this one is similar)
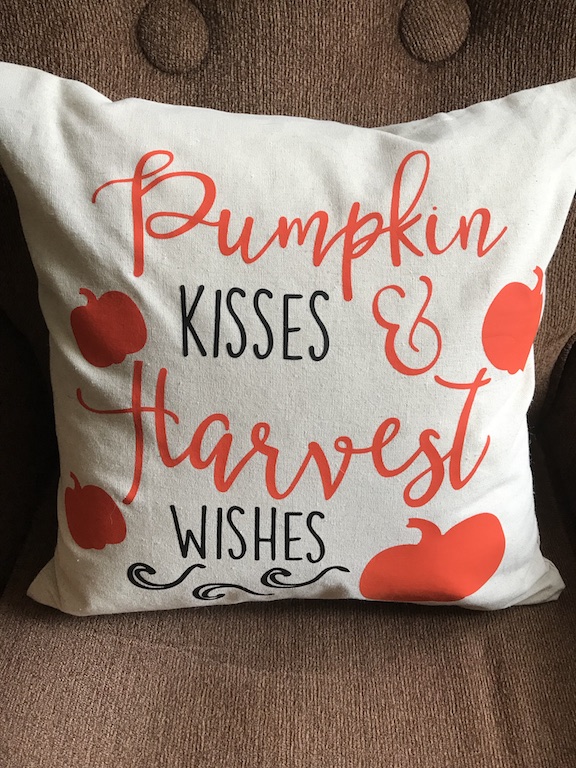
I spent a really long time trying to decide what to put on my pillow. My family decided on “Pumpkin Kisses & Harvest Wishes.” If they hadn’t decided I would probably still be looking or thinking about it. The cute ideas for fall are endless! The pillow cover and pillow form are from Hobby Lobby. The whole pillow cost about $10.
I wanted the SVG in the center of the pillow. I took out the leaves and added in more pumpkins. Plus remember all SVGs can be changed to any color of iron on you would like. Black and orange is the perfect fall combination for my pillow. It will go great with my other fall pillows.
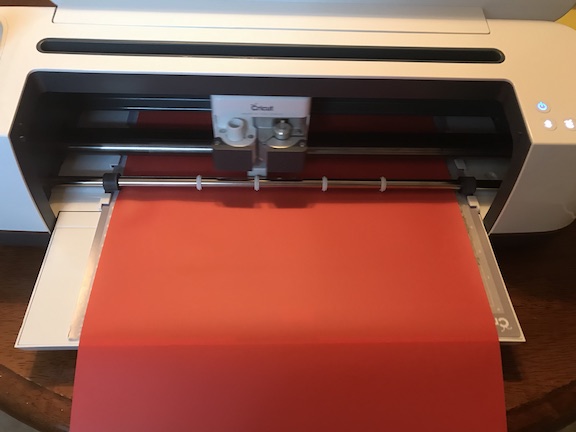
Using my Cricut Maker, I cut the SVG in black and orange iron on. Remember to put the shiny side down on the mat and hit mirror on when cutting the SVG. Carefully pull off the extra iron on and weed your design.
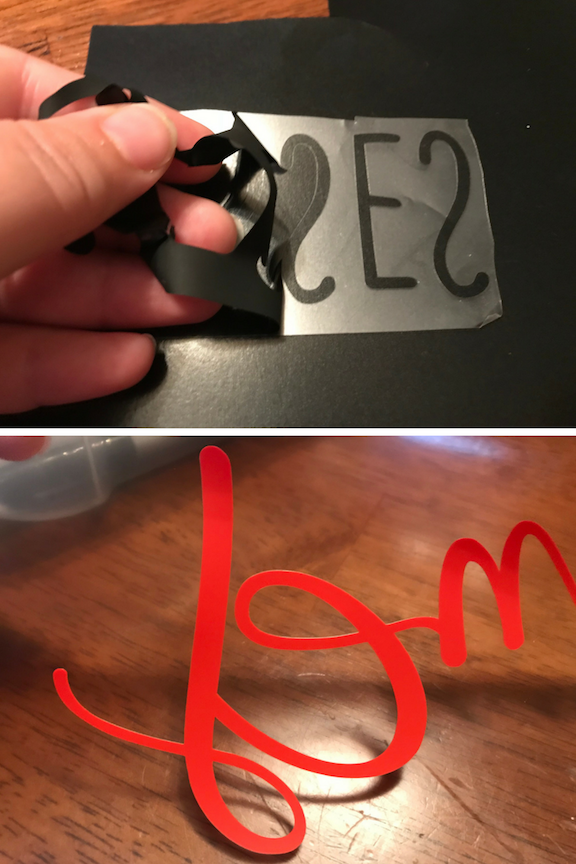
How to Use the Cricut EasyPress to Make Pillow Covers
Place your design on the pillow cover and get your Cricut EasyPress ready. I like to lay out the design on the cover as a preview before I press anything.
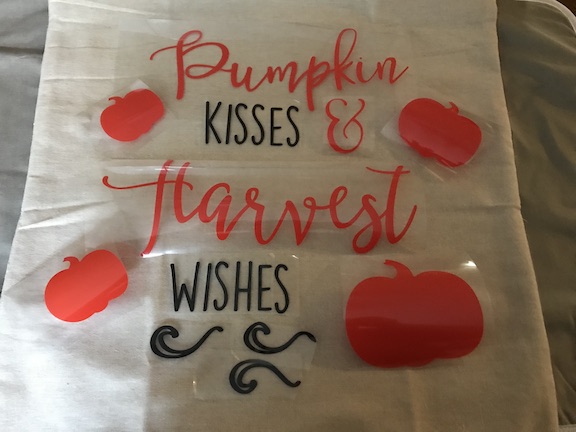
To press the design I use a travel ironing mat on the table. This design is bigger then the EasyPress so you have to do it in sections. A really important tip is to make sure the cover of the iron on is not touching your already pressed images. Follow the Cricut EasyPress Settings for your materials and the instructions for the iron on. Always remember to preheat and to heat the back of the design when your finished.
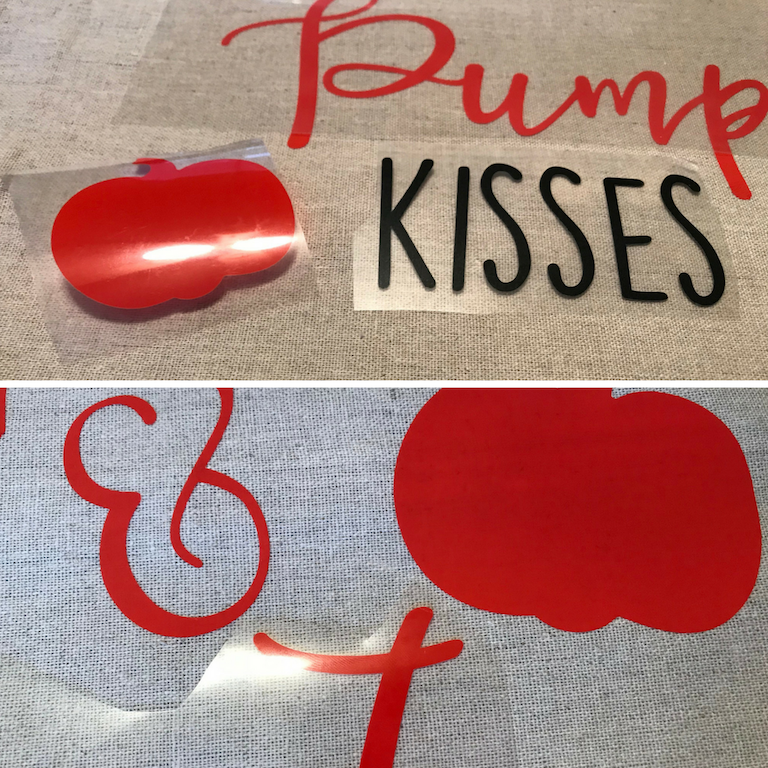
How cute is this? I like summer, but I can’t wait to decorate for fall. Plus I see more pillows in my future, this was fun to create and make. If you would like to know more about the Cricut EasyPress, here are my Top 5 Reasons Why I Love My Cricut EasyPress

Have you ever made a pillow?
Would you like your home to smell like fall too? I have a special offer from Simply Earth – use the coupon code CCCFREE and receive the Essential Oil Recipe Box with the big bonus box and a $20 Gift Card for Future Purchases.
 Loading InLinkz ...