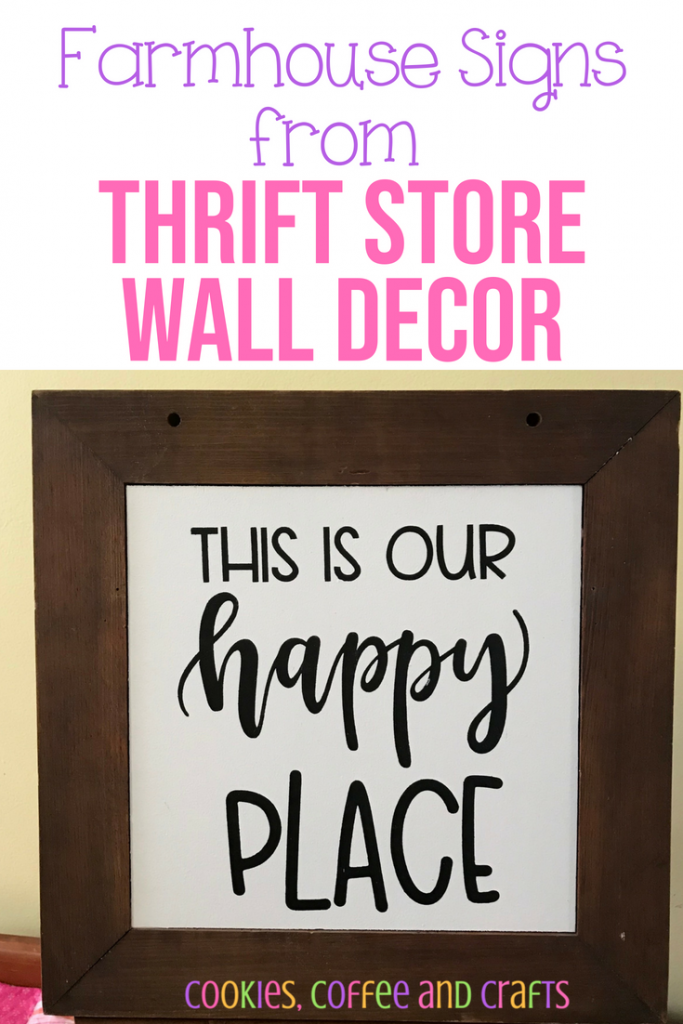
Farmhouse Signs from Thrift Store Wall Decor
Note: As an Amazon Associate, I earn from qualifying purchases. If you click on a link from Amazon or another of my advertising affliates, I will earn a small commission at no additional cost to you. Please see my full disclosure policy here.
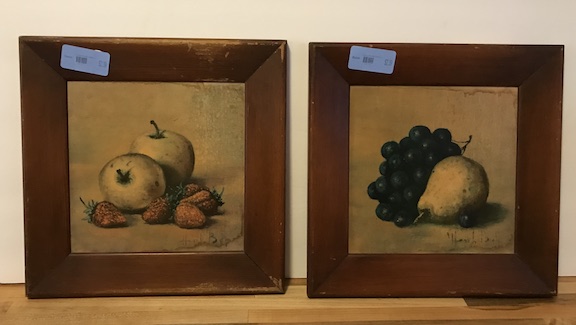
At my last trip to the Thrift Store I found two matching old wooden frames wall decor. I was so happy to find two matching frames. These will be perfect for my gallery wall in the kitchen. I’m going to give these wooden frames new life and turn them into farmhouse signs.
This post contains affiliate links which means I may make a small comission of any sale that is made by clicking on any of the products with no cost to you. Your support is greatly appreciated.

The Rules:
- Upcycle an item(s) from a thrift store, resale store, or garage sale into a new piece of decor.
- There’s no monthly theme.
- There’s no budget to stick to.
Meet the Hosts
Pili | My Sweet Things – Jennifer | Cookies Coffee and Crafts
Maureen | Red Cottage Chronicles – – Victoria | Dazzle While Frazzled
Deborah – Salvage Sister and Mister – Marie | The Inspiration Vault
– Debra | Shoppe No. 5
Habiba | Craftify My Love – Michelle | Our Crafty Mom
Below are some affiliate links and I may make a commission for purchases made through the following links.
Let’s Create some Farmhouse Signs
I fell in love with the rustic charm of these frames because of the old marks and the worn wood. The problem is the reddish wood doesn’t go in the kitchen at all.
At first I sanded the frame a little and got this look.
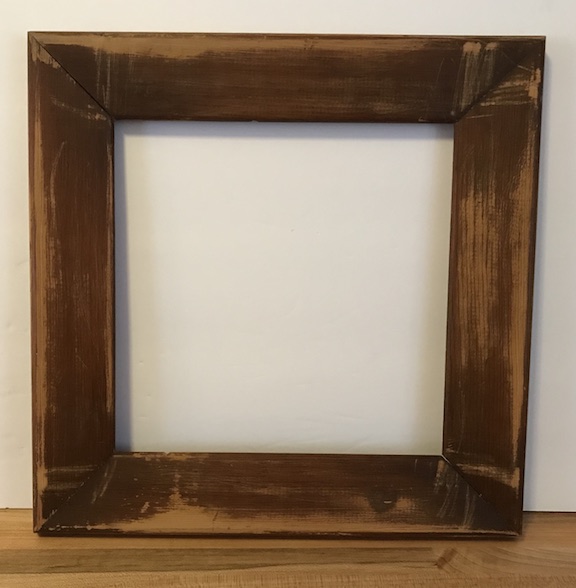
It was a little better, but not perfect for what I was hoping for. Then the second frame gave me a horrible time getting the clips turned up to remove the old decor and I realized the back of the frame was perfect!
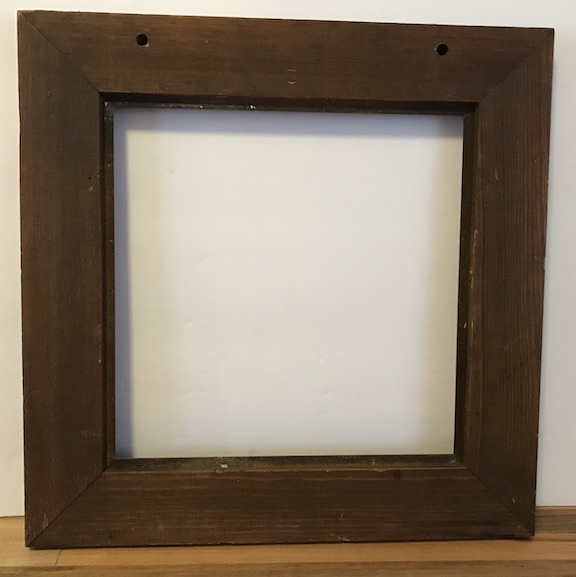
The color of the wood looks amazing with the butcher block, my tiered tray, and I loved the holes at the top.
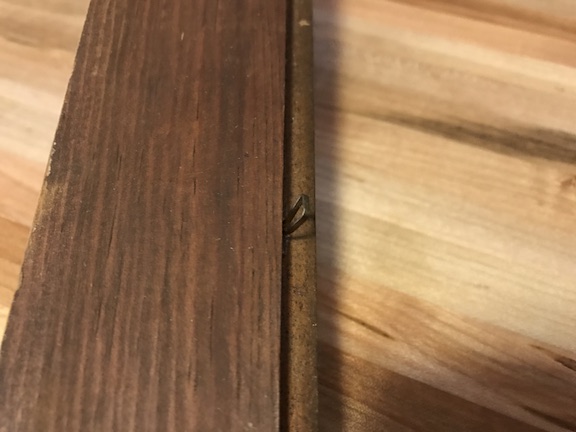
I had to remove the old clips to use them this way. To remove the old clips I just used tweezers to pull them out.
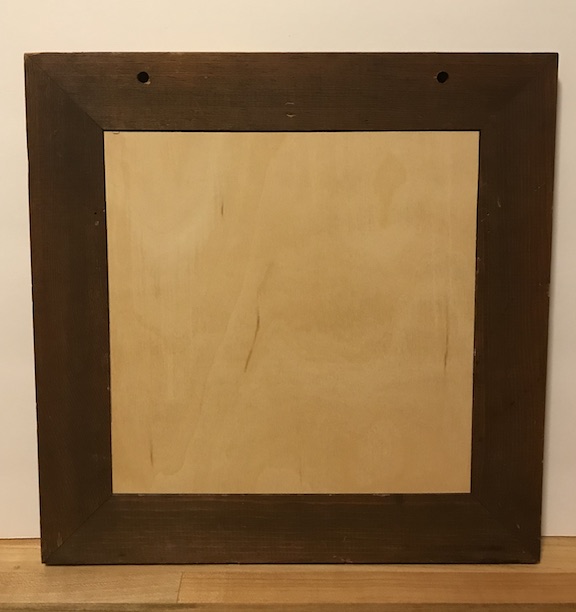
Next my husband cut plywood squares ( I used the old decor to trace the size) to fit in the frames. Since I’m using the frames this way, I will glue the plywood into the frame.
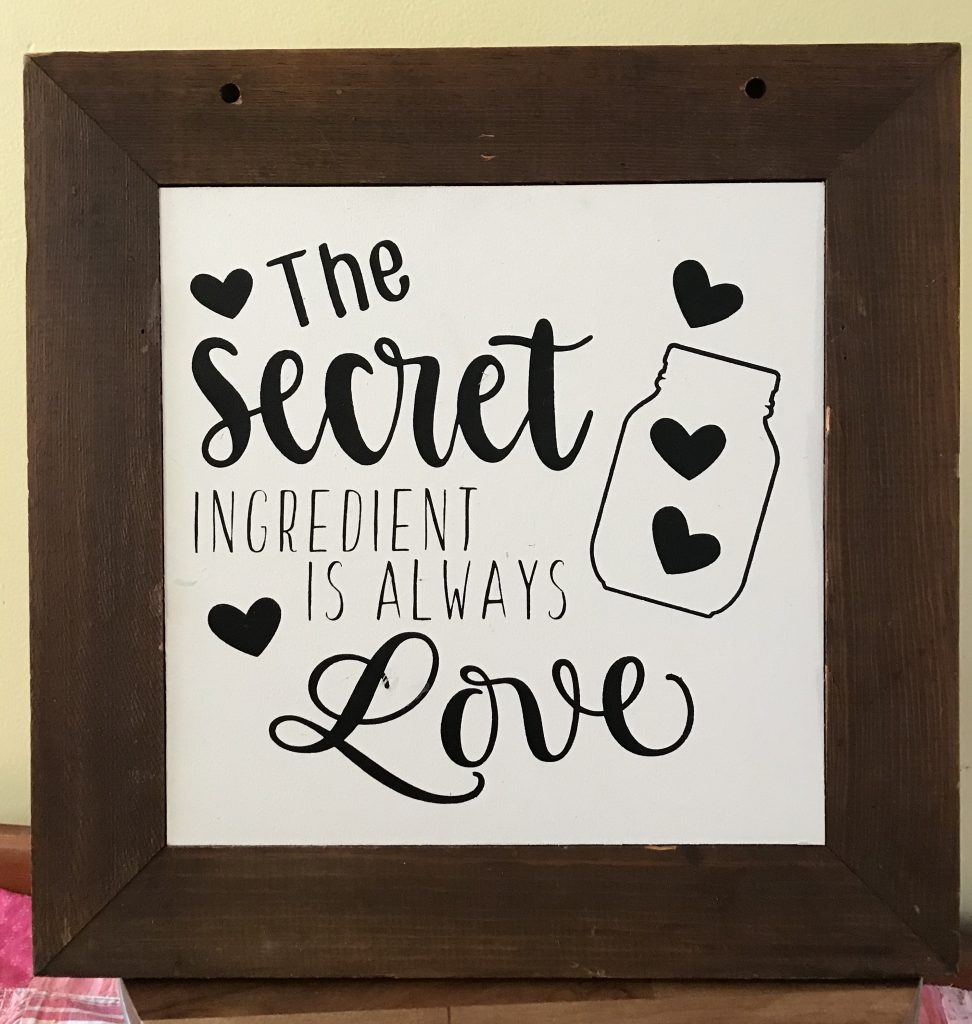
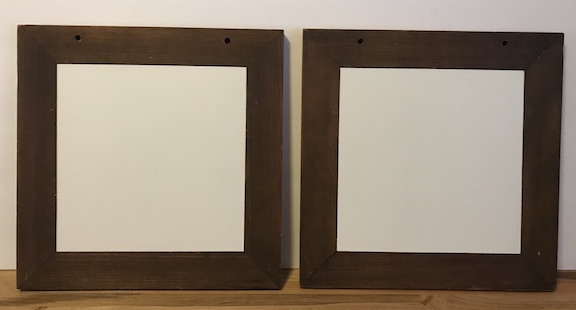
Before glueing in the decor, I have to decorate them. I decided on these sayings for the signs- “The Secret Ingredient is Love” and “This is Our Happy Place.” I was shocked when my husband said he liked them (he just doesn’t like signs) and I love them!
The plywood was painted white using snowbound from Sherwin Williams (the color of our kitchen cabinets). I painted, sanded, and then painted and sanded again.
Then using my Cricut Maker I created stencils with removable vinyl
and stenciled the sayings using black acrylic paint. I was in stenciling mode and concentrating on what I was doing and forgot to take a picture. The L in love is a little messed up because I forgot about the little line coming through, but it gives it character.
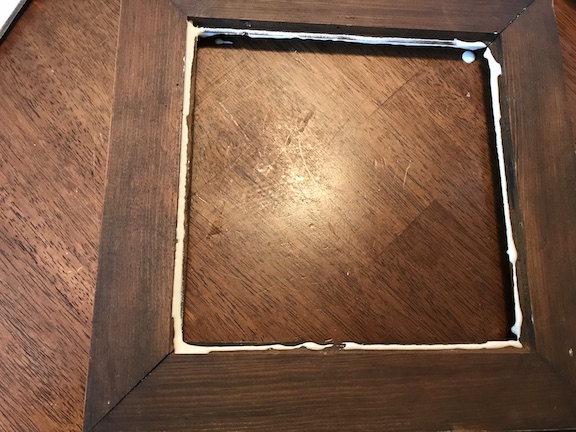
I put wood glue around the inside of the frame and glued them in.
Finished Farmhouse Signs from the Thrift Store
I’m so happy with how my gallery wall is coming. Soon I will be hanging it up and I can’t wait to finish it up and share it! I’ve also made a Home Sweet Home Sign and a Farmhouse Chalkboard all from the Thrift Store.
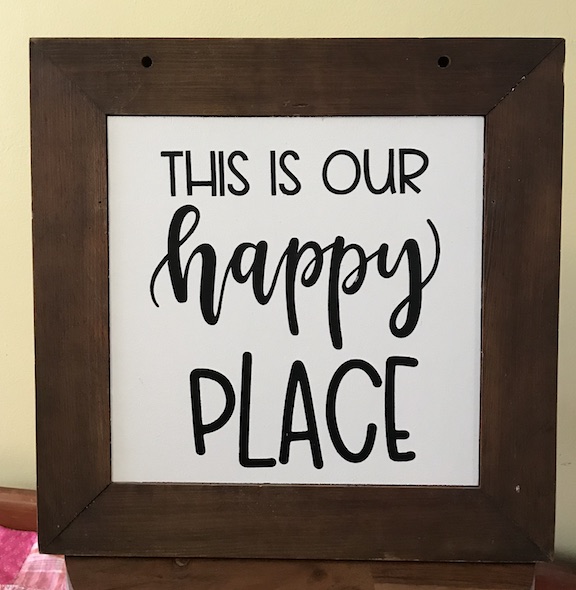
Can you believe I know have 2 new farmhouse signs for $5.26? That’s why thrifting is so much fun, it’s fun to search, think and create.
