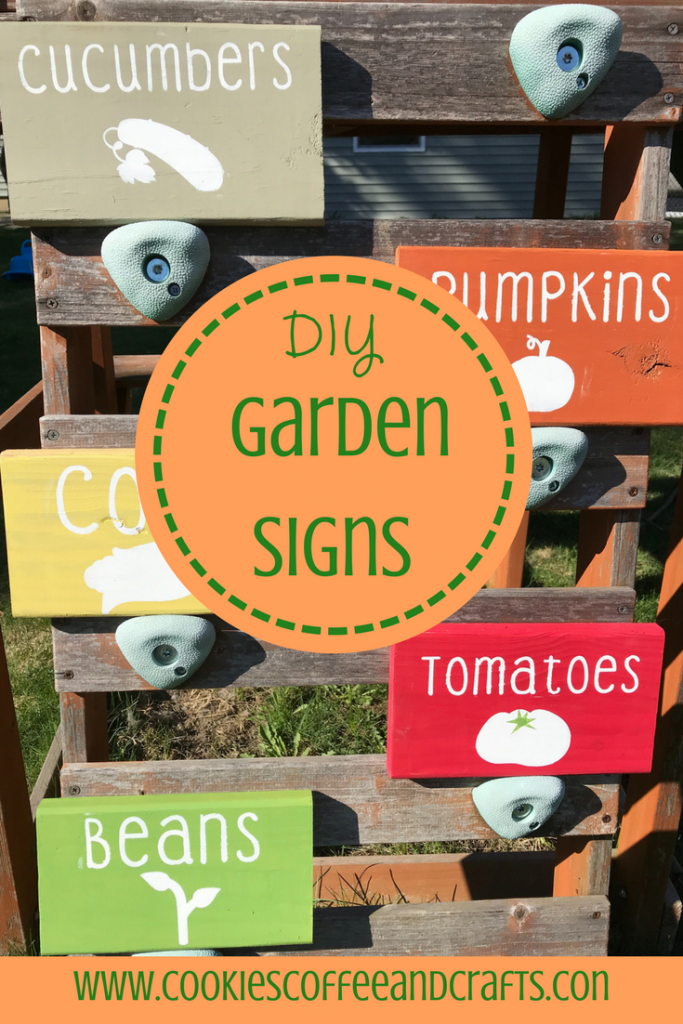
Garden Signs
Note: As an Amazon Associate, I earn from qualifying purchases. If you click on a link from Amazon or another of my advertising affliates, I will earn a small commission at no additional cost to you. Please see my full disclosure policy here.
Spring is upon us and spring makes me think of playing outside in the dirt. I love getting my perennial borders ready and the vegetable garden. Our vegetable garden needs an upgrade this year so I decided to make some garden signs. We might be making raised beds or leaving the garden as is, but these signs will work for either. These will add a cute touch to our garden. It’s still to early to start working on the garden, but the signs will be ready for when the time comes.

Supplies:
Outdoor Wood
Removable Vinyl
Transfer Tape
Paint- red, white, green, yellow, orange
Miter Saw
Sandpaper
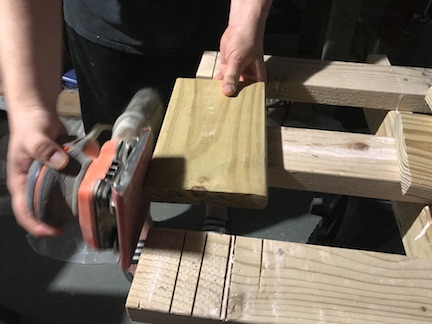
I’m making these signs from outdoor wood that was leftover from when my parents build a new porch last summer. I’ve had these sitting in the garage and decided to use some for the vegetable garden. The signs are about 9 inches long by 5 inches high. Our garden is outlined in bricks so I’m going to put bricks behind them to lean against or if we make raised beds, I will attach them to the front of the beds.
My husband cut the boards with his Miter saw and then sanded the edges with his hand sander.
Now I’m going to paint the signs each a different color to match the color of the vegetable. I have lots of extra paint samples and I will be using some of those and also acrylic paints I have. I always get samples of paint before I buy gallons for the house.
Vegetable Garden Signs:
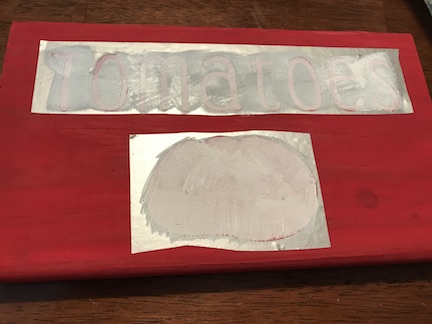
Tomatoes- red
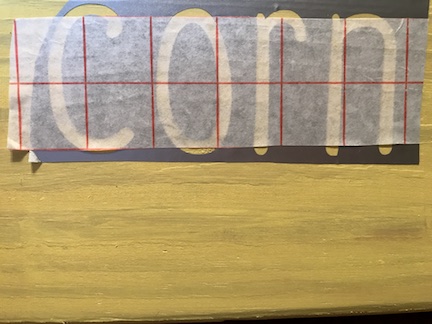
Corn- Yellow
Pumpkins- Orange
Green Beans- Green
Cucumbers- Green
I’m going to paint each of the signs and then create the names for each sign in Cricut Design Space™. I will cut the names in removable vinyl and use that as a stencil to paint the names of the vegetables onto the signs. I will wait 24 hours to do the stenciling to make sure the signs are dry.
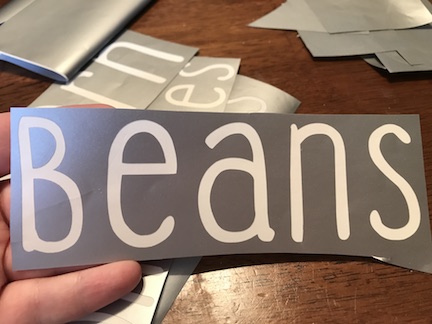
For the signs you have to weed the letters so you can use the words as stencils.
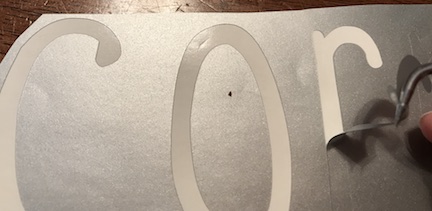
Use transfer tape to attach the stencil to the wood. After using the transfer tape, take your Cricut scraper and rub it over the vinyl stencil (after you remove the transfer tape). For some reason vinyl doesn’t stick well to the outdoor wood and I forgot about it. A couple garden signs bled a little because I forgot this and I was excited to get started. The extra scraping over the stencil fixes the problem. I still love the way the garden signs will look in the garden.
The stencil usually takes about 3 coats of paint. Wait a few minutes between each layer of paint for the stencil. I like to use a makeup wedge to paint the stencil by dabbing up and down. Then after the 3rd coat, carefully peel off the stencil and use your weeding tool to take out the small pieces.
Repeat this for each of your signs and your garden will look great! Plus make any changes you need to for colors or names of vegetables depending on what you grow.
