Glittery Lucky Charm Sign | DIY St. Patrick’s Day Sign
Note: As an Amazon Associate, I earn from qualifying purchases. If you click on a link from Amazon or another of my advertising affliates, I will earn a small commission at no additional cost to you. Please see my full disclosure policy here.
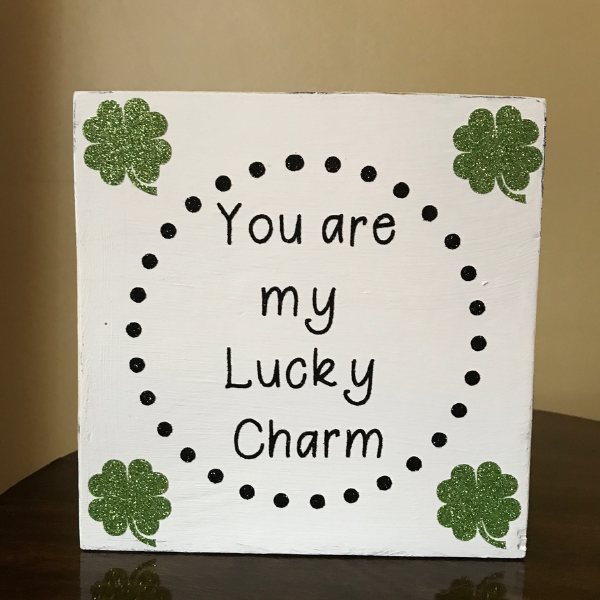
I love shamrocks and St.Patrick’s Day. This Glittery Lucky Charm Sign will add sparkle and charm to your St. Patrick’s Day decor or all year round. Shamrocks and glitter are a perfect combination. When I was looking at my St. Patty’s decorations, I couldn’t believe I didn’t really have any DIY St. Patrick’s Day Signs. It was definitely time to make some.
I am really happy to work with our sponsor, Happy Crafters today to share this project with Happy Crafters Glitter HTV (Heat Transferred Vinyl). Below are some affiliate links and I may make a commission for purchases made through the following links.
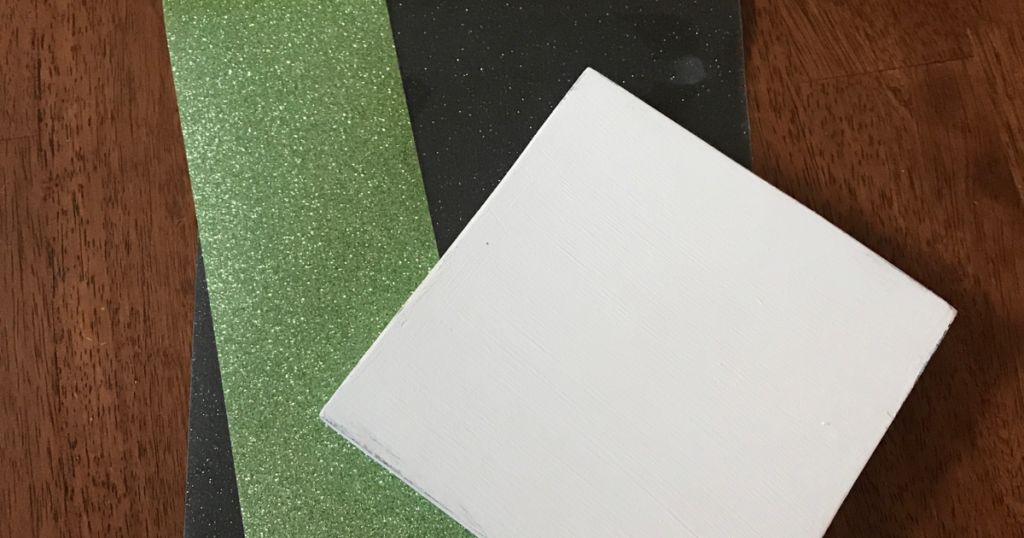
Supplies for the DIY St. Patrick’s Day Home Decor
Glitter HTV in Peridot
Glittery HTV in Midnight
6×6 Piece of Wood (these are very similar 6×6 squares)
White Chalk Paint
Paint Brush
Cricut Easy Press
Let’s Create a Glittery Lucky Charm Sign for DIY St. Patrick’s Day Home Decor
This sign was fun to make and it was my first time trying my Cricut EasyPress with HTV on wood. When doing research for this project I read many blog post about using this method and how awesome the HTV looks on wood (and I totally agree).
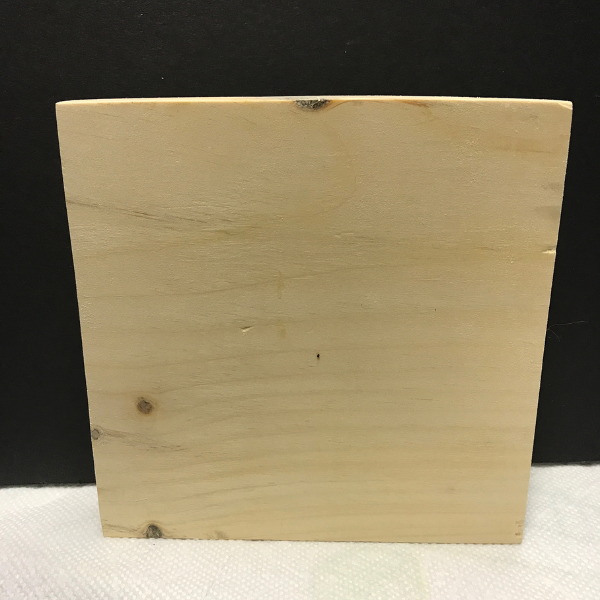
For the DIY St. Patrick’s Day sign, my husband used an extra piece of wood and made a 6×6 sign. I painted it with white chalk paint and I attempted to paint the sides of the sign black, but I couldn’t get a straight clean edge. So I painted over the black with white and sanded the edges after it dried to give it a more rustic look. I don’t usually do this with my signs and I can’t decide if I like it or not.

In Cricut Design Space I created the SVG. I used the font Berrylicious Font for the text. The circle is an uploaded image and the shamrocks are from Cricut Design Space™ using my Cricut Access Premium membership.
Make sure when using HTV you remember to place the shiny side down on the mat and click mirror on before you cut. After cutting and weeding your design, place them on the piece of wood where you would like them. Make sure you weed slowly and carefully.
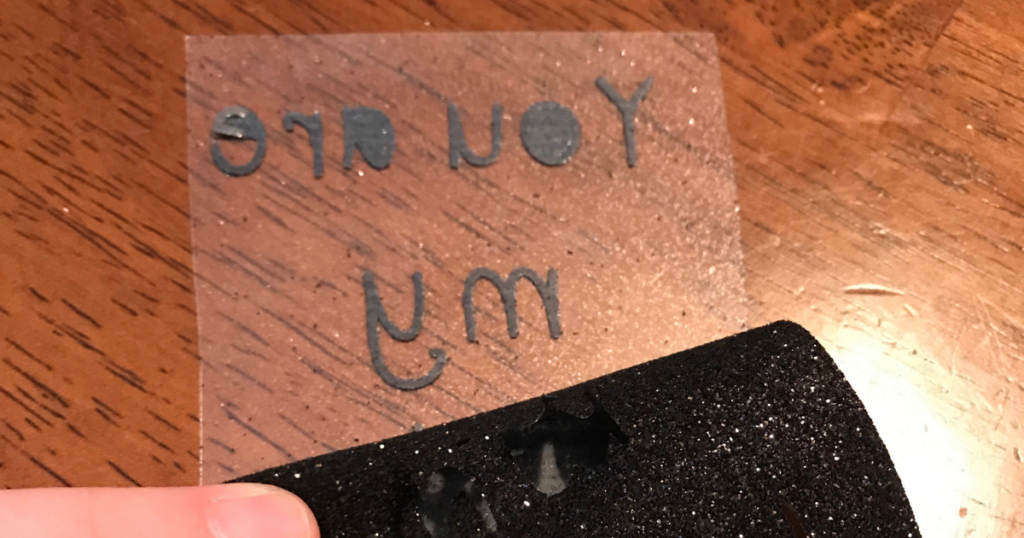
How To Heat Press HTV onto Wood
For wood and Glitter HTV Cricut recommends 300F for 40 seconds. I use my EasyPress on a portable ironing pad similar to this one Portable Ironing Pad on my kitchen counter.
First I pressed the shamrocks and the circle in the center. Then peel the film off.
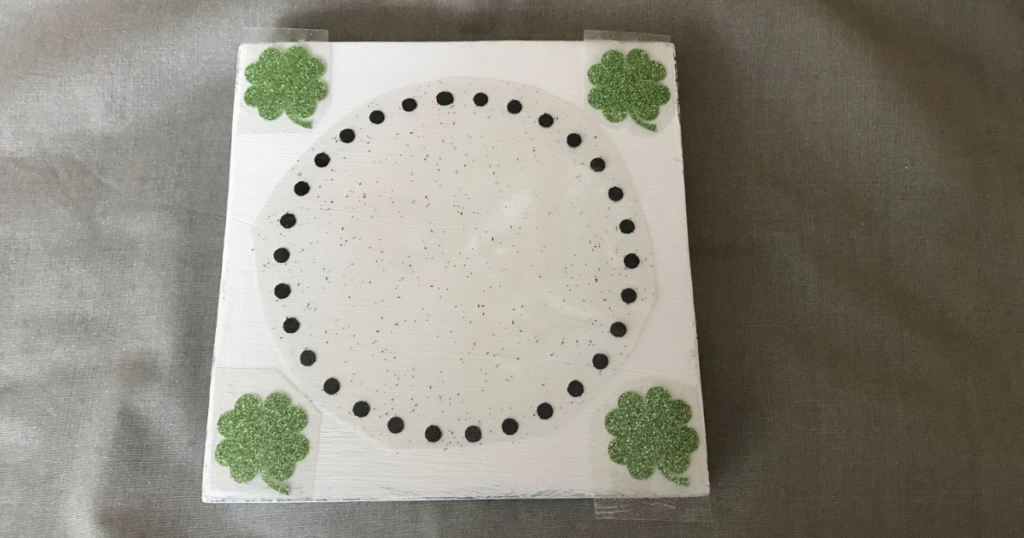
Then I pressed the words in the center of the circle and peeled off the film after it cools.
I am in love with my new DIY St. Patrick’s Day sign and how it came out. I want to make all kinds of signs now with HTV and wood. This came out so well and was so easy to create. If you have been thinking about the Cricut EasyPress, get it. I promise it will be worth it. I can’t wait to make more DIY St. Patrick’s day signs and decor to match this.


