Glittery Mommy & Me Valentine’s Day Shirts
Note: As an Amazon Associate, I earn from qualifying purchases. If you click on a link from Amazon or another of my advertising affliates, I will earn a small commission at no additional cost to you. Please see my full disclosure policy here.
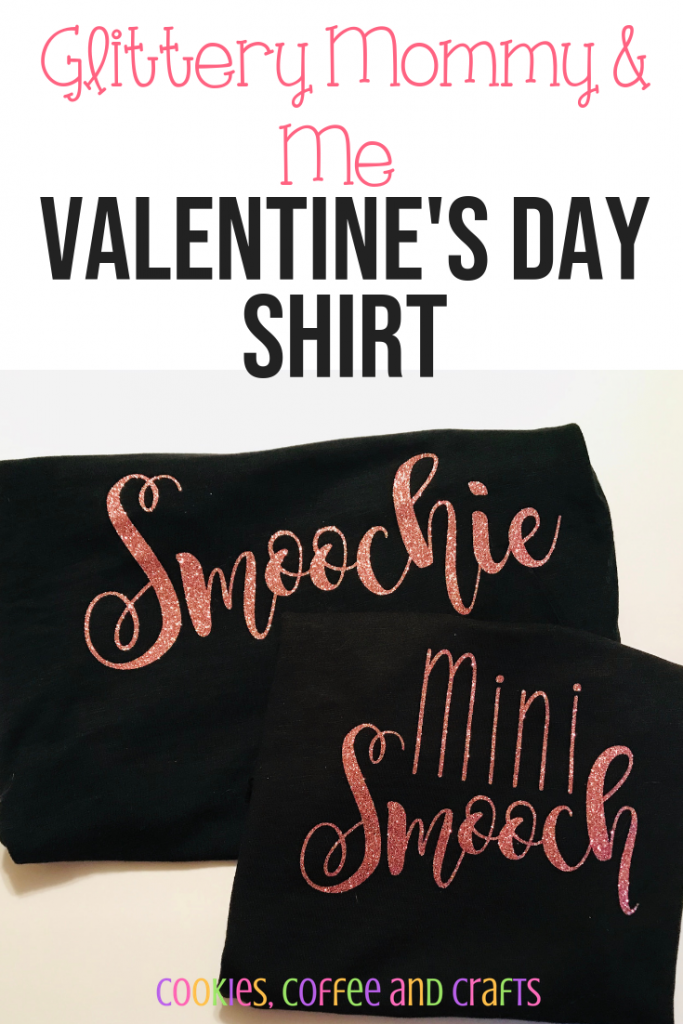
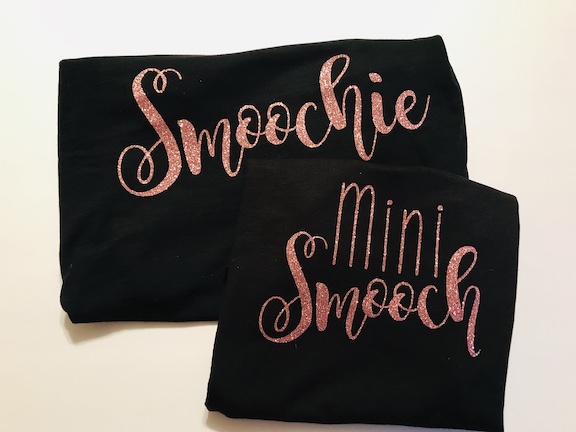
I have always found Mommy & Me outfits so cute, but I’ve never done it before. This is a perfect time to make Glittery Mommy & Me Valentine’s Day Shirts for Bring on the Crafts Blog Hop! My husband’s nickname for me (well one of many, most have to do with being short) is Smoochie and he calls our daughter Mini Smooch. This is perfect for our Mommy & Me shirts and it’s special to both of us.
On the first Wednesday of each month, a group of DIY and crafty bloggers join forces. Together with their hosts Marie & Aleisha from The Inspiration Vault and Habiba from Craftify My Love they bring you the #BringontheCrafts blog hop. Each blogger creates a fun craft or DIY project to share that goes with a monthly theme.
January’s theme is glitter. Each blogger chooses their own craft to make as long as they love it and it’s glitter themed.
Join in on the fun!
If you’d like to participate next month, you can request to join our Bring on the Crafts Facebook group. Next month’s theme is paper!
Not a blogger?
But a creative mind none the less! Don’t worry. Share your awesome creations in our Craft Cult Facebook group. This is also a great place to ask craft & DIY related questions and find inspiration for your next project.
Now let’s see all of those amazing craft and DIY projects!
Let’s Create Glittery Mommy & Me Valentine’s Day Shirts
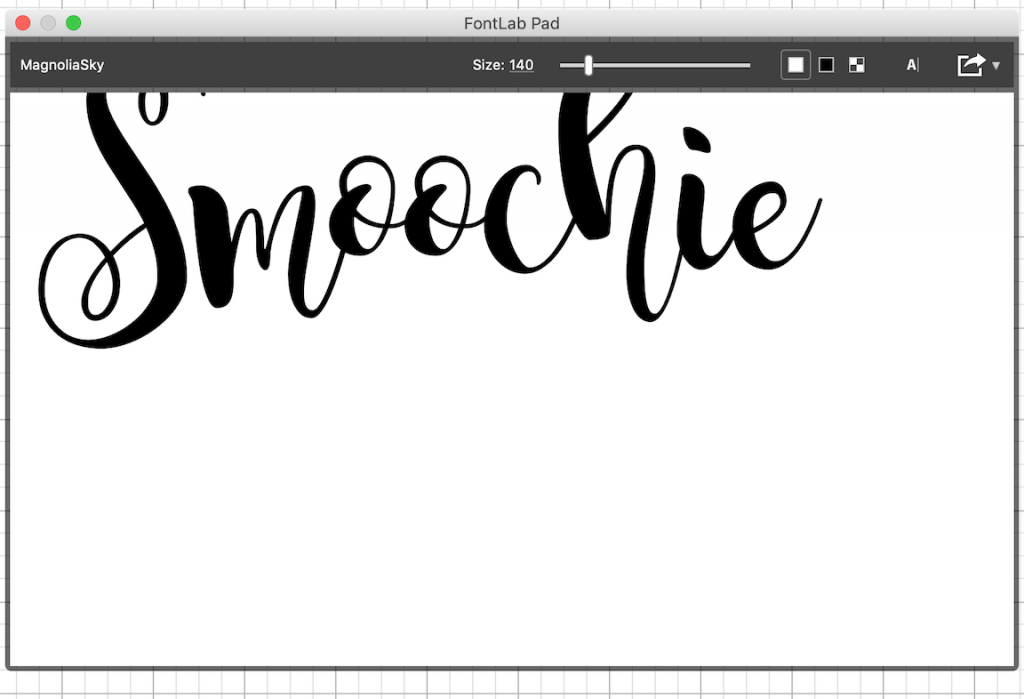
I wanted to use the font Magnolia Sky because it’s beautiful, but it’s a cursive font and these can be difficult in Cricut Design Space. In Fontlab Pad I dragged over the font Magnolia Sky and then created the SVG. To create the SVG, I type in Smoochie and save it.
Then upload your design to Cricut Design Space. Click on Upload- then upload image-drag and drop or click on your file to add it to Cricut Design Space™.
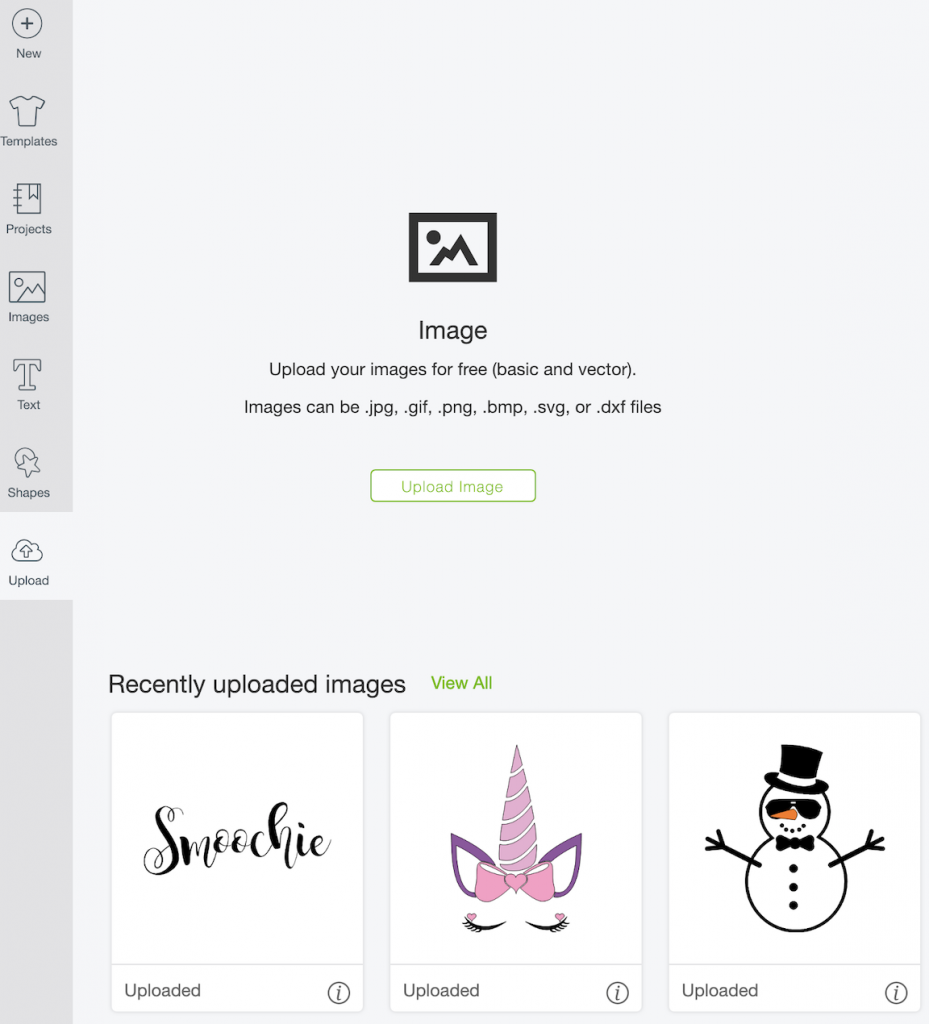
Now click on your uploaded image and add to to your project. To make the Mini Smooch shirt for my daughter I will do the the same with smooch in Fontlab Pad and add Mini using a font of your choice. I used the font KG Call Me Maybe . I placed mini above smooch, highlight the two words and clicked group.
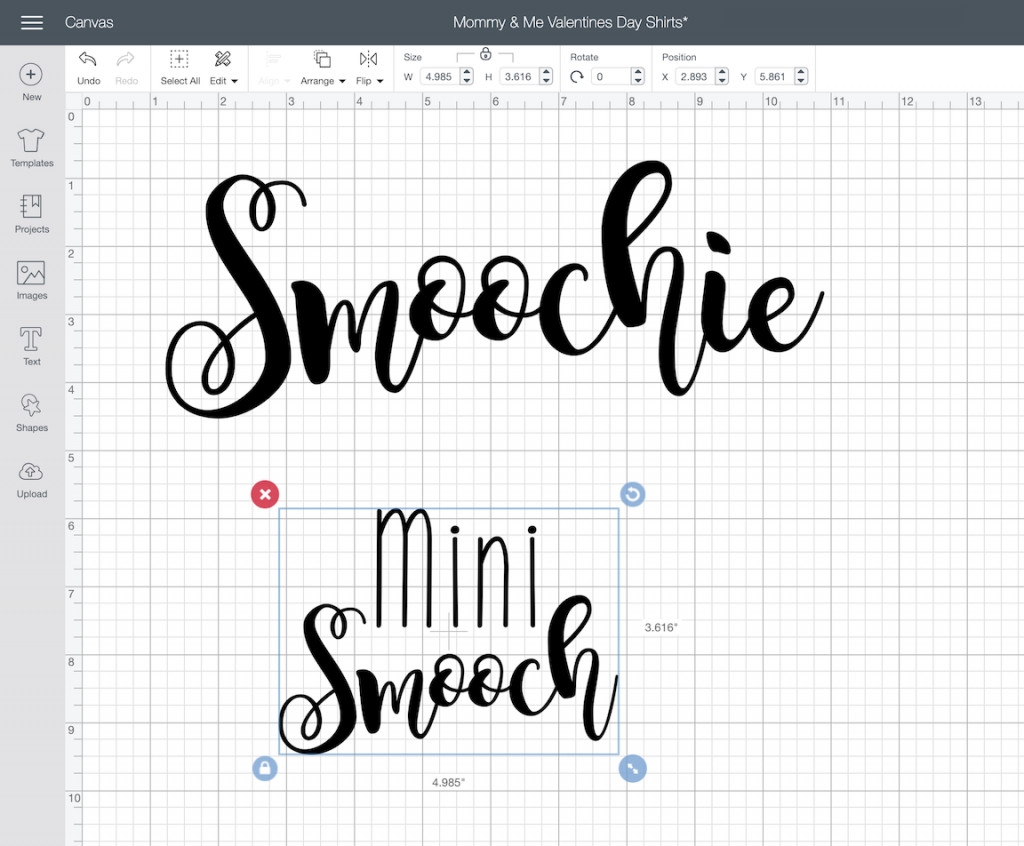
Both of the images are ready to be sized for the shirts and cut on the Cricut Maker. Remember for heat transfer vinyl/iron on to do mirror image and to place the shiny side down onto the cutting mat.
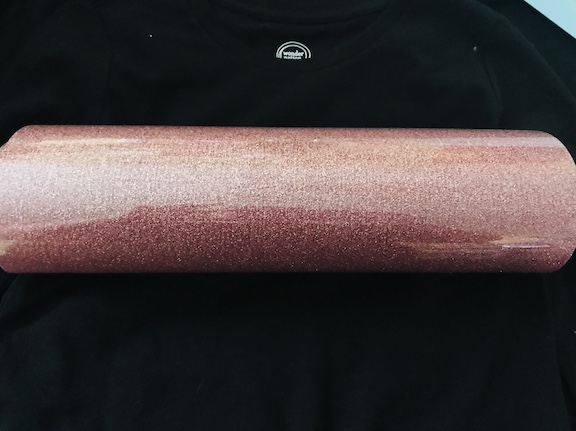
I’m going to be using Siser Glitter Heat Transfer Vinyl in Rose Gold . Once I cut my designs, I have to weed the excess and I’ll be using my Cricut Brightpad when I weed. The Brightpad is new to me and I have to be honest. When I used the Brightpad for vinyl, it was fantastic and made weeding so much easier. It was still useless with glitter heat transfer vinyl, I couldn’t see it at all and I tried a variety of different light shades. I was really disappointed because I love glitter, but it’s so hard to weed.
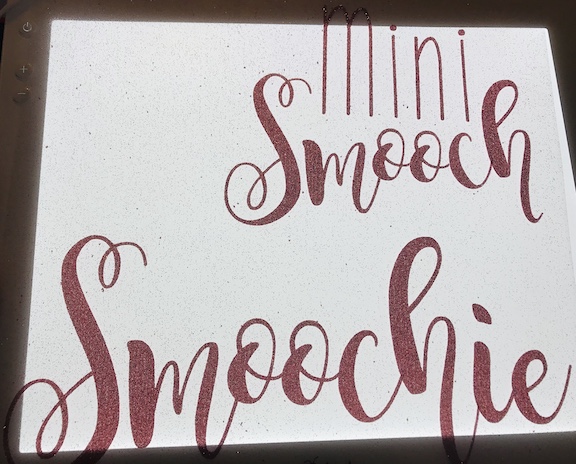
Then get ready to add your designs to your Mommy & Me shirts. The rose gold looks awesome on black so each of the shirts will be black. Follow the instructions for the Cricut EasyPress, heat press or iron that you will be using to add your design.
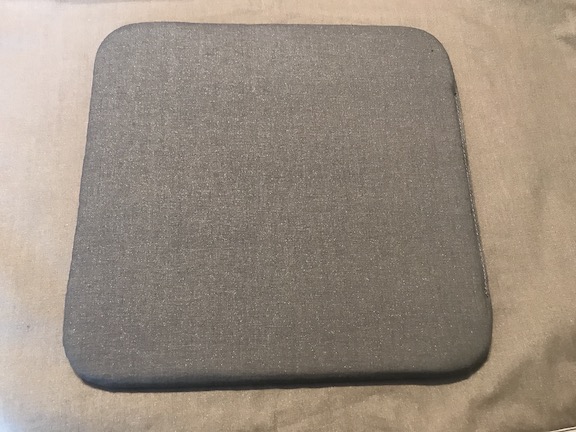
Today was my first time using the Cricut EasyPress mat and it’s amazing! I noticed a huge difference in how well the EasyPress worked. Best Christmas present ever!
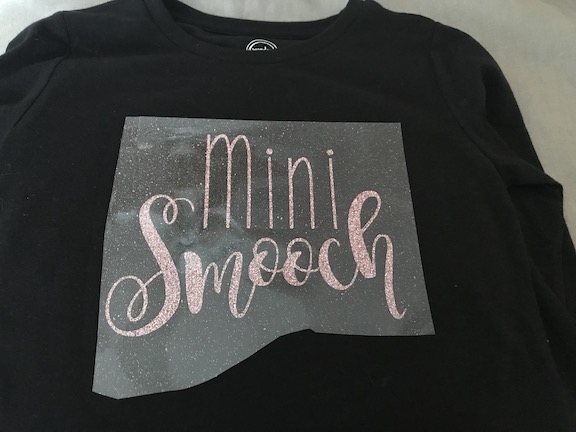
Press each of the designs and your Mommy & Me Valentine’s Day Shirts will be ready for the big day! My daughter and I will wear these anytime, but it will be extra cute on Valentine’s Day!
 Loading InLinkz ...