DIY Halloween Countdown Sign
Note: As an Amazon Associate, I earn from qualifying purchases. If you click on a link from Amazon or another of my advertising affliates, I will earn a small commission at no additional cost to you. Please see my full disclosure policy here.
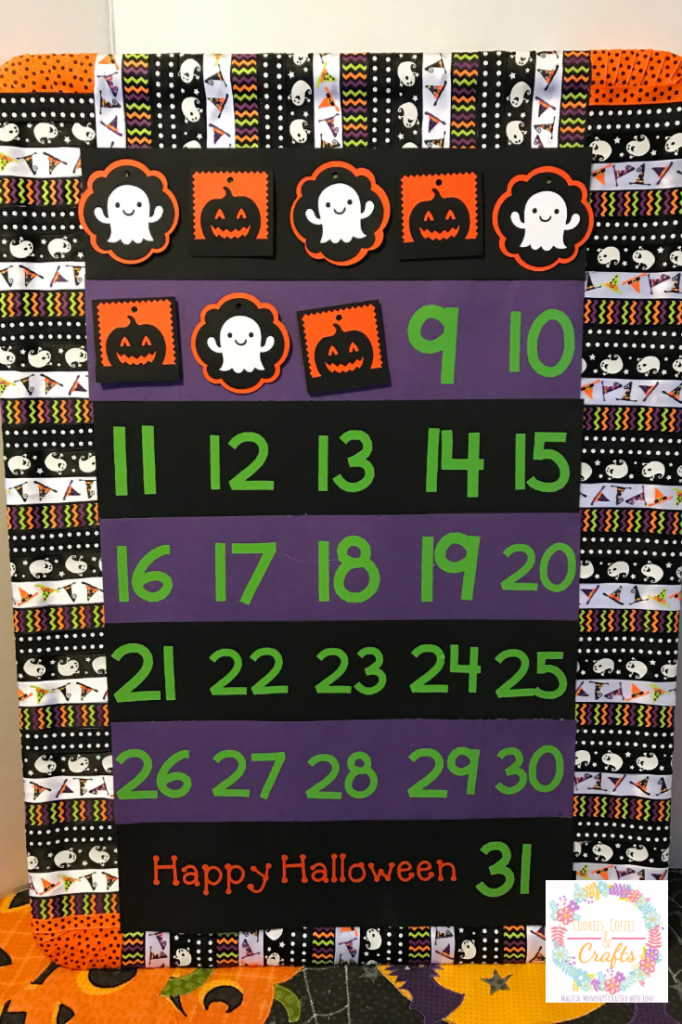
October is here and I have been working hard to make a countdown to Halloween Board. My son has asked me everyday if its time to go Trick or Treating and this will help him know when it’s time. The DIY Halloween Countdown Sign will also help with number recognition and patterns. The teacher in me had to make it educational too.
Below are some affiliate links and I may make a commission for purchases made through the following links.
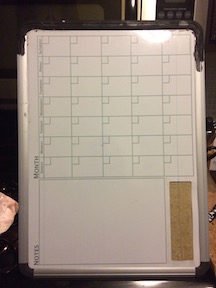
I looked and looked on Pinterest at all kinds of different countdown signs and had an idea of what I wanted to make, I just had to find a magnetic dry erase board. I was so happy when I found one on a Facebook kids site in my area for $5. It was perfect, but it was bigger then what I thought. So I had to really think about how I was going to create the sign.
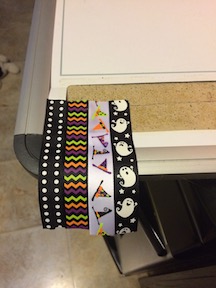
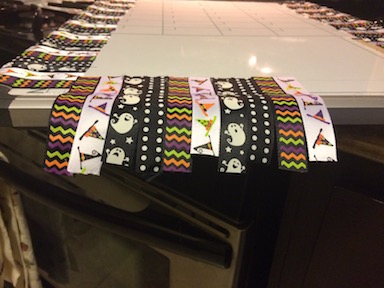
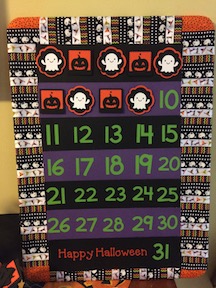
I love ribbon, its like an obsession. I found Halloween ribbon in the same color tones with 4 different patterns and I decided to wrap the edges in ribbon. I did the same pattern of the ribbon all around the board. I did try painting the edge of the board, but the paint just smeared. I cut the ribbon about 4 inches in length so it would wrap around and be covered by the paper. Then on the back of the board I glued (with a glue gun) all the ribbon down on the backside.
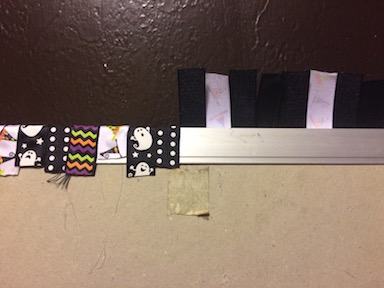
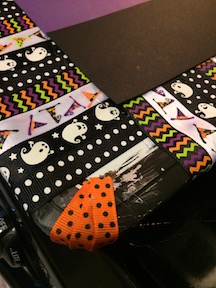
The corners of the board needed a lot of ribbon because of the rounded corners and I ran out of my ribbon from the edges, so I used polka dot in the corners. If you have a board with corners, my suggest is to do the corners first before you do any other ribbon. Start in the middle of the corner and work out to the straight edges. I saved my corners to last and it was tough to do.
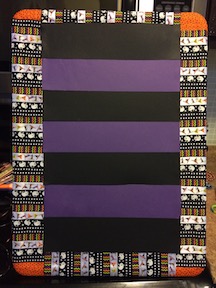
Then I had to make a decision about the middle of the board. I decided to do 6 strips in paper about 3 inches in height by 12 inches long in black and purple. I hot glued them to the board and made sure that the paper covered the edges of the ribbon. Then I added the numbers and used green vinyl to put the numbers on the paper strips because the green vinyl just popped on the black and purple paper. Plus the green vinyl matched the green in the ribbon to. Then on the last strip I put Happy Halloween with the 31.
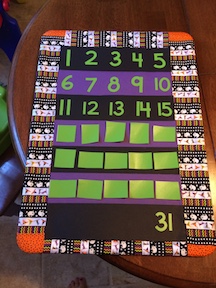
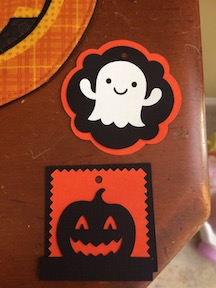
To do the countdown, I made ghost tags and pumpkin tags on my
Cricut Explore Air Wireless Cutting Machine
.
I made the tags large enough to cover the numbers and added magnetic tape to each tag so they will stick to the board. I just did a simple ABAB pattern of ghost, pumpkin, ghost, pumpkin, etc. It’s a great fun way to introduce patterns.
Materials:
My son is having so much fun putting on a new tag everyday and when he ask me if its time to go trick or treating, I tell him to check out the board. He is also learning the pattern of ghost, pumpkin, ghost, pumpkin. Now I just have to find a good place to put it. This project was a lot of work and took many hours. I craft when I can so it took me several days and many glue sticks! It wasn’t ready on October 1st either, but thats ok. We will have it for many Octobers to come!
I’m excited to share that this was featured in 50+ Easy Halloween Crafts for Kids- Crafts by Ria so stop by and see all the fun and cute Halloween crafts that she is sharing.
Happy Halloween!