4 of the Cutest Halloween Mason Jars
Note: As an Amazon Associate, I earn from qualifying purchases. If you click on a link from Amazon or another of my advertising affliates, I will earn a small commission at no additional cost to you. Please see my full disclosure policy here.
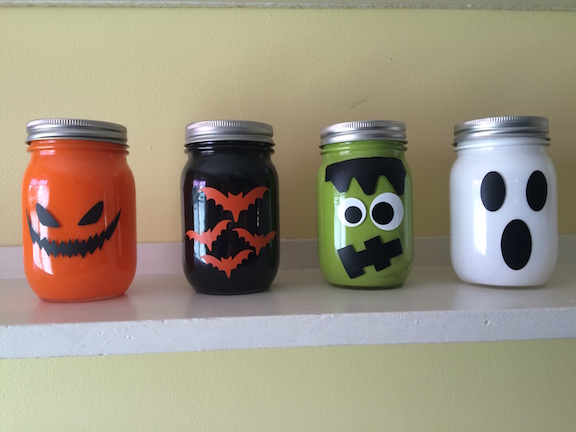
Mason Jars are now one of the hottest crafting items, you can make just about anything with them. I love how they are back in style! So I was looking at Pinterest and saw lots of Halloween Mason Jars and decided to make some of my own.

I’m trying to update my decorations and have them match a little more. Just in the same color tone or theme. All my decorations have to go up high and out of reach of little hands which makes decorating a challenge, but it makes my life easier. I have a shelf in my kitchen that was made by my grandpa and hung in my grandmas house next to her kitchen table and now its next to my table. To me its a family heirloom and its my favorite place to decorate in the kitchen.
Let’s Create the Cutest Halloween Mason Jars
Supplies for Halloween Mason Jars
Pint Size Mason Jars
Paint (color will depend on what you decide to make)
Vinyl
Cricut Explore
black card stock
Let’s Create the Cutest Halloween Mason Jars
Step 1:
Choose which Halloween jar you would like to make or make all of them!
Step 2:
Take the top of the mason jar and squeeze small amounts of paint onto the sides and the bottom of the jar. Then swirl/shake the jar around with the paint inside, tap the jar, and tip it upside down. Don’t use to much paint! I made this mistake and it took forever for the jar to dry and it was a total waste of paint. Gravity will work!
The jar comes out perfectly painted without any paintbrush marks. Just keep checking the jar as it dries to make sure all areas of the jar have paint on them. This was the hardest part to have patience as I waited! I was so excited to make them, so I made a cup of coffee and waited.
Step 3:
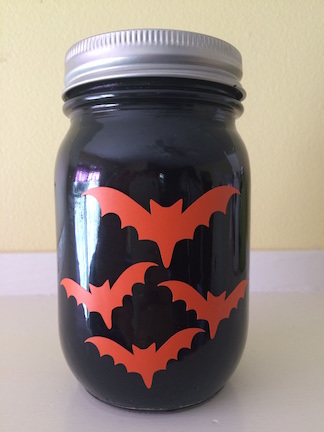
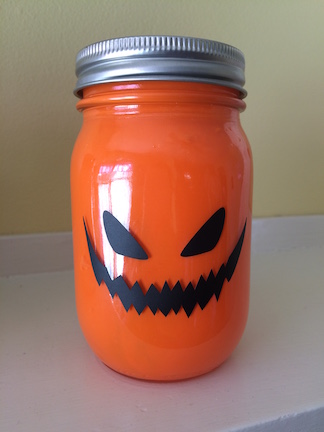
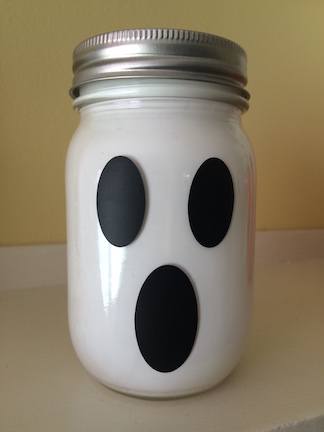
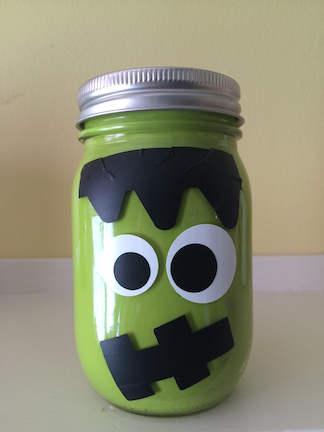
Depending on which Halloween Jar, its time for the face or the decor. Remember if you don’t have a Cricut, paper, vinyl or google eyes would work to. For the bats, I used a bat image on my Cricut and cut it in orange vinyl. For the ghost, I used 3 ovals for the eyes and the mouth in black vinyl. For the pumpkin, I used the jack o lantern face on the Cricut in black vinyl. The hardest one of all was Frankenstein. I used basic images to make the hair and mouth and I used circles for the eyes. The best thing about this craft is, make it your own! Be creative!
Step 4:
On black card stock, I traced the lid and hot glued the black paper onto it and put the lid on.
I love projects that you can be creative on and it comes out perfectly! I am now thinking of all the other ways I can use mason jars. Happy Mason Jar Crafting!
Below are some affiliate links and I may make a commission for purchases made through the following links.
