Hello Summer Sign Cricut Tutorial
Note: As an Amazon Associate, I earn from qualifying purchases. If you click on a link from Amazon or another of my advertising affliates, I will earn a small commission at no additional cost to you. Please see my full disclosure policy here.
Summer Time is finally here, the sun, the sand, the water, the flip flops, ice cream and fun! I was given these board by my neighbor so this is an upcycled project to recreate something new.
Before beginning, cut your board to size and sand the edges. My dad does all the cutting and sanding for me and I just create. To purchase this board at the store it is a 1×3.
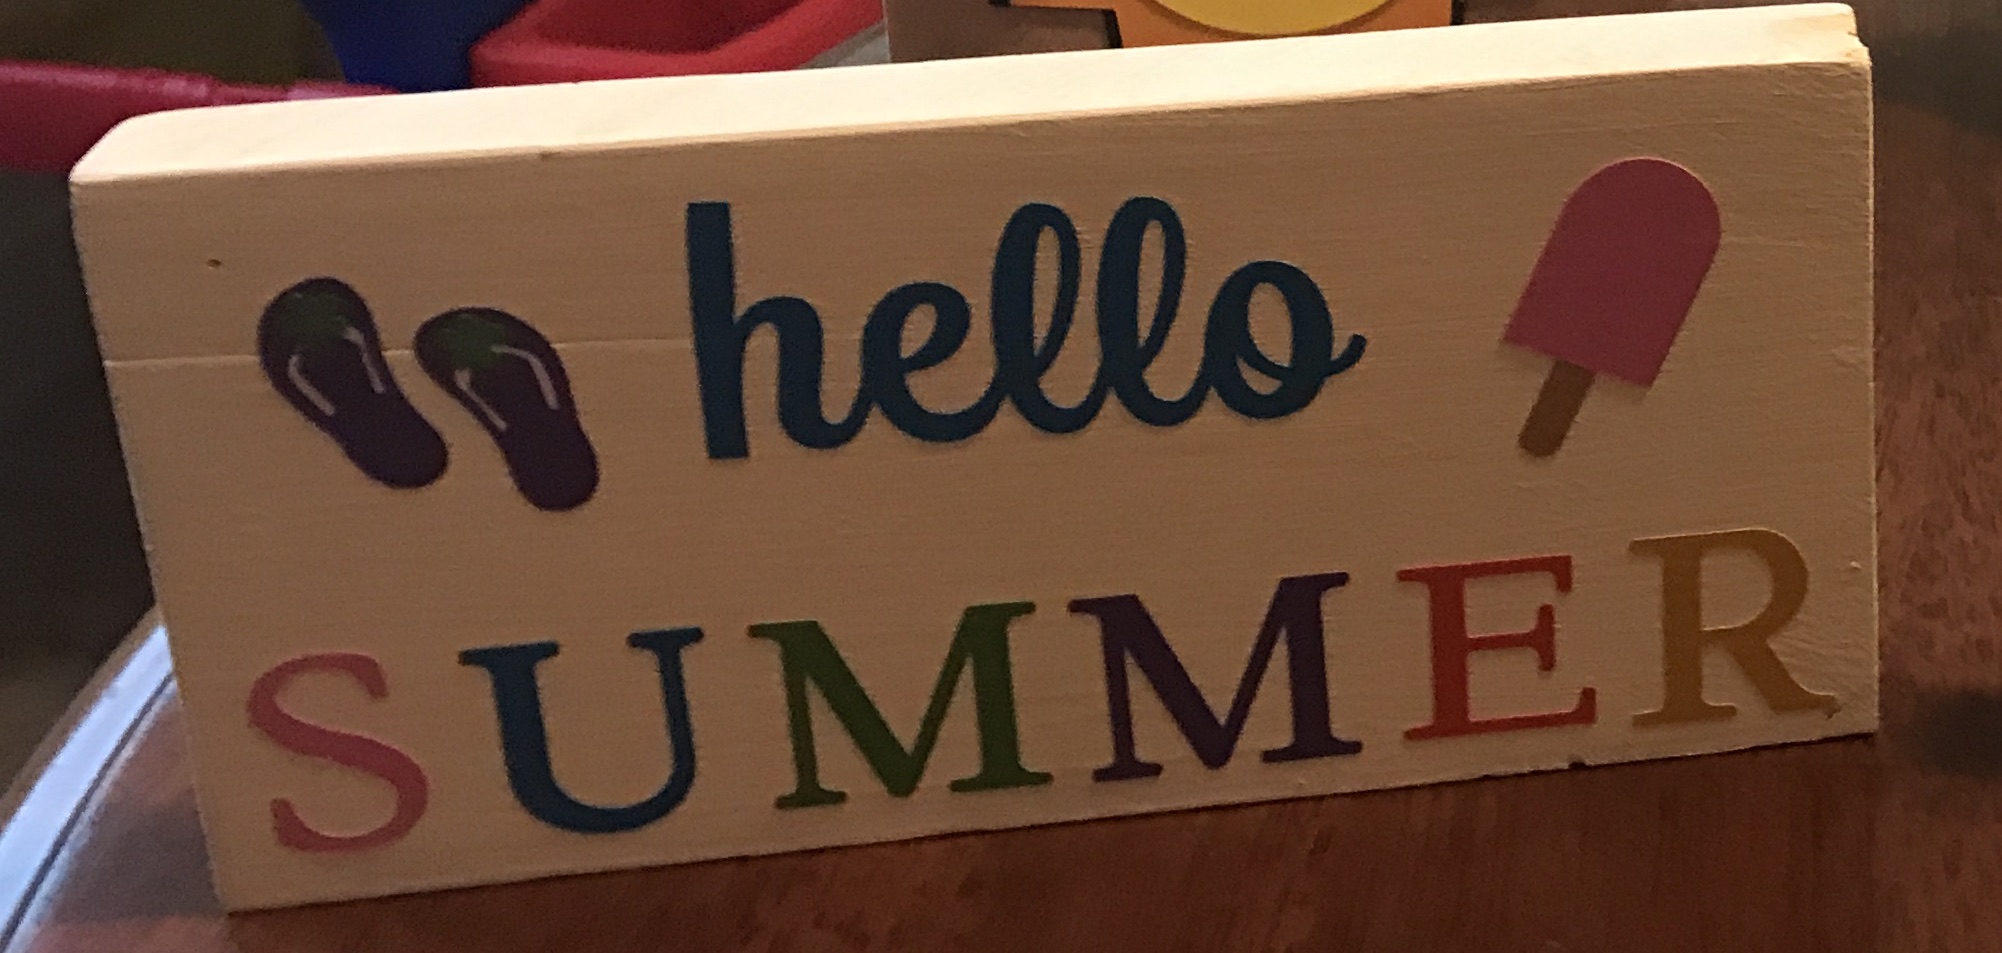
Now it’s time for the tutorial to turn this board into a “Hello Summer” Sign using the Cricut Explore.
Below are some affiliate links and I may make a commission for purchases made through the following links.
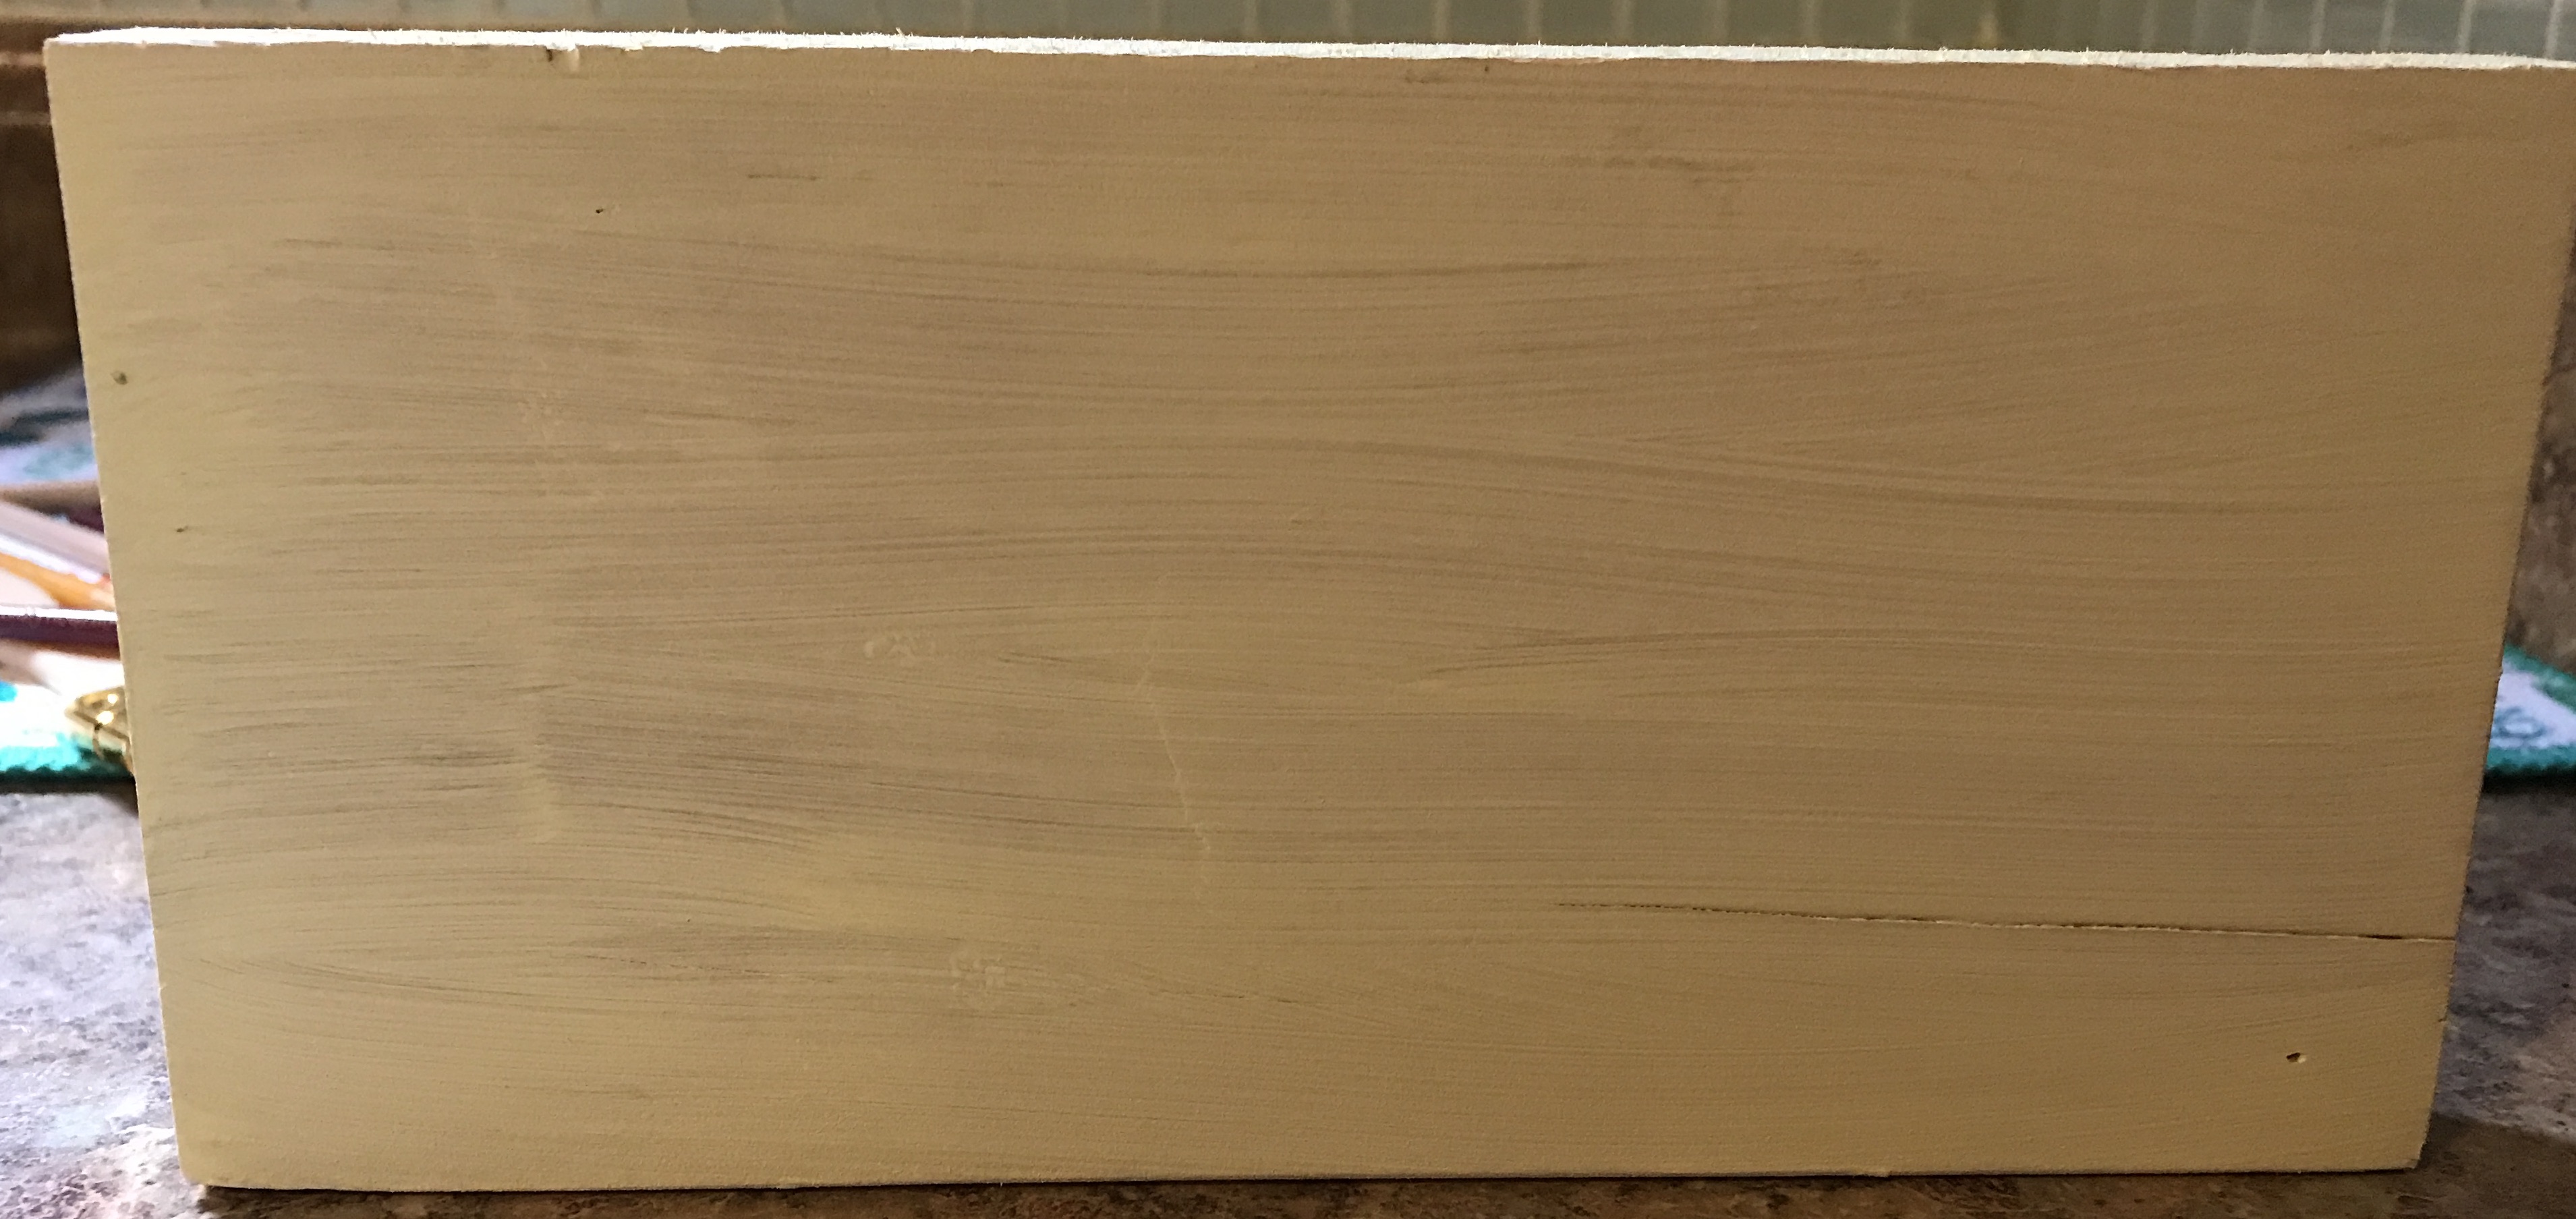
Before creating the sign in Design Space, I chose my vinyl colors and the color to paint my wooden sign. I painted the sign ivory (with acrylic craft paint) and made sure it was completely dry before transferring the vinyl to it. The ivory paint really looks like a light yellow when the sign is painted. I painted the sign one day and let it sit overnight and then added the vinyl the next day.
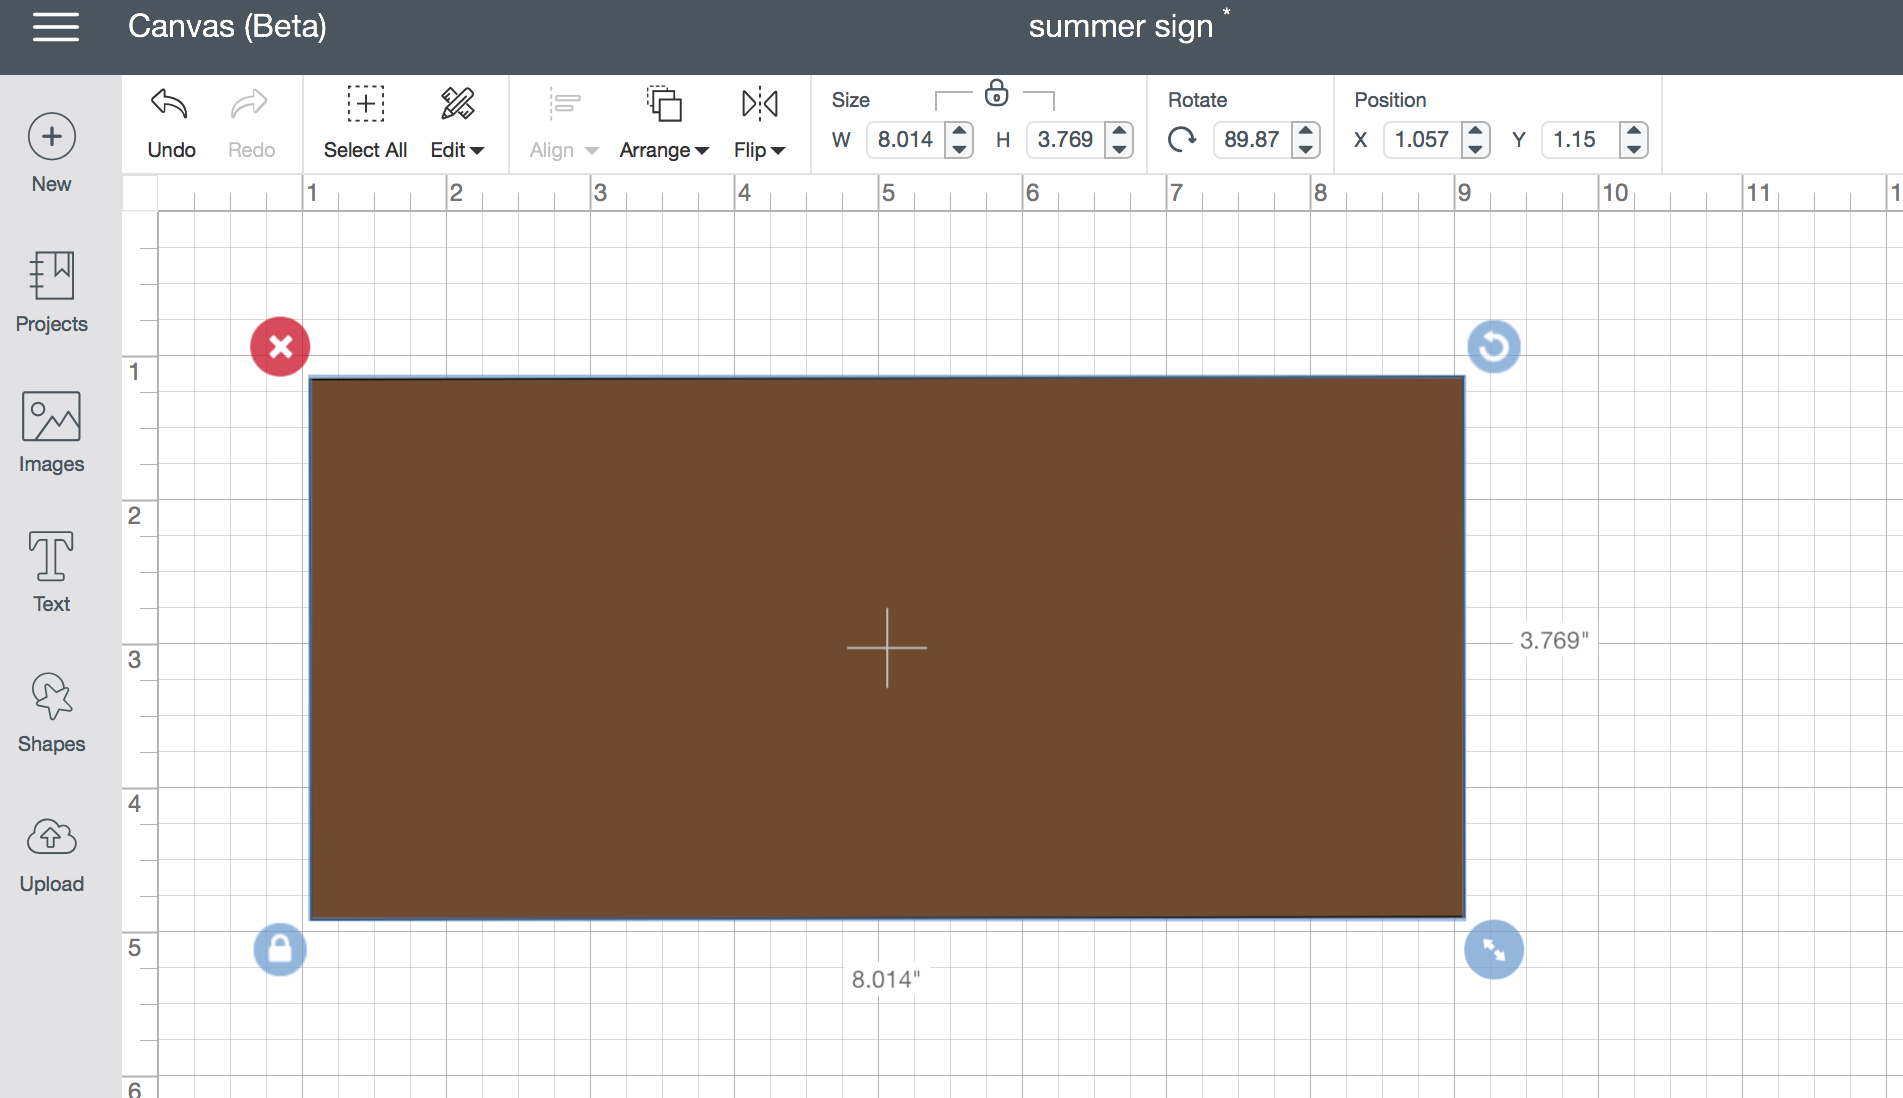
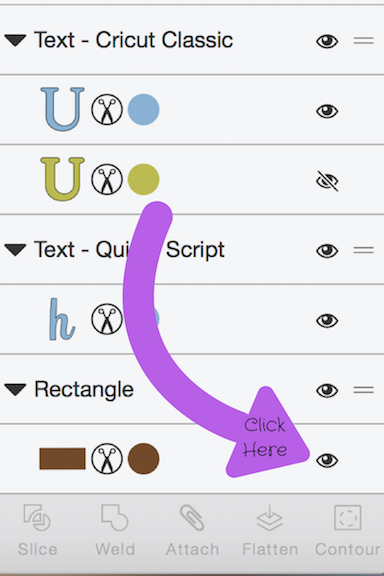
The first step in creating this in Cricut Design Space (DS) is to create the rectangle the size of the piece of wood. I am a visual person, so this makes it easier for me to create my design by seeing it on the rectangle (the pretend wood). When I go to cut my images/text, I will hide the rectangle by clicking on the eye.
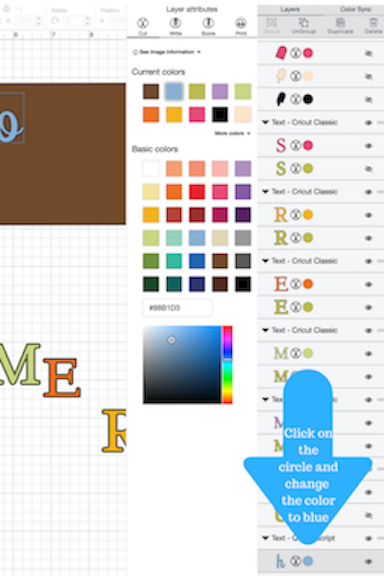
The next step is to add the text “Hello Summer.” To add hello I type it all together because every letter will be the same color. The font for hello is quirky script. I decided to make the hello in light blue vinyl, so click on the color circle next to hello and change it to the color you would like to use. I originally did “hello” in white, but it blended in with the ivory paint on the sign so I changed it to blue.
Then add each letter of summer separately. I just make sure the letters are the same size. The font for summer is Cricut Classic.
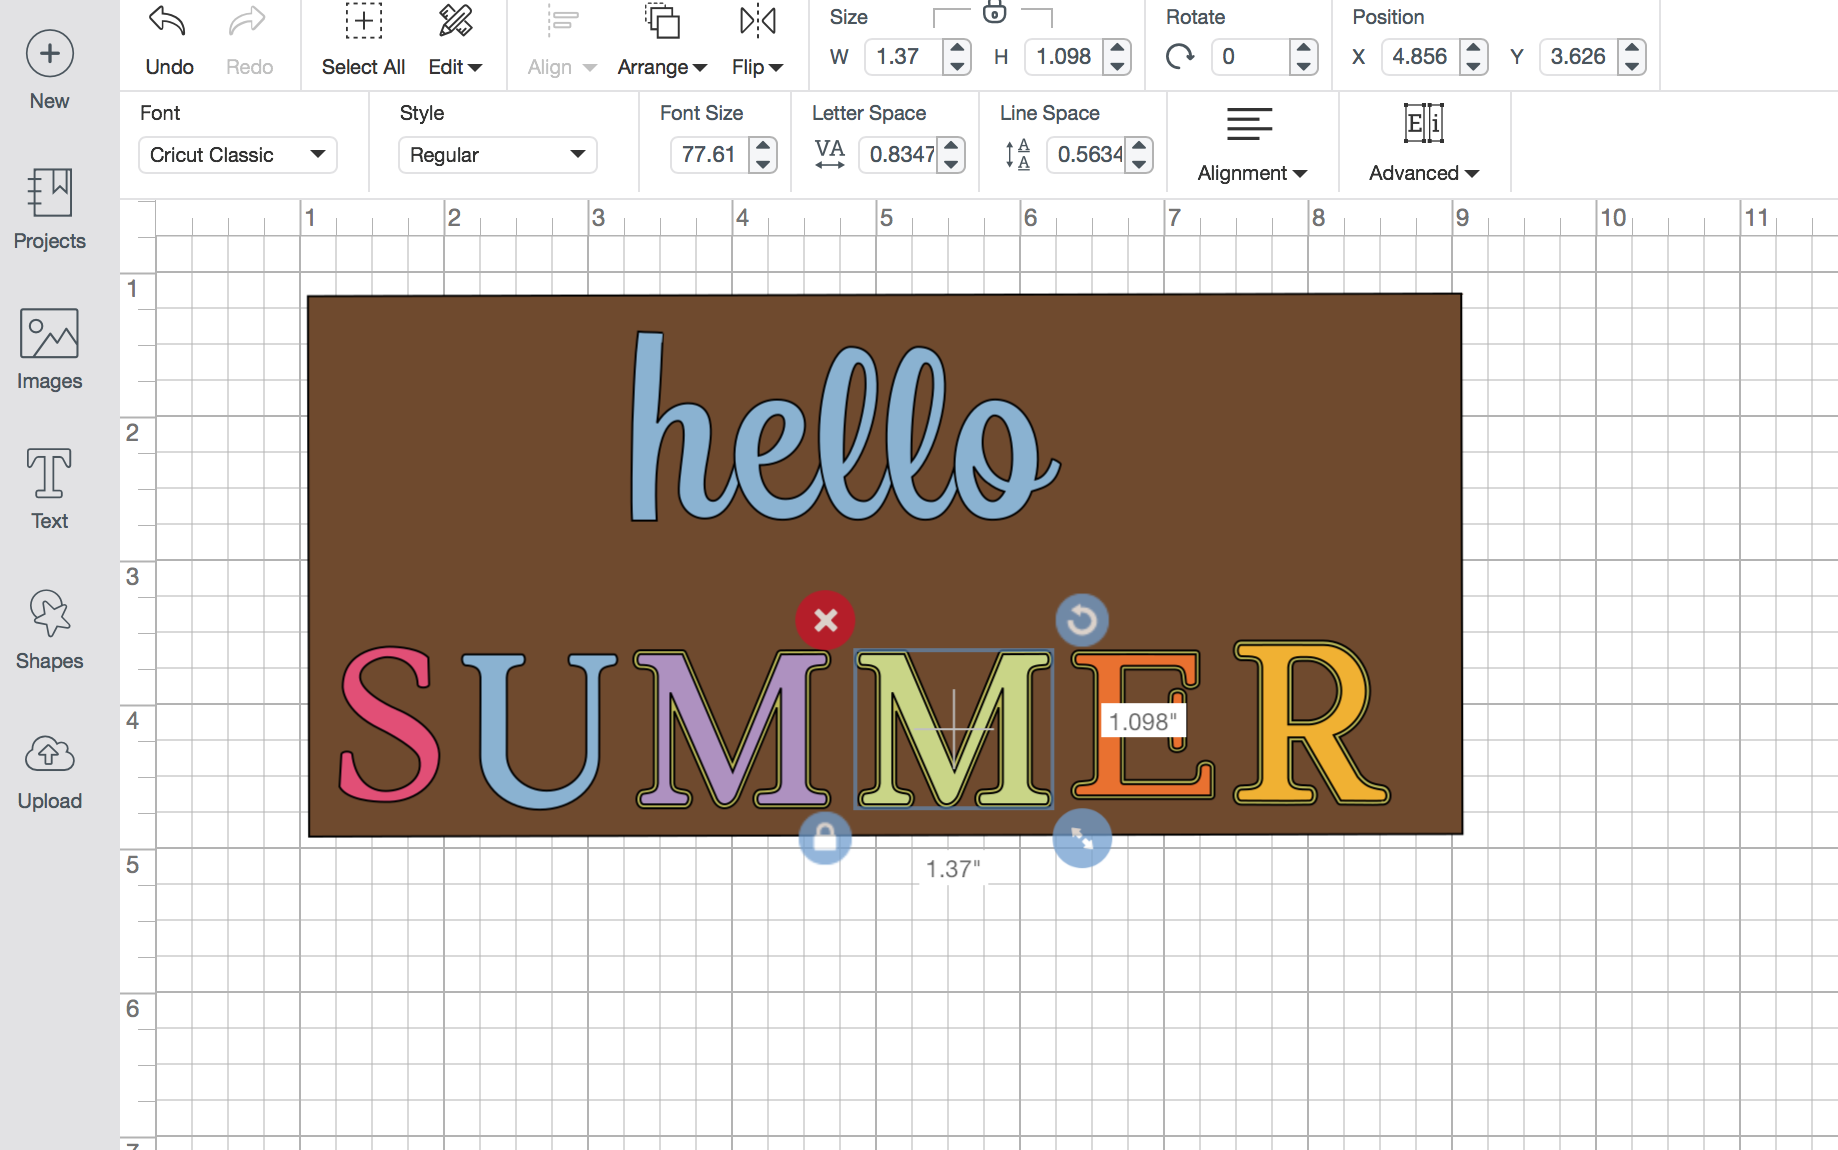
Then for each letter (just like with hello), change each letter to the color you would like. To make this sign I used all my scraps of Permanent Adhesive Backed Vinyl Sheets – EZ Craft USA – 12″ x 12″ – 40 Sheets Assorted Colors Works With Cricut and Other Cutters and just used the colors I had that all looked good together. I love projects that use up all the small pieces!
Then I added flip flops and a popsicle because thats what summertime is all about. Plus I wanted to use simple images because I am still practicing layering vinyl. For the popsicle and the flip flops I used the same colors as I did in the word summer.
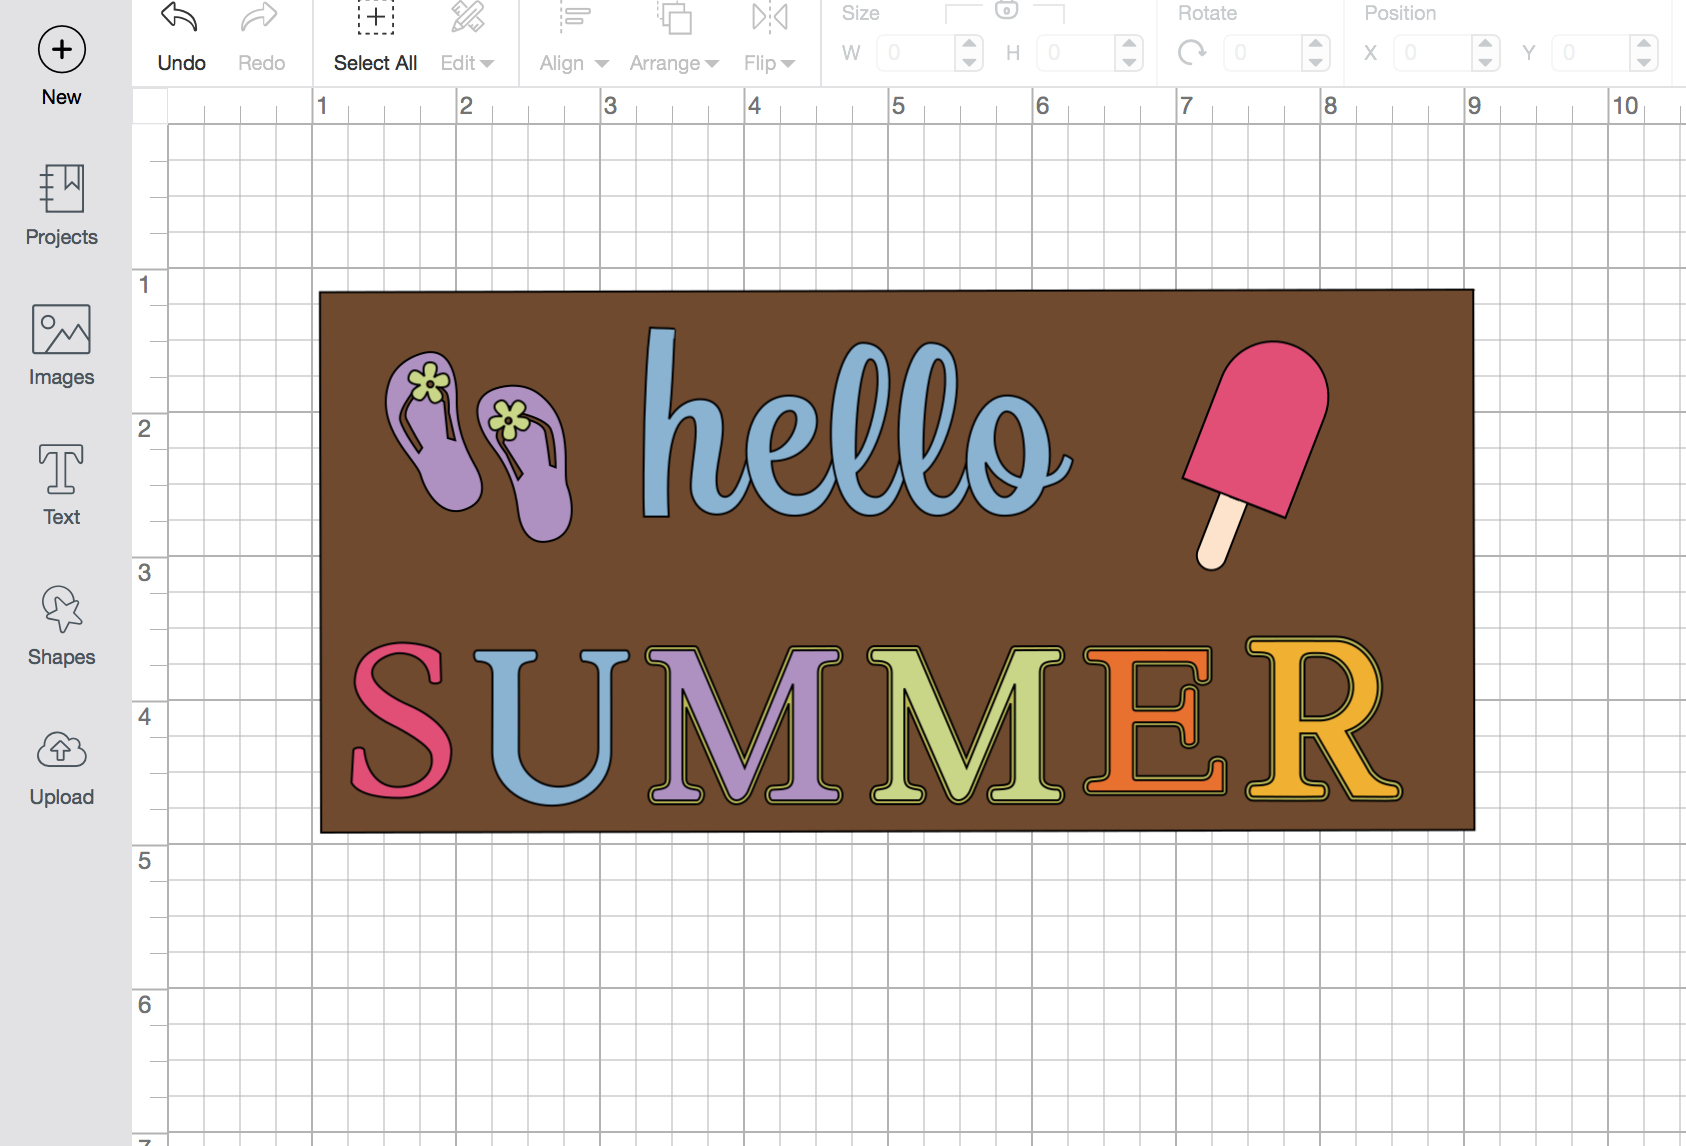
Now it’s time to cut and create your sign. I don’t cut the brown rectangle, so go into the layers panel and click on the eye to hide the rectangle.
Make sure to turn the knob on your Cricut to vinyl and begin cutting. After cutting, weed the text and the images, lay them on the board and then use Best Crafts 12″ X 10′ Feet Roll Transfer Paper w/ Grid- Perfect Alignment of Cameo or Cricut Self Adhesive Vinyl for Decals, Signs, Walls, Windows and Other Smooth Surfaces to finish your sign. This transfer paper is awesome, my favorite. The board I am using here is unpainted because I was waiting for the board to dry when I cut the images on my Cricut.
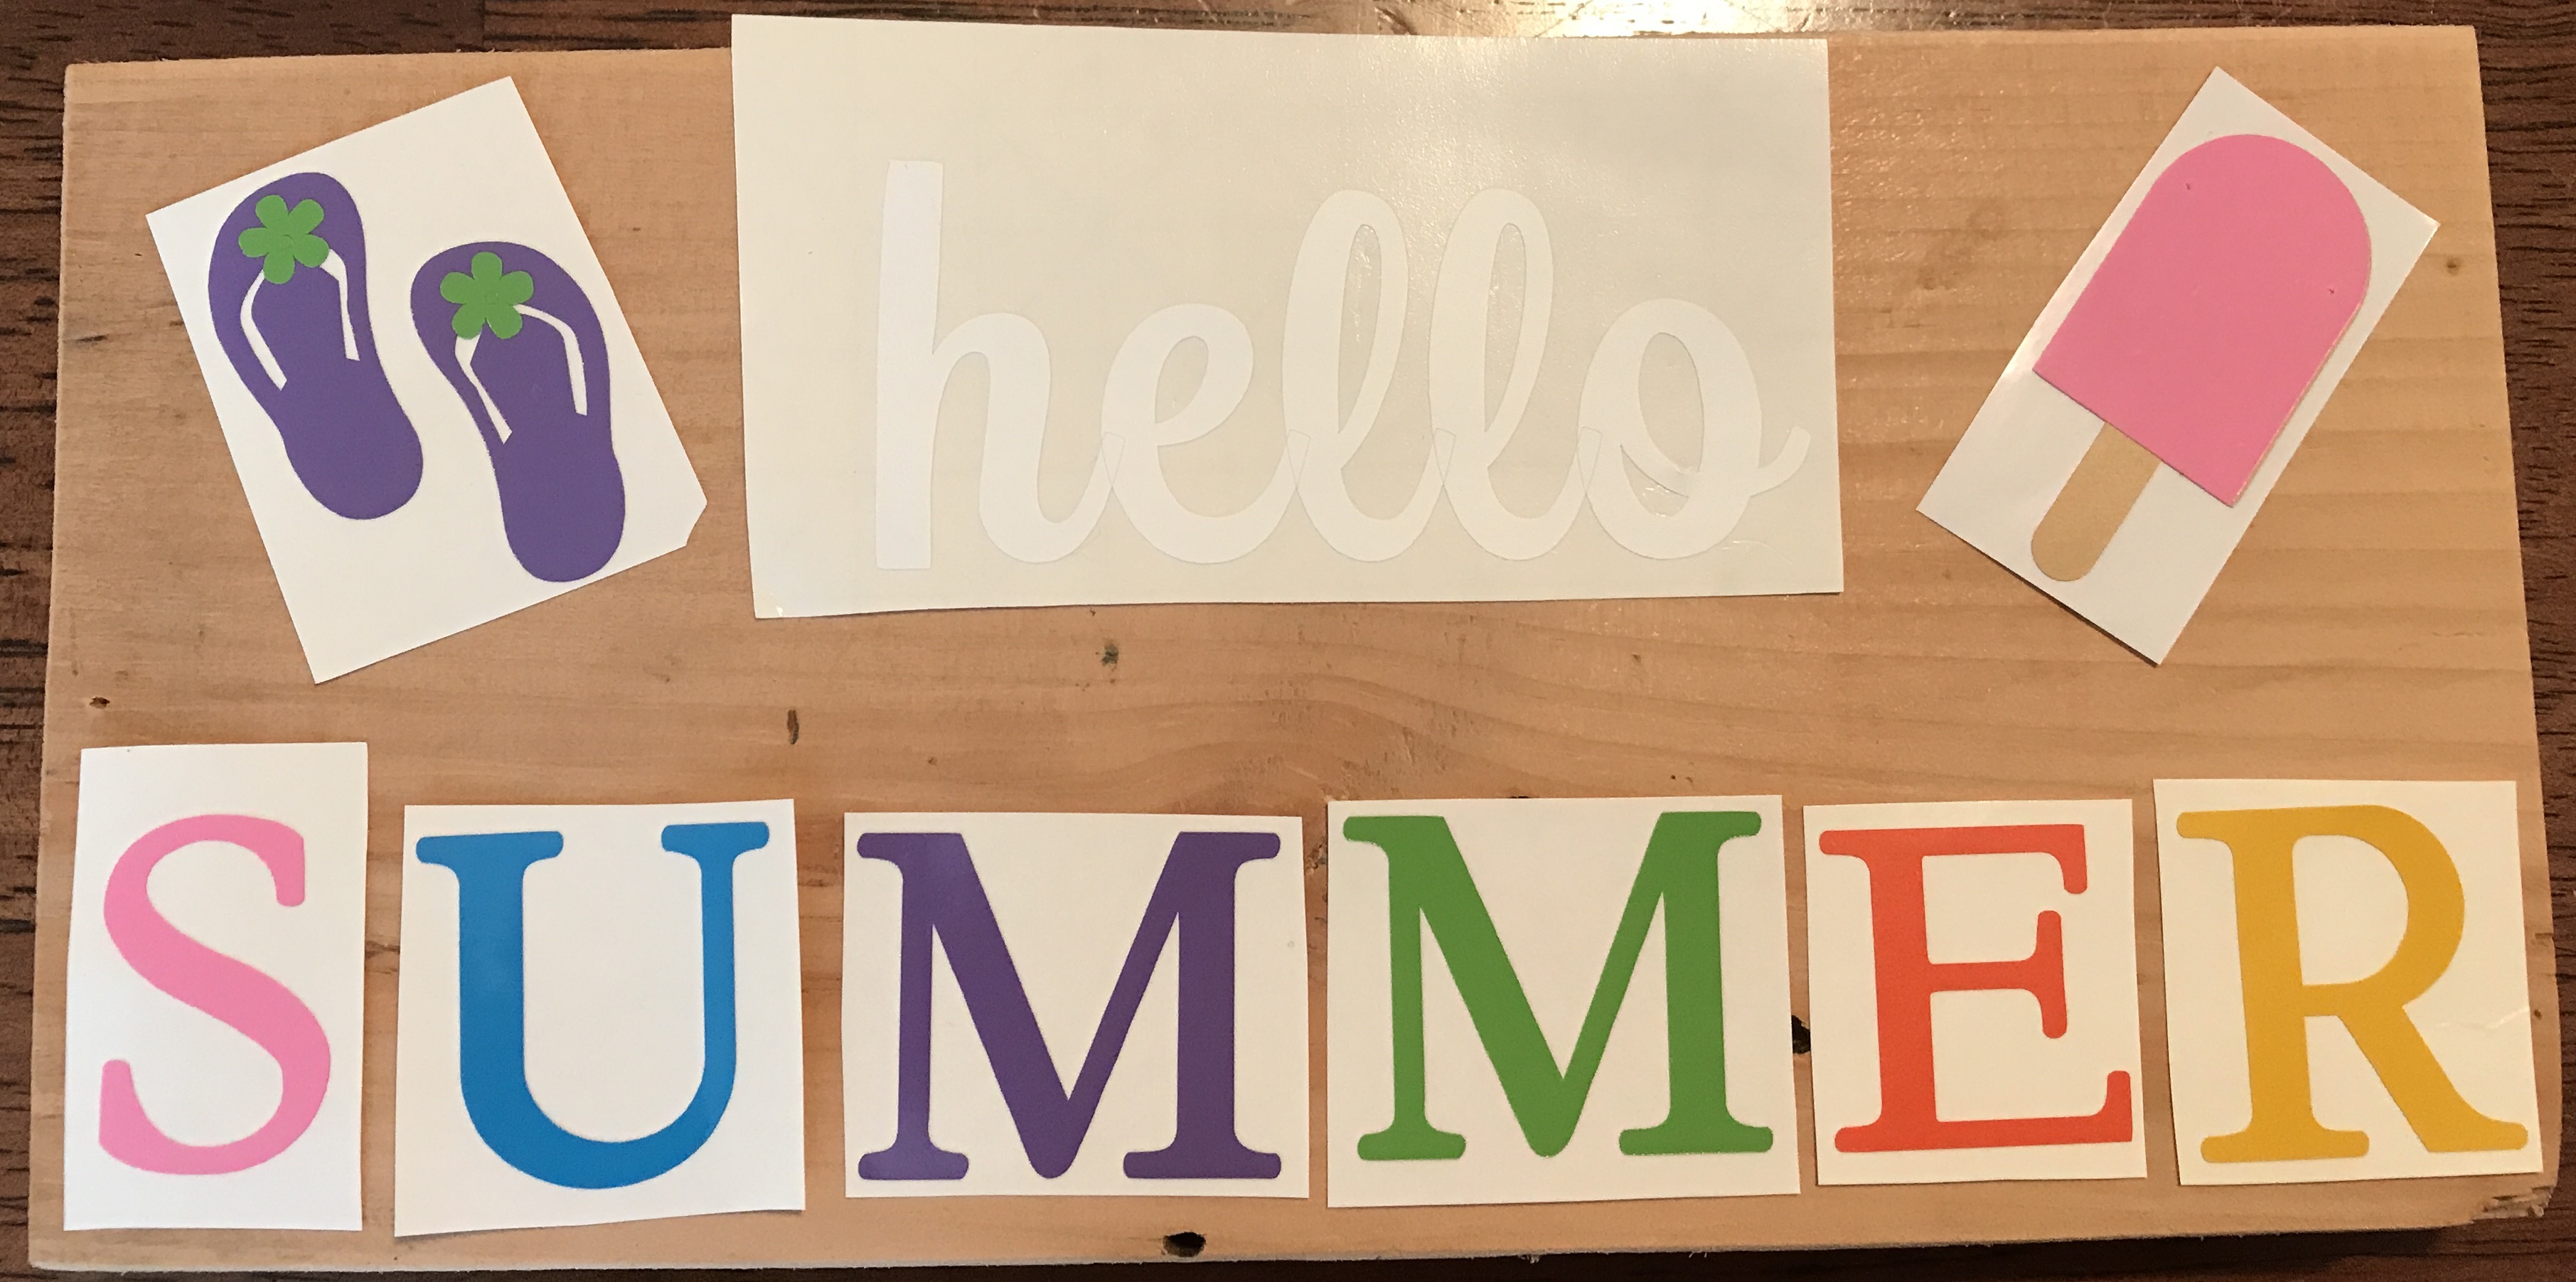
Now you have a cute and colorful summer sign, that you can decorate your home with.
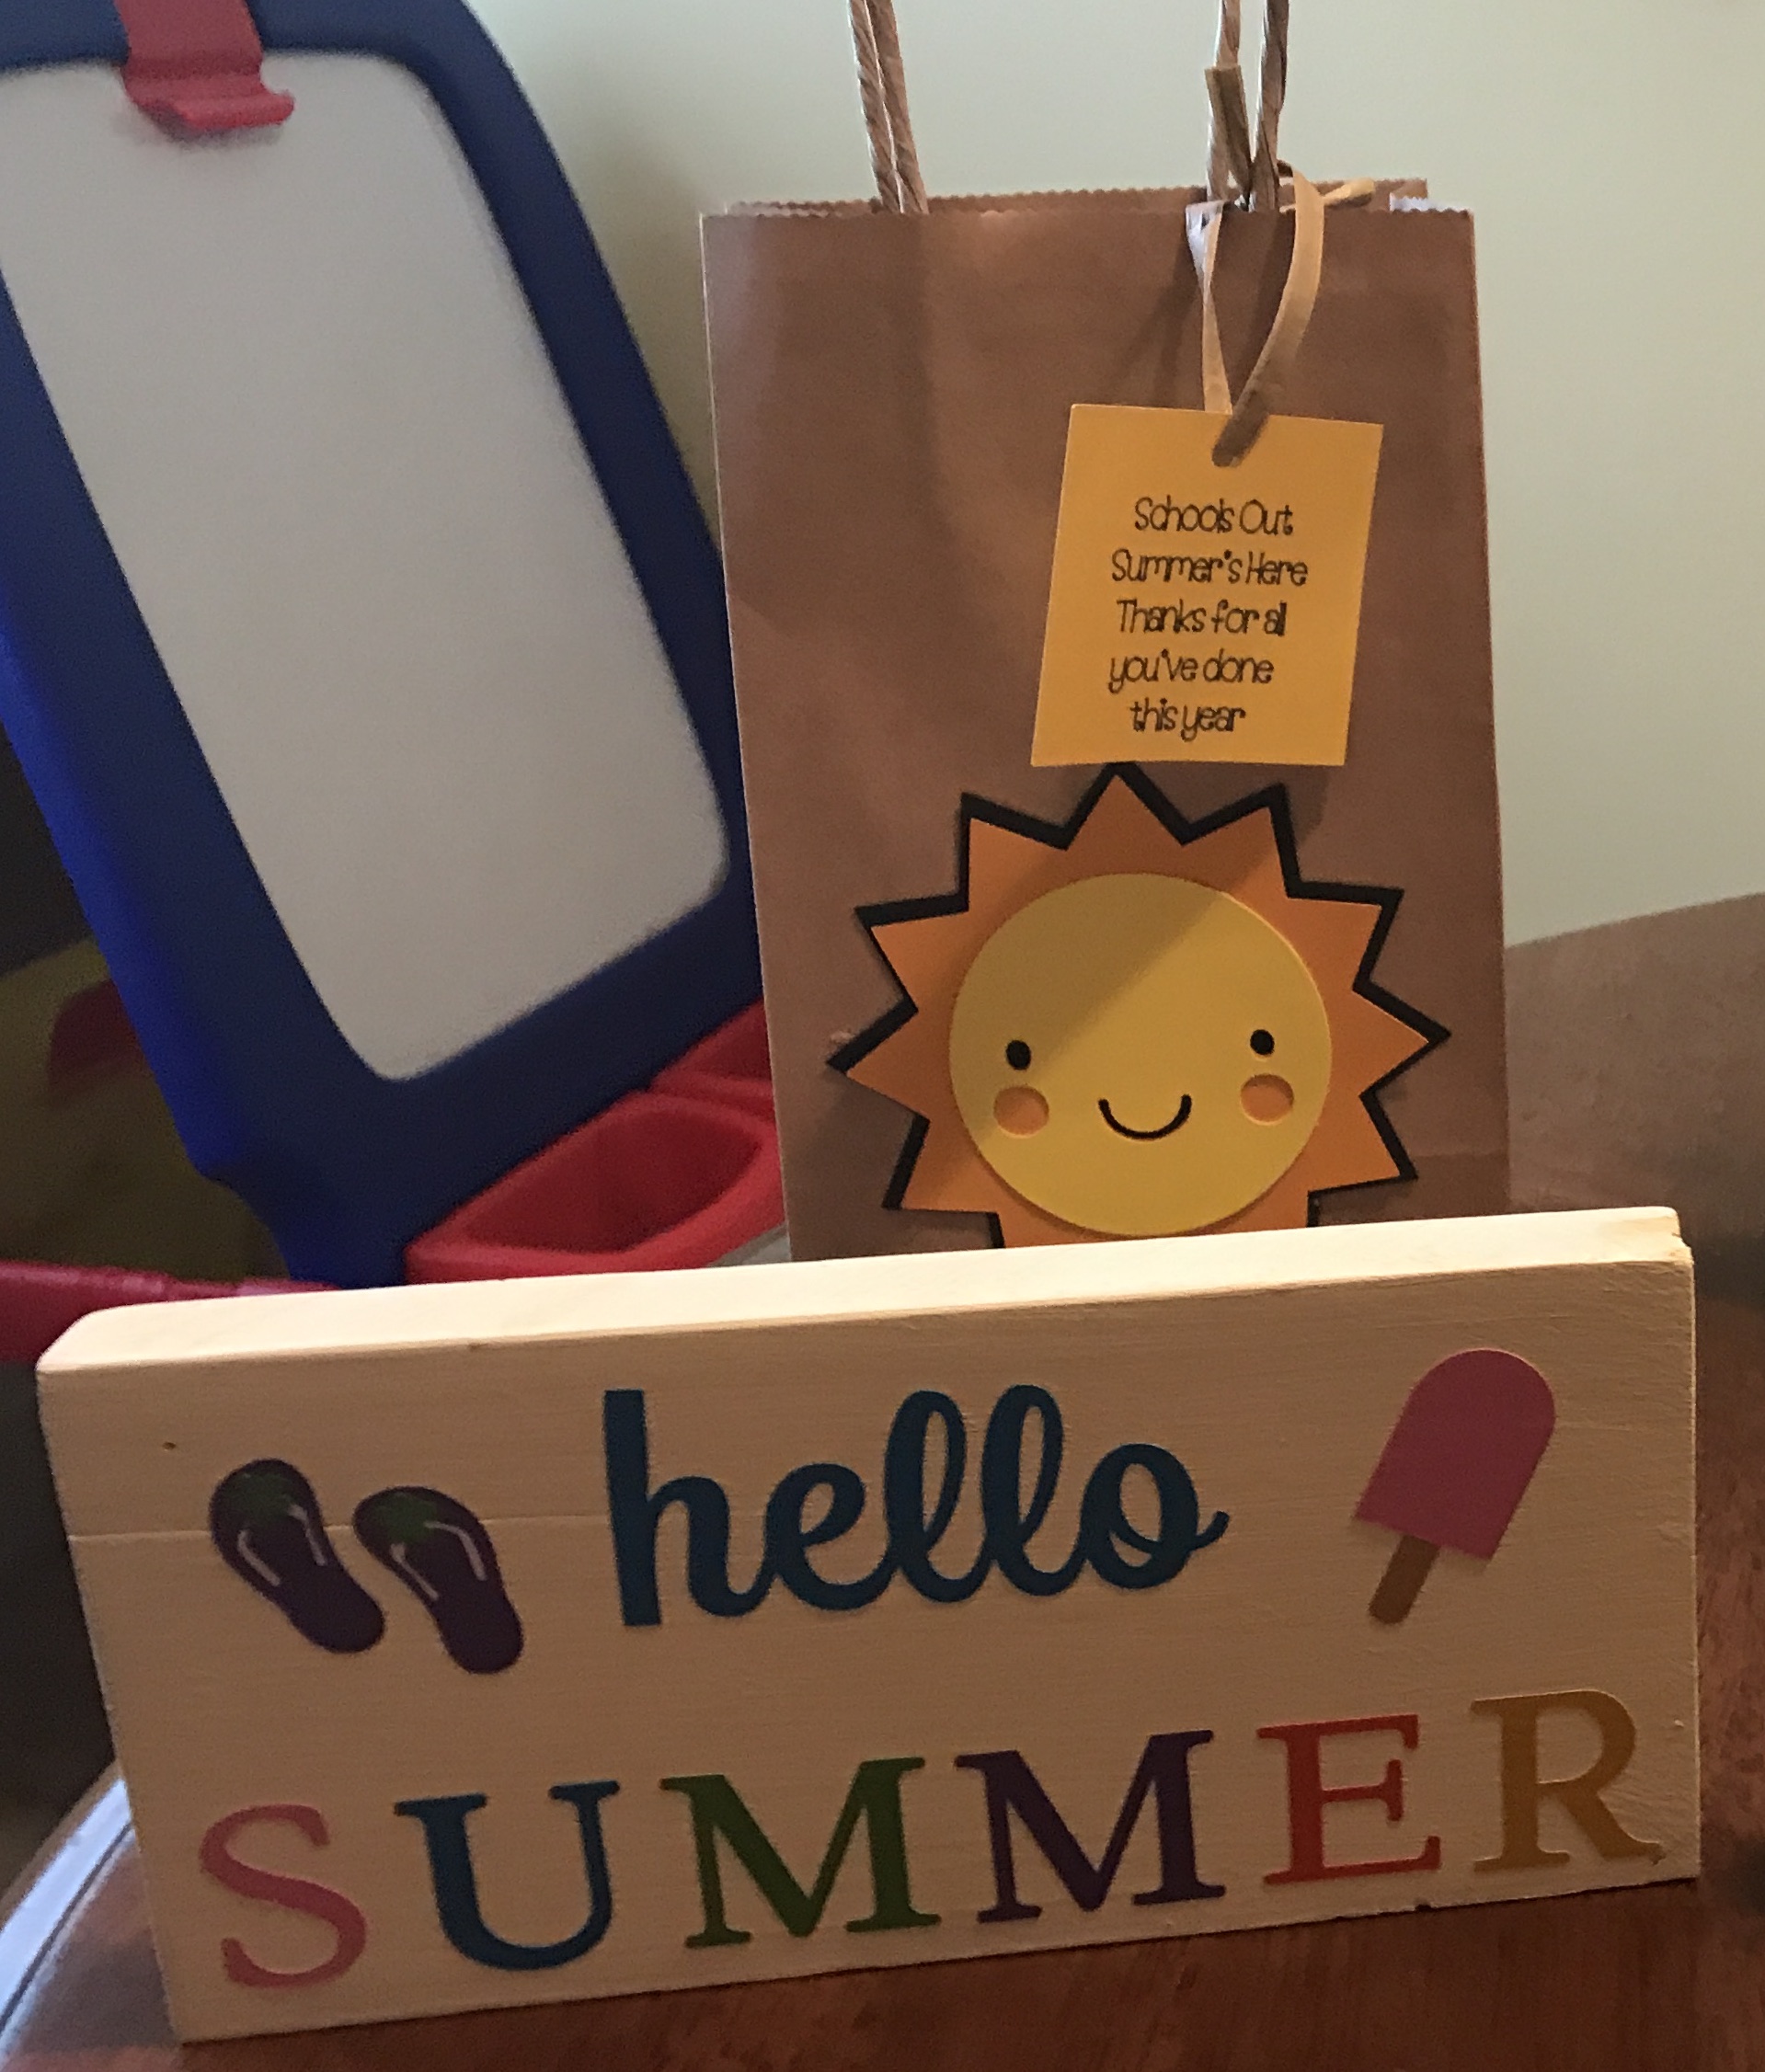
I created gift bags with suns and cute tags for my sons teachers this year as an end of the year school gift because all teachers love summer!
May your coffee always be full and crafting projects aplenty.
Jenny