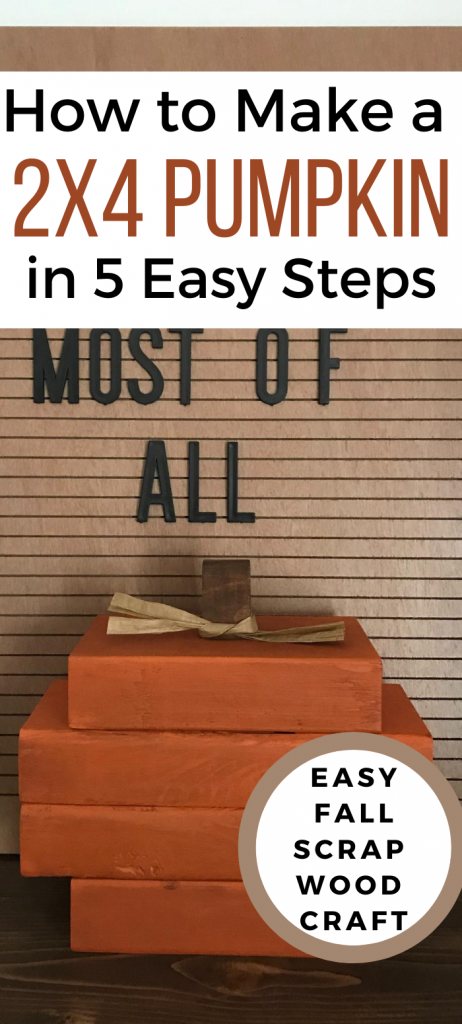
How to Make a 2×4 Pumpkin in 5 Easy Steps
Note: As an Amazon Associate, I earn from qualifying purchases. If you click on a link from Amazon or another of my advertising affliates, I will earn a small commission at no additional cost to you. Please see my full disclosure policy here.
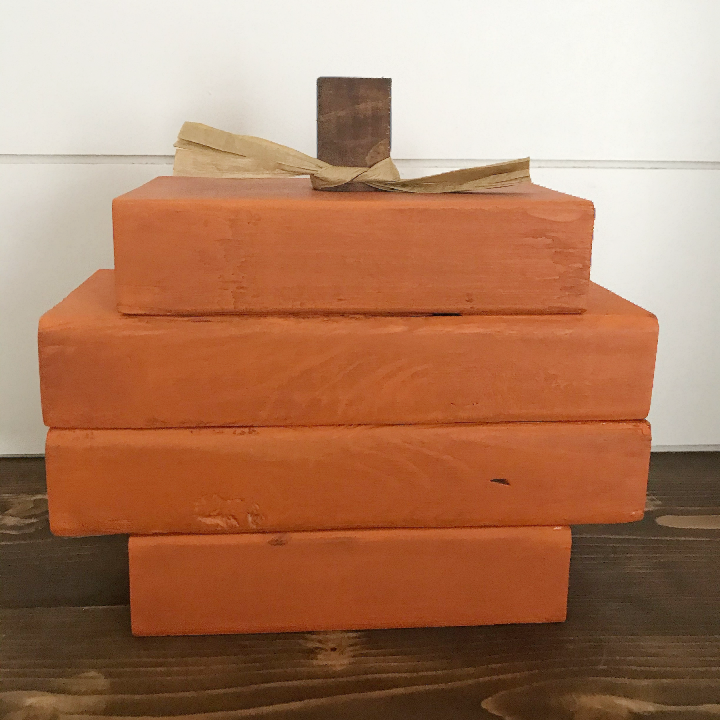
Wooden pumpkins are the best because they never rot or get stinky right? You can keep your favorite pumpkins forever. Adding wooden pumpkins to my fall decor is my favorite thing to do. The September Pinterest Challenge was the perfect time to make this 2×4 pumpkin.It’s time for the September Pin Challenge! The purpose of the Pinterest Challenge is to motivate us to not just pin, but to make it happen! This month’s challenge is all about (monthly theme) projects. I was inspired by this pin to make these scrap wood pumpkins.
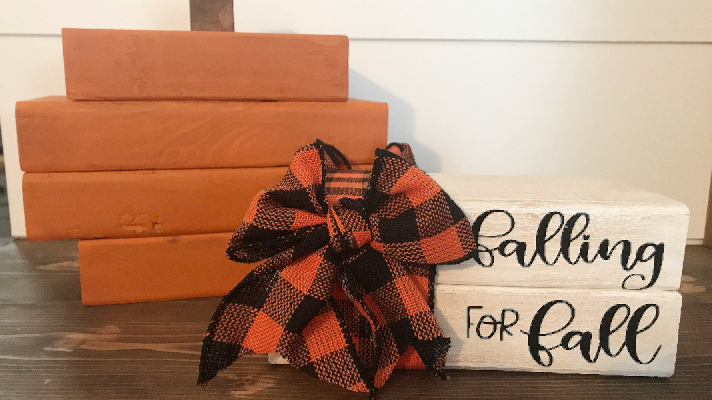 My goal this year is to keep creating projects that use up our scrap wood pile. Last year I made these wooden pumpkin blocks with 2×6.
There are many ways to paint these pumpkins. If you choose to use the chalk paint, you will have to wait for the clear wax to dry. You can also use a mix of orange and brown craft paint to get the same effect of the wax and the chalk paint. Do what works best for you.
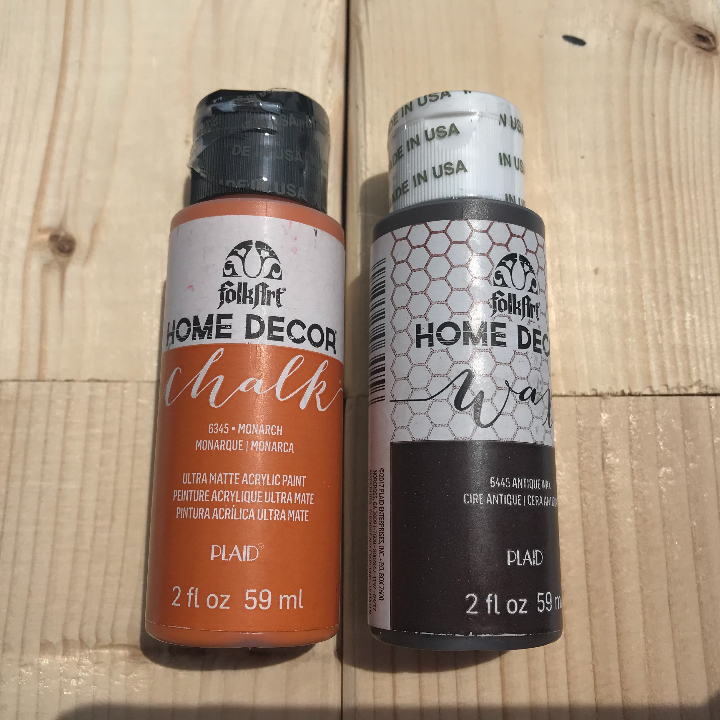
Materials for DIY Scrap Wood Pumpkins
2 2×4 8” 2 2×4 6” 1 1×2 1” Folkart Home Decor Chalk Paint in Monarch Folkart Clear Wax/Antique Wax Plaid Flat Paint Brush Set Lint Free Cloth Saw 220 Grit Sandpaper Wood GlueLet’s Learn How to Make 2×4 Pumpkin in 5 Easy Steps
Step 1 is to cut and sand the 2×4 to the sizes listed above
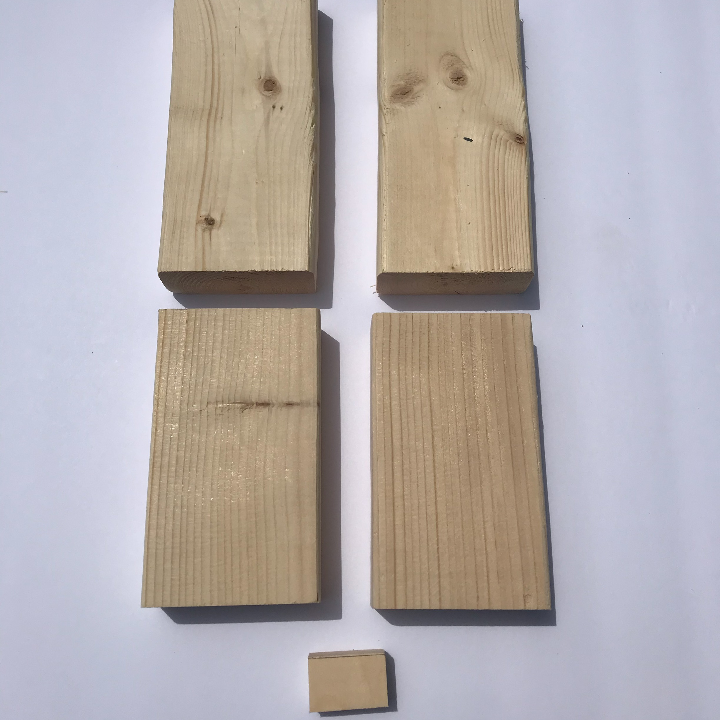
Step 2 is to paint your 2×4 with orange chalk paint
Only paint the parts of the pumpkin that show and two coats of Antique Wax” rel=”noopener” target=”_blank”>chalk paint will give it a nice finish.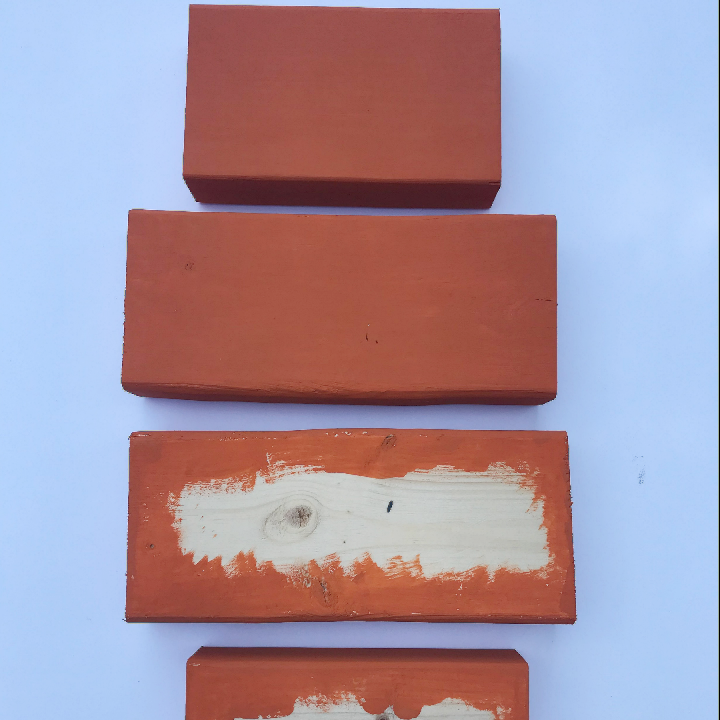
Step 3 is to use the lint free cloth and add on the Folkart Clear Wax
Wait 24 hours and apply the Antique Wax. Wipe on the antique wax and wipe it off. The longer you leave it on, the darker the wood will be.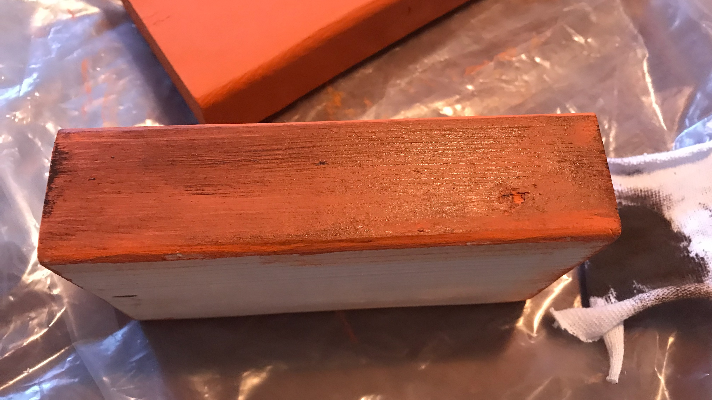
Step 4 is to use wood glue and glue the 2×4’s together to create the pumpkin for fall decor.
Glue the scrap wood with the 6 inch piece on top, both 8 inch pieces in the middle and the other 6 inch piece on the bottom using wood glue.Step 5 is to paint and glue on the stem (1×2)
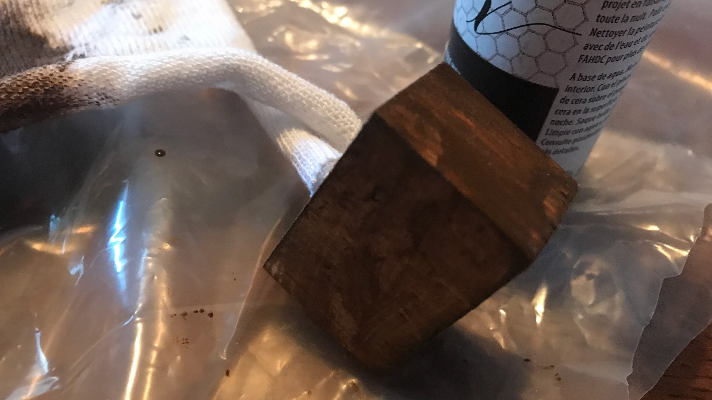 After you glue on the stem, you can add on twine or berries around the pumpkin stem. I painted the stem with the antique wax.
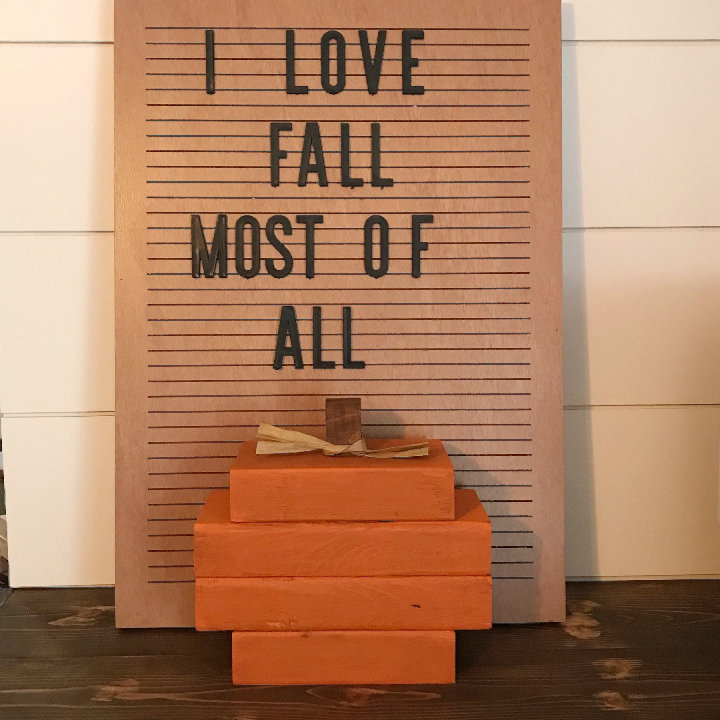
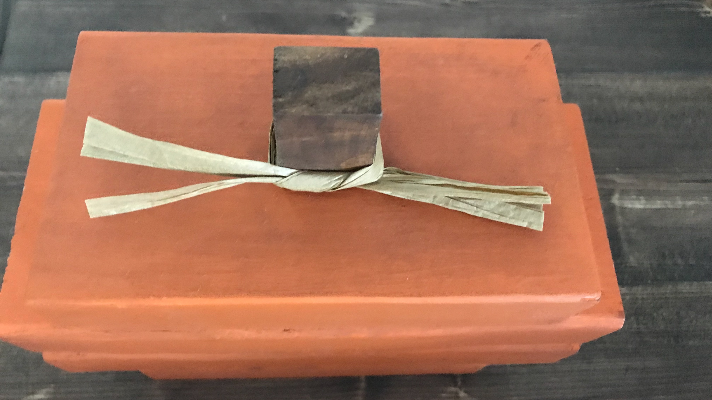 Are you in love with this DIY wood pumpkin? I sure am, I’m thinking I need a big one for outside! It looks falltastic with the other fall decor and goes so well with my rustic charming fall decorations. I love looking at my decorations, knowing that I made them.
 Pumpkins, pumpkins, and more pumpkins! You can never have enough!
For more Pinterest inspired projects from this month’s Pinterest Challenge hosts, check out the links below ↓

My Pinterventures • Cookies Coffee and Crafts
Farm Girl Reformed • Slices of Life
Decorate and More with Tip • Purple Hues and Me
Life Beyond Kitchen • Mom Home Guide
My Family Thyme • EyeLoveKnots • Our Good Life
Pretty DIY Home • Elle Marie Home • Create with Cynthia
Now, let’s see what the other hosts have created ⇓⇓
