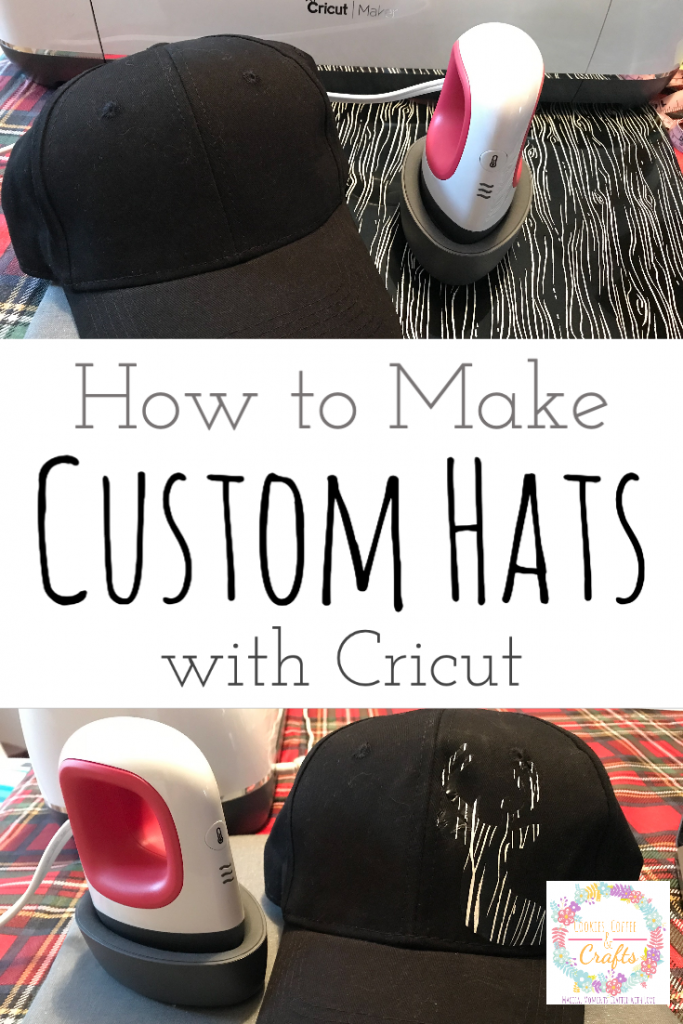
How to Make Custom Hats with Cricut
Note: As an Amazon Associate, I earn from qualifying purchases. If you click on a link from Amazon or another of my advertising affliates, I will earn a small commission at no additional cost to you. Please see my full disclosure policy here.
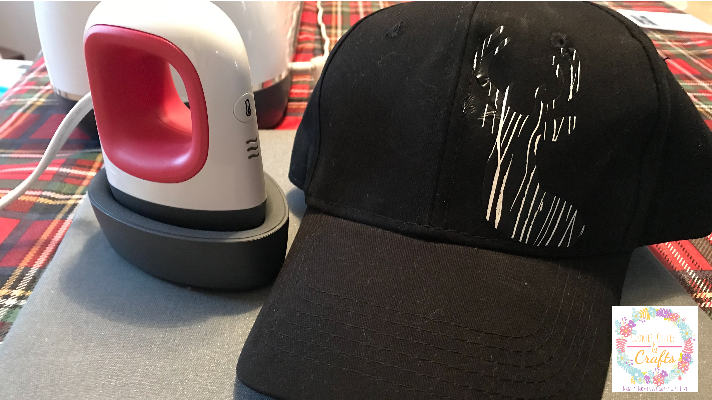
I have a brother who loves ball caps of all variety, from sport teams to his favorite things, he always wears a hat. With Christmas coming up, I thought why don’t I make him a deer cap. It’s super easy and fun to make your own custom hats with Cricut.One of his favorite animals are whitetail deer and I had the perfect iron on for it. Personally I like the look of the buck in the black and white, it reminds me of a deer camouflaging by a tree.
The December Pinterest Challenge Blog Hop hosted by My Pinterventures reminds us all not to just pin, but to create and make those pins we save. I was inspired by this pin.
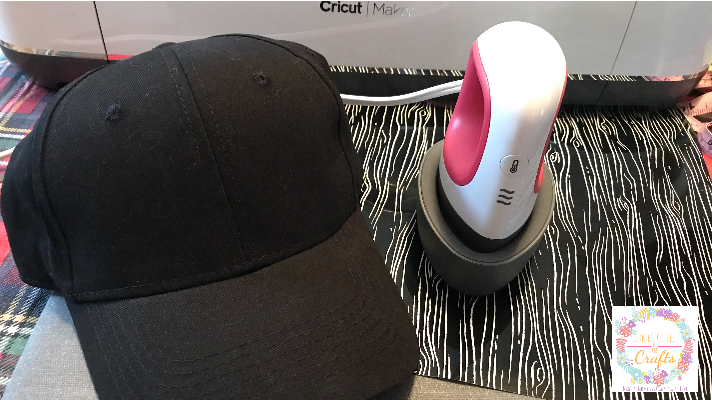
Supplies for Creating a Ball Cap with Cricut Easypress Mini
Cricut Easypress Mini
Patterned Iron on (or any iron on you choose)
Cricut Easypress Mat
Cricut Maker or other Cricut Cutting Machine
Standard Mat
Scissors
Weeding Tool
Let’s Create a Custom Hat with Cricut
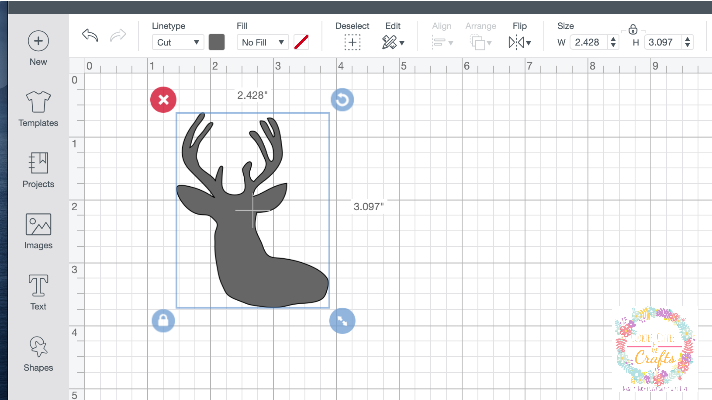
To start pick your design to create in Cricut Design Space™. I did a simple image of buck to put on the side of the cap. If you are new to iron on vinyl, make sure to read How to Use Cricut Iron On Vinyl. Make sure you click mirror on before you cut and put the shiny or patterned side down on the mat.
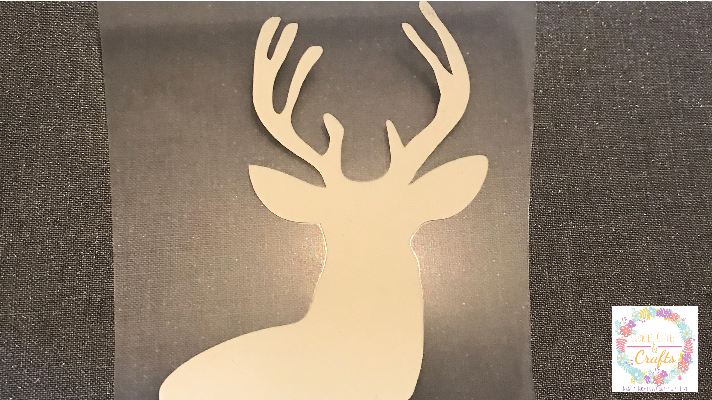
This design was a winner for weeding, you just had to pull off the extra iron on, but remember to weed your design (since they are usually more complicated).
I have only used my Cricut Mini Easypress a handful of times so I’m still trying to get used to it. Whenever I use it though, I prefer to use it on top of my Cricut Easypress Mat. For the heat guide information, I always check the Cricut Heat Guide. The one thing I have learned is that the mini easypress needs constant movement and quickly wrinkles iron on so be careful.
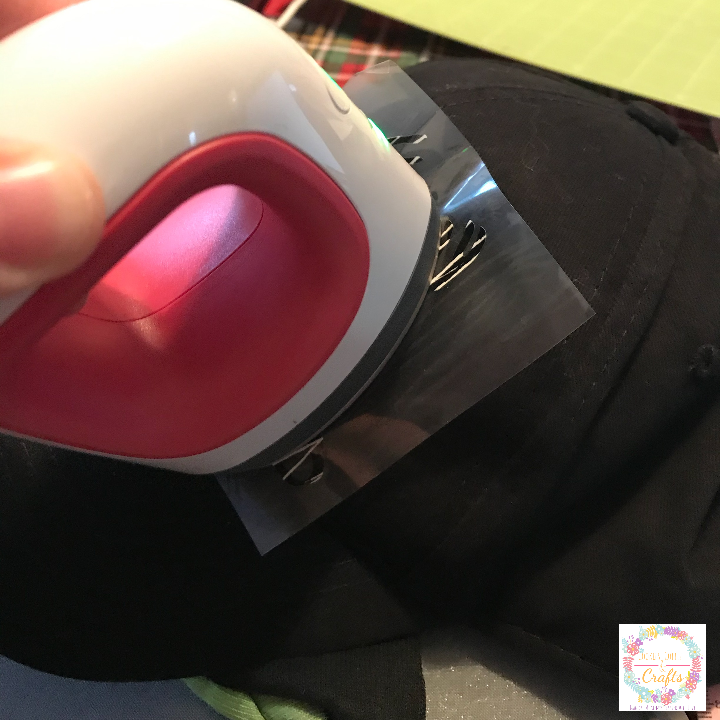
For some extra support inside the hat, I put in a couple pairs of socks (you can see one peeking out in the picture) so I had something to press into and didn’t have to worry about my fingers.
Cricut Mini EasyPress Settings
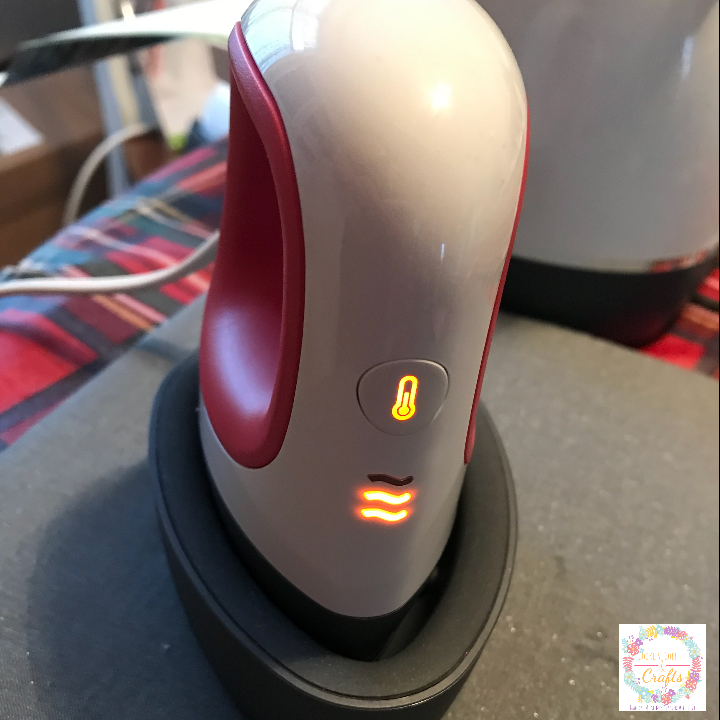
My ball cap tag didn’t have any materials listed on the tag, so I just went what a cotton/poly blend. Turn on the mini easypress and double click for medium heat. Preheat for 5 seconds, then press the iron on for 25 seconds with constant movement and light pressure.

I’m sure this will be the first of many hats to come because my kids have some blank ones and they are spoiled with custom stuff all the time. Are you ready to make a custom hat with Cricut?
 Loading InLinkz ...