How to Make a Reversible Sign
Note: As an Amazon Associate, I earn from qualifying purchases. If you click on a link from Amazon or another of my advertising affliates, I will earn a small commission at no additional cost to you. Please see my full disclosure policy here.
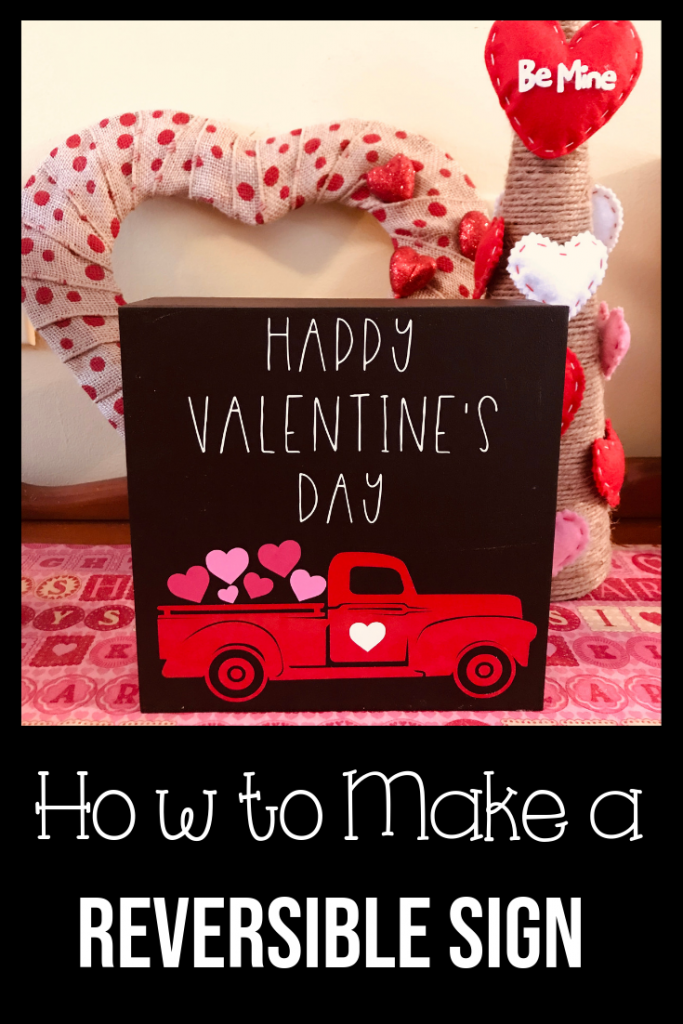
I love double sided signs because you just have to turn it around when the seasons or holidays change. I found this great sign at the thrift store for $2.98. It just needs an update so it matches my decor. Today I’m going to be turning it into a double sided sign for Valentine’s Day and St. Patrick’s Day. I’m excited that it’s time again for the Thrift Store Challenge, you have to see what these talented bloggers have created.

The Rules:
- Upcycle an item(s) from a thrift store, resale store, or garage sale into a new piece of decor.
- There’s no monthly theme.
- There’s no budget to stick to.
Meet the Hosts
Angela | Simply Beautiful By Angela – Heather | Glitter On A Dime Amanda | Domestically Creative – Michelle | Our Crafty Mom Jenny | Cookies Coffee and Crafts – Ali | Home Crafts by Ali – Lynn | My Family Thyme – Emy | Semigloss Design – Angie | Flippin Fanchers – Denise | My Thrifty House – Michelle | Michelle James Designs – Debra | Shoppe No 5 – Habiba | Craftify My Love – Victoria | Dazzle While Frazzled – Ann | Duct Tape and Denim – Molly | Just a Little Creativity – Morgan | Charlston Crafted – Meredith | Southbound Blog
Make sure you follow our board on Pinterest for more upcycled decor inspiration!
Supplies for Sign:
Sign
Thin Plywood
White primer
PaintBrush
Black Paint
Red Vinyl
Pink Vinyl
Shamrock from sign at Dollar Tree
Small Craft Roller
This post contains affiliate links which means I may make a small comission of any sale that is made by clicking on any of the products with no cost to you. Your support is greatly appreciated.
Let’s Create a Reversible Sign
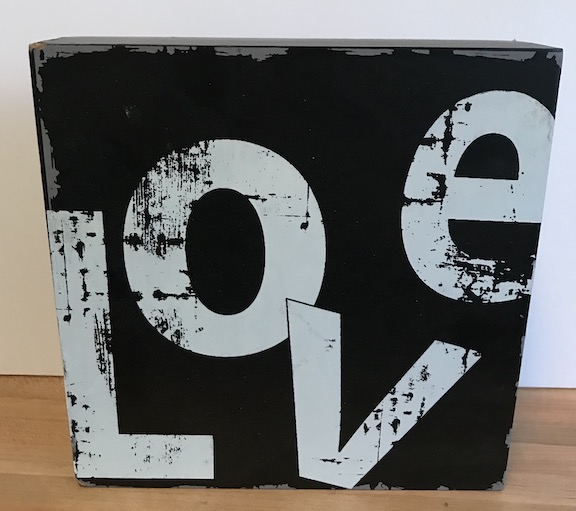
It’s freezing cold here so I really needed to create an upcycle that didn’t need sanding. Winter time can be tough for repurposing if you live in a cold climate like me, right now it feels like -7 outside or something close to that. It also made me realize I rely on spray paint a lot to. Sometimes I do it in the basement, but it can get messy.
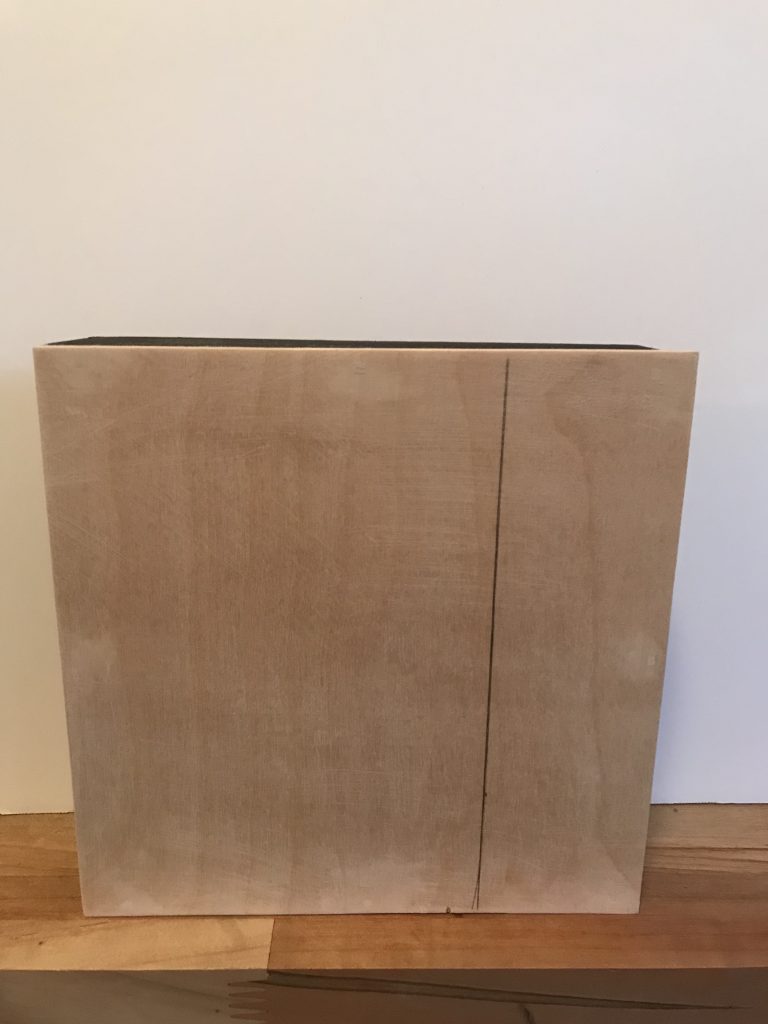
To turn this sign into a double sided sign, my husband cut a piece of thin plywood and nailed it onto the back of the sign. Super easy right? Double sided signs are the best, so easy to decorate for the next holiday or season!
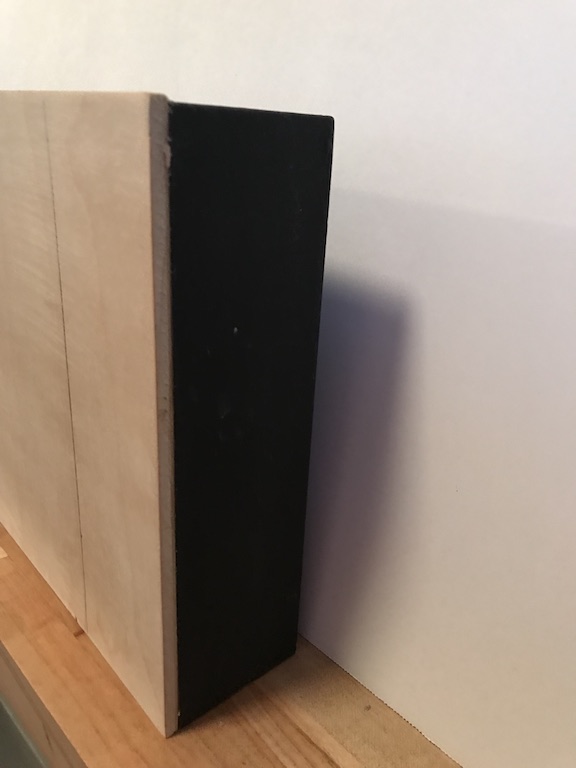
It looks great from the side too (like it was always there)!
I gave this sign two coats of primer and it was ready to be painted. I painted the front and back of the sign with black acrylic paint with my craft paint roller (it worked great!).
Now that the sign is painted it needs to be decorated. Remember the vintage red truck from Christmas, well their is a cute red truck for Valentine’s Day too. Using my Cricut Maker I cut the design in vinyl and used Transfer Paper
to add it to the sign. I used my favorite font, Desmond, to give it a Rae Dunn inspired look. I’m loving my Valentine’s decorations this year, it looks awesome with my Burlap Heart Wreath and Heart Tree.
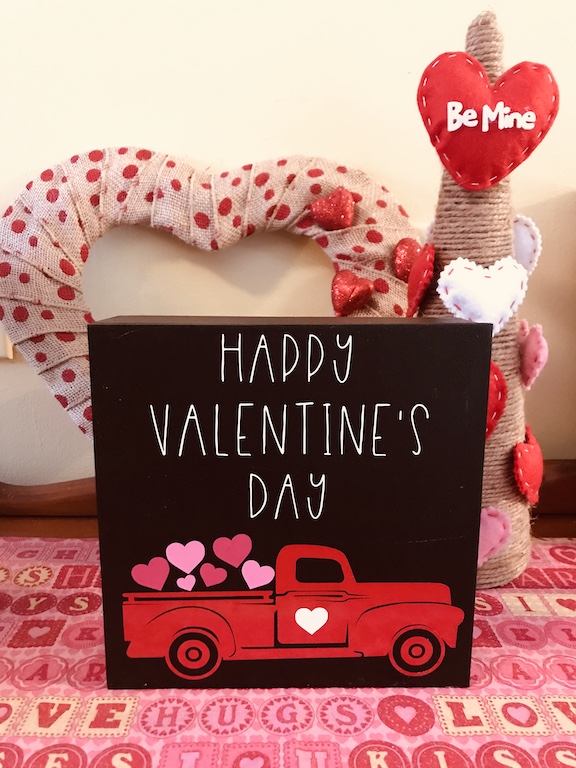
For the St. Patrick’s Day Sign, I’m using a shamrock from a door decoration I bought at the Dollar Tree and used wood glue to add the shamrock to the sign. After I added the shamrock, it looked a little boring so I added a cute saying in vinyl.
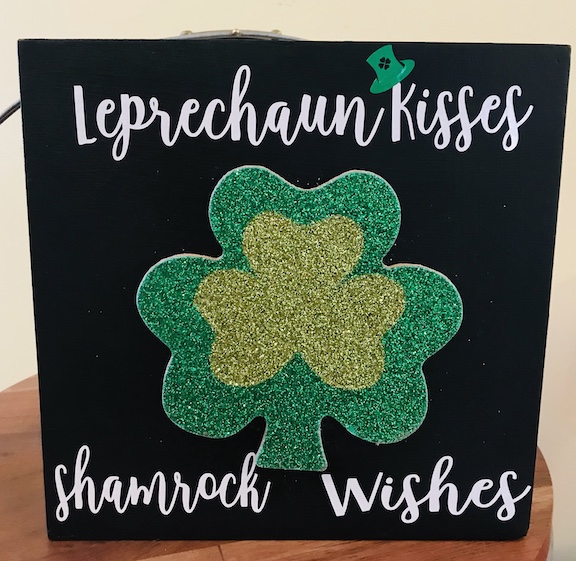
This sign is perfect for Valentine’s Day and St. Patrick’s Day and was given a second chance to decorate a home. For $4 I now have two new signs, you can’t beat that!
And now for more thrifty goodness!
 Loading InLinkz ...