How to Make a Tissue Paper Pom Pom Ornament
Note: As an Amazon Associate, I earn from qualifying purchases. If you click on a link from Amazon or another of my advertising affliates, I will earn a small commission at no additional cost to you. Please see my full disclosure policy here.
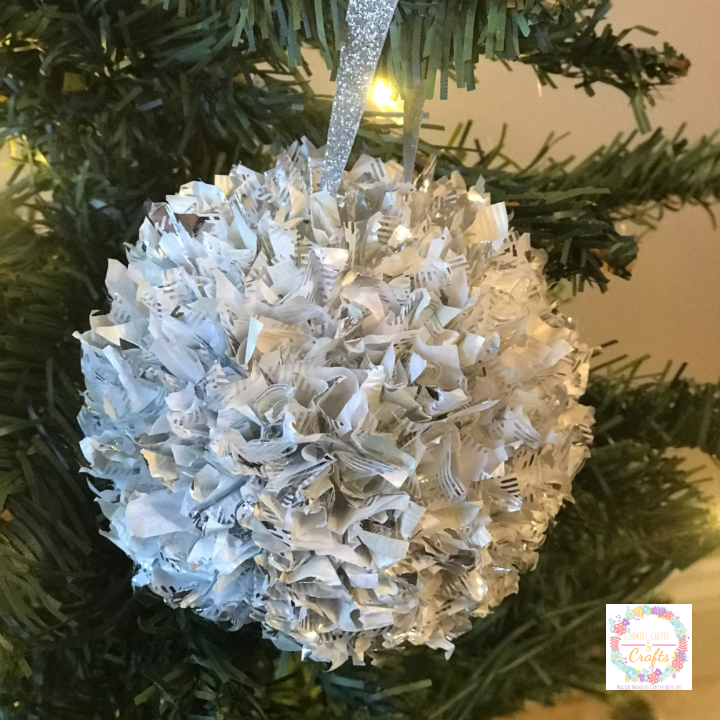
Do you love when the Christmas tree lights are on and the ornaments sparkle? It’s such a magical view to see the ornaments sparkling in the lights. This year I’m exchanging ornaments with Joanne from Our Slices of Life and she loves ornaments that sparkle on the tree. For Joanne I made her a sparkly tissue paper pom pom ornament.
I had my heart set on making Joanne this ornament, but finding Christmas tissue paper in October was really really hard. Finally at Walmart I found some Christmas tissue paper.
Visit the Homemade Ornament Tutorials and Link Party to see all the amazing homemade ornaments. I’ve seen a quite a few that I want to create and add to my tree. Last year I created this Sparkly Merry & Bright Christmas Ornament.
This post contains affiliate links which means I may make a small comission of any sale that is made by clicking on any of the products with no cost to you. Your support is greatly appreciated.
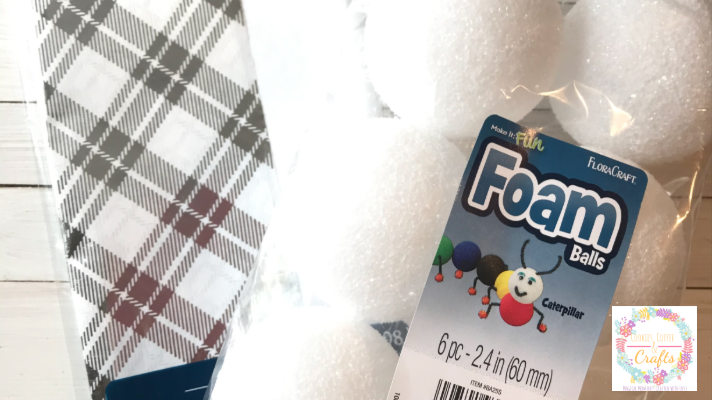
Supplies for DIY Tissue Paper Pom Pom Ornament
2.4 inch Styrofoam Ball
Tissue Paper
Scissors or Cricut Maker
Hot Glue Gun
Hot Glue Gun Sticks
Pencil
Glitter Ribbon
If you don’t have a Cricut Maker, don’t worry! This can easily be made by cutting the tissue paper with scissors.

In Cricut Design Space look in projects for the Believe Pom Pom Ornament. The Cricut Maker and the rotary blade did an amazing job cutting the tissue paper (that’s all I used from the project). Now I used almost all the sheets that came in the tissue paper package for these 2 ornaments. It takes quite a few squares.
Let’s Learn How to Make a Tissue Paper Pom Pom Christmas Ornament
Step 1:
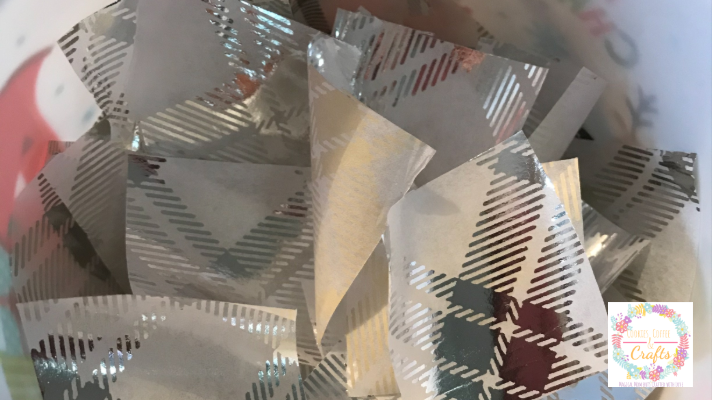
Cut all the tissue paper squares 1.5x 1.5 inches.
Step 2:
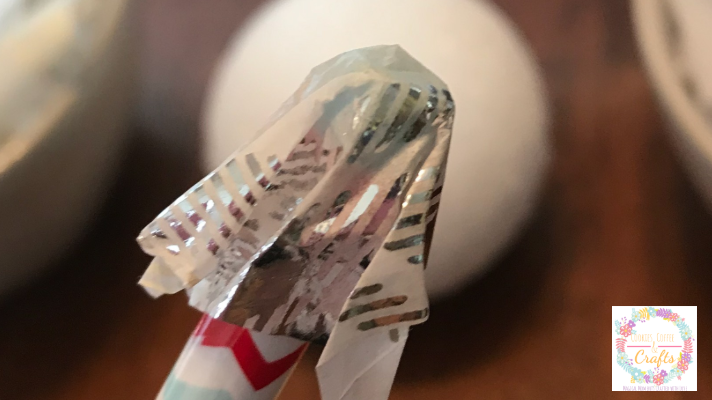
Next take a square piece of tissue paper and fold it over the end of a pencil eraser (just like in the picture below).
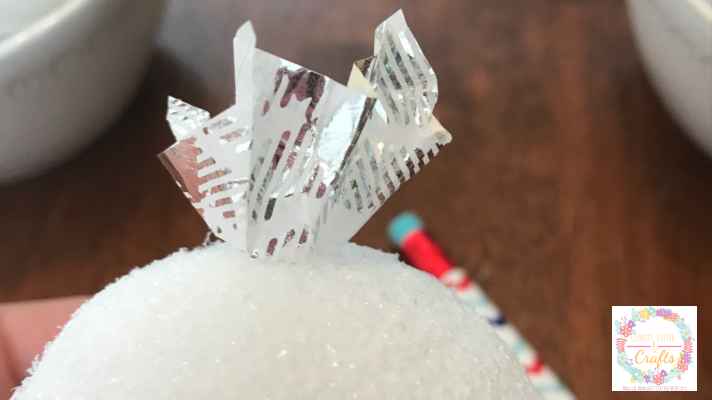
Step 3:
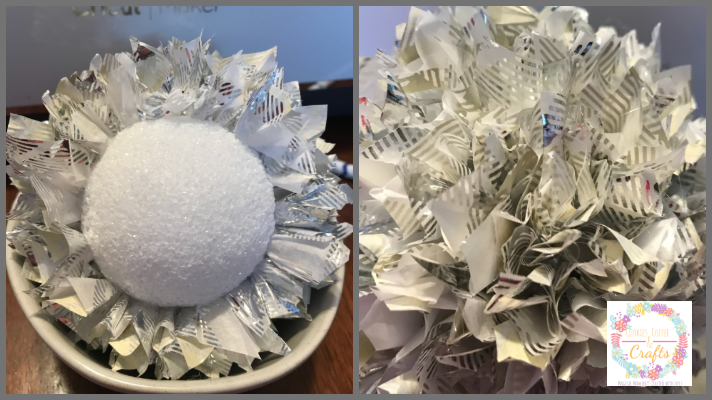
Add a dab of hot glue to the end and add it to the styrofoam ball. Keep repeating this over and over again until the ball is almost completely covered. I used a small bowl to hold it as I added more tissue paper. Place the pieces close together as you glue them so the Pom Pom looks nice and full.
Step 4:
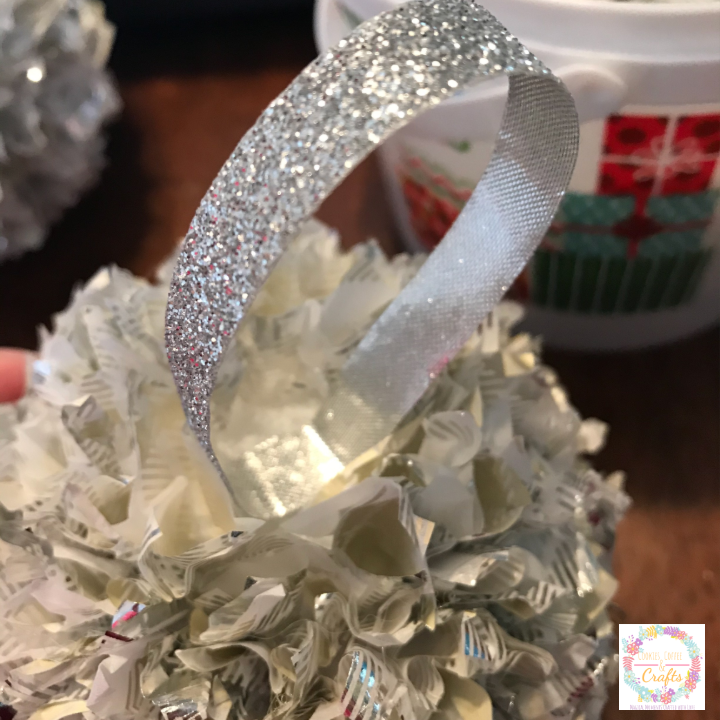
The last step is to cut the glitter ribbon about 6 inches long to add as the ornament hanger. Use the hot glue to add it to the top center of the ball. Do this right before the ball is almost covered. Next continue adding tissue paper until the whole pom pom is covered. To add extra support, I used a few push pins to keep the ribbon in place since it will be used to hang it on the Christmas tree.
Tissue Paper Pom Pom Christmas Ornament
Have you ever finished a craft and just stared at it because you loved it so much? That was me after I finished this. I loved creating this ornament, I could craft like this all day. I can’t wait to make more. My Christmas tree needs one too and my daughter would love a pink sparkly.
