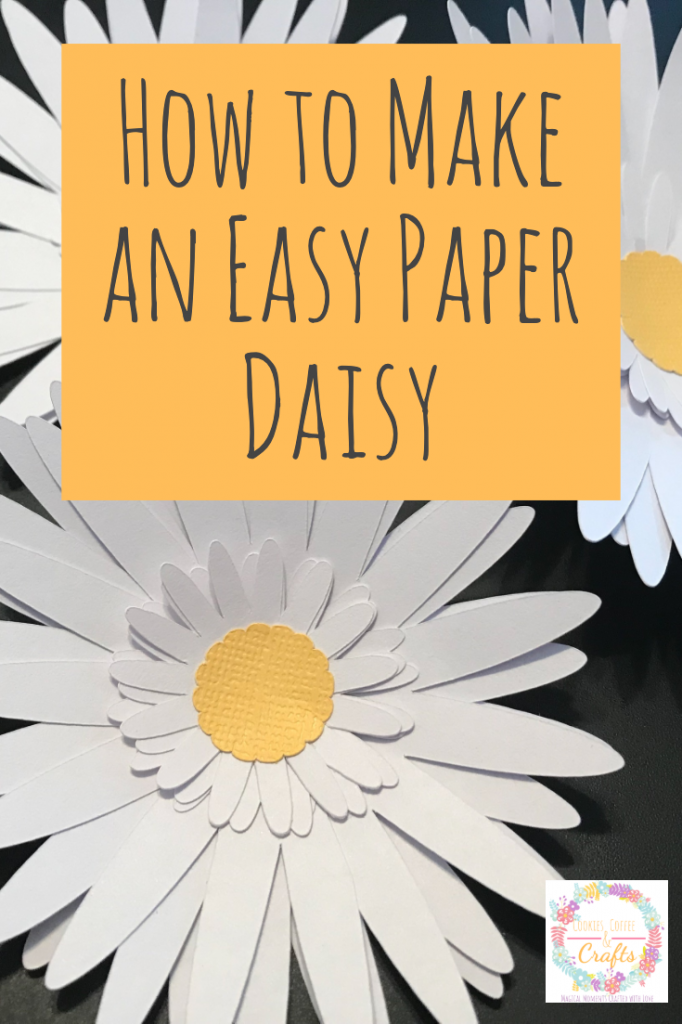
How to Make an Easy Paper Daisy
Note: As an Amazon Associate, I earn from qualifying purchases. If you click on a link from Amazon or another of my advertising affliates, I will earn a small commission at no additional cost to you. Please see my full disclosure policy here.
A field of daisies sounds wonderful to me, I could just sit and dream and wonder at the beauty. Daisies are my favorite flower and I have them all over my yard. I have daisies and lots of flowers that look like daisies. My husband knows the way to my heart is with daisies and wildflowers. Are you thinking about your favorite flower now? The sad truth is real flowers don’t last forever, but paper ones do. A paper daisy will last forever and you can use them in so many ways.
This post contains affiliate links which means I may make a small comission of any sale that is made by clicking on any of the products with no cost to you. Your support is greatly appreciated.
Paper Daisies are Perfect For:
Wreaths
SIgns
Centerpieces
Bouquets
Cupcake Toppers
Gift Bags
Cards
Gift Tags
Let’s Learn How to Make an Easy Paper Daisy
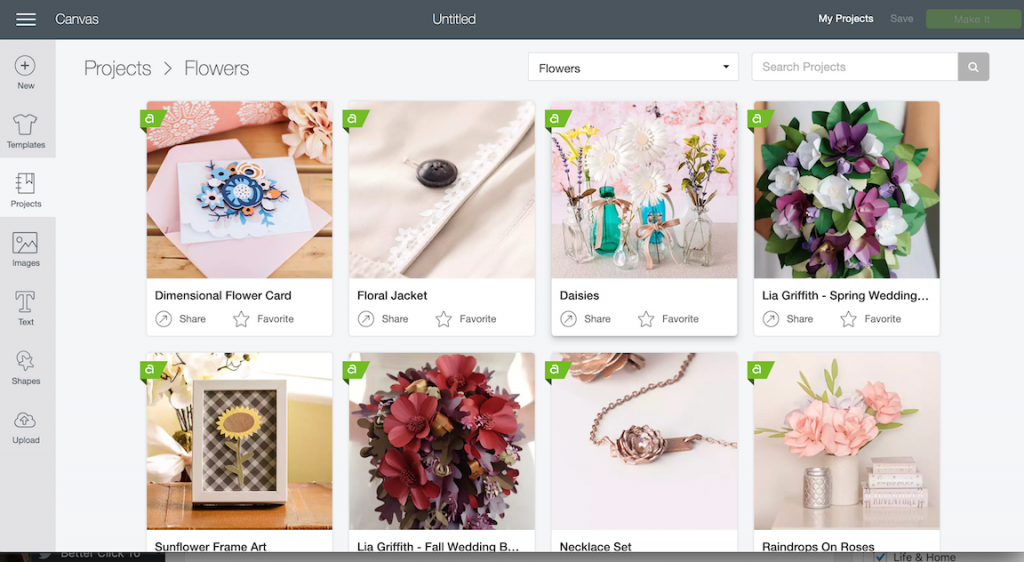
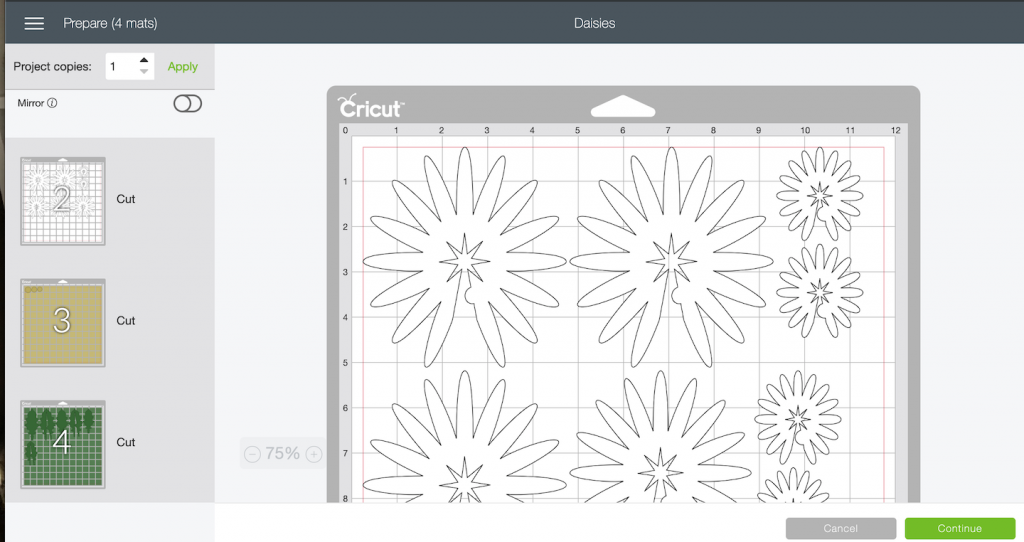
Cricut Design Space™ has so many wonderful projects already made and you just have to hit “Make It.” I found these paper daisies under Projects- Flowers. If you are unsure where to start when making paper flowers, start with an already made project in Design Space. Many of the Cricut design inspriation are free with your Cricut Access Premium.
The other neat thing I found out is that Cricut has handbooks for each of the cartridges. The directions to put together this daisy is in the 3D Floral Home Decor Handbook. Here are the paper flower directions below. The pictures are great and easy to follow.
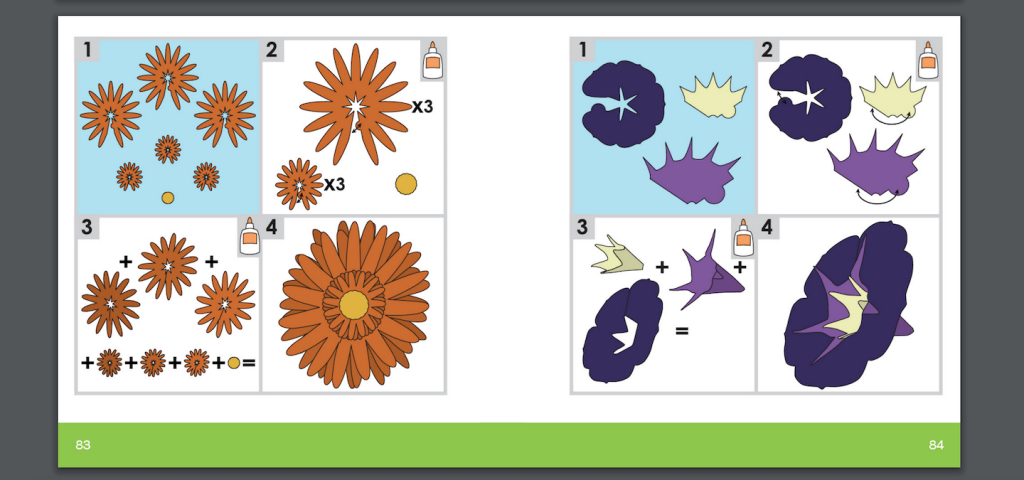
Let’s Make a Paper Daisy with the Cricut
Go into Design Space and find the paper daisy project. These paper daisies will be 4 inches wide by 4 inches high. This project makes 3 daisies- one large, one medium, and one small.
Supplies for Paper Daisy
White card stock
Yellow card stock
Standard Grip Mat
Cricut Maker
Double Sided Tape
Hit Make it!
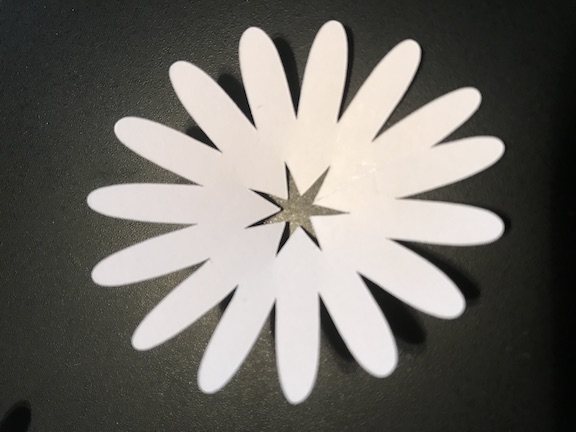
Glue the flower pieces together. It has 3 large petals, 3 small petals and one center for each flower. It did make leaves, but I chose not to use them for my flowers.
Start with the large pieces first, then glue the small pieces together.
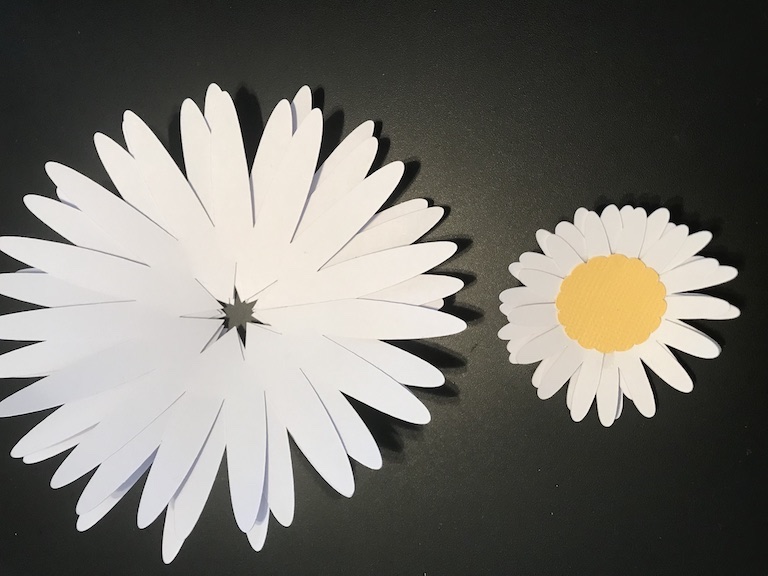
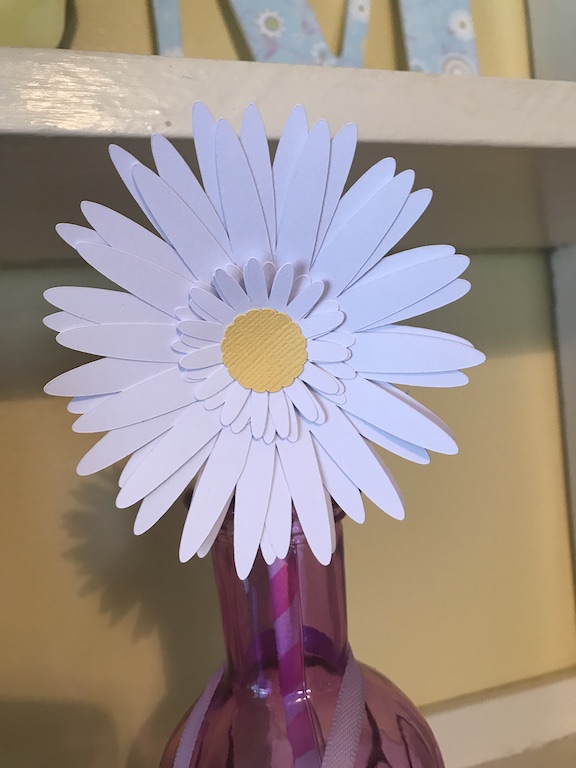
The last step is to glue the small center into the target petal and you have a paper daisy that will last forever!
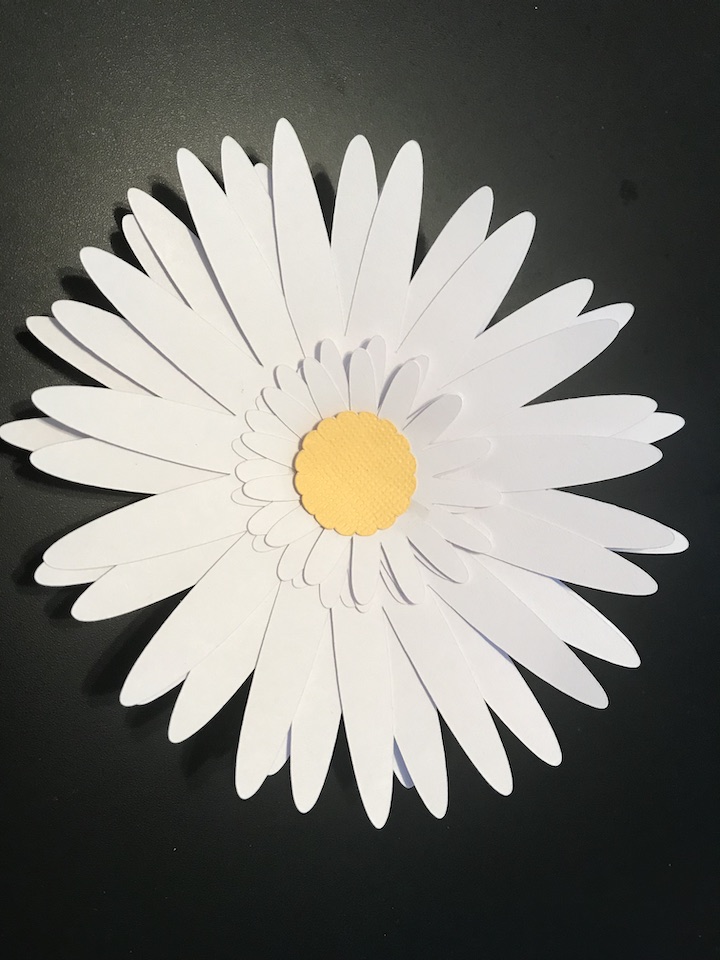
Are you ready to make all kinds of flowers now? Just think of all the ways you can create and make with these paper daisies.
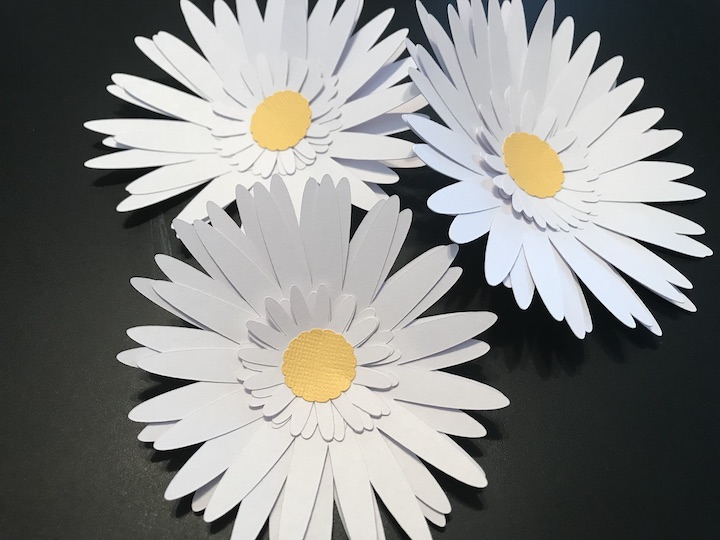
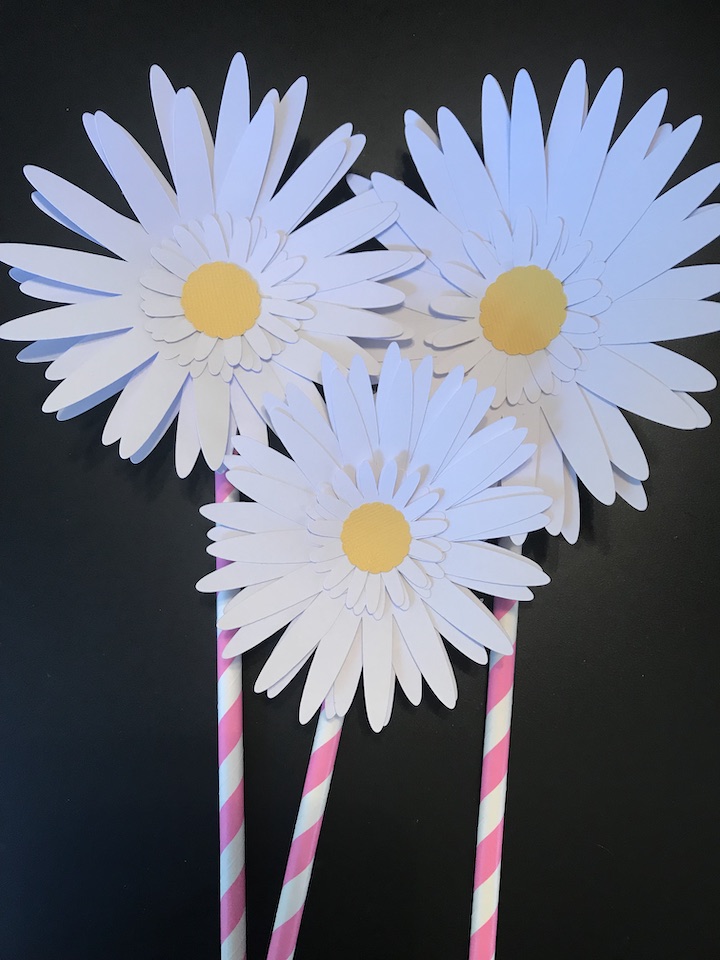
I added these fun pink paper straws to mine and put them in bottles on my shelf.
DIY Wedding Rehearsal Bouquet with your Cricut from Happily Ever After, etc
Cherry Blossom Centerpiece from Sustain My Craft Habit
Create 3D Art with Print, Cut and Draw Features of Cricut from Dragonfly & Lily Pads
Beautiful Patterned Paper Flowers from Upright and Caffeinated
Embroidery Hoop Sign With Felt Flowers from Our Crafty Mom
Paper Flowers Made with Cricut from Create & Babble
How to Make an Easy Paper Daisy from Cookies Coffee and Crafts