How To Use Cricut Iron On Vinyl
Note: As an Amazon Associate, I earn from qualifying purchases. If you click on a link from Amazon or another of my advertising affliates, I will earn a small commission at no additional cost to you. Please see my full disclosure policy here.
I love to design, create, and make with my Cricut- it’s my favorite thing to do. For the longest time I wouldn’t do anything with iron on vinyl because I was scared. Finally I took that leap, and now I’m hooked. It’s awesome to make customized shirts, signs, cosmetic cases, hats and more. Any design in Cricut Design Space can be used with iron on. As always with the Cricut the possibilities of creativity are endless. It’s time to learn How to Use Cricut Iron On.
This post contains affiliate links which means I may make a small comission of any sale that is made by clicking on any of the products with no cost to you. Your support is greatly appreciated.
Cricut Iron On Supplies
Cricut Everyday Iron On in Pink
Weeding Tool
T-Shirt
Cricut Maker
Iron/Heat Press/Cricut EasyPress
EasyPress Mat (if using an EasyPress)
Let’s Learn How To Use Cricut Iron On Vinyl
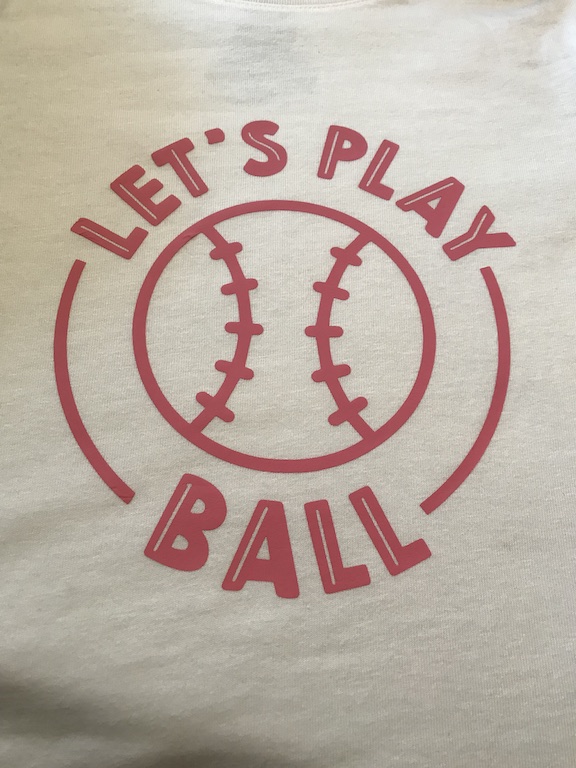
I chose a baseball design in Cricut Design Space™ because my kids have started playing baseball. The Cricut saves the day by using the iron on to create special baseball shirts for them. Here is my Ultimate List of Free SVG Cut Files if you can’t find what you want in Design Space.
To get started, size your design for the size of your shirt. I found one easy way to determine the size of the design is to use a shirt you already have as a template. For example I take one of my kids graphic tees and measure the design and use the size for the shirt I’m creating. Super easy right?
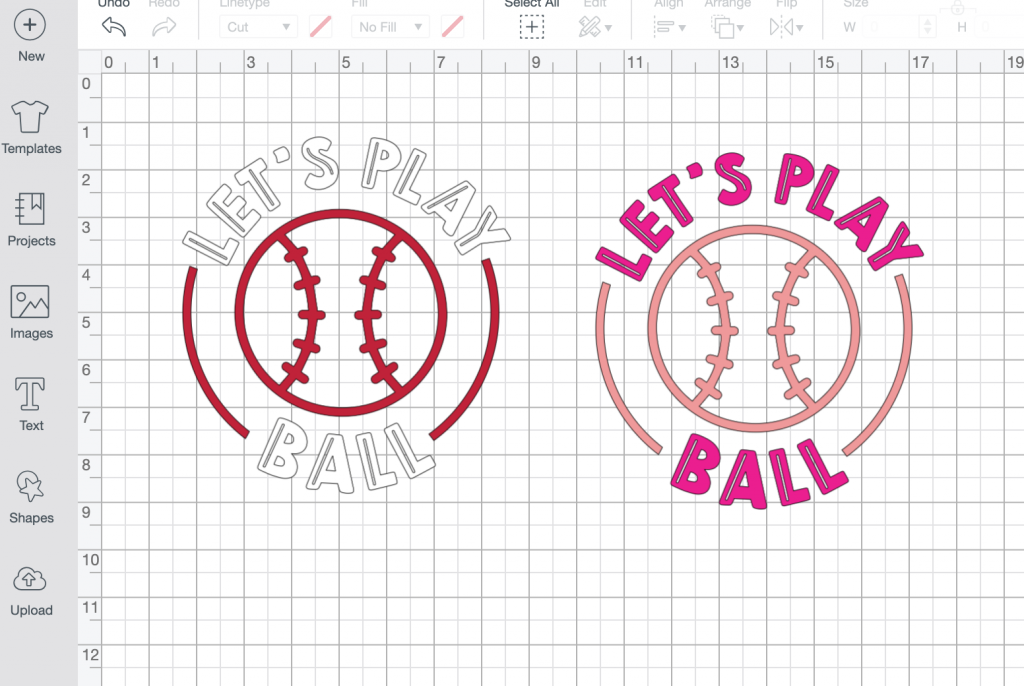
Just like any design in Design Space you can customize the colors you want to use on your design. My daughters will be in pink and my sons will be red and white. Today I’ll be sharing the tutorial for the pink iron on shirt.
Cricut Iron On Cutting Instructions
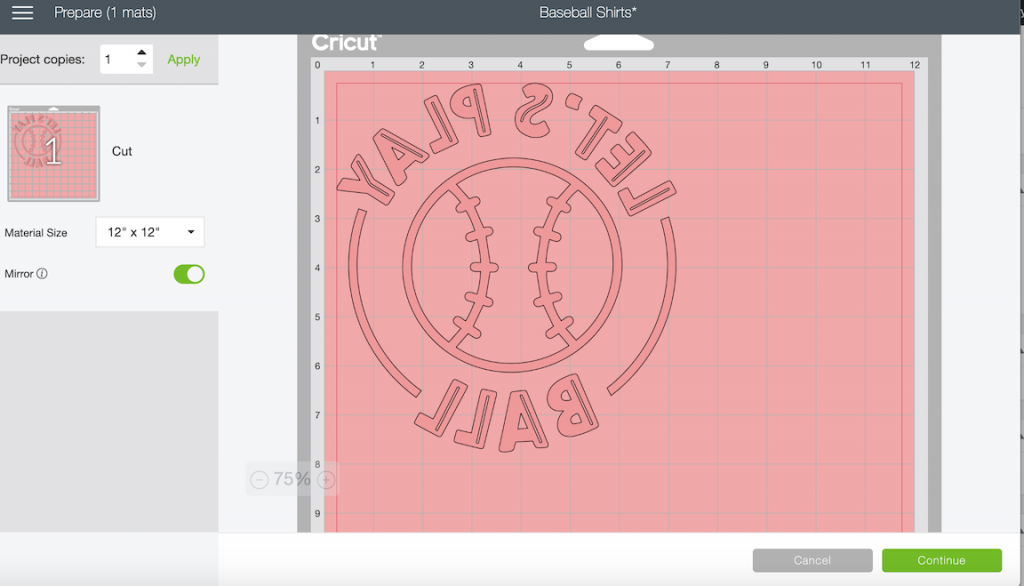
Hit Make It, then in the preview, click mirror so the circle turns green. If you have more then one mat, you have to click mirror for each mat.
Your preview in Cricut Design Space should look like this:
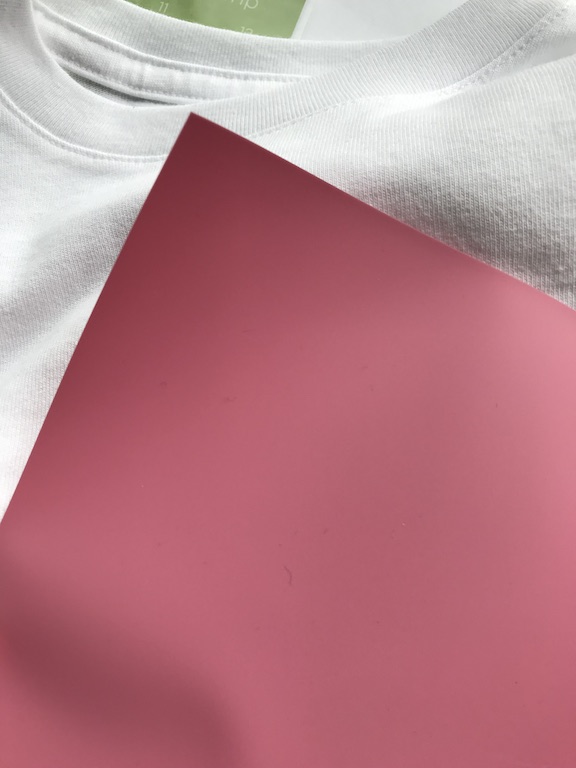
To get ready to cut your design, the biggest question asked is “What side of the iron on vinyl goes down on the mat? For Cricut Iron On , place the shiny side on your mat.
Shiny Side of Iron On Vinyl- this goes down on your mat so you see the non-shiny side when you go to cut
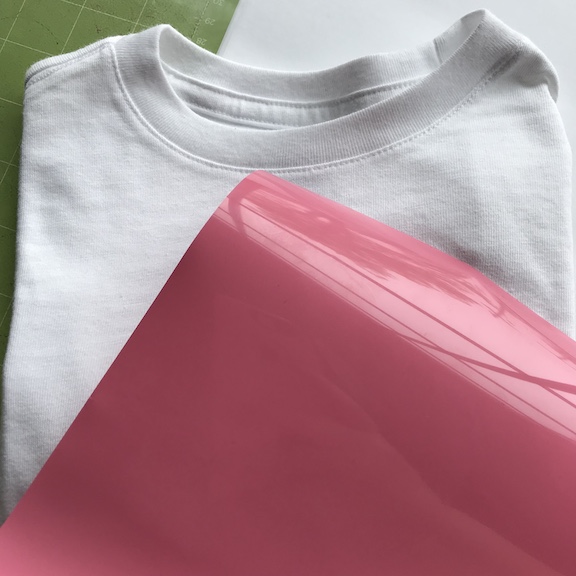
Non Shiny Side of Iron On Vinyl:
Place the shiny side of the iron on onto the standard green mat. Hit continue in the preview screen. Choose iron on vinyl as your material, for the Cricut Maker it will be in the preview, but on the Explore Air turn the dial to Cricut Iron On.
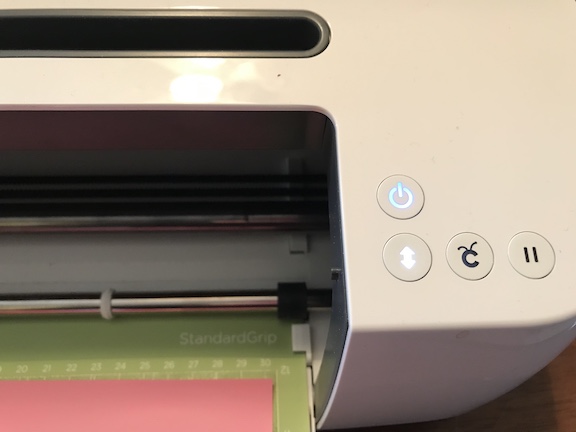
Load the mat using the arrow button, then hit the C button when it starts flashing.
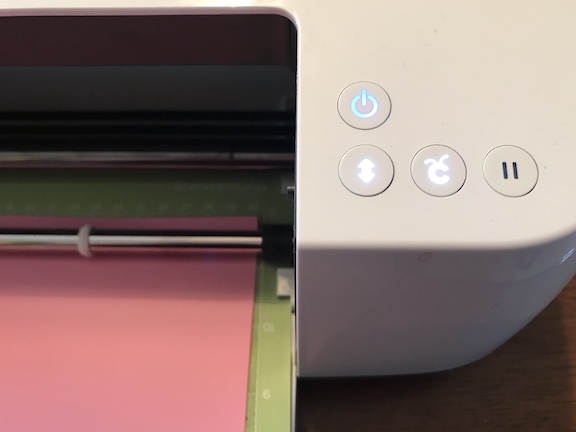
Congratulations! You did it! Next weed your design. Weeding is removing any vinyl that won’t be used in your design. For this I use my Cricut Weeding Tool and my Cricut Brightpad.
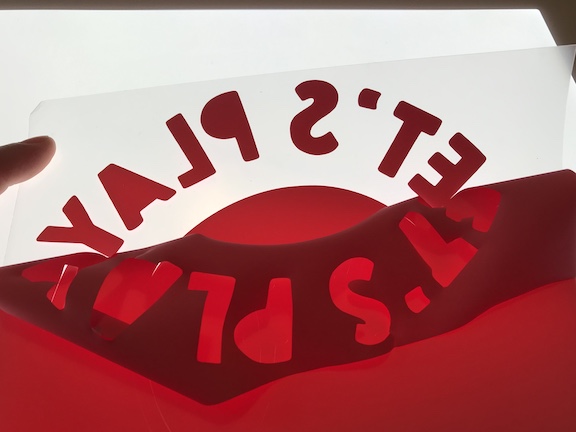
Double check your design to make sure you removed all the extra pieces. Weeding can be easier if you look at the design as you weed.
How to Apply the Cricut Iron On Vinyl
Check the settings for applying the vinyl based on what heat form your are using. My instructions will be for the Cricut EasyPress, but here is the Cricut Everyday Iron on Application Instructions for Using an Iron.
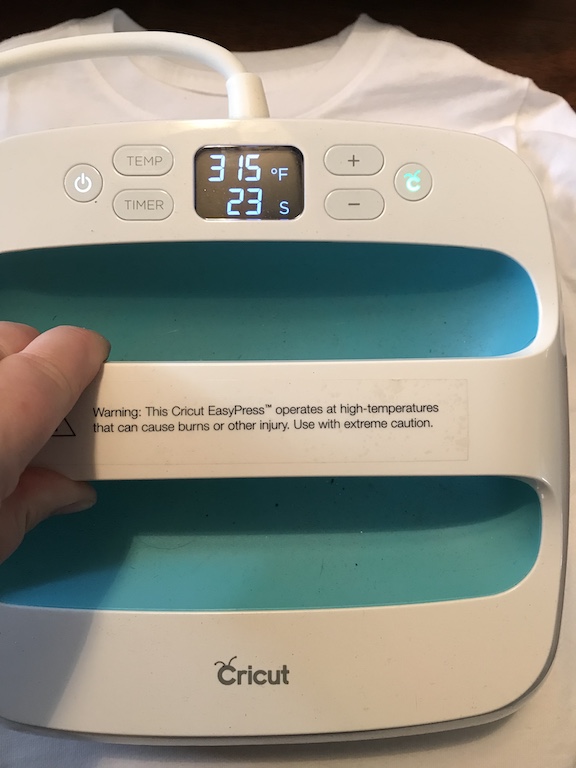
I will be using a cotton/poly blend shirt and I will be pressing it with the EasyPress and the mat. I highly recommend getting the EasyPress Mat, if you have an EasyPress. Here is the Cricut EasyPress Interactive Quick Reference Guide.
Cricut Iron On EasyPress Temperature for my baseball shirt.
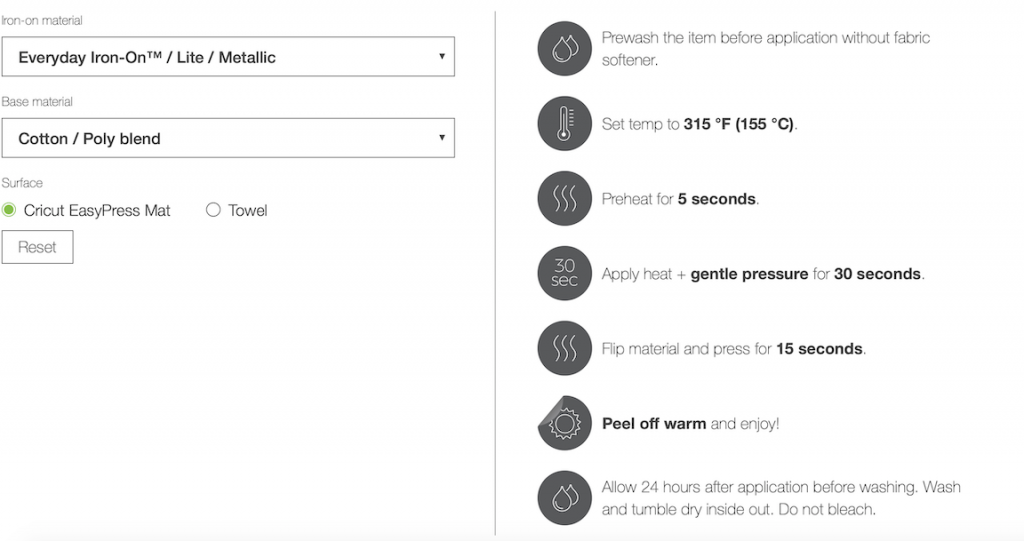
Follow the instructions and you will have a new shirt. My daughter can’t wait to wear hers to t-ball next week. My kids correct me all the time that she goes to t-ball and my son goes to baseball, aren’t they the same thing? Kids are so funny!

Cricut Iron On Vinyl isn’t scary at all and with these step by step instructions you can make anything with it.
