Kids Memory Board
Note: As an Amazon Associate, I earn from qualifying purchases. If you click on a link from Amazon or another of my advertising affliates, I will earn a small commission at no additional cost to you. Please see my full disclosure policy here.
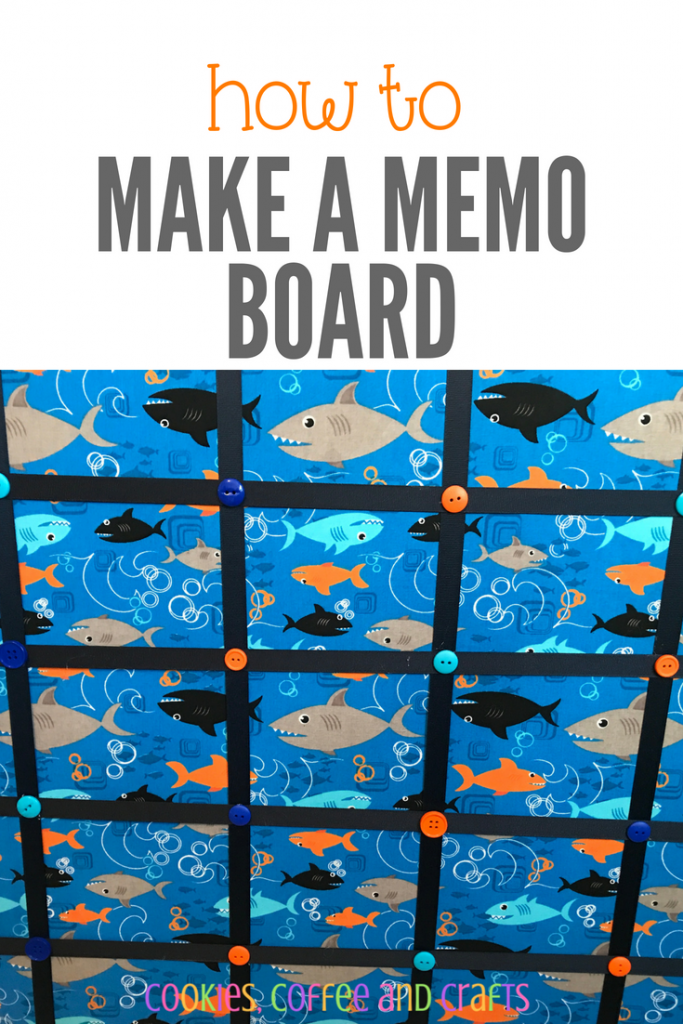
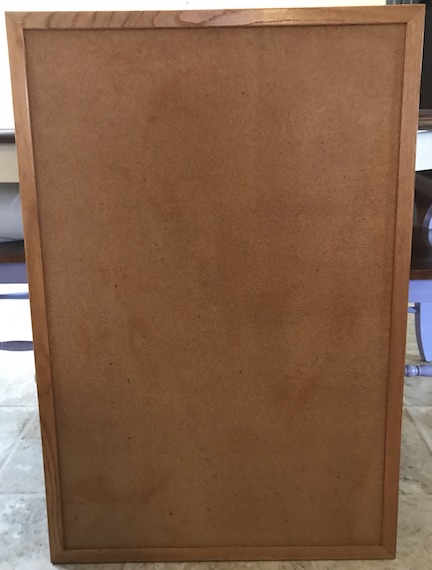
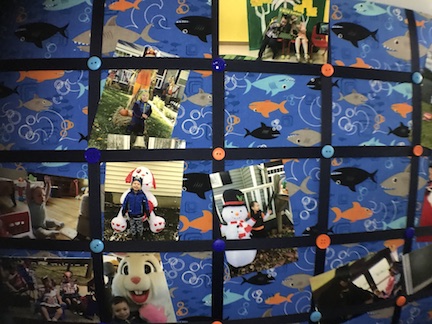
Last summer during our village wide garage sale weekend, I found this cork board for $2! It’s perfect for a Kids Memory Board. My son loves pictures and creating artwork and now he will have a place to display it. His room is shark themed so this fabric is perfect. He loves it!
The Rules:
- Upcycle an item(s) from a thrift store, resale store, or garage sale into a new piece of decor.
- There’s no monthly theme.
- There’s no budget to stick to.
Meet the Hosts
Amanda | Domestically Creative
Angela | Simply Beautiful by Angela – Michelle | Michelle James Designs
Molly | Just a Little Creativity – Victoria | Dazzle While Frazzled
Marie | The Inspiration Vault – Marie | DIY Adulation
– Gail | Purple Hues and Me
Jennifer | Cookies Coffee and Crafts – Ann | Duct Tape and Denim
– Debra | Shoppe No. 5
Denise | My Thrifty House – Florence | Vintage Southern Picks
Deborah | Salvage Sister & Mister – Yami | The Latina Next Door
Pili | My Sweet Things – Kathleen | Our Hopeful Home
Karen | Dragonfly & Lily Pads
Make sure you follow our board on Pinterest for more upcycled decor inspiration!
Below are some affiliate links and I may make a commission for purchases made through the following links.
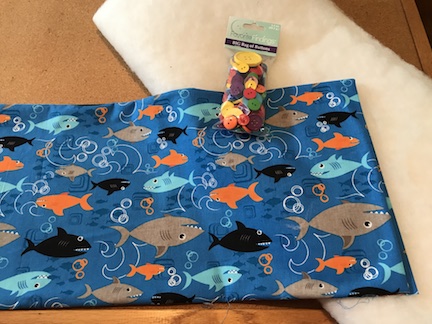
Supplies for the Kids Memory Board
Cork Bulletin Board
1/2 yard Poly Fil
1 1/8 Yard of Shark Material
Buttons
Elmers Spray Glue
Ribbon
Hot Glue Gun
Let’s get started and Create a Kids Memory Board:
Step 1: Clean your cork board and get it ready to create. This has been in my basement for about a year just hanging out.
Step 2: Cut the poly fil to fit inside the cork board
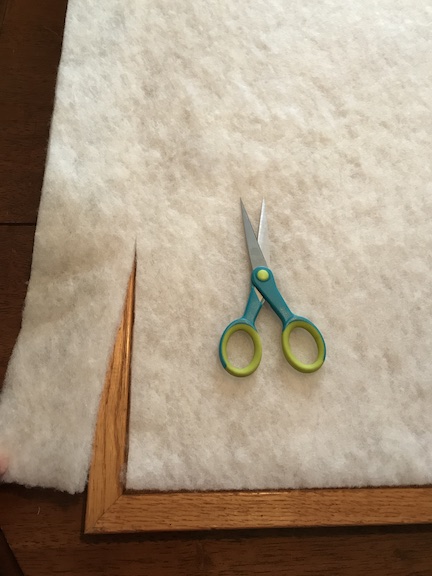
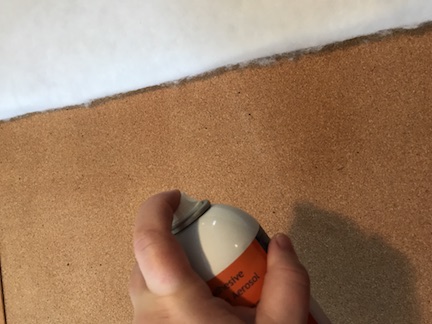
Step 3: Use spray glue to attach the poly fil to the cork board- I think it would be ok without, but I wanted to make sure the poly fil didn’t move when I put on the fabric
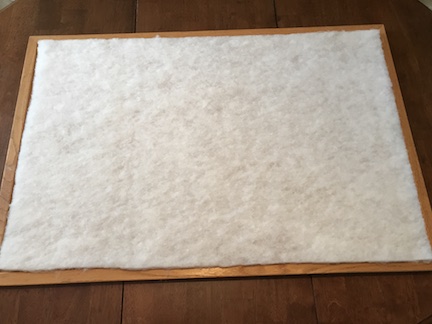
Here is the finished board with Poly Fil
Step 4: Iron the material and get it ready to go on the board
Step 5: Use the spray adhesive to make the fabric stay to the poly fil so it doesn’t move around when you hot glue the fabric to the board
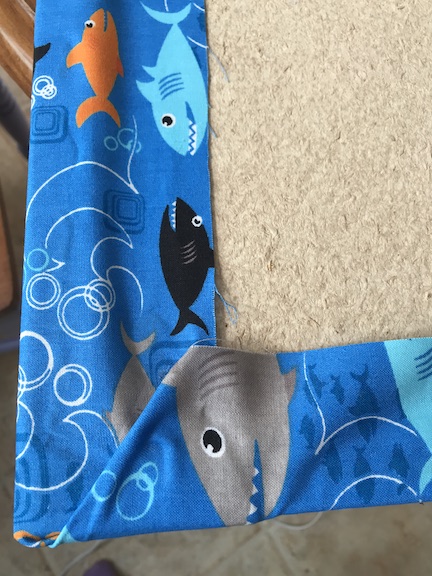
Step 6:Hot glue the fabric to the edge of the board. I did trim the back so the fabric looked neater and not so messy
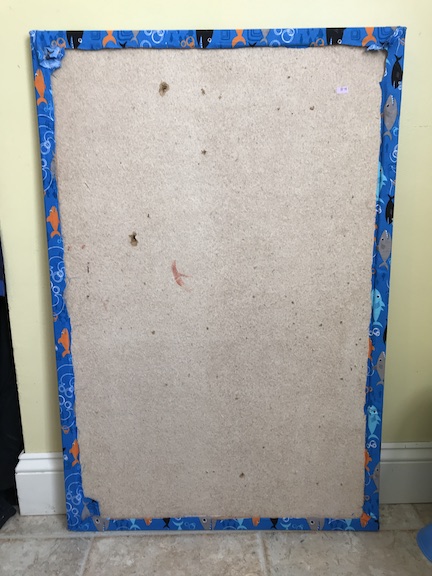
Fold the corners just like your wrapping a present
Now for the Final Steps:
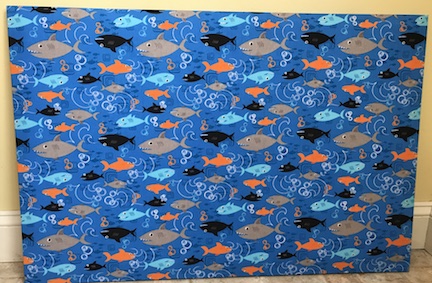
Step 7: Now your memory board is ready for the ribbon and the buttons. For this board I did horizontal and vertical ribbon. Begin with the vertical strips and measure your board to decide how far apart to put your ribbons. Next lay the horizontal ribbons.
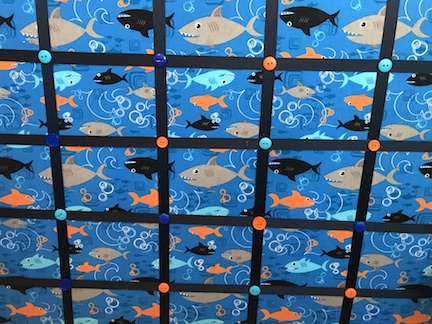
First hot glue the ribbon to the edges of the board, then hot glue the buttons where the ribbon meets. Hot glue the ribbons with the button to the board.
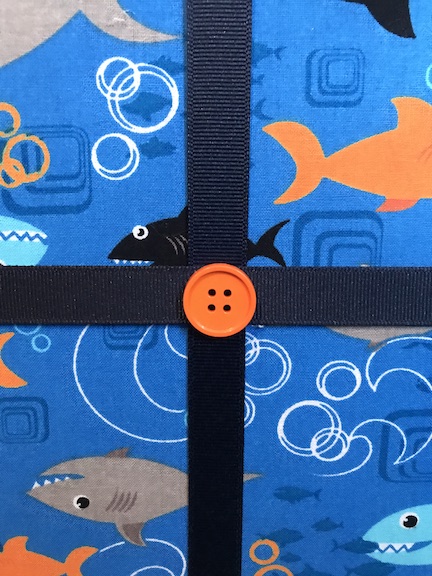
Step 8: Staple the ribbon and fabric to the board, just to make sure it stays in place
This memory board is perfect for anyone and not just kids because you can personalize it with any fabric, ribbons or buttons. I made a Paw Patrol one for my niece on a canvas (that I also found at the village wide garage sales). I’ve been looking for a board to make a daughter a memory board and so far no luck, but garage sale season is coming. My son loves it and loved putting his pictures on it, he likes to redecorate it a lot.
And now for more thrifty goodness!
Check out what my fellow upcyclers created below!
 Loading InLinkz ...