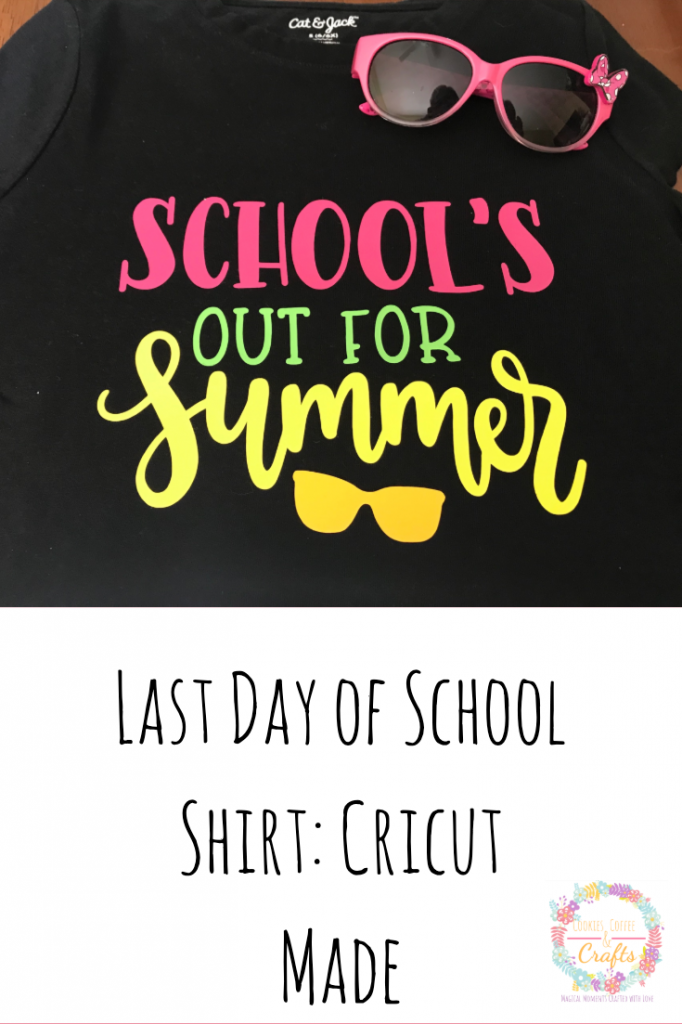
Last Day of School Shirt: Cricut Made
Note: As an Amazon Associate, I earn from qualifying purchases. If you click on a link from Amazon or another of my advertising affliates, I will earn a small commission at no additional cost to you. Please see my full disclosure policy here.
Summer is coming! We haven’t had much of a spring, but before you know it- summer vacation will be here! The kids are so excited to play all day and be home- do you remember that last day excitement as a kid? I’m super excited too no more fundraisers, paper work, due dates, and more. It will be sort of like a mini mom break. One of the best things about having a Cricut is being able to make fun custom shirts for these days. My kids expect these fun last day of school shirts. It’s like become a family tradition.
This months Inspire My Creativity Party is all about something to wear and the Cricut is perfect for making custom shirts, hats, bags, and pants. Make sure to check out what all my creative friends made to wear today.
I had this amazing opportunity to work with Happy Crafters and share this new product with you, all thoughts and opinions are my own. This post contains affiliate links which means I may make a small comission of any sale that is made by clicking on any of the products with no cost to you. Your support is greatly appreciated.
Supplies for Cricut Shirt
Cricut Cutting Machine- I have the Cricut Maker or any cutting machine
Iron/EasyPress/Heat Press (EasyPress Mat if using EasyPress)
Iron On
Weeding Tool
Shirt
Cricut Brightpad
Let’s Create a Last Day of School Shirt: Cricut Made
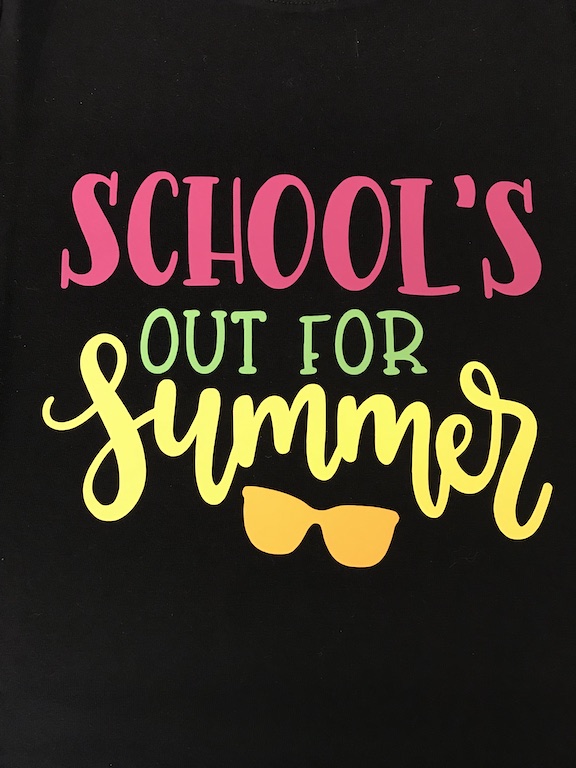
I like to make shirts for the last day that have to do with school and summer or for moving onto the next grade. For my daughters shirt I’m using this Lovesvg– “Schools Out for Summer.” How cute is this? Any svg can be uploaded into Design Space or use any design in Design Space for a shirt. If you need more svg ideas, this is my Ultimate List of Free SVG Files
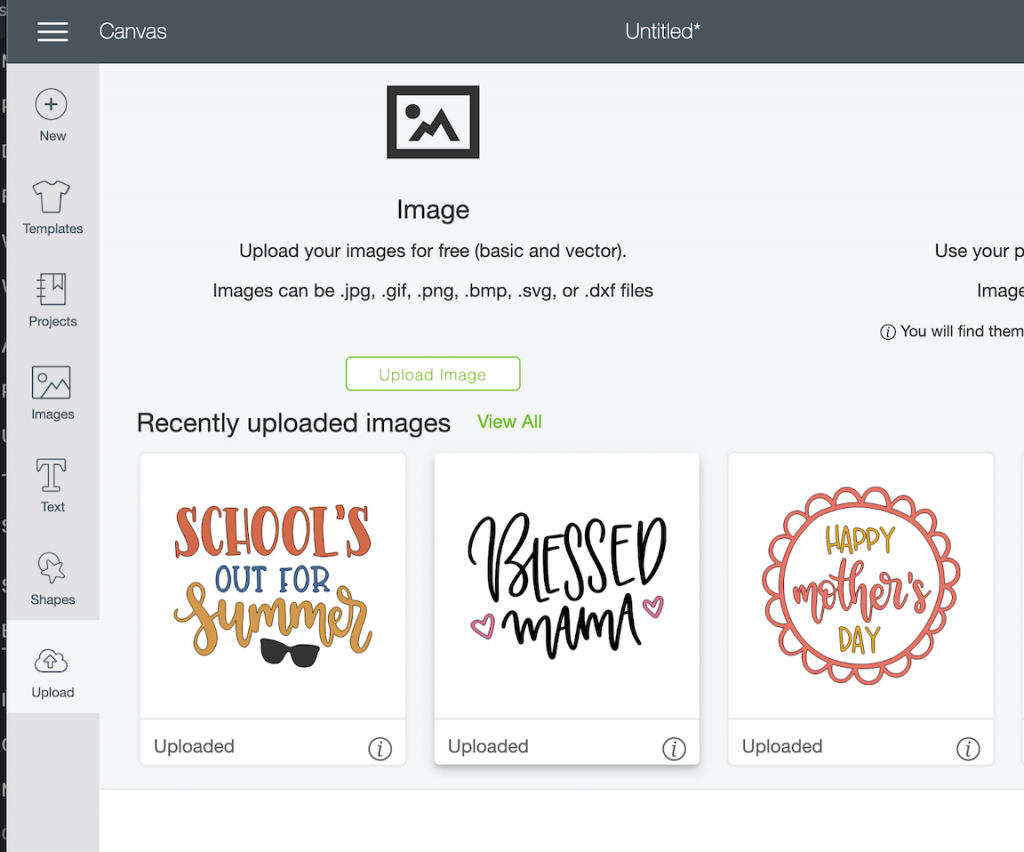
First I upload the design in Cricut Design Space™.
Next size your design to the size of your shirt.
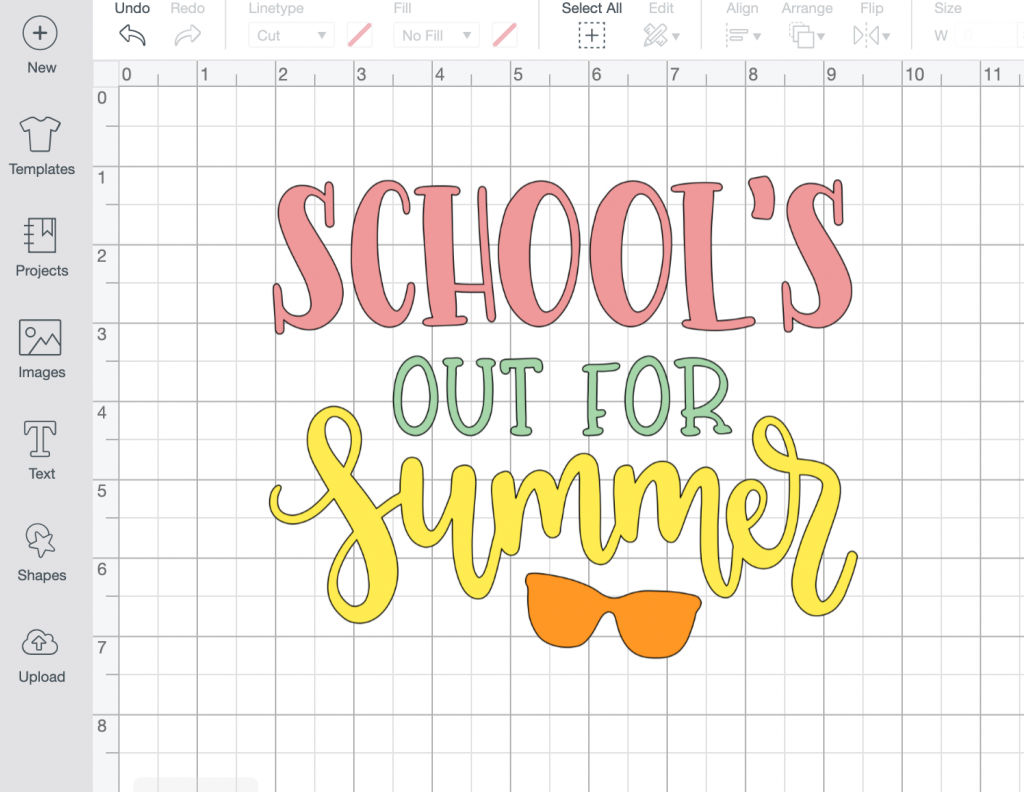
Choose the colors for your design and then get ready to cut. The biggest question always is “What side of the iron on goes down on the mat?” Always put the shiny side down on the mat.
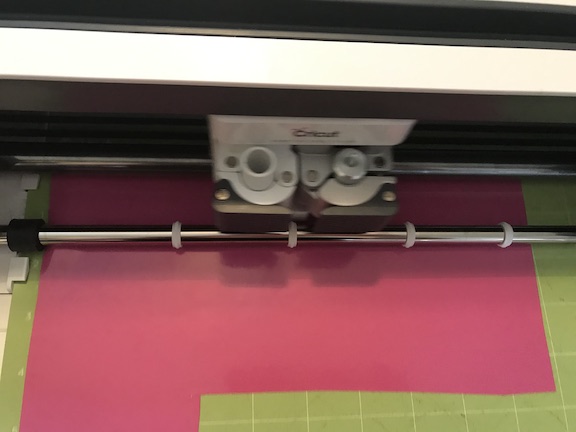
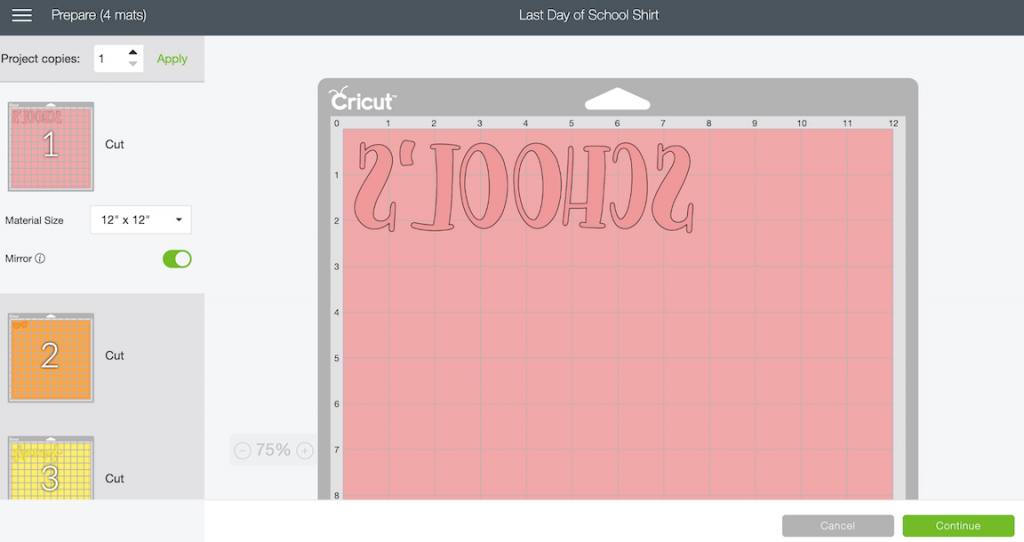
Then always click mirror image for each mat! See the green button- that means the mirror image is on. Choose iron on as your setting and load your mat and hit the flashing C to cut the design.
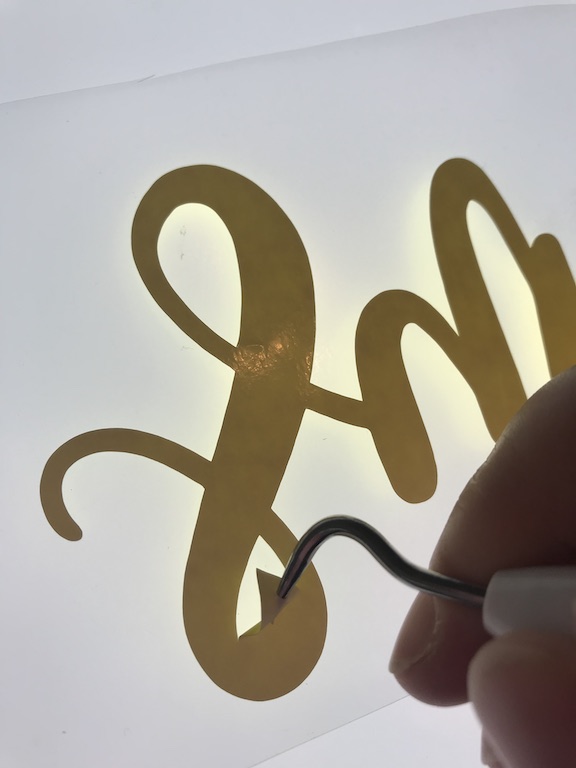
If you are new to Cricut or have never done iron on before, follow this Step by Step How to Use Cricut Iron on Vinyl. Then weed your design by removing any iron on that is not part of your design.
How to Press the Iron On
I will press the shirt with my Cricut EasyPress using the Cricut EasyPress Mat
.
I have to share this awesome amazing out of this world new iron on from Happy Crafters. It’s called Happy Cut and is not available to the public yet (I’m super lucky to get to try this out), but it only takes 5 seconds to apply. This is my third shirt and it’s always worked in 5 seconds. It’s truly magical! When it becomes available I’m buying some in every color.
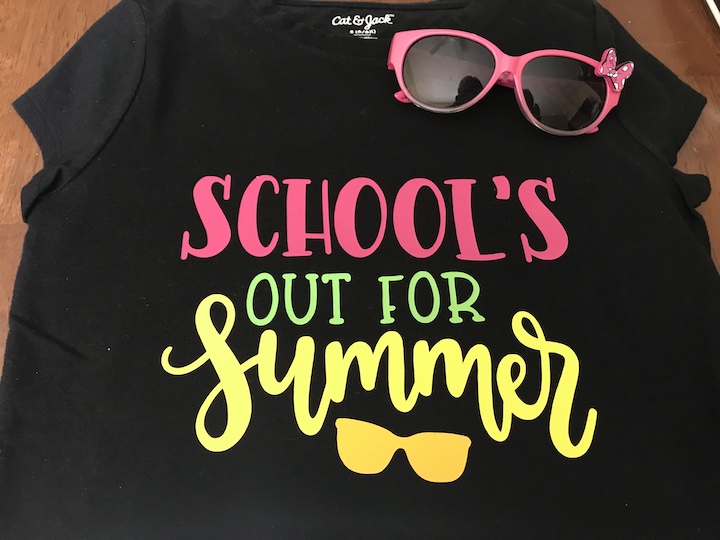
Now my daughter is all set for the last day of school! Do you like to make shirts for special days like this or how about a fun custom shirt for you? I’m so in love with these colors popping off the black!

Shani | Sunshine & Munchkins
Christine | Swordfights & Starry Nights
Meg | See the Happy
Candice | She’s Crafty
Julia | The Quiet Grove
Marie | The Inspiration Vault
Brooke | My Beautiful Mess
Heather | Glitter On A Dime
Rachel | Adventures of a DIY Mom
Jenny | Cookies, Coffee and Crafts
Anna | Practical and Pretty
Cathy | A Boy and His Mom
Sarah | The Strawberry Nest
Adree | The Keele Deal
Aimee | Things Simple Small
Alexandra | EyeLove Knots
