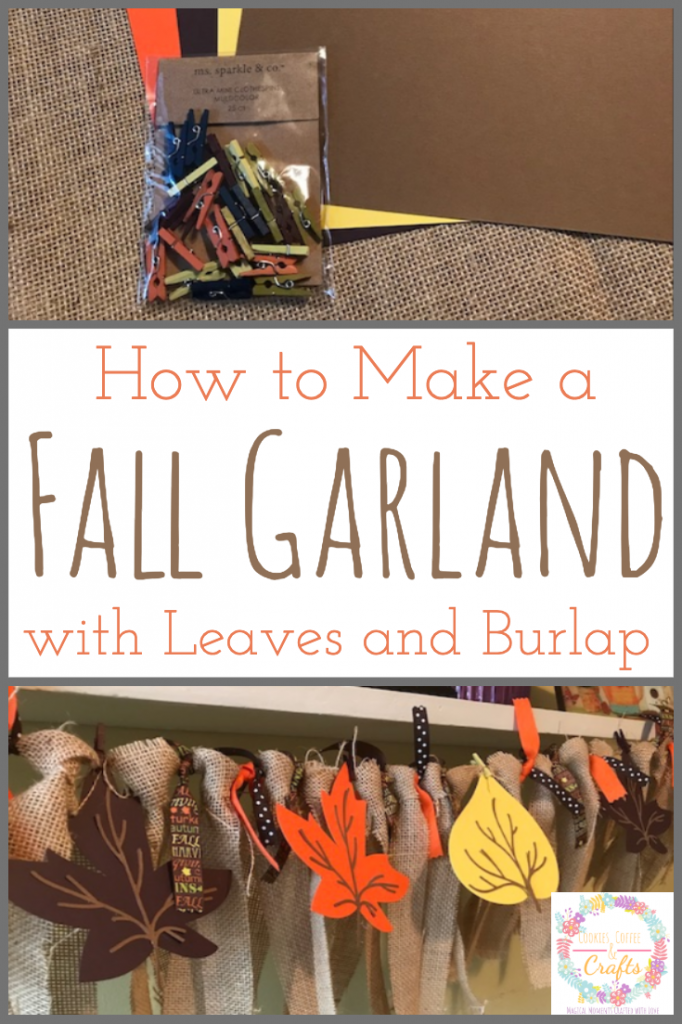
How to Make a Fall Garland with Leaves and Burlap
Note: As an Amazon Associate, I earn from qualifying purchases. If you click on a link from Amazon or another of my advertising affliates, I will earn a small commission at no additional cost to you. Please see my full disclosure policy here.
“The leaves are falling, autumn is calling” is one of my favorite sayings for fall. My favorite season is truly fall, who else loves the color of the leaves and the crunching leaves. We have a lot of leaves every fall to rake and it’s a big job, but once we start doing it we have so much fun. I love the kids faces as they play in the leaves. Burlap is one of my favorite decorating materials and I think a leaves and burlap fall garland will look so pretty in the kitchen. Plus it’s time for the Inspire my Creativity Link Party and this months theme is leaves! Visit my co-host to see what kind of leaf projects they created!
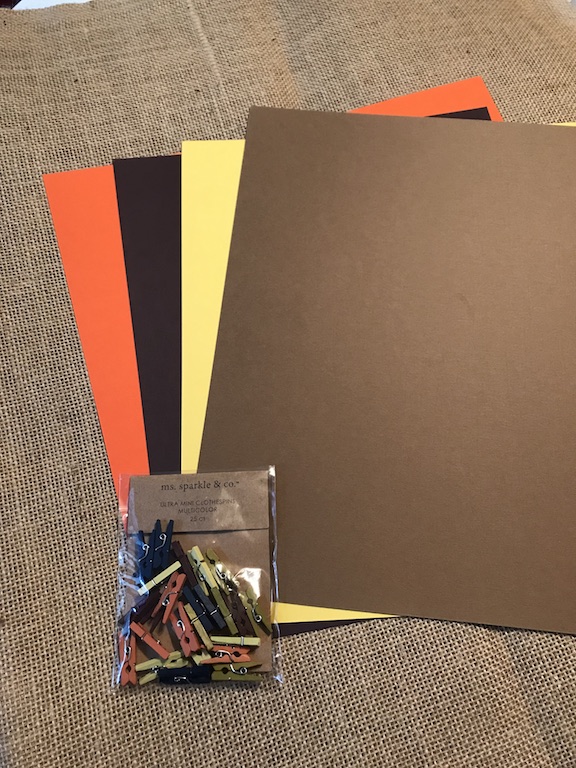
Below are some affiliate links and I may make a commission for purchases made through the following links.
Supplies for DIY Fall Garland
Burlap- about a 1/2 yard
Orange Card Stock
Yellow Card Stock
Dark Purple Card Stock
Brown Card Stock
Mini Multicolored Clothespins
Twine
Ribbon
Let’s Learn How to Make a Leaves & Burlap Garland for Fall
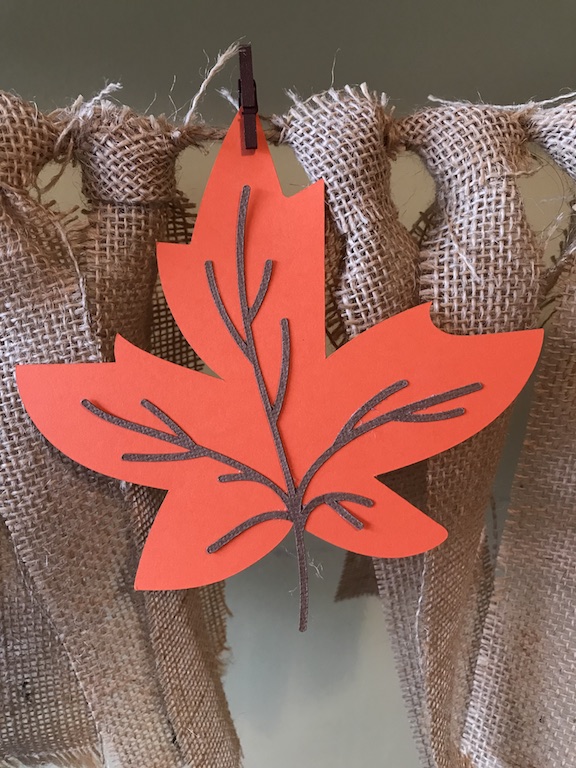
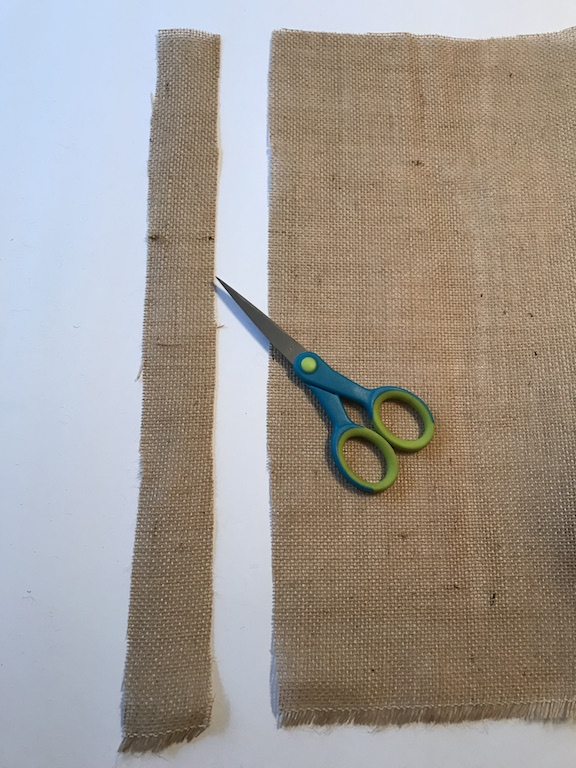
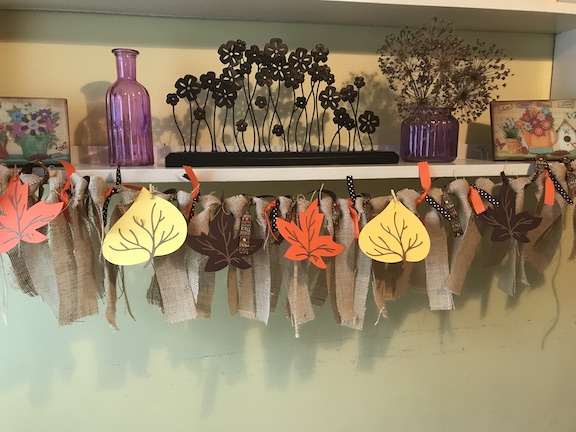
When I went to Hobby Lobby I was so happy to find burlap by the yard. I bought 1 yard and used about half of the yard. It was only $3.99 a yard and it was on sale. Using a sharp pair of scissors, I cut the burlap into strips about 18 inches long and about 2 inches wide. Then tied them onto the twine. Here is a tutorial for how I tied the burlap onto the twine. After all the burlap was tied onto the garland I cut the frayed pieces off to give it a clean look. As clean as you can get with burlap, but I think it gives it character.
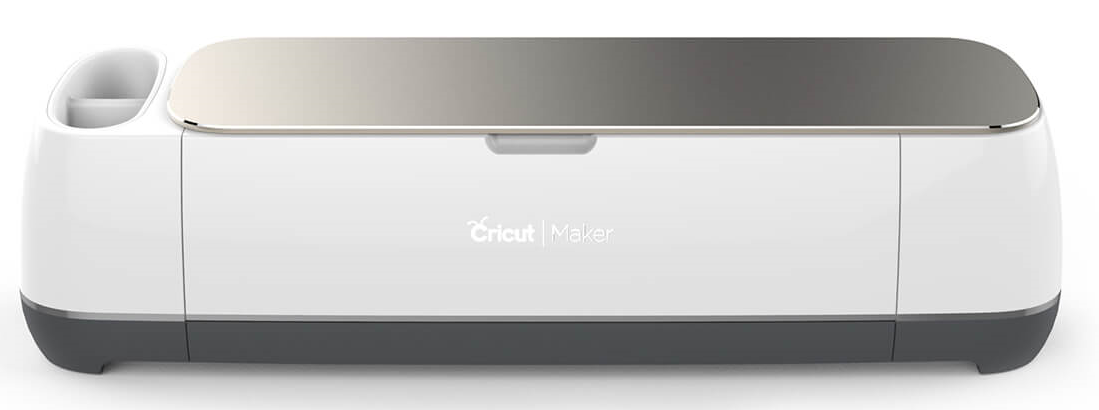
Now it’s time to add the leaves to the garland. I created my leaves in Cricut Design Space™ using my Cricut Maker, but if you don’t have a Cricut their are lots of ways to add leaves to the garland.
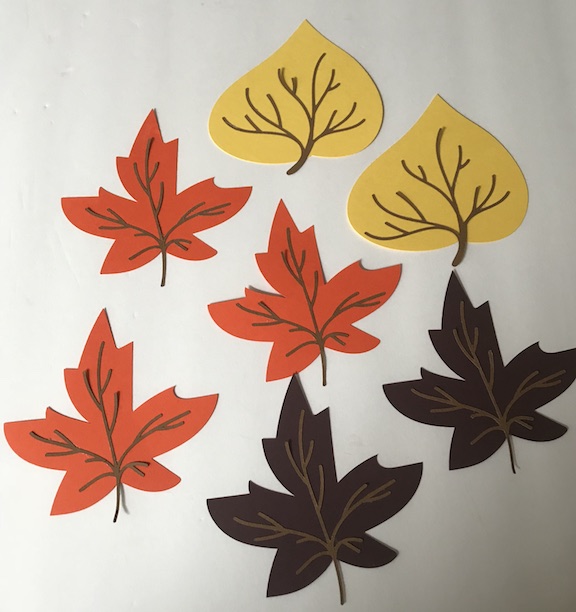
Ideas to Add Leaves to the Garland
-Fake Leaves
-Felt Leaves
-Trace & Cut Leaves
-Die Cut Leaves
-Stamp Leaves
If you have a Cricut, here is the project link for the garland. . To add the leaves to the garland I used small clothespins from Joanns. They are so pretty in fall colors, but I think I got a bad batch. Many of the clothespins just fell apart when I tried to use them. I was planning on matching the colors of the leaves and the clothespins, but that didn’t happen.
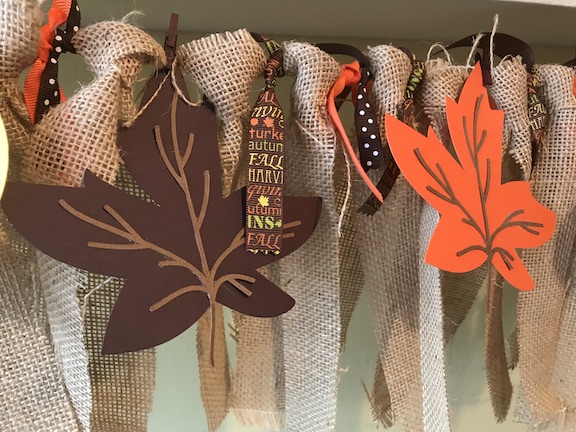
I hung up the leaves and burlap garland in the kitchen, however I kept looking at it thinking it needed something. For a couple hours I kept looking at it and decided it needed some ribbon. In my ribbon box, I had all of these ribbons. The orange ribbon and the brown fall ribbon with words are from the Dollar Tree and the polka dot ribbon is from the craft store. It was the perfect addition and now the garland looks complete. Just tie the ribbon to the twine in between the burlap.
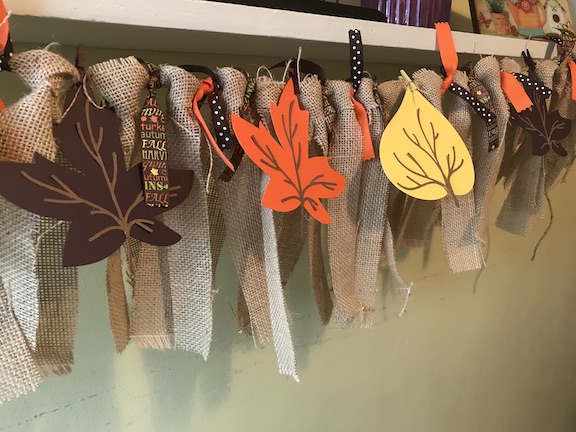
Fall Home Decor with the Fall Leaf Garland
This leaves and burlap garden is perfect for the fall because you can always change the leaves to pumpkins or turkeys as we travel into the season of fall.
Visit all of my friends at the Inspire My Creativity Link Party to see what they created with leaves.

Anna | Pratical and Pretty
Christine | Swordfights & Starry Nights
Meg | See The Happy
Candice | She’s Crafty
Jaclyn | The Dotted Nest
Victoria | Dazzle While Frazzled
Marie | The Inspiration Vault
Brooke | My Beautiful Mess
Heather | Glitter On A Dime
Rachel | Adventures of a DIY Mom
Niki | 365 Days of Crafts
Jessica | Designers Sweet Spot
Jenny | Cookies, Coffee and Crafts
Amy | Leap of Faith Crafting
 Loading InLinkz ...
Please join us next month for Inspire My Creativity Link Party on the second Wednesday of each month. I can’t wait to see your creativity with a Thrift Store Makeover for October.

