Make the Easiest Cricut Joy Iron On Project
Note: As an Amazon Associate, I earn from qualifying purchases. If you click on a link from Amazon or another of my advertising affliates, I will earn a small commission at no additional cost to you. Please see my full disclosure policy here.
Can you believe the Cricut Joy is one years old already? I remember going to Joann’s and buying mine before the world changed. The Cricut Joy has been there though it all with me and is my favorite crafting tool. Sorry Maker, but the Joy is just so easy and the right size for my kitchen. I didn’t think the Cricut Joy machine could get any easter, but then Cricut created the app. The app is a must for anyone who uses the Cricut Joy! The app is super smart and makes creating projects so easy and fast. Today I’m sharing a very simple Cricut Joy Iron on Project that I made with the app. The whole project took about 10 minutes.
Do you want to know the absolute best thing about the Cricut Joy app and iron on? Once you select iron on as your material, it automatically turns the mirror design on. Oh yes, it’s true! I’ve heard so many people ask for this and now the app does it for you.
The Cricut Joy App is divided into sections. Insert cards, quick labels, iron on & infusible ink transfers, vinyl stickers & decals and paper crafts. I’ve tried out the app several times and shared my tutorials below with each of these categories. I hope you find them helpful because using the app is a lot easier than Design Space, but it will also depend on the project that you are creating.
Cricut Joy App Tutorials
Everything you Need to Know about the Cricut Joy App
Shortcuts to Making Labels on the Cricut Joy App
How to Make an Insert Card in Under 5 Minutes
Easiest Cricut Joy Stickers Ever to Make (on the App)
Easy Cricut Joy Paper Projects with the App
Materials for Creating Cricut Joy Iron On Project
Smart Iron On Vinyl (Buy on Amazon/ Buy on Cricut)
Cricut Easypress Mini
Cricut Joy (Buy on Cricut/Buy on Amazon)
Easypress Mat
Cricut Joy App
Let’s Make the Easiest Cricut Joy Iron On Project
To get started have a plain mask. This is my first time using a pleated mask and it was a little more challenging because you had to make sure the pleats were all flat. I recommend the non pleated mask because it just makes it easier.
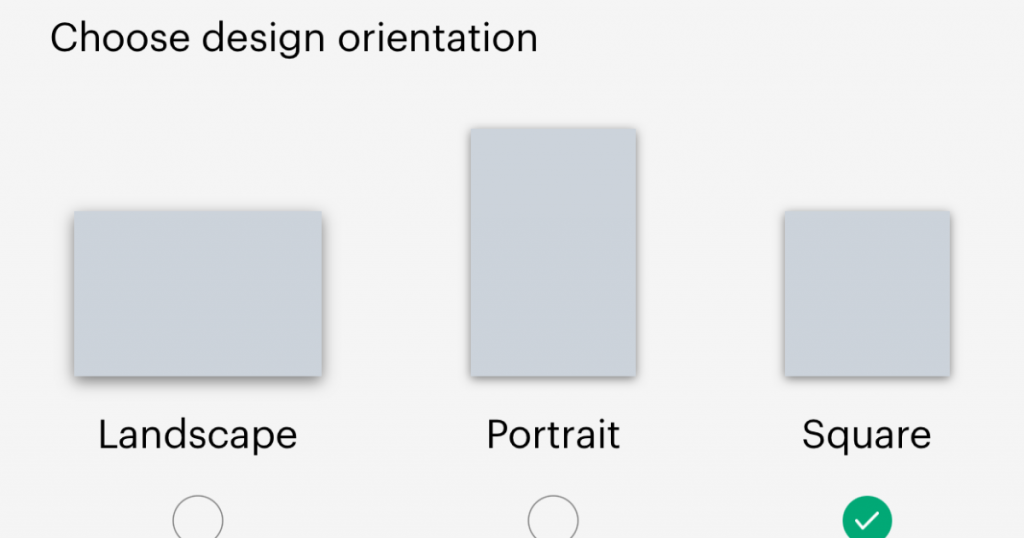
Open the Cricut Joy App and tap iron on & infusible ink transfers. Choose the layout of your design, I used square for this iron on project and tap next.
I was looking for a cute coffee mug because I love coffee! I can’t get enough of it. Choose the image you want, size it and choose the color. I changed the color to black so the coffee cup was easy to see in the app. Here are some other face mask I have designed with my Cricut.

Click Next and it will give you a choice of materials to click on (they will only be iron on or infusible ink materials). I’m using Smart Iron On so no mat is needed and the app automatically turned on Mirror Design.
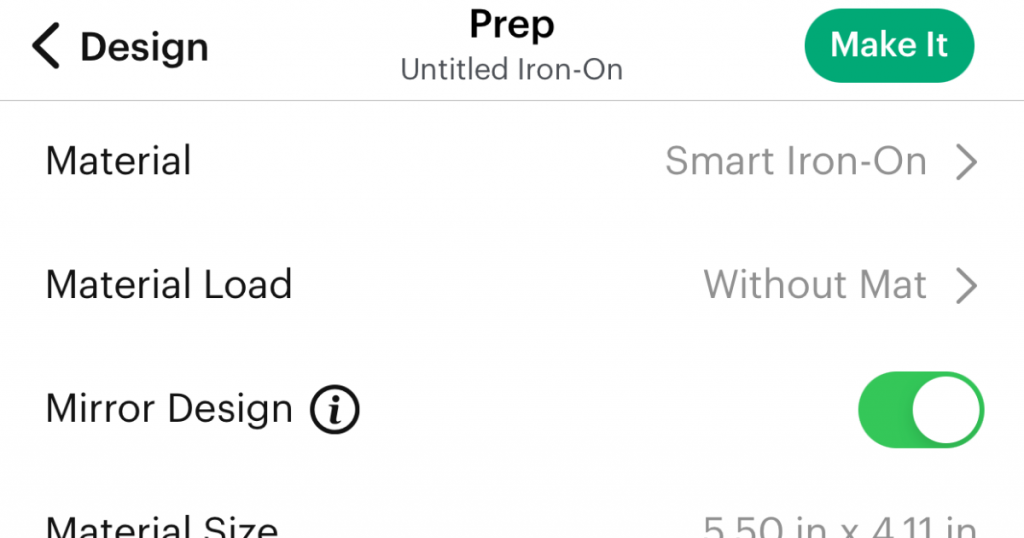
Follow the instructions on the app and guide the smart iron on into the Cricut Joy. Make sure the shiny side is facing down as you guide it in.
Just follow the instructions on the screen after you tap Make It.Weed the smart iron on and peel away the extra.
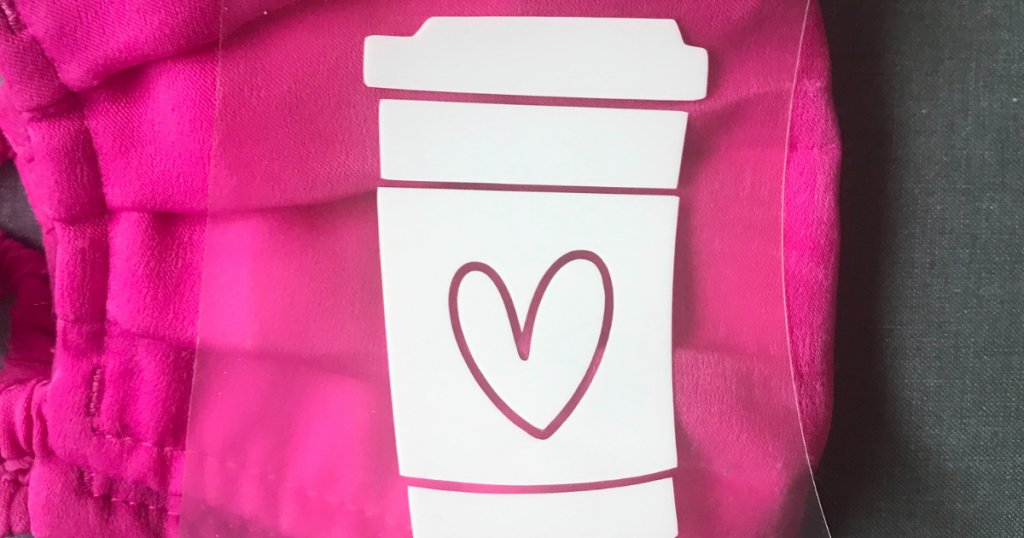
I’ll be using the Mini Easypress (it’s the perfect size for this) and my easypress mat.
Mini Easypress Settings for Applying the Smart Iron On
Preheat for 5 Seconds
Consistent Movement on Medium for 25 Seconds
Flip and Press for 15 Seconds
Warm Peel
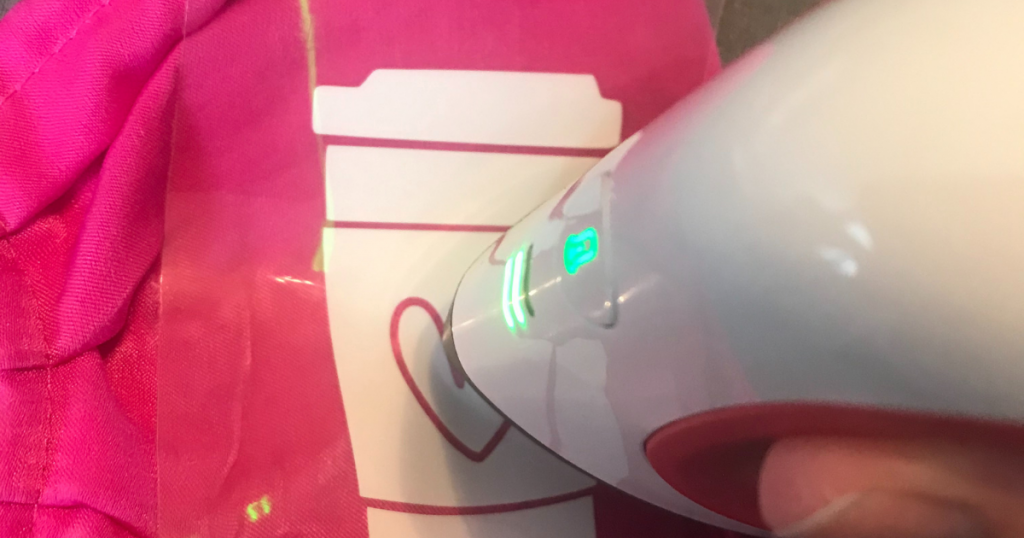
With the pleated mask, pull the mask as tight as possible before you add the iron on design. As I used the mini easypress, I kept pulling on the mask so it was tight.
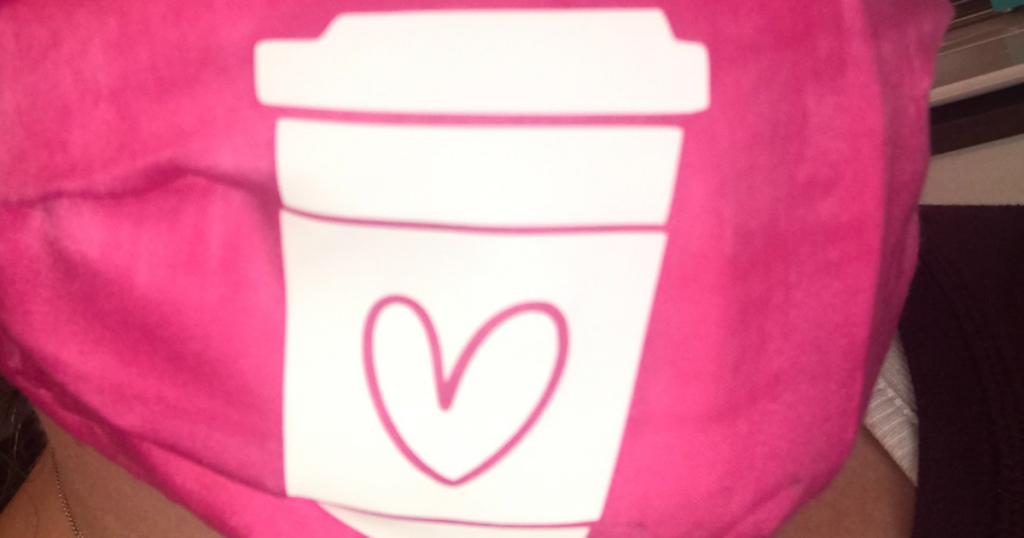
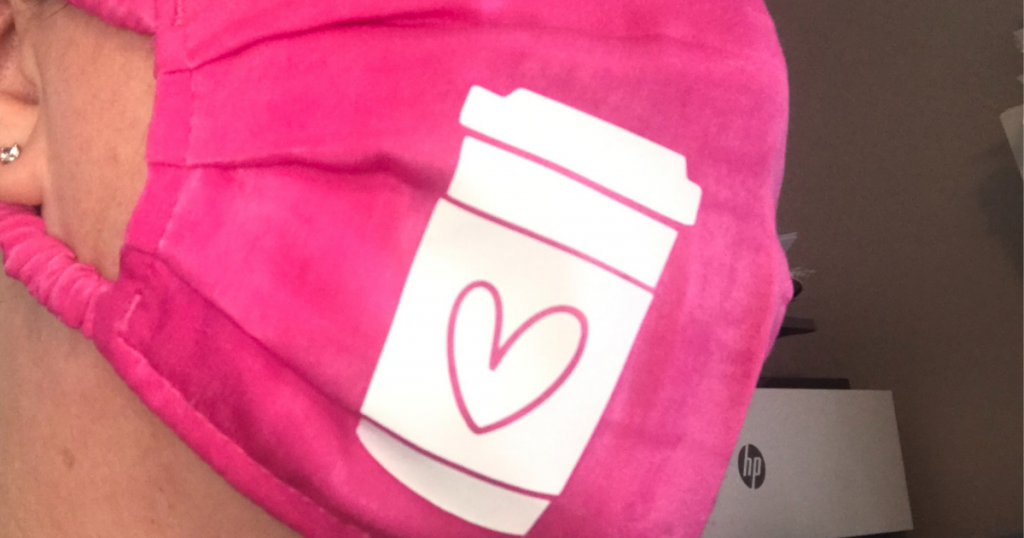
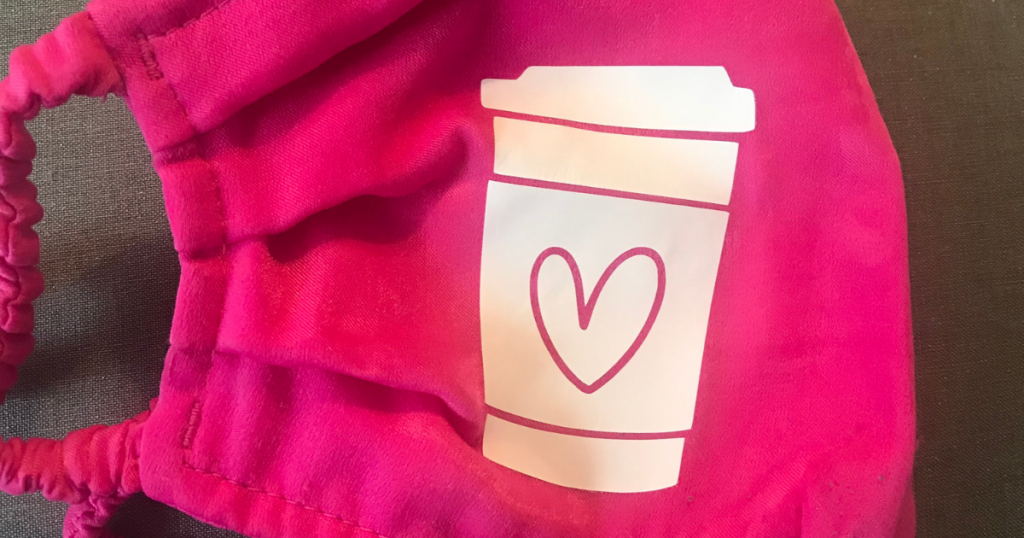
My new customized facemark is super cute and I can’t wait to wear it later when I pick up the kids from school. This super quick project was even easier because of the Smart Iron On Vinyl, the Cricut Joy App and of course the Cricut Joy machine. Never again will you ruin iron on because of forgetting to mirror the design (this app is the best!)

