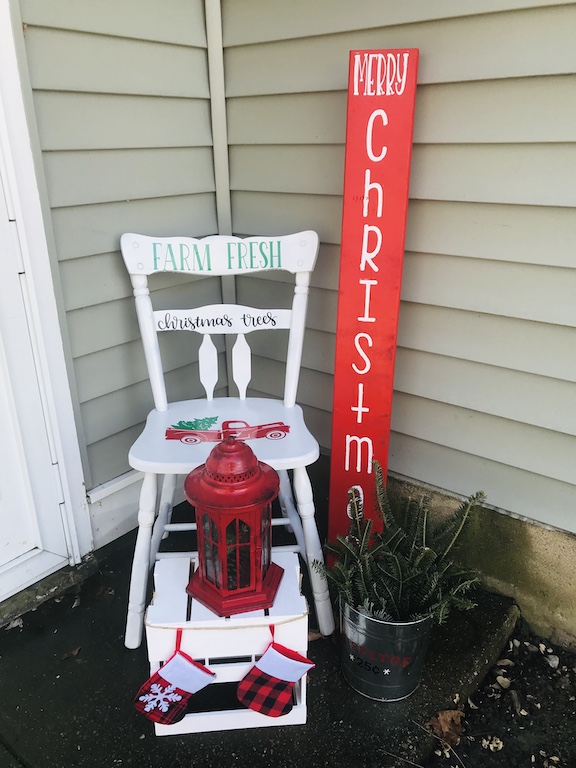
Merry Christmas Porch Sign with Cricut
Note: As an Amazon Associate, I earn from qualifying purchases. If you click on a link from Amazon or another of my advertising affliates, I will earn a small commission at no additional cost to you. Please see my full disclosure policy here.
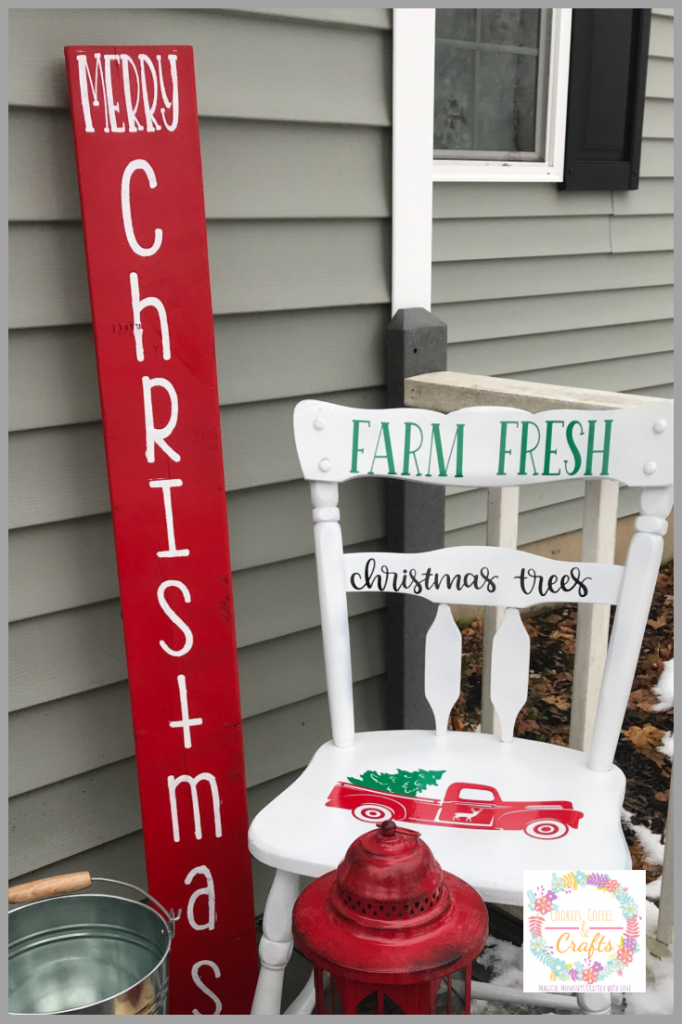
Decorating the porch for Christmas is something I truly love, but I live where it knows a lot so I have to be careful with my decoration choices. Last year I made these small merry and bright signs and it was a great touch. This year I’m creating a Merry Christmas Porch Sign with Cricut because my porch decor needs a little something more.
This page contains affiliate links at no extra cost to you. Please see my full disclosure here.
Supplies for Stenciled DIY Porch Sign
Outdoor Wood/Scrap Wood/Fence Post
Red Outdoor Spray Paint
Apple Barrel White Paint
Oracal 631 Removable Vinyl
Makeup Wedge
Mod Podge Sealer in Matte
Cricut Maker
Let’s Create a Merry Christmas Porch Sign with Cricut
Step 1:
Paint your board red using the red outdoor spray paint.
Step 2:
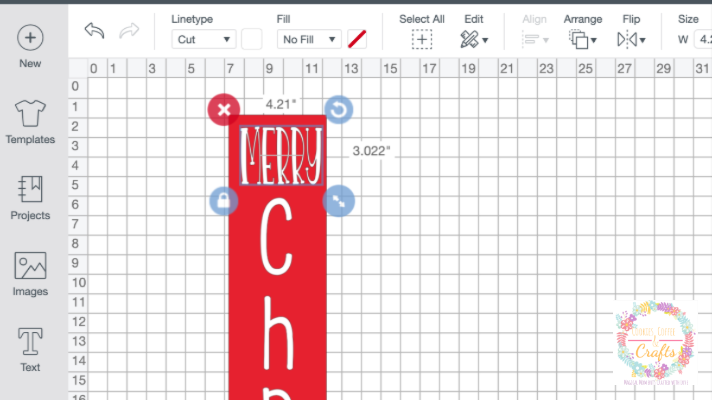
Create your design in Cricut Design Space™. For my design I used Merry and Christmas from other SVGS. I like to cut the letters first in paper and tape them to the board to make sure I like the design, placement, and size of the letters. I’m a very visual person and seeing is believing (a little Polar Express thrown in).
Step 3:
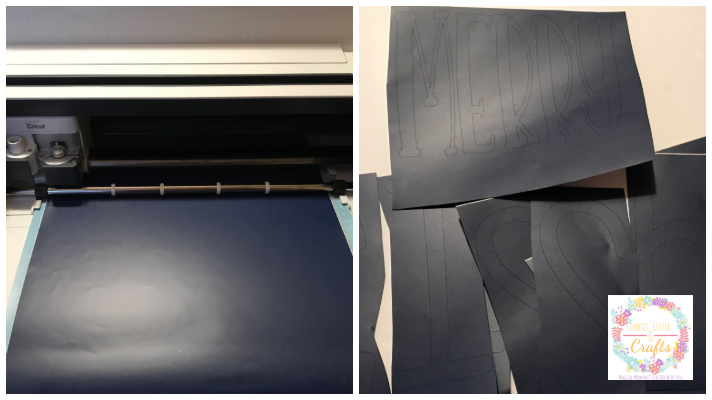
Once you like the way the design looks, cut it in the Oracal 631 removable vinyl (color of the vinyl doesn’t matter). Weed out the part you don’t need and use transfer tape to add the letters to the board.
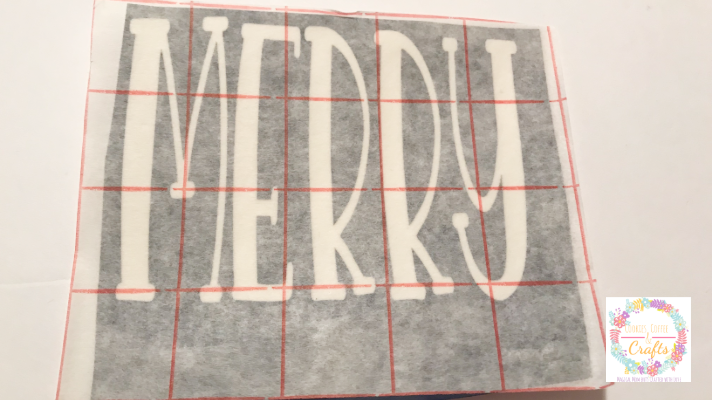
Remember since you are stenciling the design, to keep all the middles of the R and a’s when weeding your design.

Step 4:
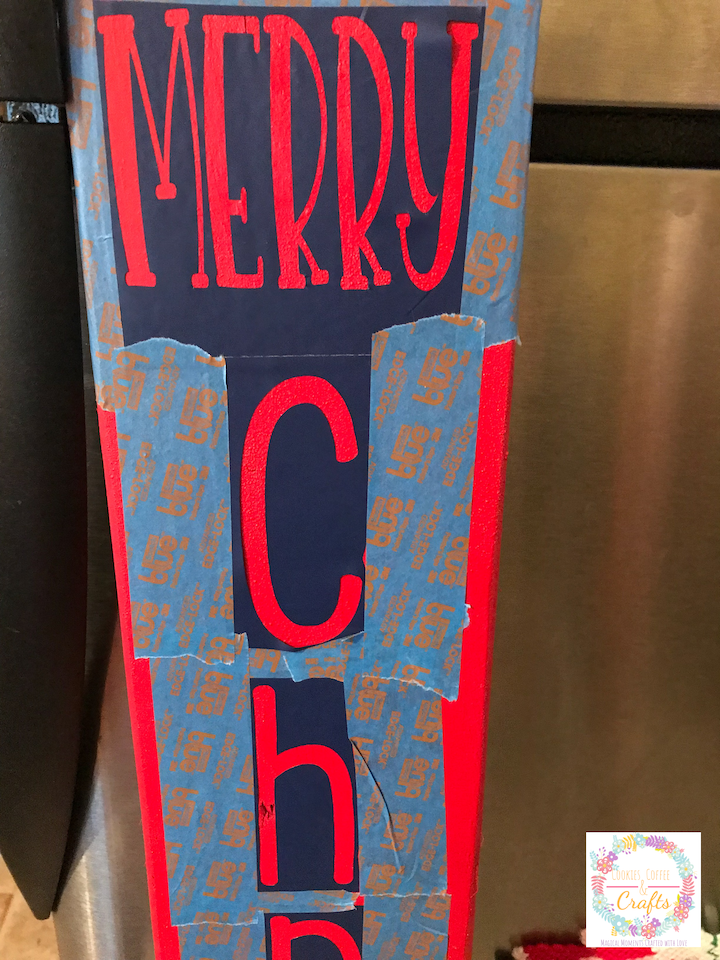
Add painters tape around the stencil to give yourself more safe space to stencil. This is my secret weapon when making porch signs or stenciling.
Do you have a porch sign for Christmas? Let's make one. #MerryChristmas #ChristmasSigns #PorchSign #CricutMade #Cricut @jennysparmo Share on XStep 5:
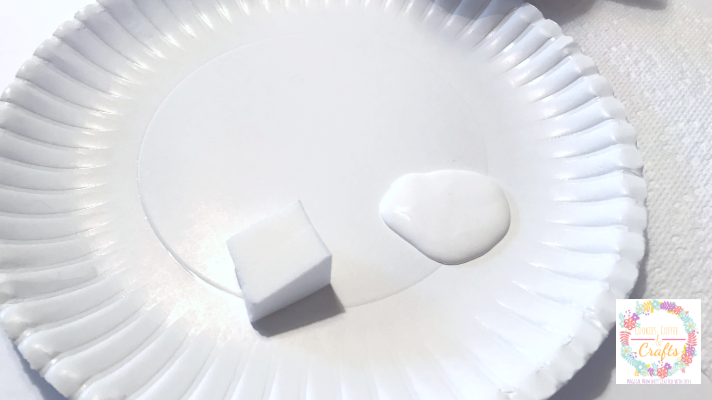
Using a make up wedge, start stenciling. Remember less paint is better and go slowly as you stencil. Since your stenciling onto a darker color, it will need at least 5 coats of white paint.
Step 6:
Let your porch sign dry completely and spray with a sealer. I like to use the Mod Podge Clear Acrylic Sealer in Matte. Plus add a bow, if you would like.
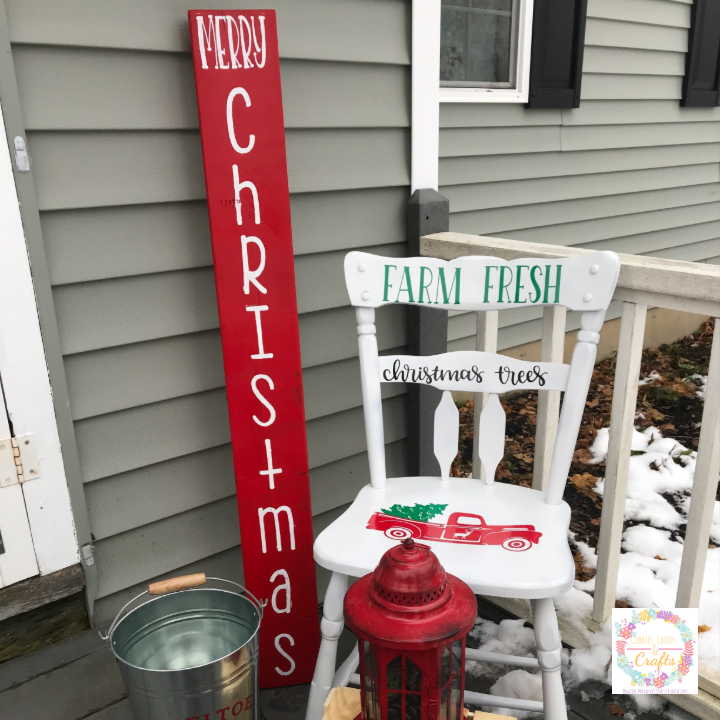
Now I have a Merry Christmas Porch Sign too and you have an easy tutorial to follow to create your own. I had most of the supplies already so this porch sign only cost me about $5 for the spray paint. Even if you have to buy the supplies, I promise it will cost less then buying it. If your not sure about stenciling a sign, this is how I made a porch sign with vinyl.
I just can’t decide if I like it on the porch or by the side door or maybe I need another sign so I can have one in both places.
