Mickey and the Roadster Racers Birthday Decorations
Note: As an Amazon Associate, I earn from qualifying purchases. If you click on a link from Amazon or another of my advertising affliates, I will earn a small commission at no additional cost to you. Please see my full disclosure policy here.
Birthdays only come once a year and I try to make them as special as possible, that the day is all about the birthday celebration. To me it’s such a special day because it’s a new milestone in an incredible life story. To celebrate birthdays, I enjoy creating Birthday Boards to capture those memories and milestones.
One of my favorite things to do is crafting and when I’m not crafting I love to look at crafts, DIY’s, how to’s. I’m a Pinterest Addict! When I was browsing one day, I saw so many signs and wreaths to welcome party guest to the party. I loved this idea!
Since Mickey and the Roadster Racers is still new and doesn’t have any decorations, I decided to go with checkered flag decor and use the deep red of Mickey’s roadster. Here is the checkered flag
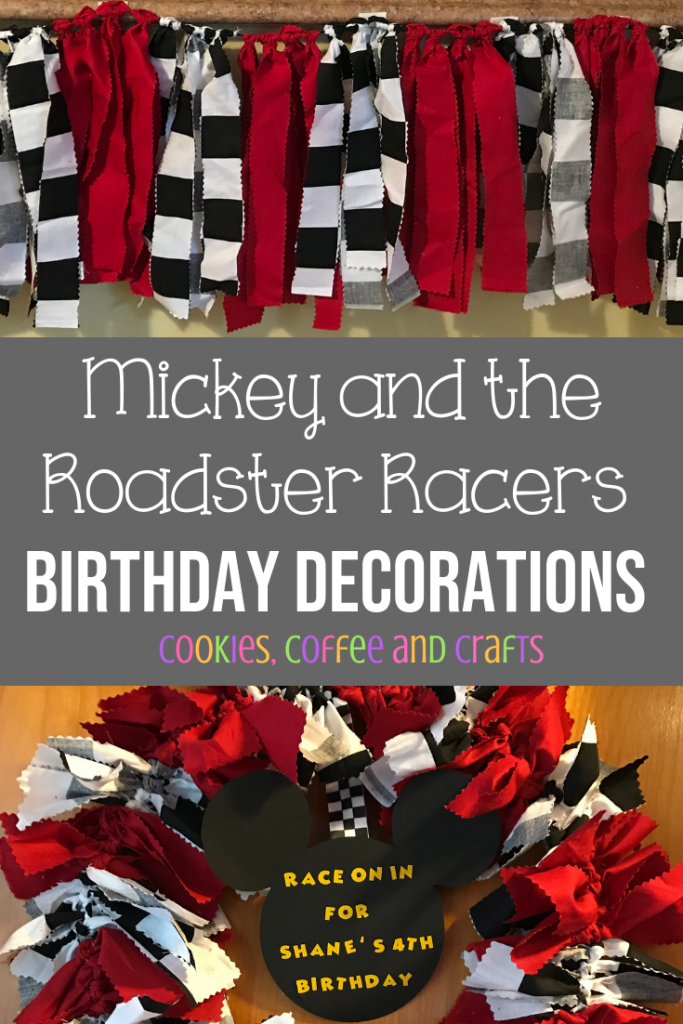
Mickey and the Roadster Racers Birthday Banner I created for the party too! So with checkered flag material and deep red material I was able to make a fabric garland and a welcome wreath for the party. My fabric garland was about 3 1/2 feet long for the supplies listed.

Below are some affiliate links and I may make a commission for purchases made through the following links.
Supplies for the Mickey and the Roadster Racers Wreath & the Garland
1 Yard of Black Racing Checkered Fabric
1 Yard of Red Fabric
Pinking Shears or regular scissors
Black Thin Ribbon
Wooden Embroidery Hoop 10 inches
Yellow Vinyl or Yellow Letter Stickers
Transfer Paper
Black Card Stock
Mini Hot Glue Gun
Cricut Explore Air 2 or any cutting machine
Let’s Create a Checkered Flag Garland
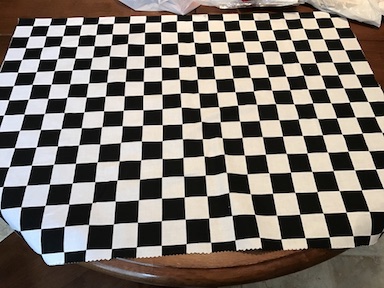
For the checkered flag garland, measure how long the garland will be and cut the thin black ribbon that length. The thin black ribbon will be for tying the fabric to and creating the garland.
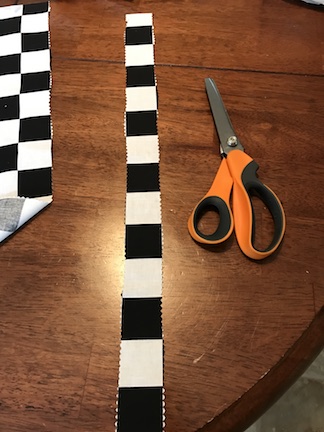
Then cut the fabric into strips. I folded the fabric in half and cut along the lines of the material. The strips are about 22 inches long. I used the pinking shears to cut the fabric because it keeps the fabric from unraveling and you won’t get all the little strings hanging off.
For the red material I followed the folds in the material and cut it into strips. I just tried to cut as straight as I could because you can’t really tell once it’s on the garland.
Once all the material was cut, I started tying it onto the black ribbon. I hung the black ribbon up so it was easier to tie the fabric onto it.
To tie the fabric onto the ribbon, start with the fabric behind the ribbon. Just like in the picture.
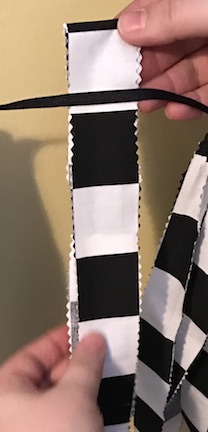
Then fold the fabric over the ribbon and pull the fabric through the loop.
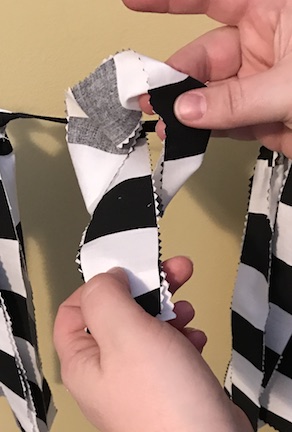
Then pull the knot tight and the fabric will hang nicely to create the garland.
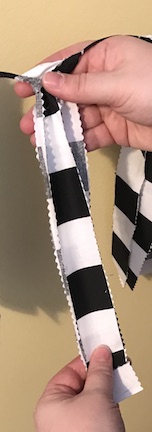
Just keep repeating this process until your garland is complete.
Let’s Create a Welcome to the Birthday Party Wreath
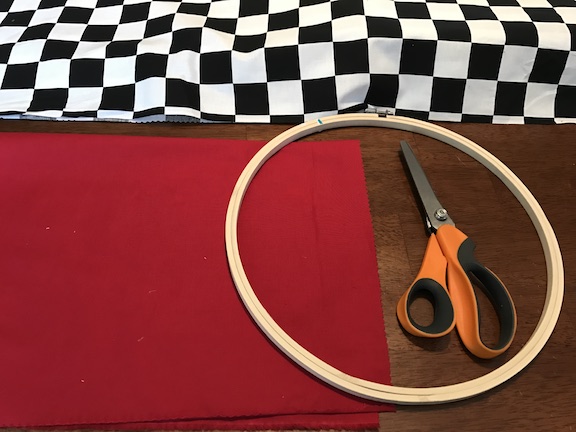
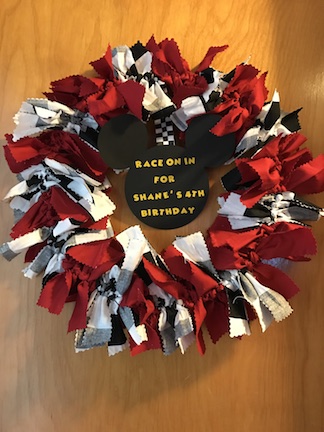
The birthday wreath is super easy to make. These two projects involve a lot of cutting, your hand will be tired. Cut the checkered flag and the red fabric into strips about 6-8 inches long using the pinking shears. I like to cut my strips a little longer and tie them on to the wreath and trim the fabric after I finish the ribbon. Remember you can always trim, but if you cut it to short, the fabric will be hard to tie onto the embroidery hoop. Then tie the fabric all the way around the wreath.
Then I added the Mickey Mouse Ears. I made the Mickey Ears on my Cricut Explore using black cardstock. Then in yellow vinyl I cut out the words “Race on in for Shane’s 4th Birthday.” I used transfer tape to transfer the vinyl onto the Mickey Ears, but don’t make my mistake. I stopped to take a picture and the transfer tape was on to long and ripped a little of the black cardstock. I will have to remake it now, but I wanted to document what I did. So just remember to do the transfer tape quickly. If you don’t have a cutting machine, trace and cut Mickeys Ears on black card stock and use yellow letter stickers.
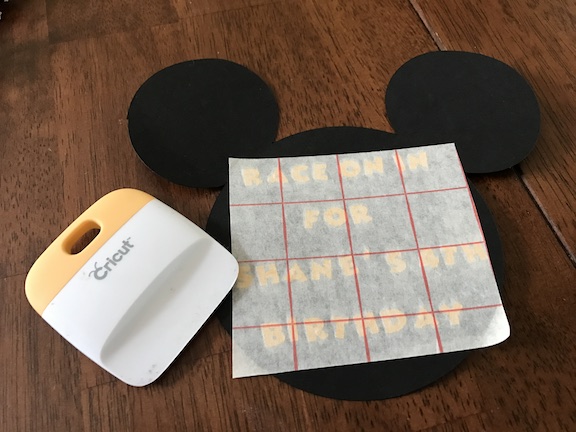
Then I attached the Mickey Mouse Ears with checkered flag ribbon. I just pushed the fabric aside and hid the ribbon between the fabric ties and hot glued the checkered flag ribbon to the Mickey Ears.
The Mickey and the Roadster Racer Party is now ready to “Gas Up and Go”. If you looking for more Mickey and the Roadster Racer Party Ideas, here is a centerpiece and fun party favors for the guest.
