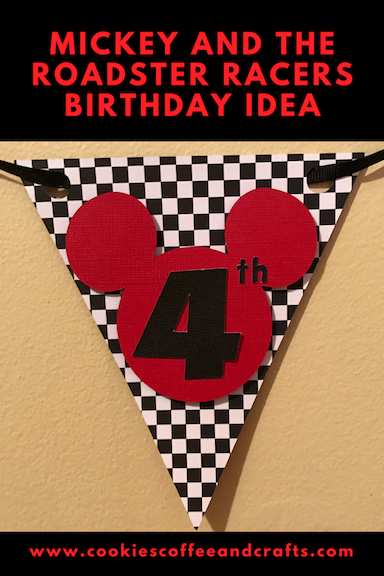
Mickey and the Roadster Racers Birthday Idea
Note: As an Amazon Associate, I earn from qualifying purchases. If you click on a link from Amazon or another of my advertising affliates, I will earn a small commission at no additional cost to you. Please see my full disclosure policy here.
Mickey and his gang are back again as race car drivers in this new hot rod diggity dog show on Disney Junior. My son is just captivated by it. He loves it! So of course he asked for a Mickey and the Roadster Racers Birthday party and of course I said “Yes!”
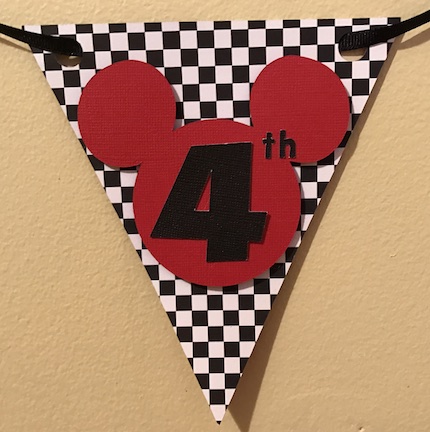
To make his happy birthday banner I made it using my Cricut Explore. This project is simple to create. The hardest part of this project was finding the checkered flag scrapbook paper, but I finally found it.
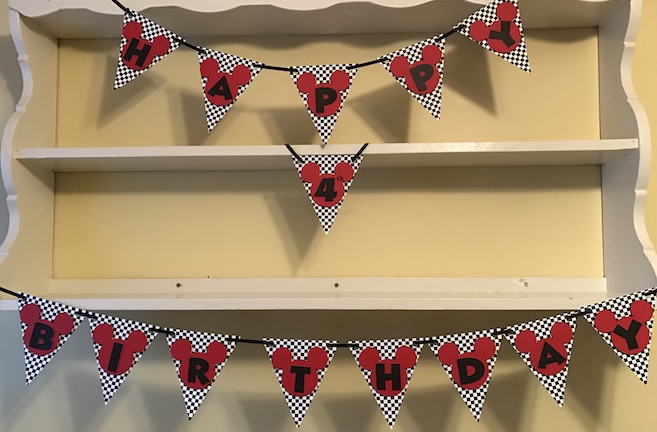
Here is the completed banner.


Here is my Cricut Explore Tutorial:
- Log into Cricut Design Space™

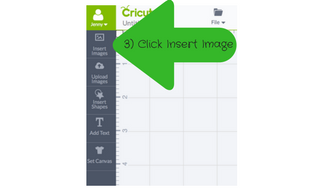
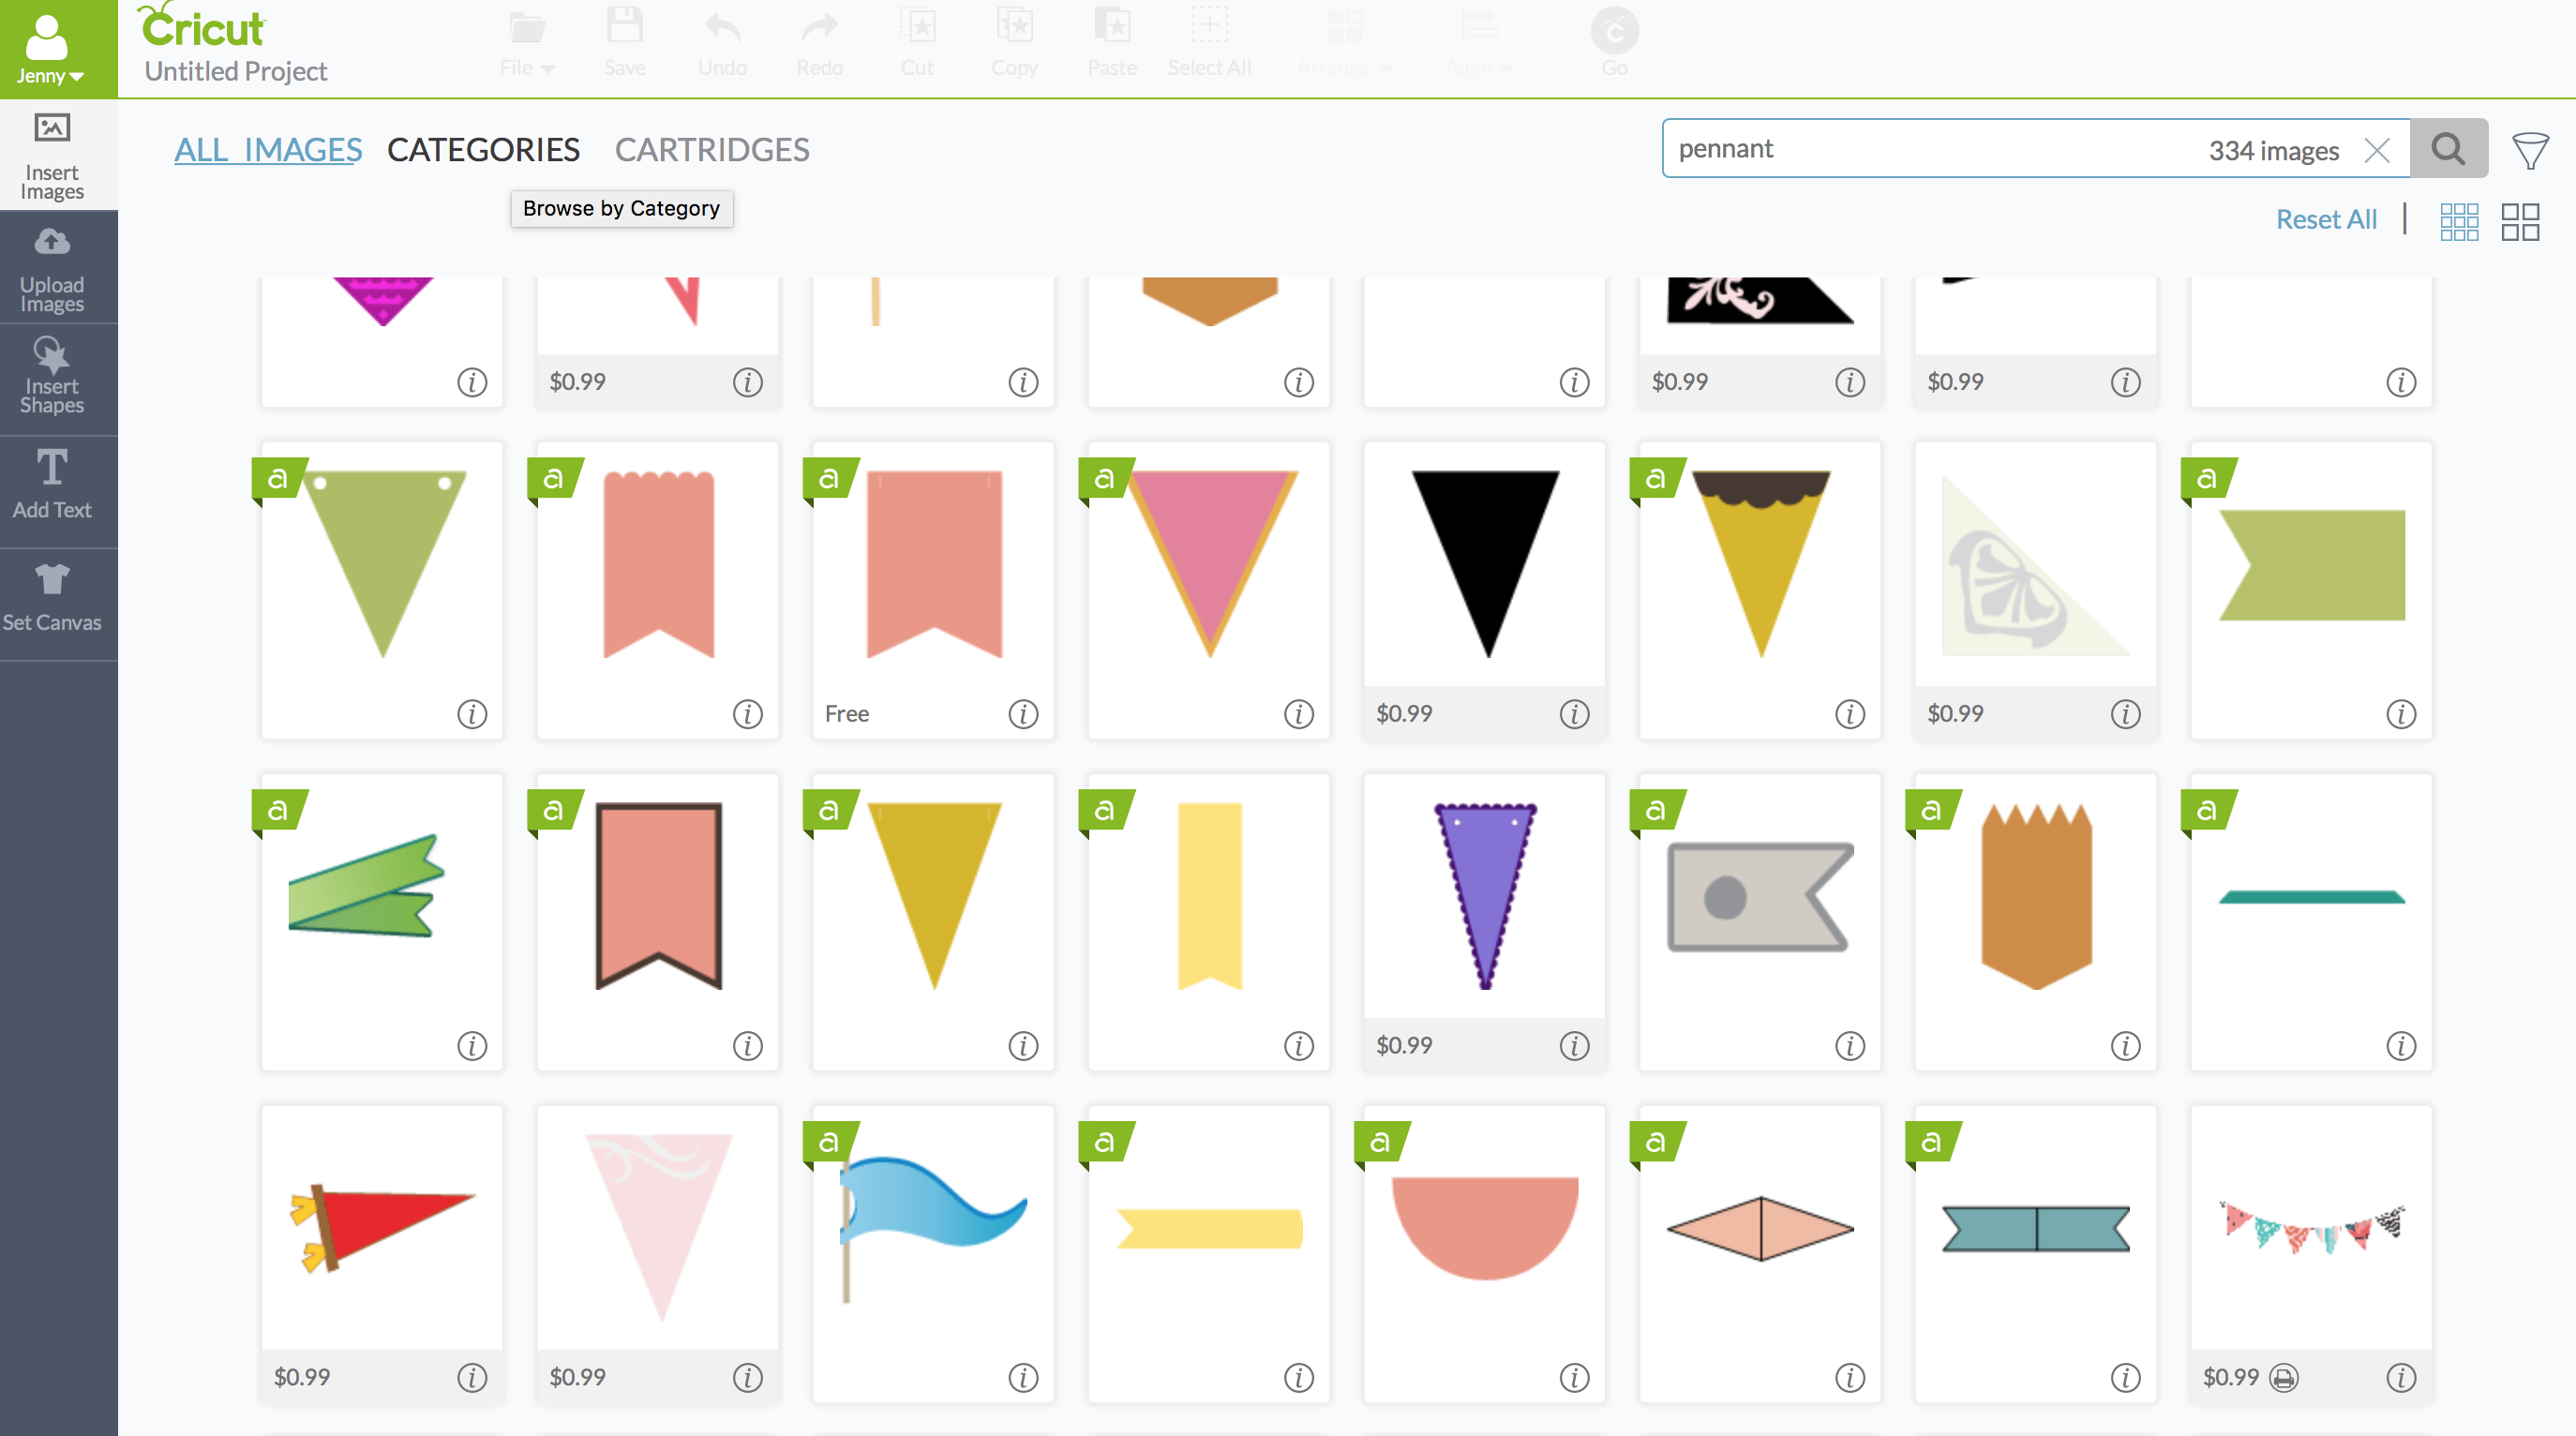
- In search box type pennant

- This is the one I chose because it already has the circles on it to string together. Click on it and a green arrow will appear in the top right corner (not seen in the picture)
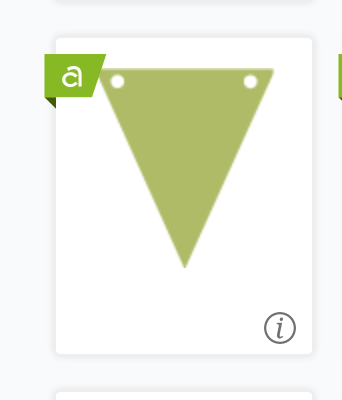
- Click the green rectangle box at the bottom that says insert images

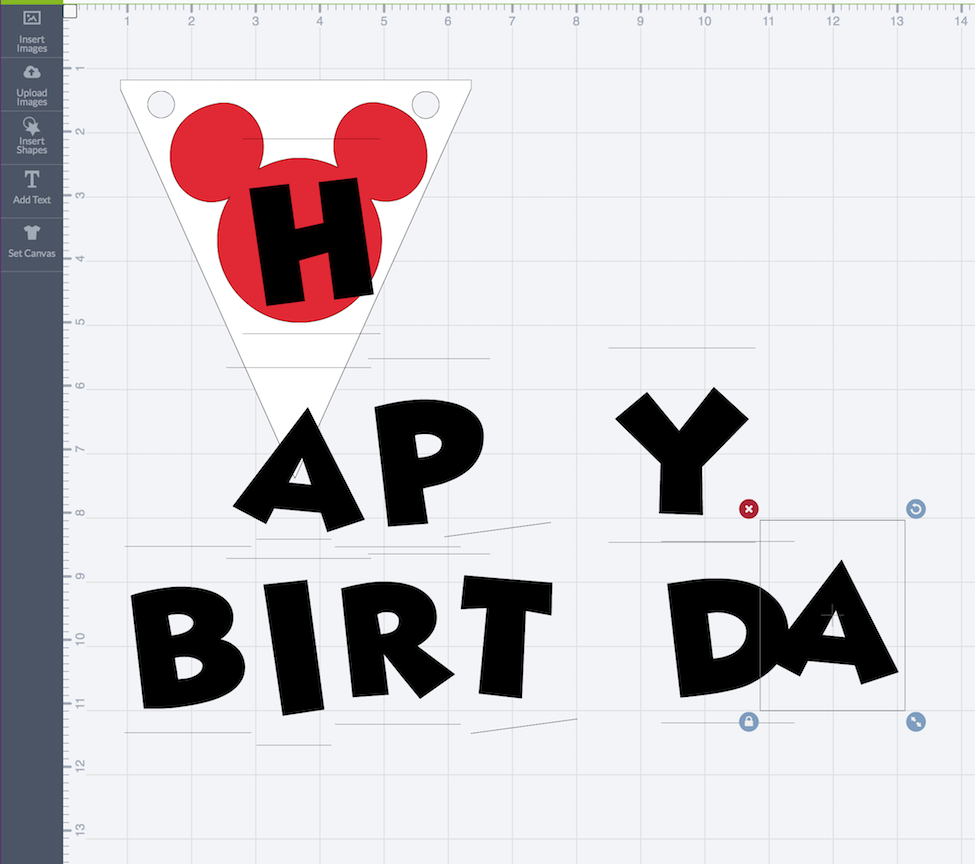
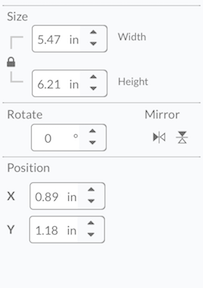
- Size the pennant to the size you want. The picture below shows the size of the pennant I used.
- Then I made the pennant white. Click on the scissor icon next to the pennant and click on the color. The pennant will be the checkered flag paper, but thats not an option so I made it white so I can easily see the pennant as I work on the banner.

- Now click on insert images and follow the above steps, but in the search box, type Mickey. Mickey is not part of the Cricut Access Premium so the Mickey ears have to be purchased.
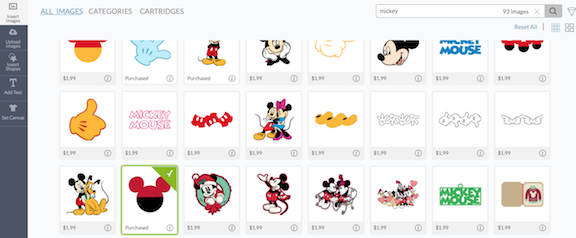
- Now in the layers section, click on the eye symbol to hide the red half of the ears. Then the Mickey ears will just be black.

- Then I made the Mickey ears red. Just like in step 8, click on the scissors and pick the color.
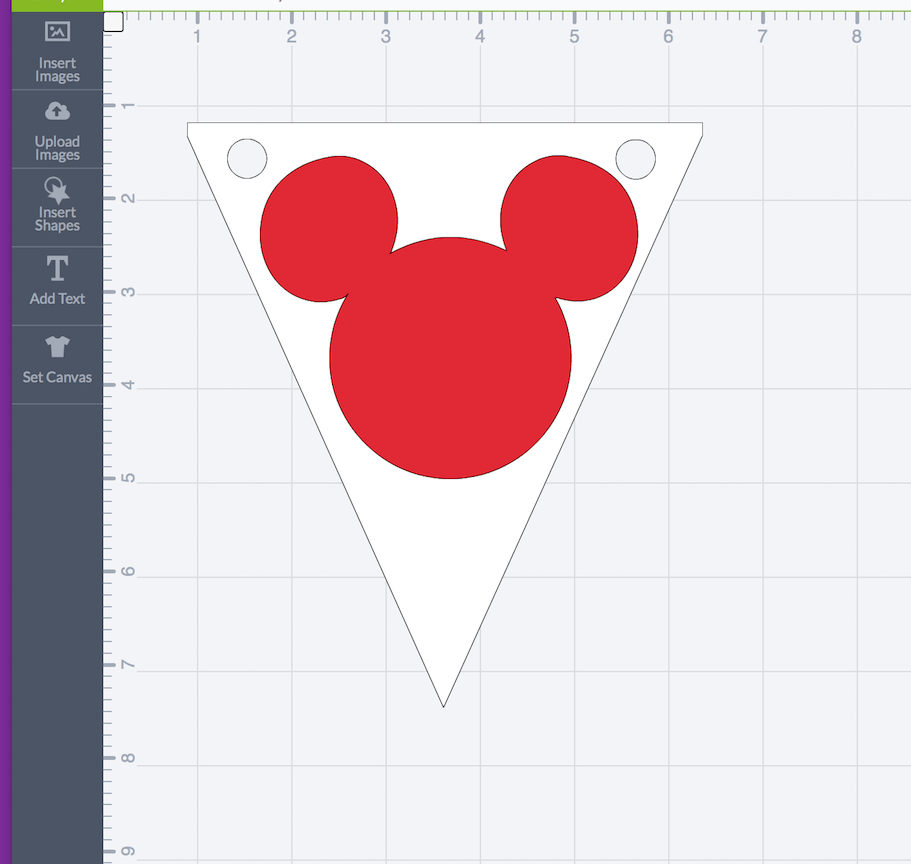
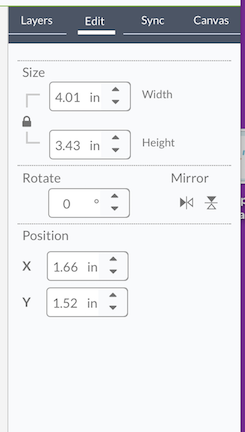
- Size the Mickey Ears to fit inside the pennant. These are my measurements for the ears.
- Now it’s time to add the text of Happy 4th Birthday. I will add each letter individually by clicking on Add Text. I’m going to use the Mickey mouse font (font has to be purchased). I will use the pennant as a model and will size each letter using the pennant because when I go to cut, I can apply how many pennants I need.

- It’s finally time to cut out your birthday banner. I do this in two steps. Step 1- cut all the pennants and Step 2- cut the letters.
- Hide the letters just like in the above steps and click Go to cut out the pennants.
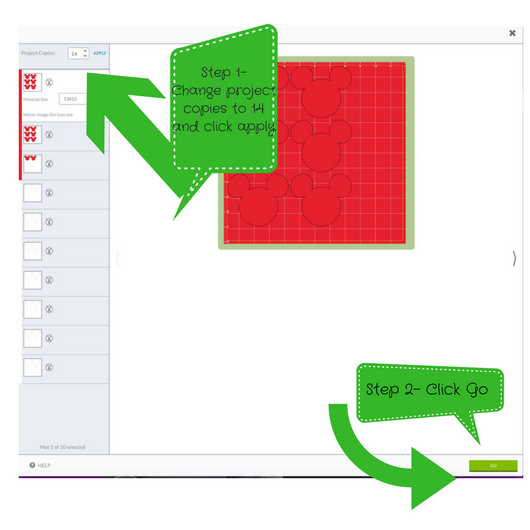
After all the pennants are cut, click finish at the bottom of the page.
- Now hide the pennant and the Mickey mouse ears. Click on the eye next to all the letters and they will appear in your project. Once all the letters are there, click Go and cut out the letters.

- Now to glue your banner together. To attach the Mickey Ears to the pennant I used foam adhesive squares. Then I hot glued the letters onto the Mickey Ears. I strung the banner using thin black ribbon.
Hot Rod Diggity Dog this banner is perfect for your Mickey and the Roadster Racer fan. I hope you found this tutorial helpful.
Happy Crafting!
