Mickey and the Roadster Racers Birthday Photo Booth
Note: As an Amazon Associate, I earn from qualifying purchases. If you click on a link from Amazon or another of my advertising affliates, I will earn a small commission at no additional cost to you. Please see my full disclosure policy here.
I am almost ready for this Mickey and the Roadster Racer Birthday Party. The big day is coming on Wednesday and I am officially finished with decorations, now I am moving onto the cake.
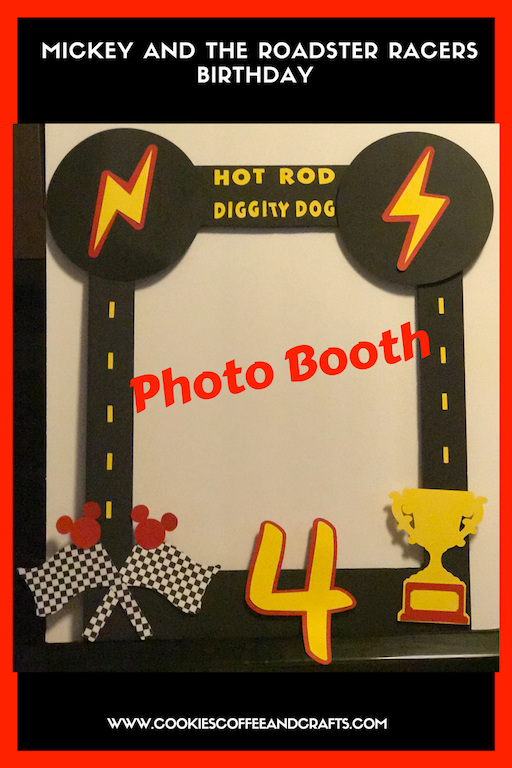
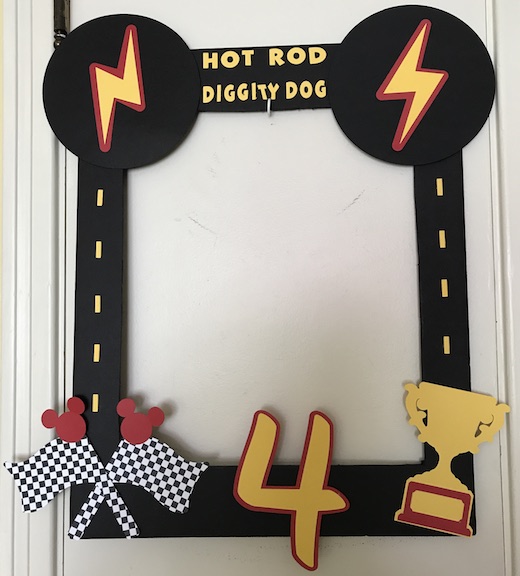
Here is a Mickey and the Roadster Racers Birthday Photo Booth idea. These are adorable at parties and it’s so fun to capture all the guest with the photo booth. The pictures look super cute in a scrapbook to. Last year was the first year I made them for birthdays and for our Halloween party and the kids loved them. It just adds something extra special to their day!
I put the number 4 because that’s how old my son will be and I put his favorite Mickey saying at the top. My husband had the great idea to put the lines for the road which added that “wow” factor (he wanted to make sure he got the credit for this).
Below are some affiliate links and I may make a commission for purchases made through the following links.
Materials:
Elmer’s Foam Board Multi-Pack, Black, 16×20 Inch, Pack of 3 *Buy the 3 Pack, you will have extra if you need them and you will have one to make a birthday board with to 🙂
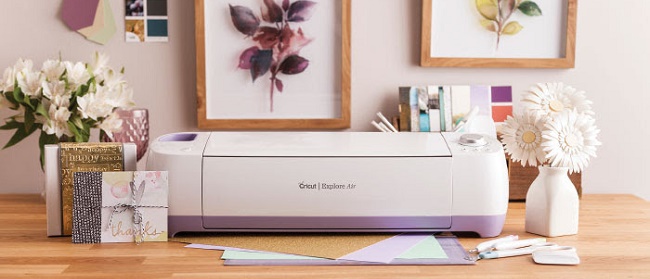
Cricut Explore Air Wireless Cutting Machine
3L Repositionable Permanent Mounting Squares, 1/2-Inch x 1/2-Inch, 1000pk, White
2 Yellow Card Stock
1 Black Card Stock
1 Dark Red Card Stock
1 Checkered Flag Paper available here
3D Pop Dots
EK Tools Zig Memory System 2-Way Squeeze and Roll Glue Pen, New Package
Now the good stuff of how to create this racer ready photo booth.
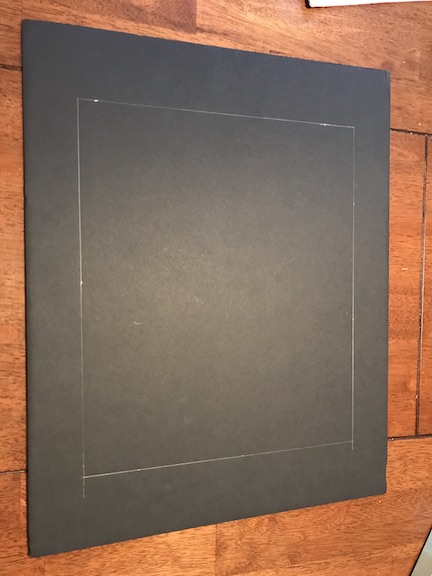
Step 1- Measure and trace the board to cut out the center. This is all my husband (I have bad luck with cutting these boards) He measures all the way around and he made the top and bottom of the board about 7 inches wide and the sides are about 5 inches. Then after he has it all measured out, he cuts it out with a razor blade. He cuts half way through the board on the front and then flips it over and cuts halfway through the board on the back. I hope that makes sense because the board is really thick and you won’t scratch your cutting surface. This is honestly the hardest step. Then after he cuts out the center, he uses fine sand paper to sand the edges that he just cut.
Step 2- Now it’s time to decorate. I used extra paper I have to cut out the pieces first to make sure the sizes were right and the design looked good. The idea of adding the words “Hot Rod Diggity Dog” and the lines for the road came to me later after I had finished the board and decided it needed something else. I used my Cricut Explore to cut out the pieces, but remember you can use clip art to. I created everything in Cricut Design Space™ using my Cricut Access Premium membership.
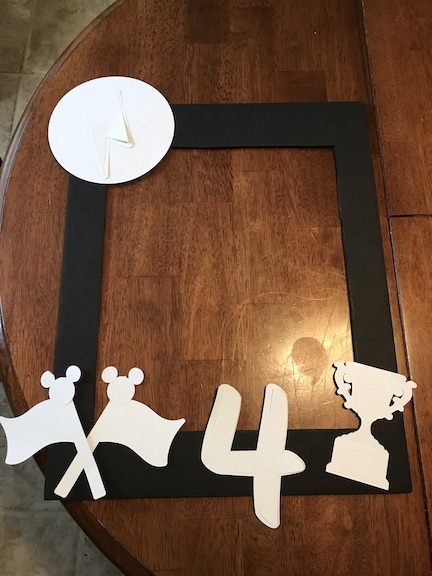
Step 3- Once you like your design & cut the pieces in the colors you want, start glueing. I used the 3D Pop Dots on everything except the lightning bolt on the Mickey ears, the words, and the lines for the road. I like using the 3D Pop Dots because it gives the board dimensions. For the lightning bolts on the ears I used the mounting squares. For the letters and the lines for the road, I used the EK Glue Pen.
I hope you like this photo booth idea and feel inspired to create one to. It will be the hit of the party.
If your interested in more Mickey and the Roadster Racer Ideas, here are the links to a birthday banner and a water bottle design.
Birthday Banner:
https://www.simplycraftylife.com/mickey-and-the-roadster-racers-birthday-ideas/
Water Bottle:
https://www.simplycraftylife.com/mickey-and-the-roadster-racer-birthday-idea/
Happy Crafting!
