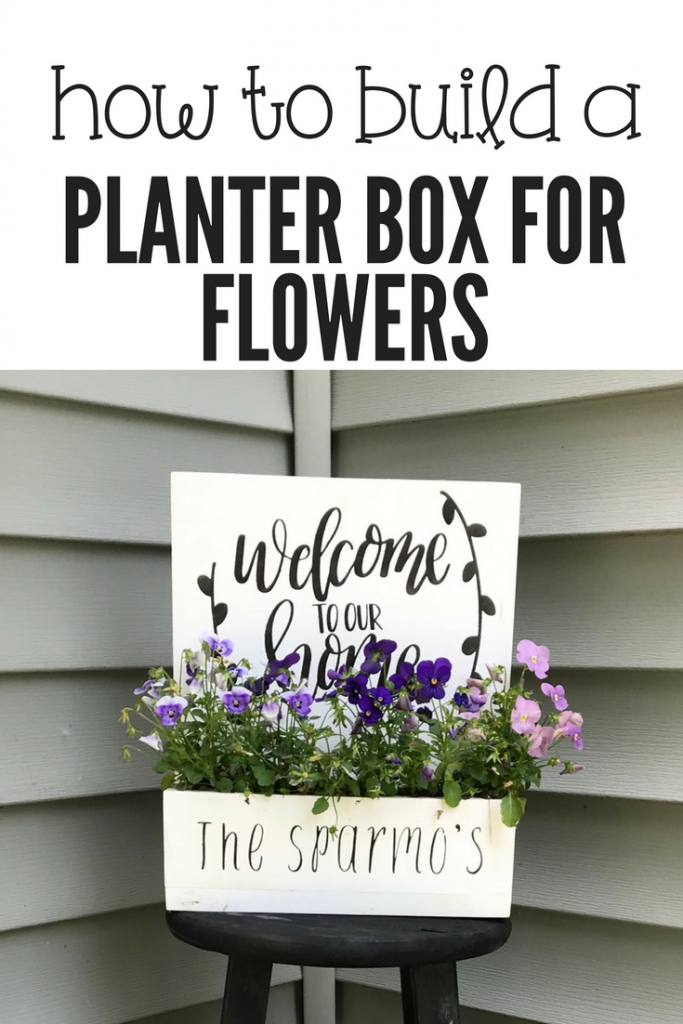
Planter Box for Flowers
Note: As an Amazon Associate, I earn from qualifying purchases. If you click on a link from Amazon or another of my advertising affliates, I will earn a small commission at no additional cost to you. Please see my full disclosure policy here.
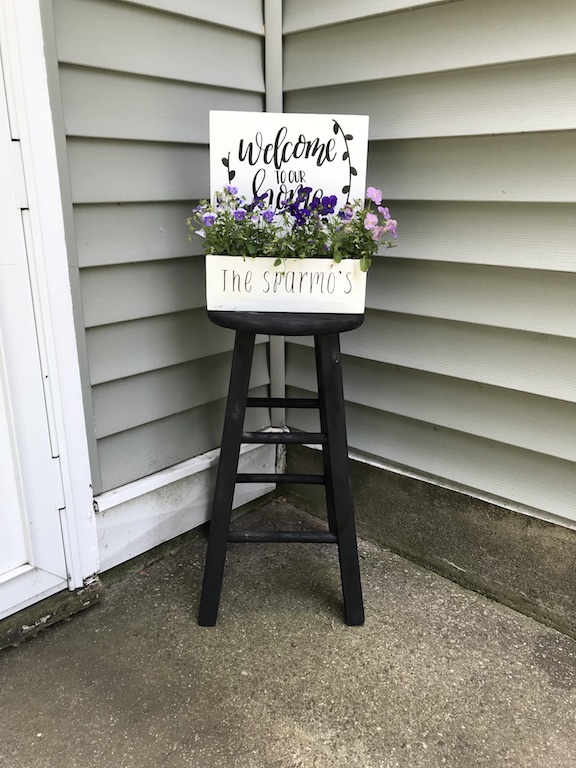
This year we are all about adding more curb appeal to our home. We have pretty perennial borders in the front of our house and down our front sidewalk. Then other areas feel abandoned. We created a planter box for flowers to go in next to the door to the garage. This door is the main entryway into our home, so it really should look better. When we bought our home (we never thought about it), but everyone has to walk through our garage into our home- yuck!
Adding flowers, color, and texture is just what this space needed.
I’ve been looking at the planter boxes on Pinterest and have been thinking about which design and style I liked. The other day I went to the scrap wood pile and together (my husband & I) designed this planter box.
Supplies:
1in x 12in x 6ft common board
Small Scrap pieces of common boards for the sides
Nail Gun
Sandpaper
Wood Putty
Measuring Tape
Square Ruler
Pencil
How to Build a Planter Box
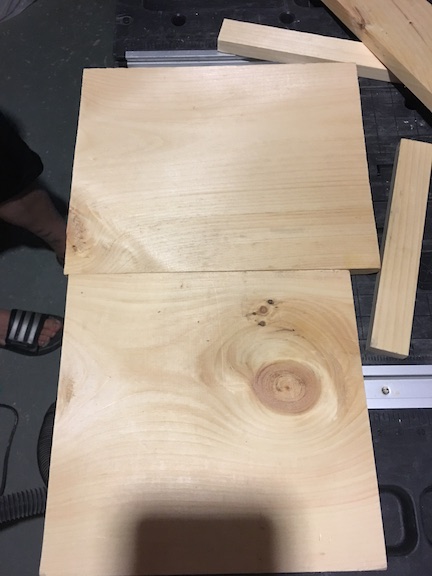
The back of the planter box is 13.5 inches long, but we just cleaned up the edges and used it. Then we used the same type of board and cut it about 3 inches tall for the bottom and the front side. Since I will probably plant real flowers inside the box, holes will have to be drilled in the bottom to drain the water.
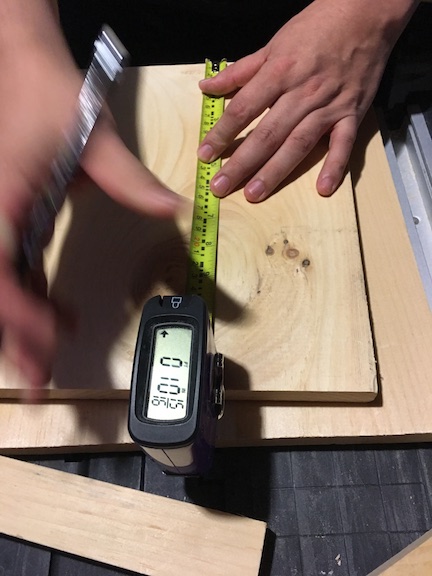
For the sides of the planter box, we used small scrap pieces and cut them to fit.
My husband (maybe I should start calling him Mr. Cookie or Mr. Coffee) nailed everything together with his Ryobi Nail Gun. He cut all the wood with his Ridgid Miter Saw
. He loves using his Miter saw so he’s always willing to cut and build anything now.
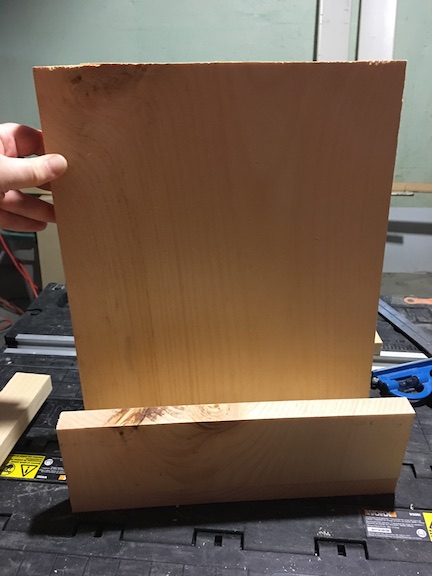
We puttied a few problem areas in the wood and sanded it down. This planter box took less then 30 minutes to make.
Let’s Decorate this Cute Planter Box
Supplies to Decorate:
Cricut Maker
Removable Vinyl
Black Paint
White Outdoor Paint
First I’m going to paint the whole box white and use this SVG for the top of the box.
For the front of the box I’m going to put our last name in the hand drawn font Foxhole . I will be making these in Cricut Design Space using my Cricut Maker.
I’m going to use removable vinyl and place the SVG and our last name to the box. Make sure you take out the letters and leave all the small pieces for the e’s and the a’s. It doesn’t matter what color vinyl you use because you will be peeling it off.
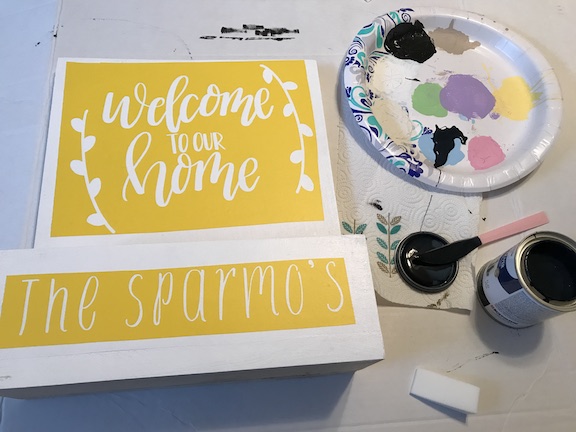
Use transfer tape to add your SVG to the planter box.
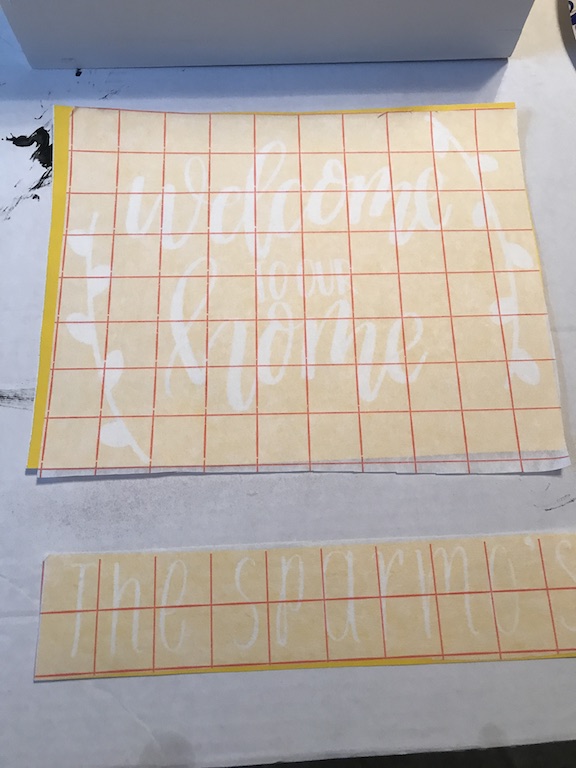
Before transferring the image to the planter box, peel off the back of the vinyl and add it to the box. Make sure it’s where you want it and press down the transfer tape. Remove the transfer tape carefully and get started with the painting.
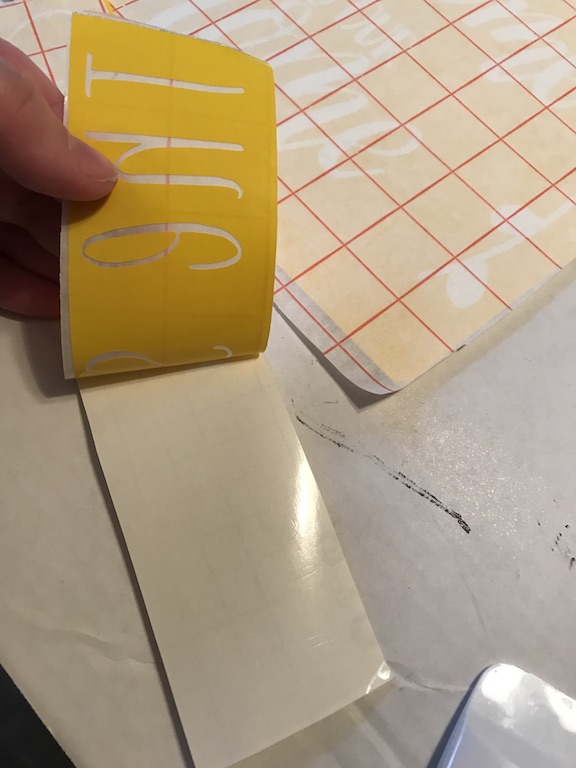
To paint the stencil, I used half of a makeup wedge. At first I started with the whole wedge, but it was easier to only use half of it. I put a little black paint on a paper plate, dabbed the make up wedge into the black, then dabbed it again onto a paper towel to get rid of the excess paint. When you do this less paint is better. Then I dabbed from bottom to top. I had to do 4 layers to get a deep black. After the 4th layer I carefully peeled off the vinyl and used my Cricut Weeding tool to take out the small pieces.
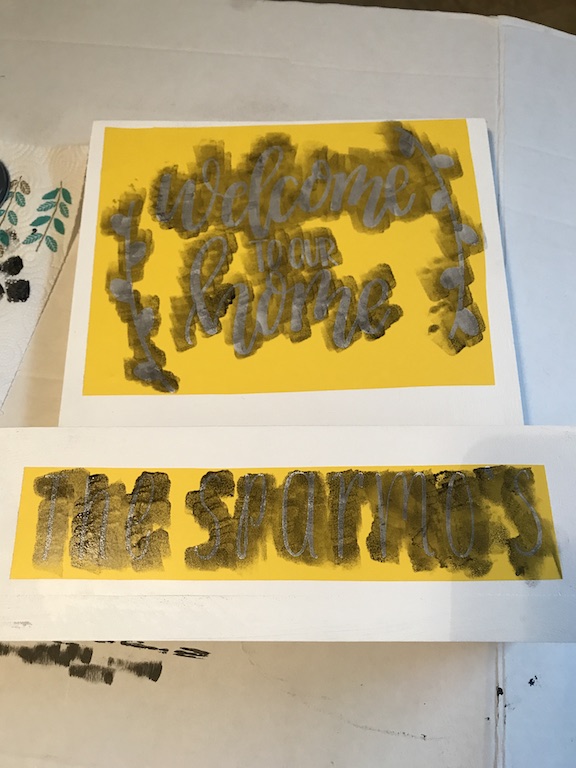
I waited a few minutes between layers and sipped some coffee because I was nervous. This was my first time painting with a stencil and I’m so happy with how it came out. I loved dabbing on the paint, it was really relaxing and the end product is beautiful. I can’t wait to paint with more stencils. Originally I wanted the box to be black with white writing, which is why the whole box is not painted but I didn’t do it right. Plus flowers will look prettier on a white box. I just went in and carefully painted the rest of the box.
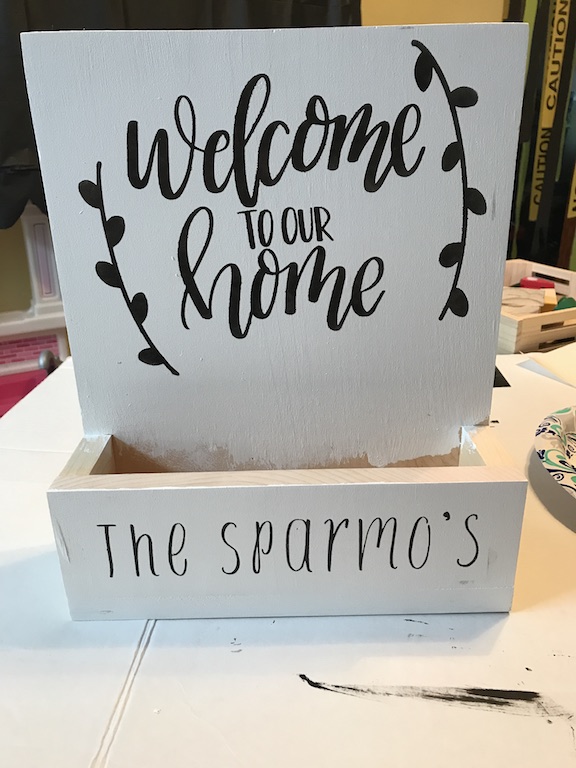
The planter box is so pretty and looks amazing on my Rustic Farmhouse Stool. If you don’t have a place to set the box, you could always hang it to. My flowers are growing beautifully and our hiding my pretty paint job.
