Pretty Dollar Tree Pumpkins
Note: As an Amazon Associate, I earn from qualifying purchases. If you click on a link from Amazon or another of my advertising affliates, I will earn a small commission at no additional cost to you. Please see my full disclosure policy here.
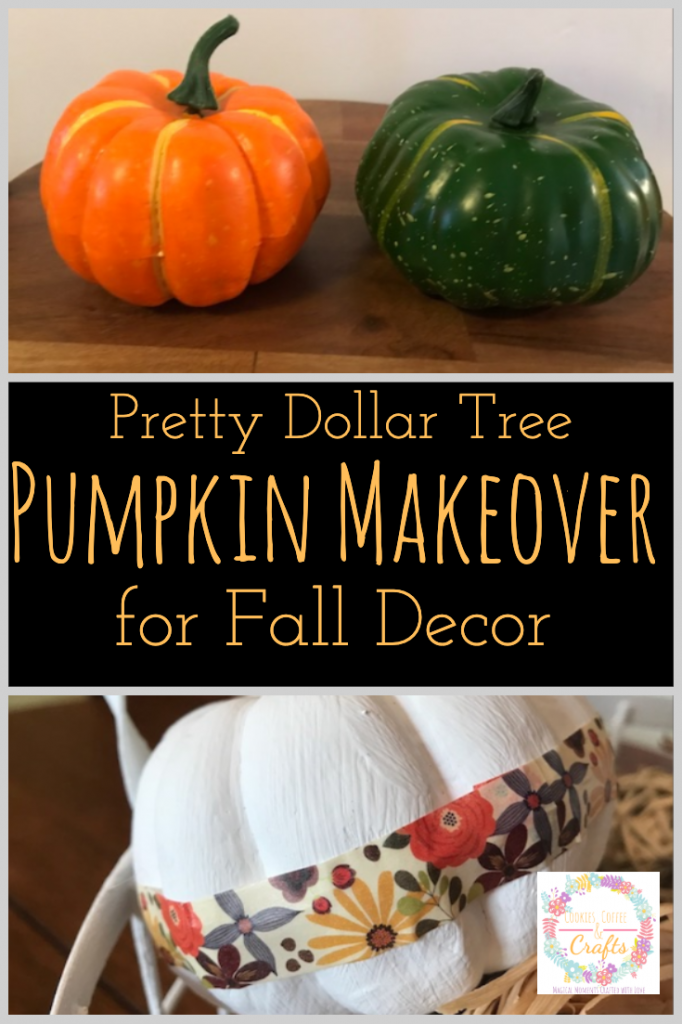
Do you have a list of fall favorites? Pumpkins would be at the top of mine. I love them all, but round and fat pumpkins are my favorite. At the craft stores I saw beautiful pumpkins however the price tag was expensive (I just won’t pay that for pumpkins). That’s what I love about being creative and I made my own. Chalk paint, washi tape, twine and dollar tree pumpkins are all you need. Welcome to the September Dollar Store Craft Challenge Blog Hop!
My Husband Has Too Many Hobbies | Across the Blvd
Kristin’s Peppermints & Cherries |Stone Cottage Adventures
Purple Hues & Me | Sew Crafty Crochet
Intelligent Domestications | Our Crafty Mom
Cookies, Coffee, & Crafts |Try It Like It | Coastal Bohemian
Supplies for DIY Fall Pumpkin Craft
White chalk paint
Paintbrush
Washi tape
Twine
Hot glue gun
Scissors
Let’s Create Pretty Dollar Tree Pumpkin Makeover
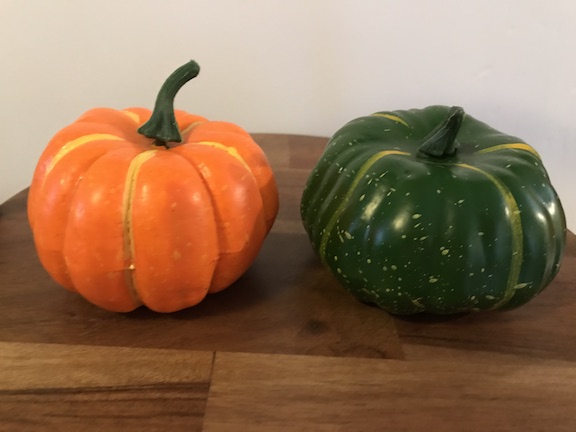
At the dollar tree I found these plastic pumpkins.
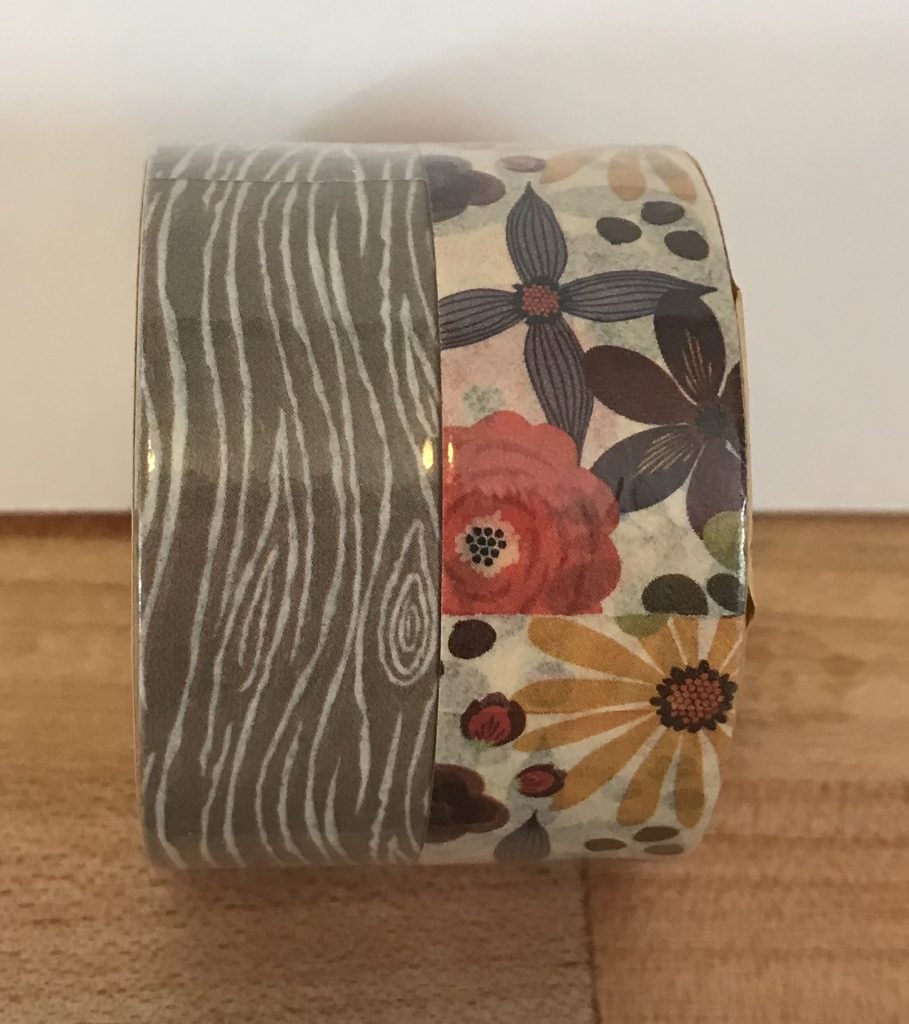
Then at Joann’s I found the washi tape, it’s the sparkle brand and it’s only $1.99 for 2 rolls. I love that collection at Joann’s.
In my Craft stash I had the other supplies, but the twine and hot glue sticks can also be found at the dollar tree. These pumpkins cost about $3 to make (I used a 50% off coupon at Joann’s) so it’s still an affordable and budget friendly craft.
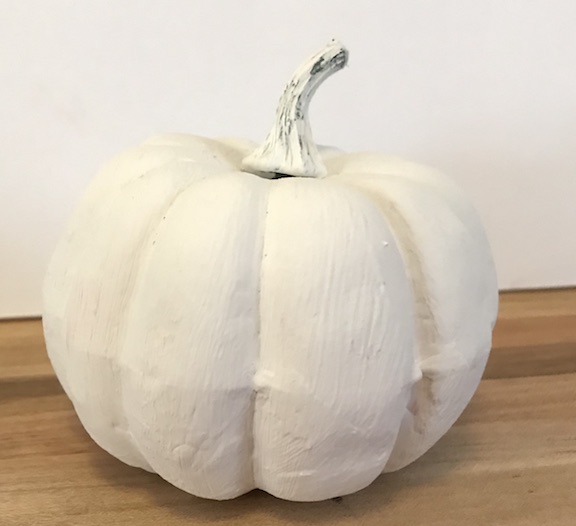
To get started I did 2 coats of chalk paint on the pumpkins. Then once the tops and sides were dry, I painted the bottom of them.
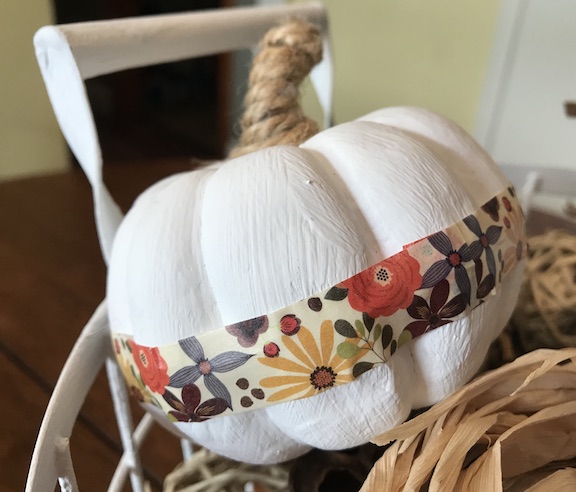
The pumpkins bothered me even after I painted them because it had a line around the center. I just didn’t like the look. Washi tape came in to save the day. Follow the line around the pumpkin and attach the washi tape.
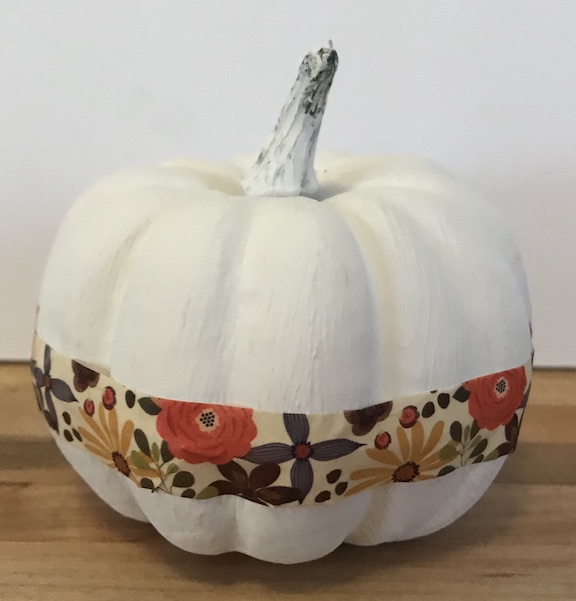
In my head I pictured the pumpkins as neutral with some color and this worked out perfectly. The twine wrapped around the stem finished off the pumpkin nicely. Put hot glue around the bottom of the stem and just twist the twine around adding hot glue as you go.
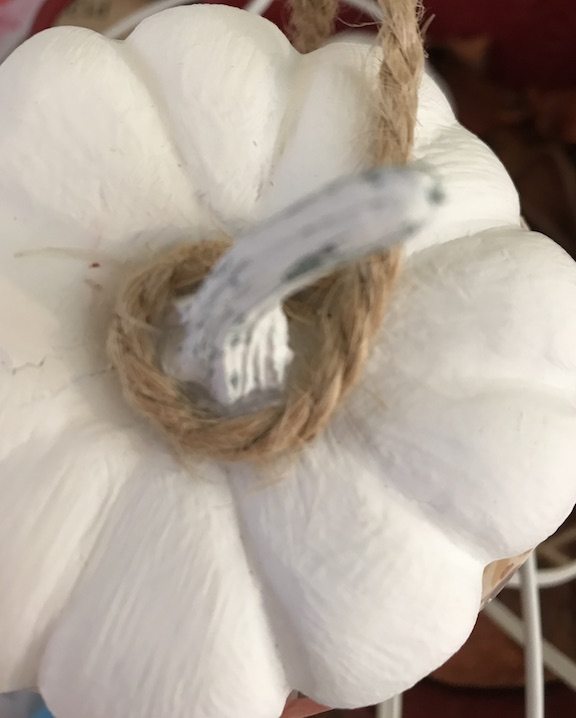
DIY Fall Pumpkin Decor from Dollar Tree Pumpkin Makeover
These look perfect at the top of my fall centerpiece on the kitchen table. It’s the perfect pop of color with the other decor. I also love the natural element of the twine on the top of the pumpkins.
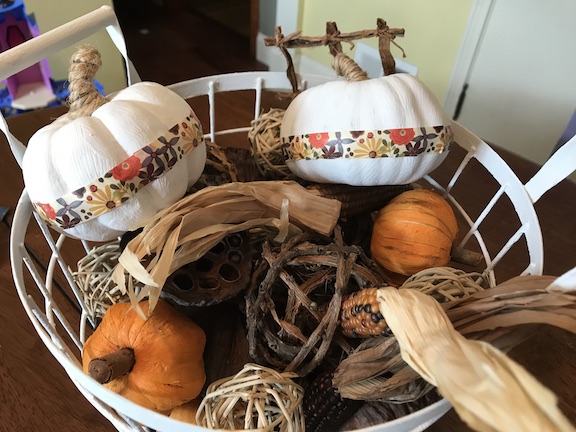
Here’s one more of these pretty pumpkins! The more I look at them the more I fall in love.
 Loading InLinkz ...