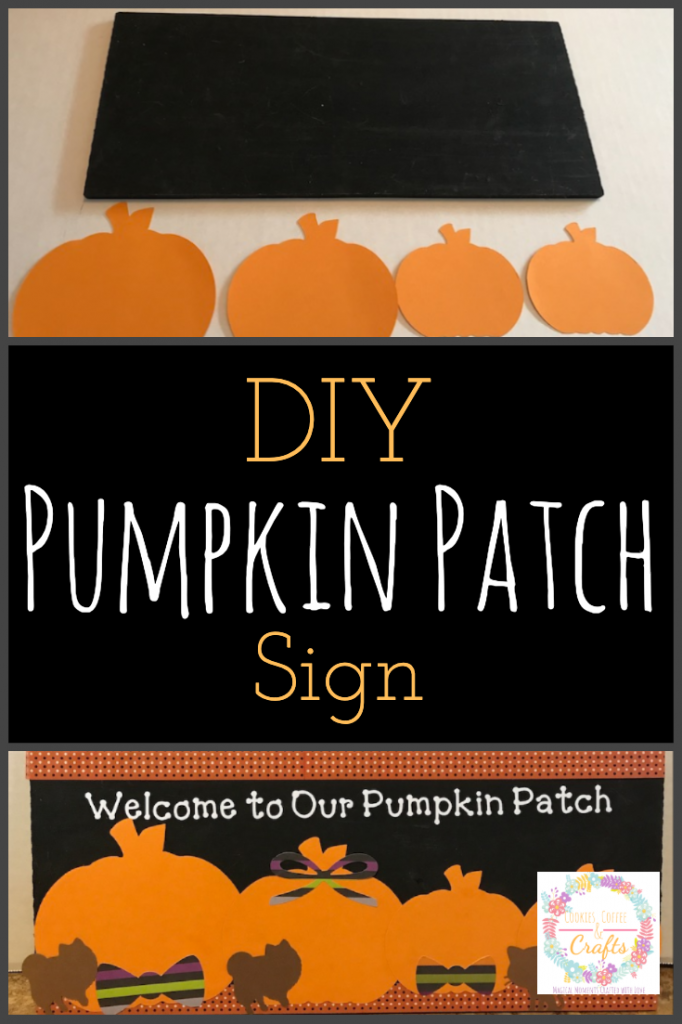
DIY Pumpkin Patch Sign
Note: As an Amazon Associate, I earn from qualifying purchases. If you click on a link from Amazon or another of my advertising affliates, I will earn a small commission at no additional cost to you. Please see my full disclosure policy here.
Does life happen and you don’t get to finish a crafting project? I bought this wooden rectangle sign, painted it black and that was about it. Randomly one day I remembered it in the shower. What a cute way to celebrate fall than with a DIY Pumpkin Patch Sign about your family. We are all huge pumpkin fans so this is perfect for our family. Since I love pumpkins so much, I also have a tutorial on How to Make a Wooden Pumpkin for Fall , it’s perfect for the front porch.
This post contains affiliate links which means I may make a small comission of any sale that is made by clicking on any of the products with no cost to you. Your support is greatly appreciated.
Before we get started with this fun tutorial, would you like your home to smell like fall too? I have a special offer from Simply Earth – use the coupon code CCCFREE and receive the Essential Oil Recipe Box with the big bonus box and a $20 Gift Card for Future Purchases.
Supplies for Sign
Wooden Rectangle Sign
Black Acrylic Paint
White Vinyl
Transfer Paper
Washi Tape
Mod Podge for Paper
Orange Card Stock
Printed Card Stock
Brown Card Stock
Cricut Explore Air 2 or any cutting machine
Let’s Create a DIY Welcome to Our Pumpkin Patch Sign
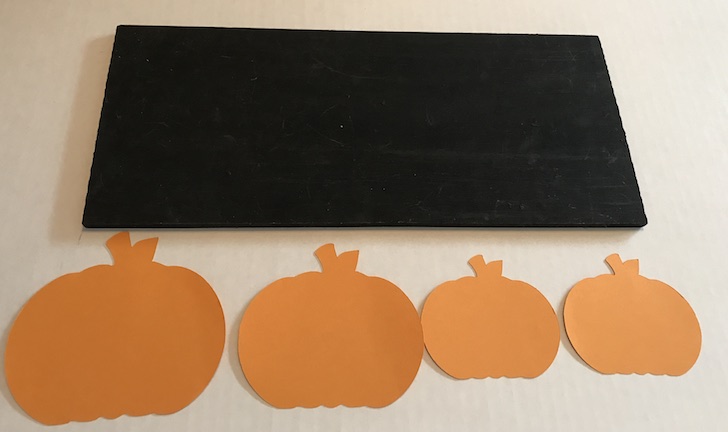
The sign is created on a wooden board about 12 inches long and 5 inches high. It’s an unfinished sign from the craft store, but I don’t remember which one. To get the sign ready, I pained it with black acrylic paint.
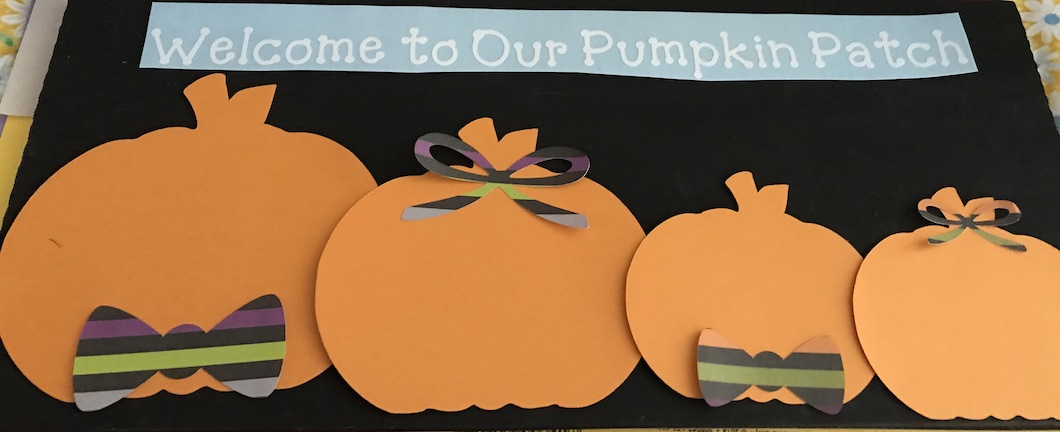
Using my Cricut Explore I created everything on the board in Cricut Design Space. For the sign, I did the saying “Welcome to Our Pumpkin Patch” in white vinyl and everything else is made with card stock. To personalize it, I added bowties for my husband and son and a bow for my daughter and I.
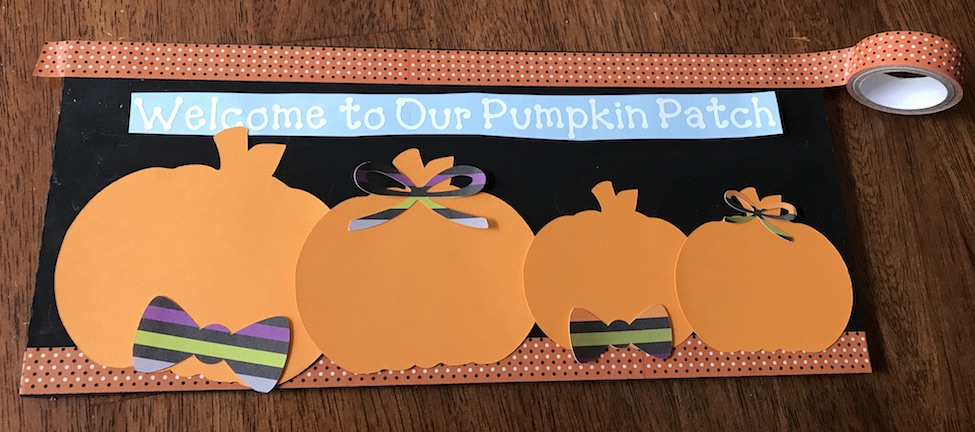
I felt like the sign needed something else. I tried some ribbon, but it just didn’t go. Then I remembered some washi tape in my “Craft Stash” downstairs and it was perfect. Seriously I find the best stuff in my stash and it comes in handy- all crafters need a stash. The washi tape is from the
Dollar Tree.
I felt like the sign was missing something, so I sent a picture to my mom and sister. My sister suggested adding our pets because of course they are family to. At this moment my sister was brilliant. Plus Cricut Design Space™ even had a Pomeranian image, which was amazing. Then I used transfer tape and attached the saying to the sign.
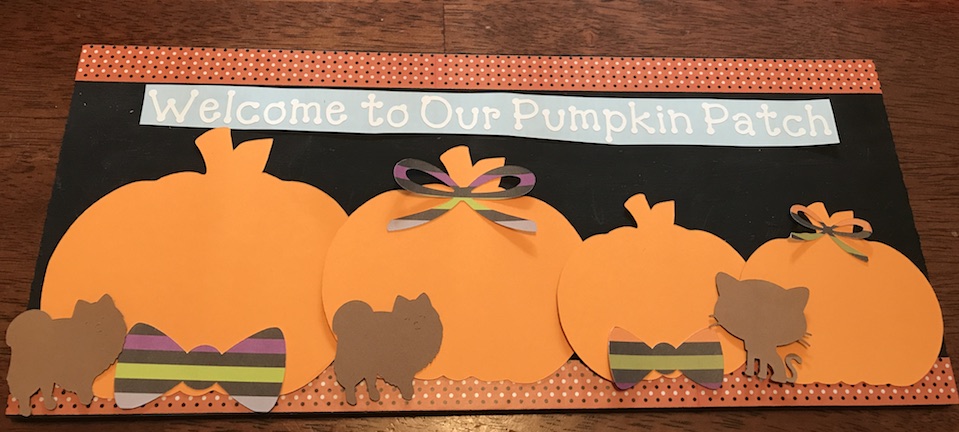
To attach the paper to the sign, I used Mod Podge. Just follow the directions on the Mod Podge and remember a little bit of Mod Podge goes along way. How cute is this?
Decorating with the Pumpkin Patch Sign
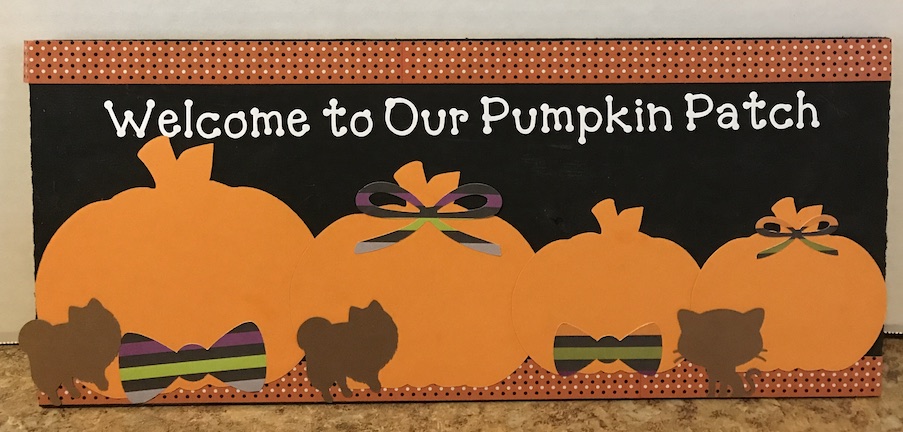
You can leave the sign as is and use a plate holder or you can glue ribbon on the back and hang it. The choice is yours. I haven’t decided yet where I am going to put mine.
amzn_assoc_placement = “adunit0”;
amzn_assoc_search_bar = “true”;
amzn_assoc_tracking_id = “jsparmo-20”;
amzn_assoc_search_bar_position = “bottom”;
amzn_assoc_ad_mode = “search”;
amzn_assoc_ad_type = “smart”;
amzn_assoc_marketplace = “amazon”;
amzn_assoc_region = “US”;
amzn_assoc_title = “Shop Related Products”;
amzn_assoc_default_search_phrase = “fall craft supplies”;
amzn_assoc_default_category = “All”;
amzn_assoc_linkid = “0e66dbc1cf538663c6db64bd51bf9107”;
