Scrap Wood Block Signs with Cricut
Note: As an Amazon Associate, I earn from qualifying purchases. If you click on a link from Amazon or another of my advertising affliates, I will earn a small commission at no additional cost to you. Please see my full disclosure policy here.
Making signs is one of my favorite things to do and I must make a confession. I haven’t made a sign in a long long time. It was such a happy moment when I made this and I really need to make more signs. Who’s with me? With the virus and quarantine, I had to figure out something as a Mother’s Day Gift for my mom so I went to our scrap wood pile. Craft and wood stashes have really come in handy lately. I’m going to show you how to easily make scrap wood block signs with Cricut.
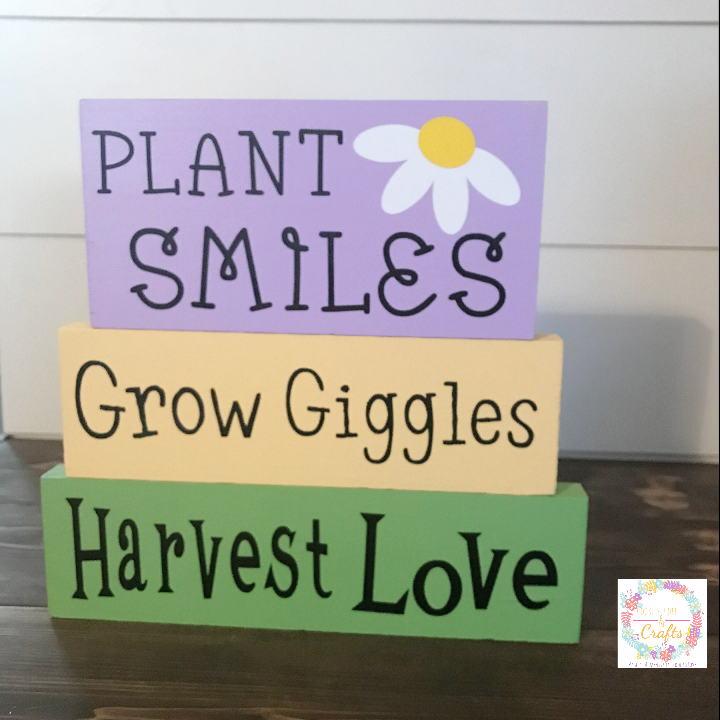
Once you learn how to make these easy super cute signs, your entire house will be decorated with them. They make excellent gifts too. My mom loves flowers and gardening and when I saw this saying I knew it was perfect! Another great scrap wood project for home decor are my 2×4 Wooden Book Stack.
Supplies for Cute Scrap Wood Craft
Folkart Paint: Fresh Foliage, Light Lavender, Sunflower
7 inch 1×4
8 inch 1×3
9 inch 1×3
Miter Saw
Cricut Permanent Vinyl in Black, White, Yellow (Buy it on Amazon or Buy It on Cricut)
Transfer Tape
Cricut Scraper/Weeding Tool (Buy it on Amazon or Buy it on Cricut)
Cricut Maker (Buy it on Amazon or Buy it on Cricut)
Let’s Create Scrap Wood Block Signs with Cricut
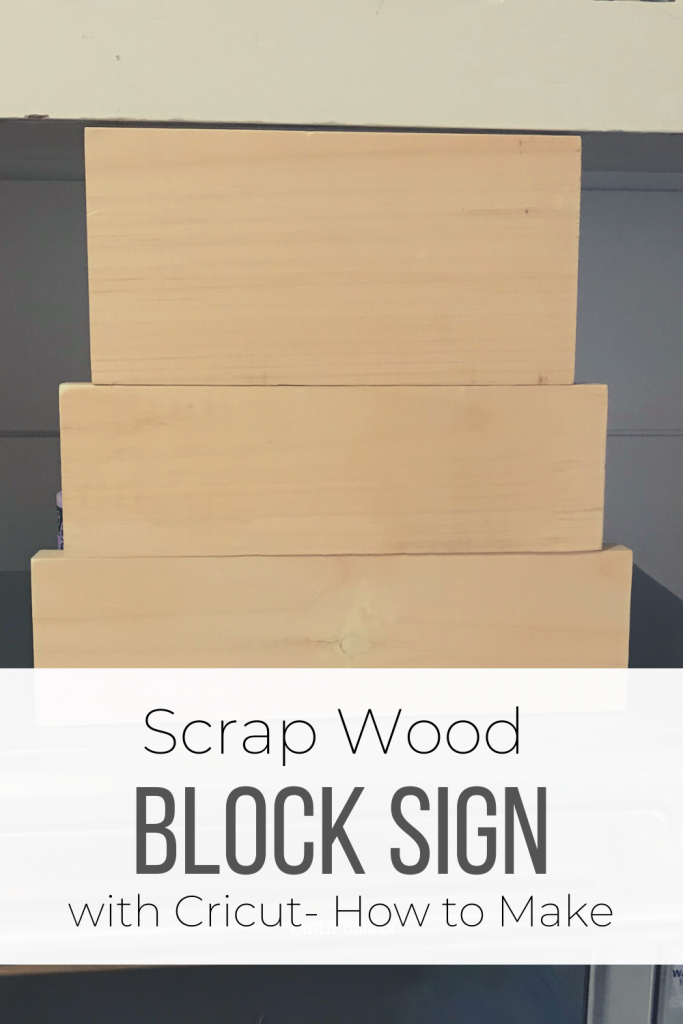
First look through your scrap wood and see what you have. The most important thing about making block wood signs is the length size, you start with a size and gradually add on one inch to each new wooden sign.
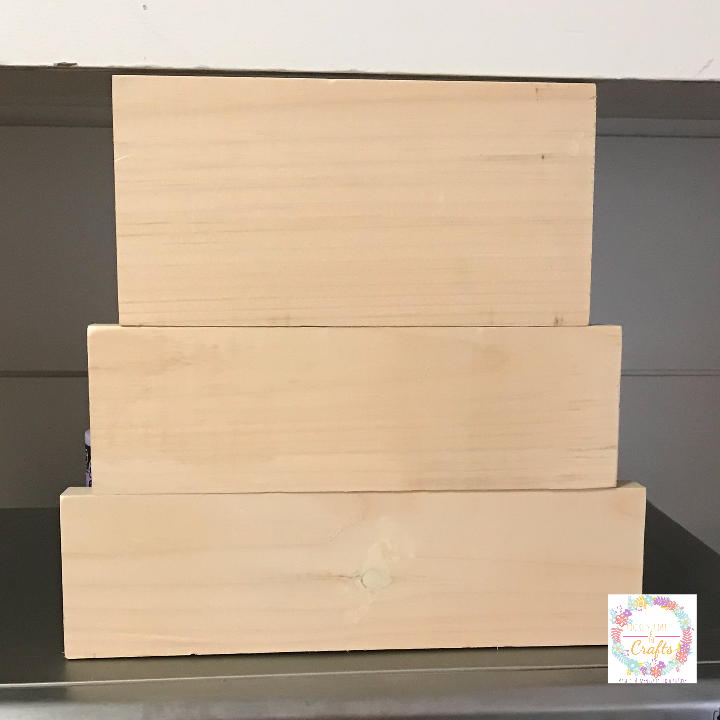
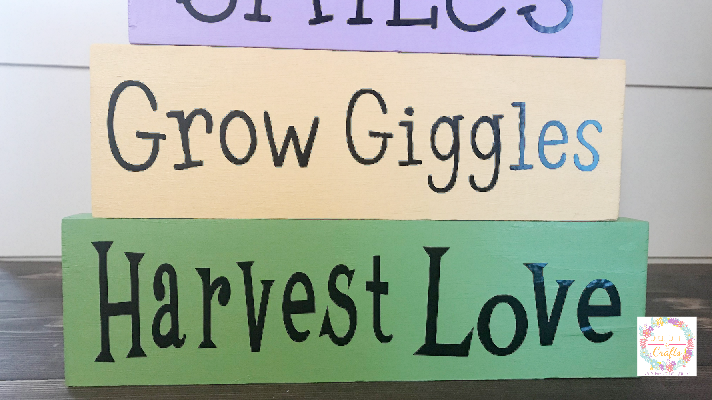
For these specific signs Plant Smiles is the 1×4 cut to 7 inches, Grow Giggles is the 1×3 cut to 8 inches and Harvest Love is the 1×3 cut to 9 inches.
Cut and sand the edges so the wood is nice and smooth. I just used a fine grit sand paper for the edges.
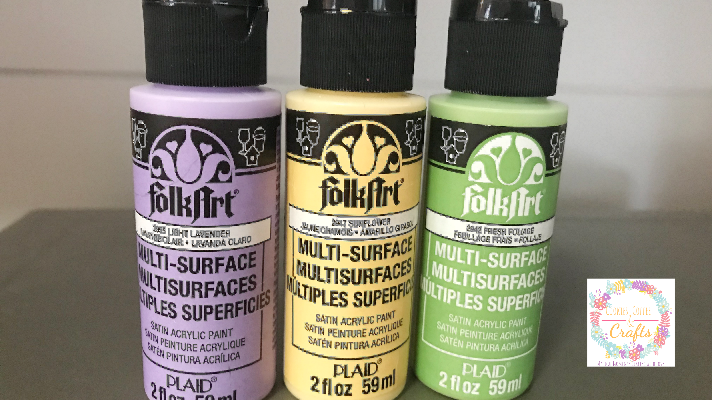
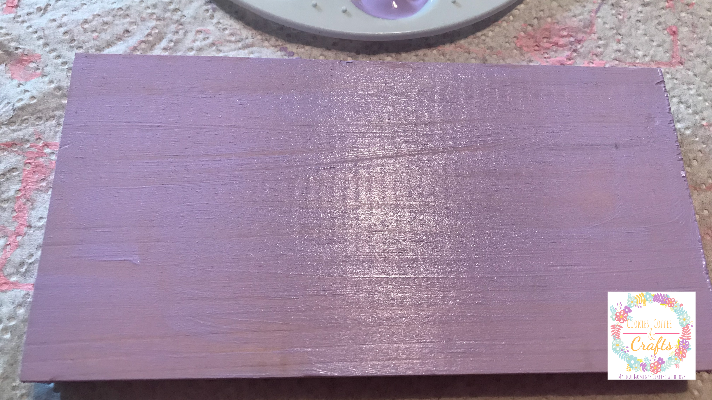
Next I painted the 3 signs using the Folkart Paint. It took 3 coats and I paint both sides of my signs. I couldn’t live without the Folkart Craft paint, it covers so nicely and the bottles seem to last forever because it’s a thicker paint and you don’t need as much.
I will be decorating them in Cricut Design Space™ and cutting the designs in Cricut Permanent Premium Vinyl with my Cricut Maker. The Cricut Joy would also work perfectly for this project too. If you are curious about Cricut’s newest machine, here is my Complete Guide to the Cricut Joy. There are so many fun images and fonts in Design Space to choose from or you can upload your own. That’s what makes crafting with your Cricut so much fun!
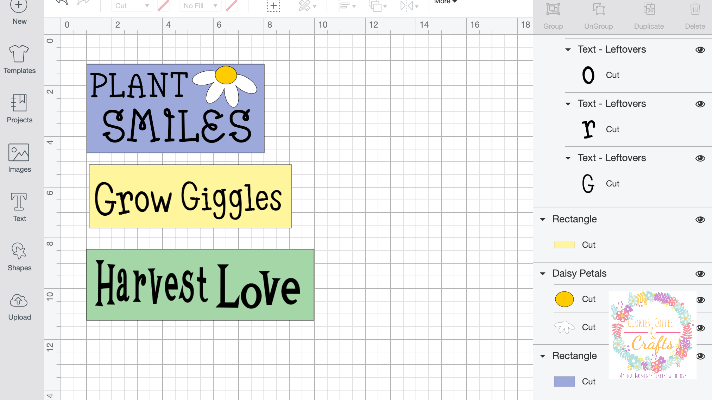
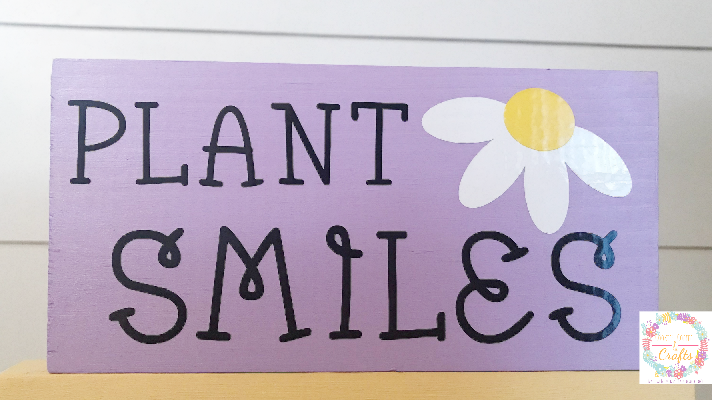
To do this in Design Space, I create rectangles the size of my block signs and then create the designs to fit them. These fonts are not Cricut fonts and I had to download them. The daisy image can be found in Design Space.
Project Fonts for Wood Craft with Cricut
Plant Smiles- Bumble Bee BV
Grow Giggles- Leftovers
Harvest Love- Flora Dora NF
When the wood signs are completely dry, it’s time to add the quotes to them. Each of the sayings, need to be weeded (remove all the vinyl you don’t need). Always remember to weed carefully. As you can see I lost the letter g and had to cut another one. It happens, but now it’s even easier to fix these types of mistakes with the Cricut Joy.
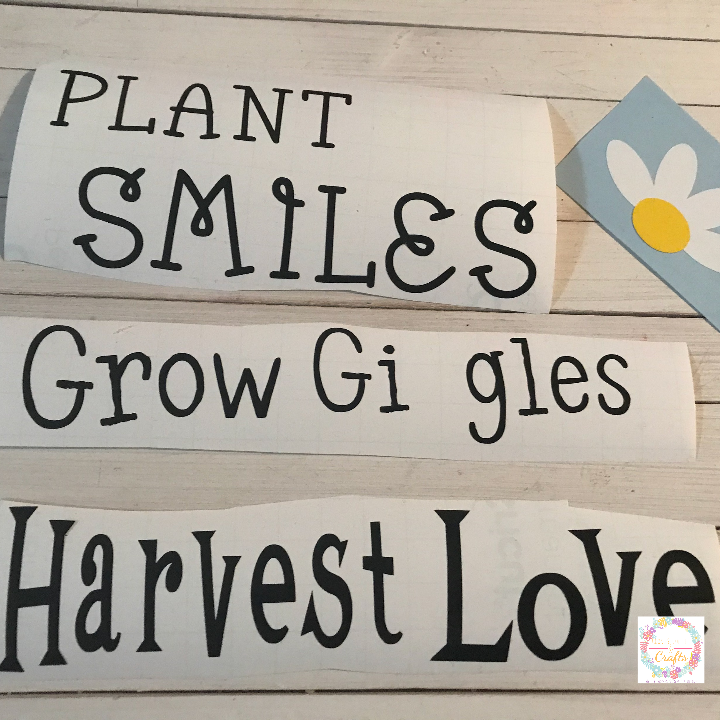
Using the transfer tape, add the sayings to the wood block signs.
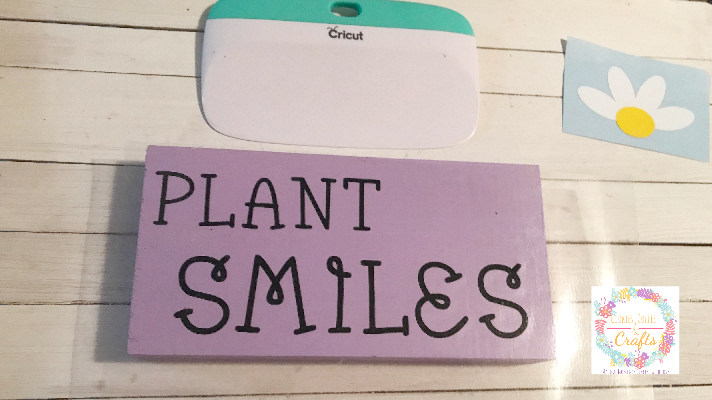
How cute are they? This can be done for any holiday or season. It’s a fun, easy and affordable way to add decorations to your home. Don’t forget they make great gifts too.

Are you ready to go make some scrap wood block signs with your Cricut now?
