Secrets to Making Photo Booth Props with Cricut
Note: As an Amazon Associate, I earn from qualifying purchases. If you click on a link from Amazon or another of my advertising affliates, I will earn a small commission at no additional cost to you. Please see my full disclosure policy here.
Cricut, crafting, and celebrations are a perfect match. You know all those cool party supplies that cost a lot, well you can start making them yourself. One thing my kids love for holidays and birthdays are photo props, booths, and frames. They can’t get enough of them. The Cricut photo props are also super fun for classroom parties. Don’t tell anyone, but I’m sharing all my secrets to making photo booth props with Cricut.
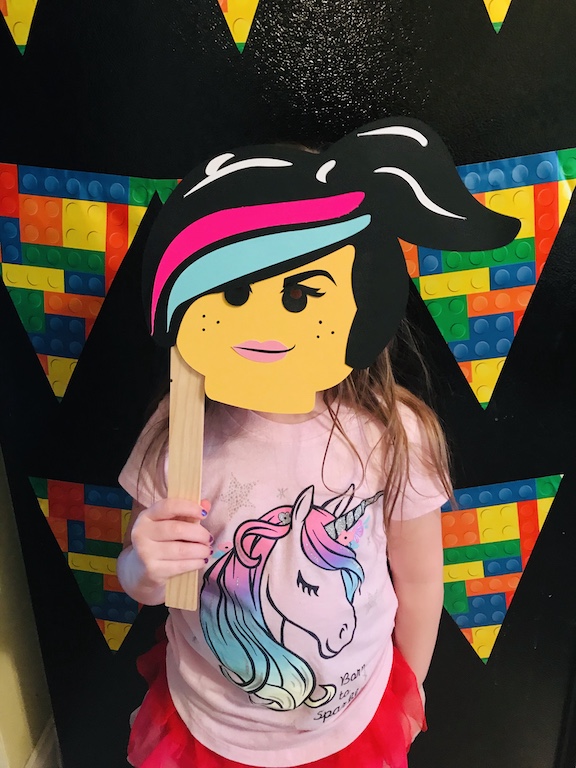
For the photo booths, all you need are a few simple supplies and a little bit of time. Photo props are easy to make and don’t take a lot of time. The list of supplies can be used for any type of photo prop you are making.
Supplies for Creating DIY Photo Props
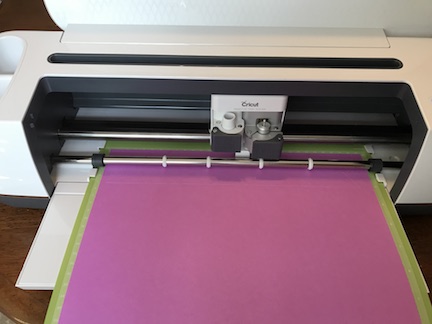
Cricut Machine
card stock (this is my favorite to use)
decorative card stock
glue
prop holders- (tese dowels are my favorite to use)
Glue Gun
Secrets to Making Photo Booth Props with Cricut
1. Choosing Images for the Paper Photo Props
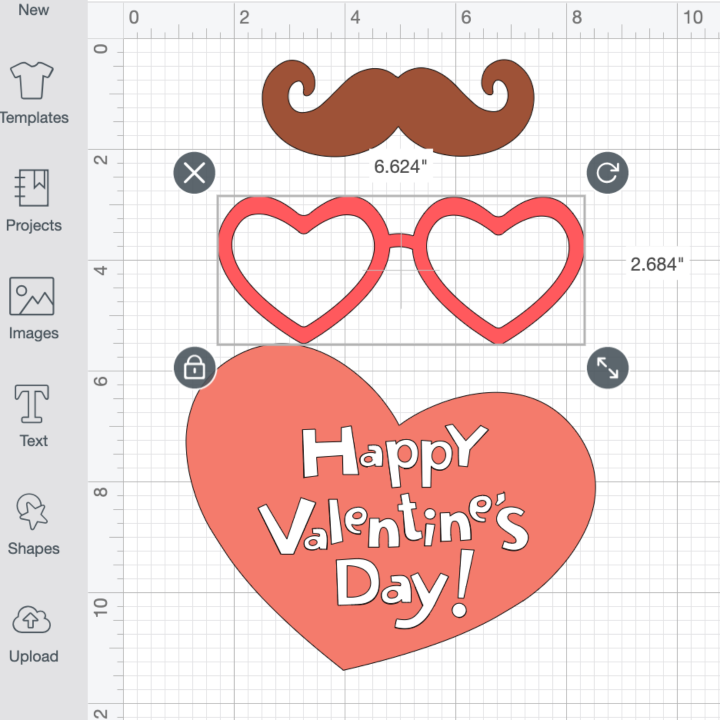
If you are lost and have no idea what to make as photo props, don’t worry here is a list that will work for any theme or occasion. The mustache and glasses are always a hit
-mustache
-glasses
-hats or crowns
-bowtie or tie
-Themed Items that say “Happy …” for whatever the celebration is
-Themed items for the holiday or celebration
2. Size of the Photo Props to Make in Cricut Design Space
For almost all the photo props I make them between 7-10 inches. For example if it’s a heart I make it like 7×7. If the props are for kids do them on the smaller end (about 7 inches).
Glasses photo props should be between 6-8 inches long and mustaches about 4-5 inches long.
Sometimes I will make a prop in extra paper and see if I like the size. For my extra paper, I use the ugly sheets out of paper packs that I will never use for anything. It works out perfectly for me.
3. Prop Holders
I’ve used a whole bunch of different items for prop holders. My favorites are dowels, paper straws, popsicle sticks, and paint sticks.
4. Use Heavy Card stock for the Props
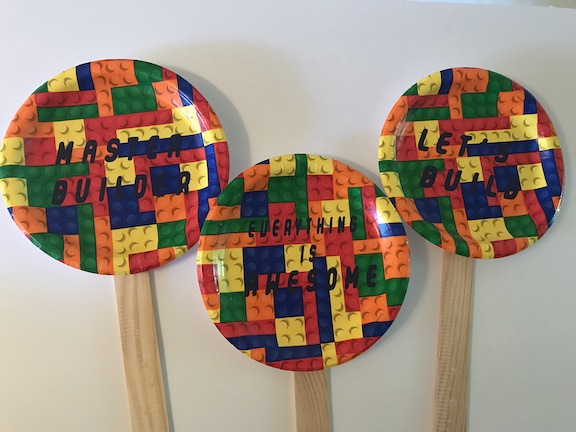
Since the props are going to be attached to sticks, it’s important to use the heavier card stock. You can also use double card stock and glue the images together to make a sturdier photo prop.
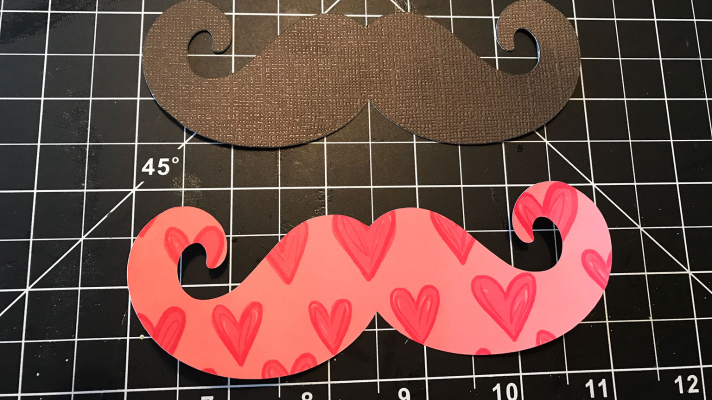
Now if you want to use decorative light card stock on a photo prop, I highly recommend cutting the design in card stock and decorative card stock. Then glue the decorative paper onto the card stock. Just like I did with this mustache. It works perfectly!
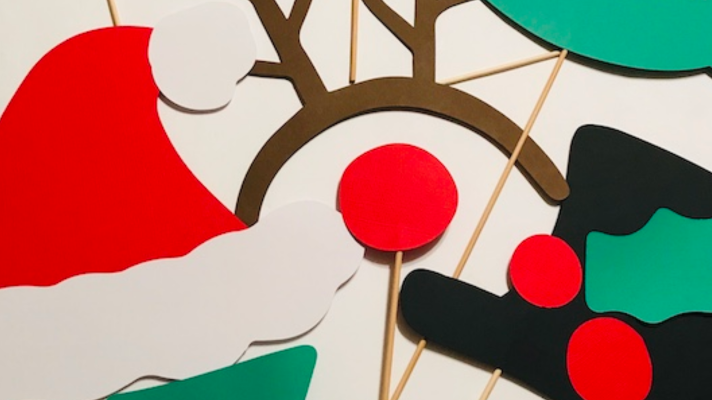
5. Look for Photo Props in Ready To Make Projects in Cricut Design Space
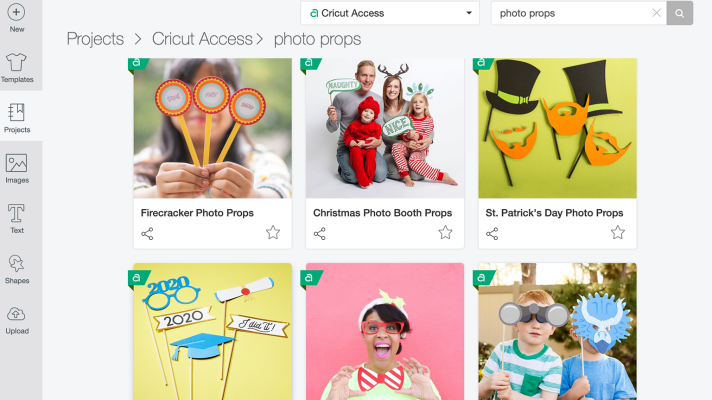
In Cricut Design Space, in ready made projects some photo booths are already made for you and all you have to do is cut them. How cool is that? My kids will go crazy for the St. Patrick’s Day Photo Booth set with the beards.
Now the next question is usually, how do you make photo backdrops. Here is one for a rainbow themed party. A tablecloth, fabric, pennants or poster board work great for backdrops too.
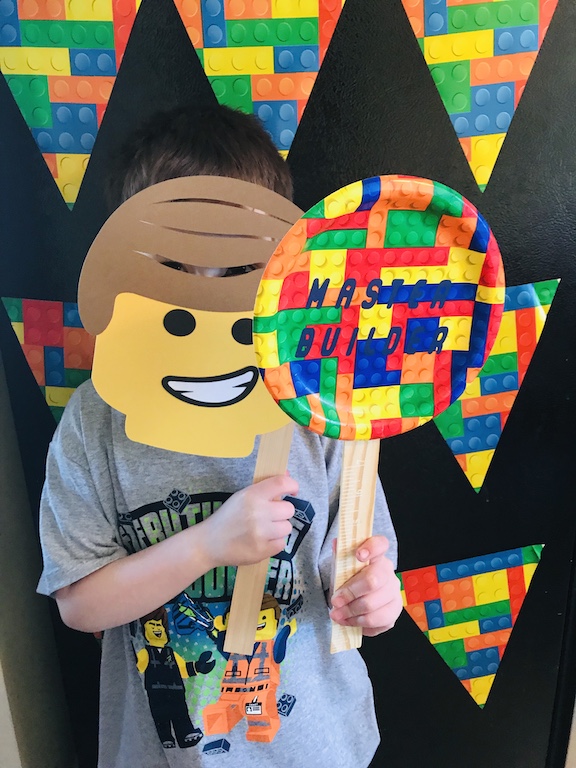
Making photo booth props are fun and festive! I’ve made these Christmas photo props and this Dollar Tree LEGO themed photo booth and props . Enjoy creating and having fun at your next celebration with your new photo props.
