Shortcut to Making Cricut Joy App Label Designs
Note: As an Amazon Associate, I earn from qualifying purchases. If you click on a link from Amazon or another of my advertising affliates, I will earn a small commission at no additional cost to you. Please see my full disclosure policy here.
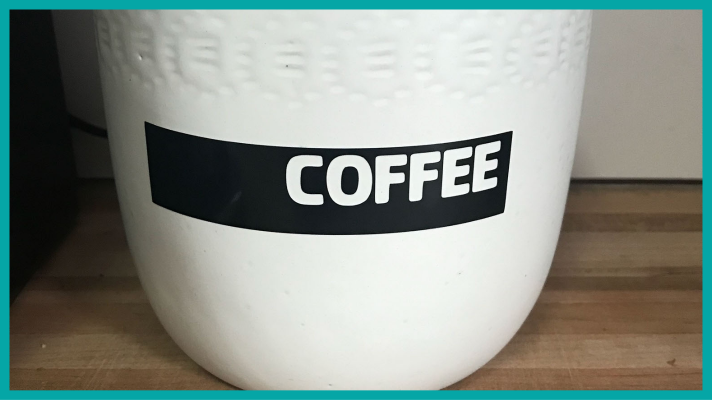
Shortcuts with Cricut are always a time saver and make creating easier. Using the Cricut Joy App Label Designs is awesome and you can create labels in minutes. Have you ever just fallen in love with a label? I did on the Cricut Joy App with the coffee label and new I had to have it on my coffee canister.
As with all apps, pictures make the most sense, but I’m going to share some important pieces of information along the way. If you have never used the Cricut Joy App before, here are the Basics and Everything You Need to Know About the Cricut Joy App.
Of course Cricut Joy Labels can be made out of writable vinyl, writeable paper, Smart Vinyl or permanent vinyl.
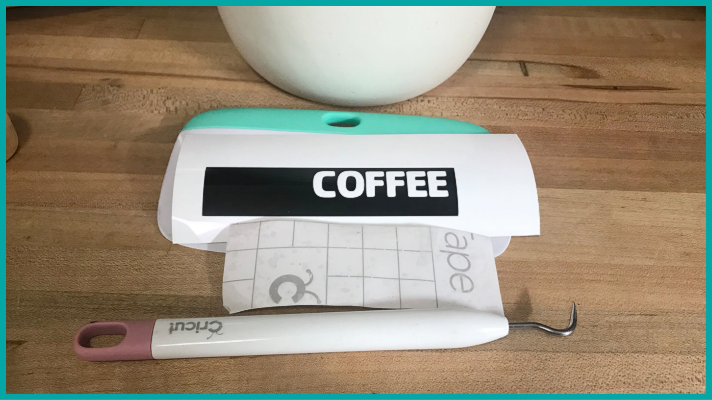
Shortcuts to Making Labels with the Cricut Joy
1- It will always be the right size for the Cricut Joy to cut
2- All the labels are in the app and sorted by drawing, cutting and vinyl
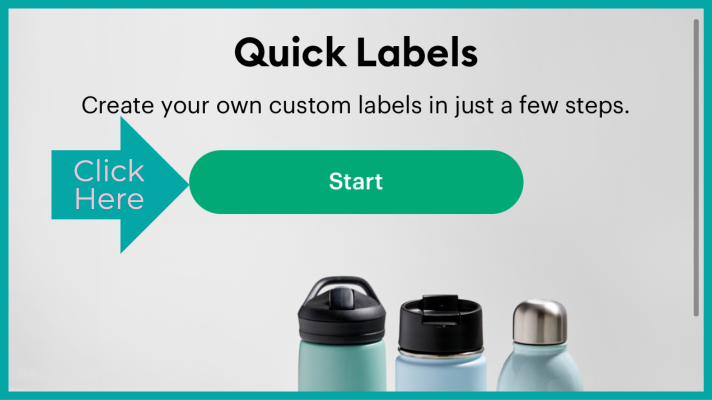
3- Just click Start Making under Quick Labels
How to Make Cricut Joy App Label Designs
Step 1: Open the Cricut Joy App and click start under Quick Labels
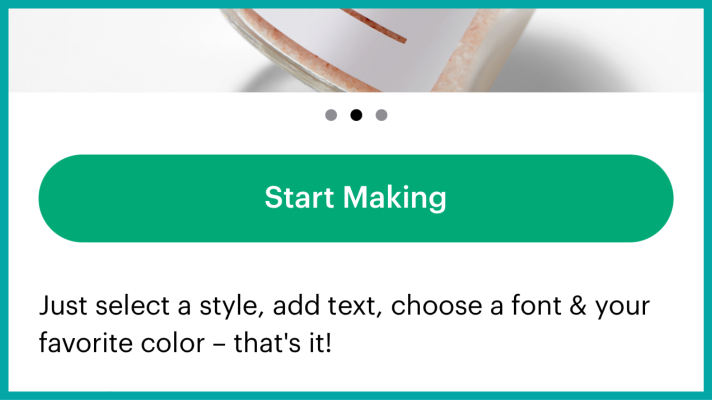
Step 2: Tap Start Making and choose the label you want to use. Once you choose the label hit next.
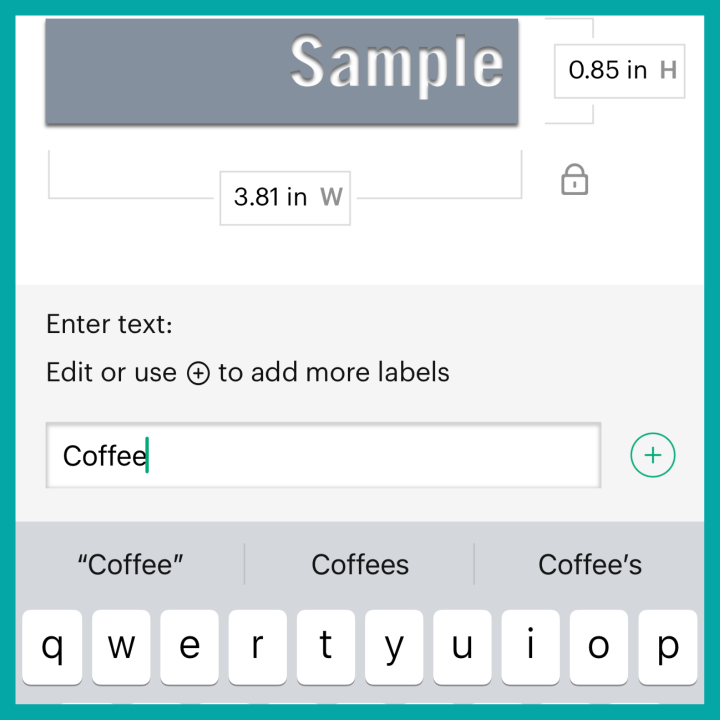
Step 3: Type in your text, click done and next.
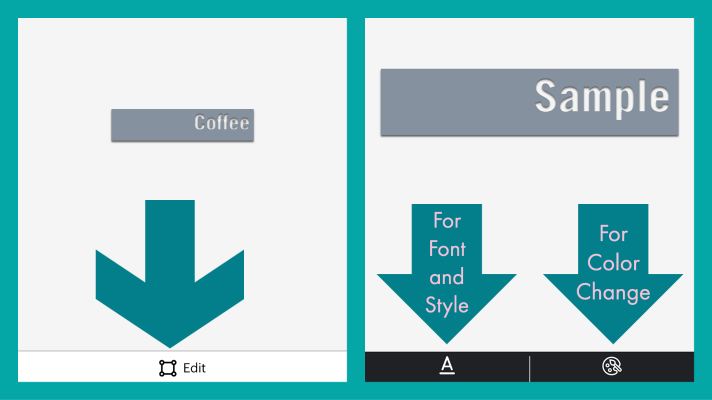
Step 4: To edit the text, click edit at the bottom. It will read sample until you hit done. I went back and forth a few times to see my word in the actual font.
Step 5: Select the material you are using and click Make It. For my label today it’s smart vinyl.
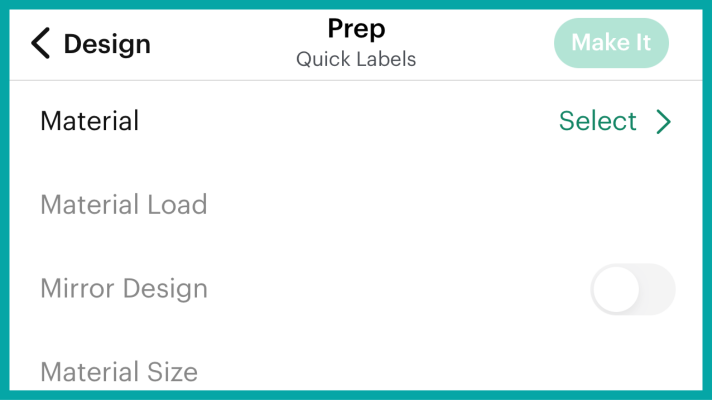
Step 6: Once you click make it, choose the Cricut Joy to connect with bluetooth and follow the prompts to complete the cut.
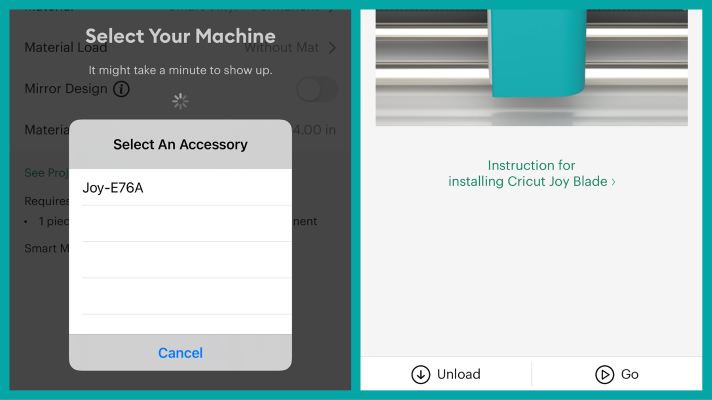
Step 7: Finish your project and enjoy your new labels.

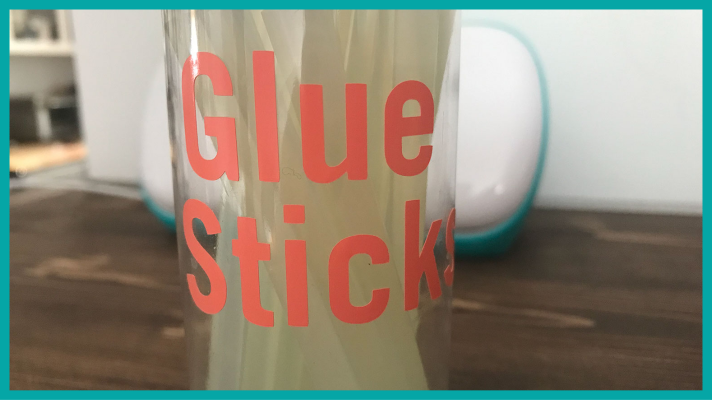
Remember labels don’t have to be a design, but can just be words. Like my glue sticks container.
