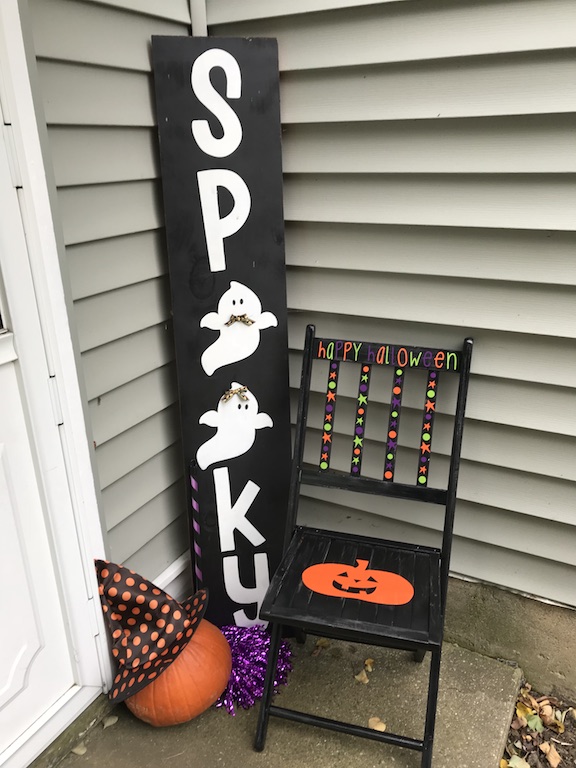
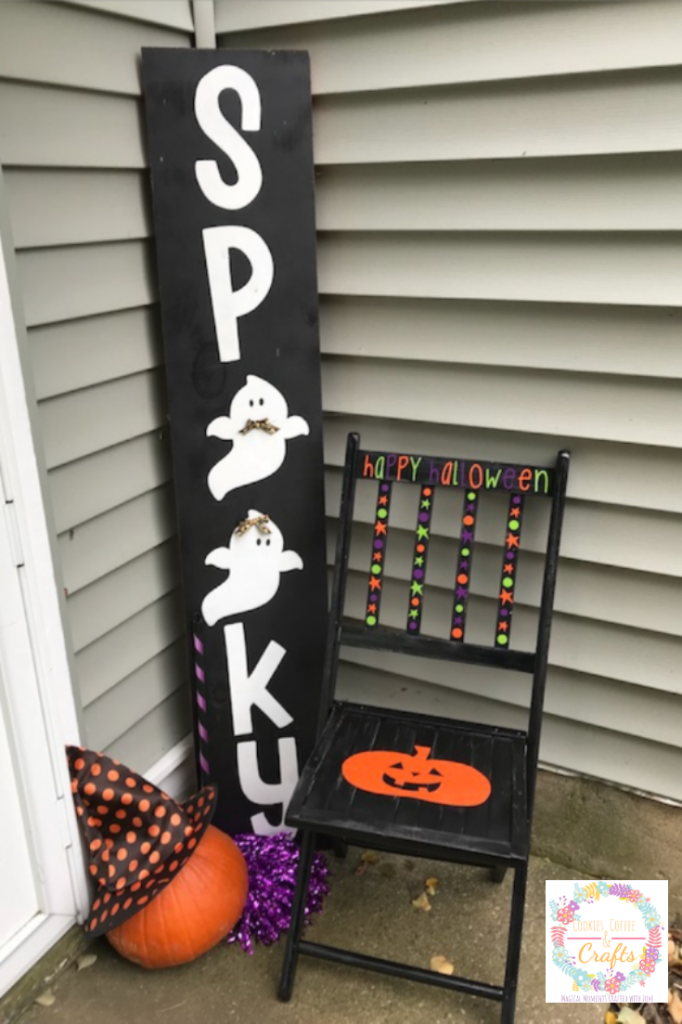
Spooky Halloween Porch Sign
Note: As an Amazon Associate, I earn from qualifying purchases. If you click on a link from Amazon or another of my advertising affliates, I will earn a small commission at no additional cost to you. Please see my full disclosure policy here.
When I was a kid my parents always decorated our front yard and porch for Halloween. Every year it was something new and different. One year we had skeletons playing cards at a table, that was one of my favorites, I can still picture it like it was yesterday. I’m carrying on that tradition now with my kids. We go all out for Halloween. This year I’m all about reversible decorations so I created this Spooky Halloween Porch Sign on the other side of my Fall Porch Sign.
Below are some affiliate links and I may make a commission for purchases made through the following links. I’ve had a wonderful opportunity to work with Simply Earth and I’m sharing the October Bonus Box with you, but all thoughts and opinions are my own.
Not only am I going to help you decorate the outside of your home for Halloween, but I have a great deal from Simply Earth to help get the inside of your home ready for Halloween.
Supplies for a DIY Halloween Porch Sign
Black Spray Paint
Common Board
White Craft Paint
Mod Podge Clear Acrylic Sealer Matte
Oracal 631 Vinyl
Transfer Tape
Painters Tape
Makeup Wedge
Cricut Maker
This project gave me a headache. I wasn’t even sure if it was going to turn out ok. The vinyl, wood and transfer tape gave me so many problems. Time is always an issue and I didn’t have enough to create the Halloween side last year. The biggest problem (I think) is the wood was weathered from being outside last year.
Let’s Create a Spooky Halloween Porch Sign
Using Cricut Design Space, I create a rectangle the size of my sign- it’s about 11 inches wide by 61 inches tall. Font choice is always hard for me and I decided to use Lumberjack. Instead of o’s I used a ghost image.
I cut everything in oracle 631 and transferred it to the sign. Uhh this is when all the trouble started. For some reason the vinyl just didn’t want to stick. I was able to get it all on and use painters tape to hold it in place. I still had some bubbles, but I was hoping for the best. One of the ghost mouth was lost so I removed the other mouth. It was like anything that could go wrong did with this project.
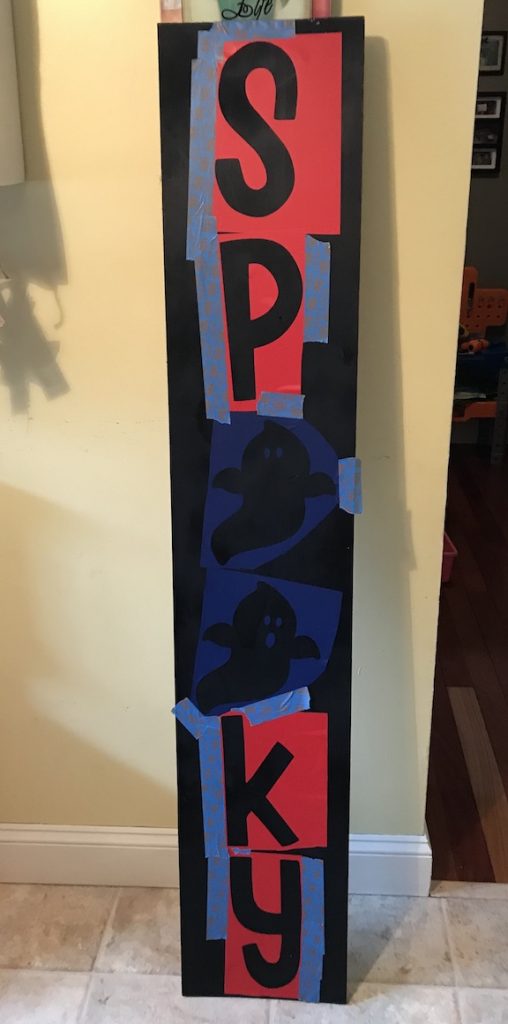
Stenciling the Halloween Porch Sign
Stenciling white on black takes about 6 coats and your hand will get tired from the repetitive motion. I was determined to get this done when my daughter was at preschool and it took me the whole two hours. An hour fighting with vinyl and an hour stenciling. I’m so glad I stuck with it because it came out awesome.
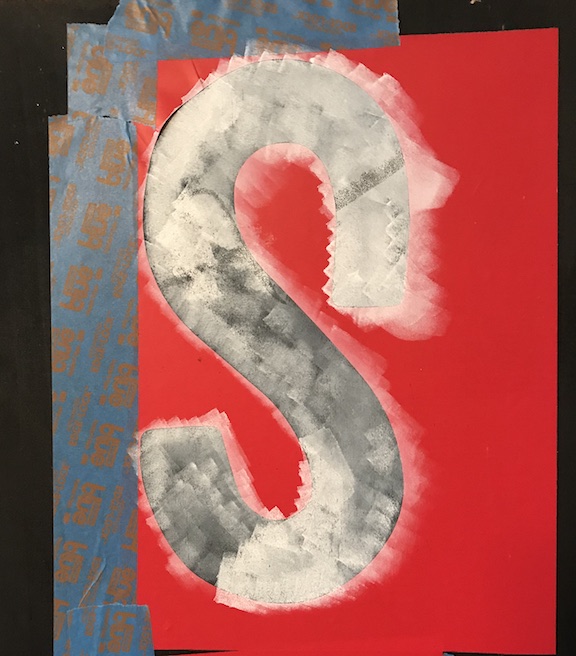
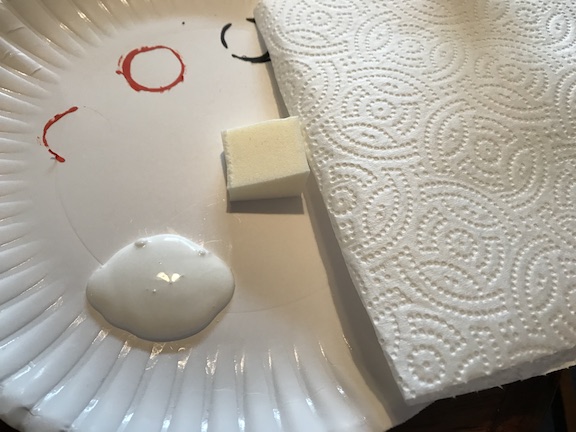
For stenciling I like to use a makeup wedge cut in half. I dab the makeup wedge in the paint, then dab it on a paper towel every time. Less paint is more. Then dab up and down slowly. I did the edges only once since I had bubbles and not a good seal. Since the sign is so big, I did 3 letters at a time.
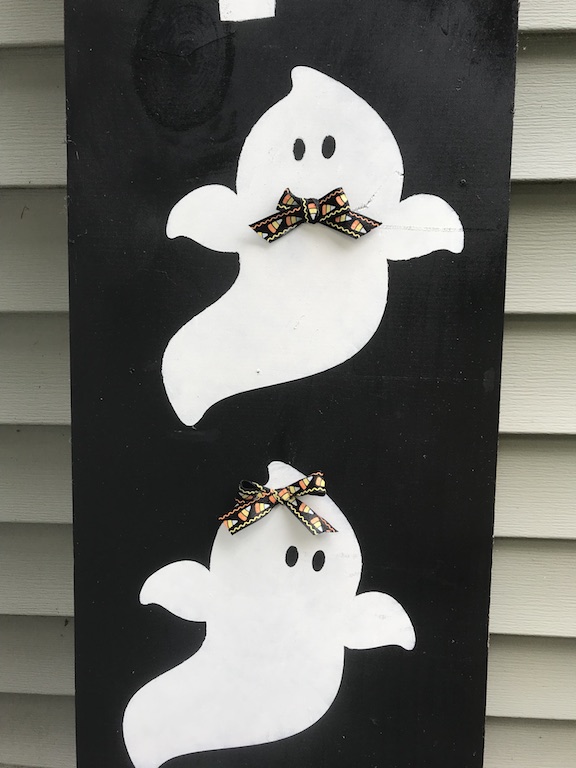
I let the paint dry 24 hours and then put on 5 coats of the Mod Podge Clear Acrylic Sealer in Matte finish. Then since the sign has 2 ghost and I have 2 children, I added on ribbon to give one a bow and one a bowtie. Look at these cuties!
Simply Earth Offer for You
Remember at the beginning of this “Spooky” post, I told you about a great offer for getting the inside of your home ready for Halloween. Well here it is! Here is my coupon code CCCFREE for Simply Earth.
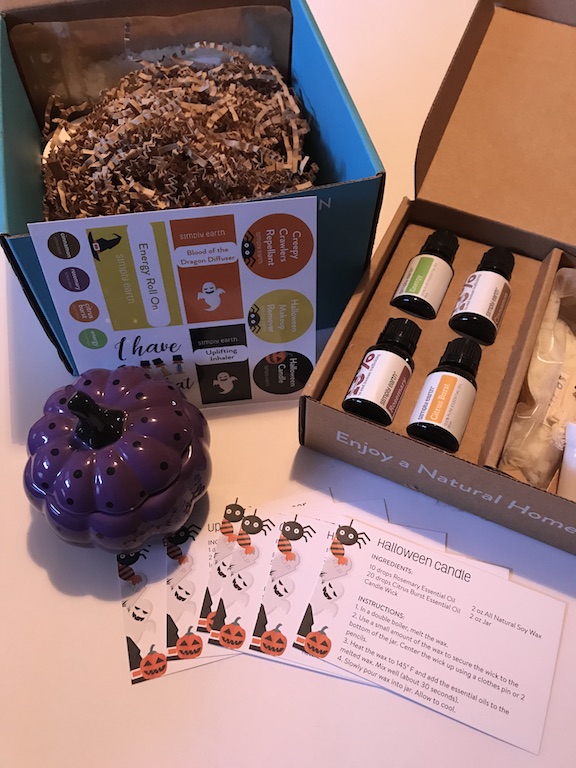
If you subscribe for the amazing October Simply Earth Box with my code, you will receive:
A Big Bonus Box
An Essential Oil Recipe Box
$20 Gift Card for a Future Purchase
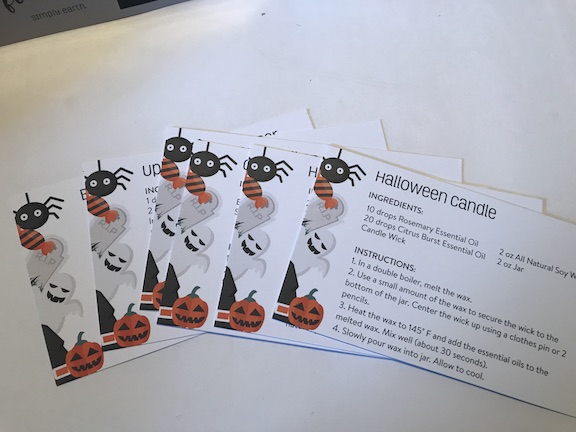
This box has the cutest recipe cards and great ideas for Halloween!
Decorating with the Halloween Porch Sign
Halloween is so much fun and I love decorating with cute ghost and ghouls. Do you like to decorate for Halloween?
