How to Make Spring Placemats
Note: As an Amazon Associate, I earn from qualifying purchases. If you click on a link from Amazon or another of my advertising affliates, I will earn a small commission at no additional cost to you. Please see my full disclosure policy here.
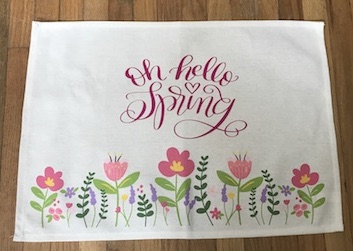
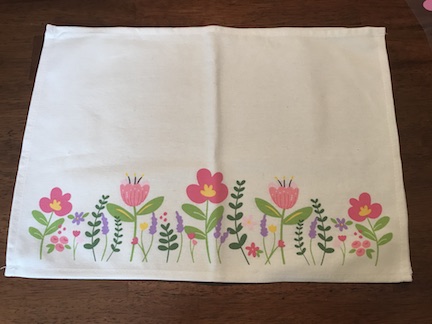
One of my favorite things about spring are the colors. I love all the shades of pink, purple, yellow, green and blue especially after a dark and dreary winter. When I saw these Spring Placemats at Target (I did a happy dance on the inside) because I’ve been looking for new spring placemats. I almost didn’t get them because they are white, but I couldn’t leave these behind.
I am really happy to work with our sponsor, Happy Crafters today to share this project with Happy Crafters HTV (Heat Transferred Vinyl). Below are some affiliate links and I may make a commission for purchases made through the following links.
My newest toy, I mean crafting tool, is my Cricut Easy Press! I absolutely love this. If you have been thinking about getting one, jump online or get in the car and go get one. It will change your crafting game and open up a world of possibilities.
For the spring placemats, I wanted to add something that said “hello spring” or “welcome spring”, but when I saw the Hand Lettered SVG from Kimber Dawn + Co, it was perfect. I love Kimber Dawn SVG because the cursive letters are easy to weed and always cut nice. Plus it’s beautiful!
Materials
Placemats
Pink Heat Transfer Vinyl (HTV)
Ironing Mat
Cricut Easy Press
Cricut Weeding Tool Kit
Creating Spring Placemats
1. Choose the SVG you would like to add to your placemat. Then in Cricut Design Space™ size the image to fit on your placemat.
2. Once your image is all set, hit Make. Then make sure you click on mirror image and turn your knob on the Cricut to Iron On
3. Lay your HTV with the shiny side down on that mat and hit cut
4. Weed your design carefully and slowly.
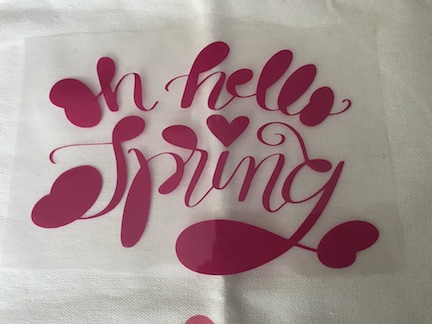
5. Get your Easypress, Iron, or Heat Press, ironing pad and a ruler to decide where to put your image. I always measure twice and press once (you don’t need the Doc McStuffins doctor kit piece, I didn’t realize it was in the picture)
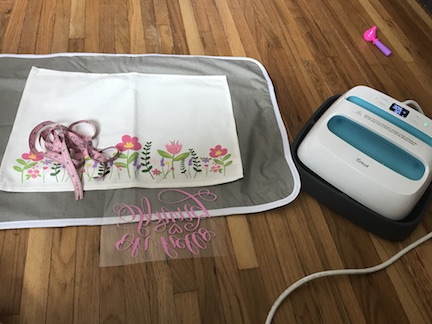
6. Check the Cricut EasyPress Settings for the type of material of your placemat and the type of HTV you are using
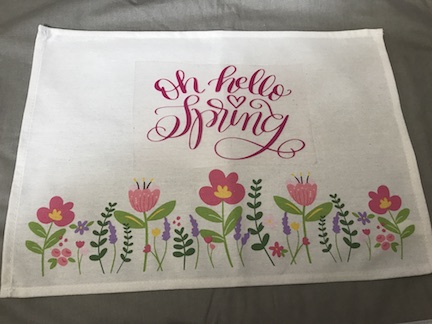
7. Then heat up your placemat, place your design (after measuring) and press the design onto the placemat

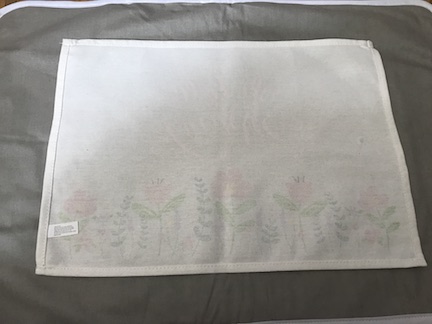
8. Turn the placemat over and press the back for about 10-15 seconds
Oh Hello Spring!
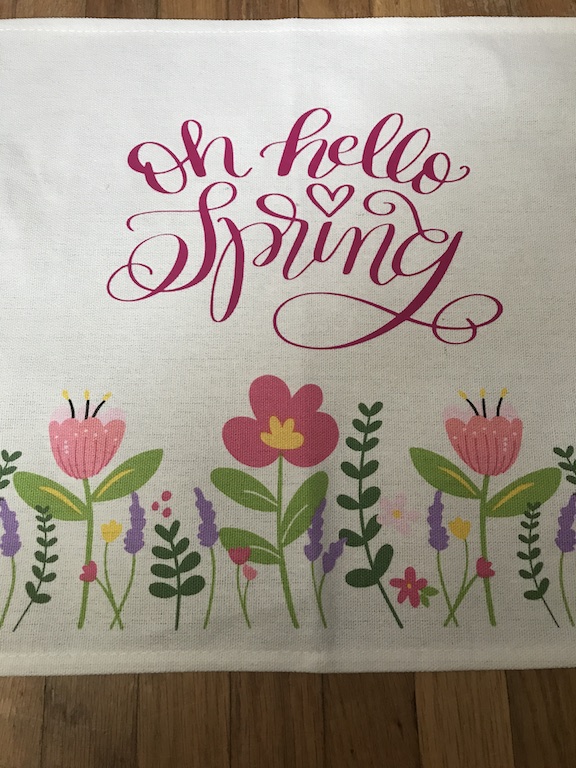
Your spring placemats are ready to make your table beautiful and to bring the joy of spring inside. This is another great find at the Target dollar bin! I hope they have more placemats soon. I just wish you could order items from the dollar bins online. Currently I am hunting (I mean searching) for two more placemats, but honestly my kids are little and really don’t need them. I can’t wait to put these on the table with a pretty vase of tulips and wait for spring.


