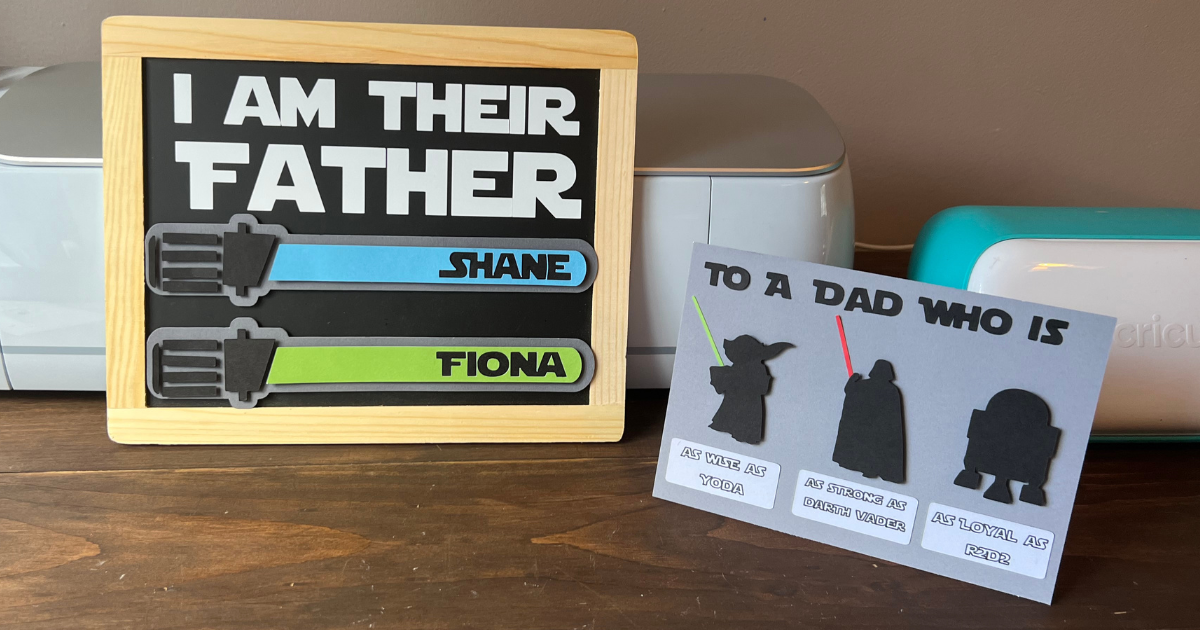
Star Wars Fathers Day Present with Cricut: Discover How To Make Dad the Best Gift
Note: As an Amazon Associate, I earn from qualifying purchases. If you click on a link from Amazon or another of my advertising affliates, I will earn a small commission at no additional cost to you. Please see my full disclosure policy here.
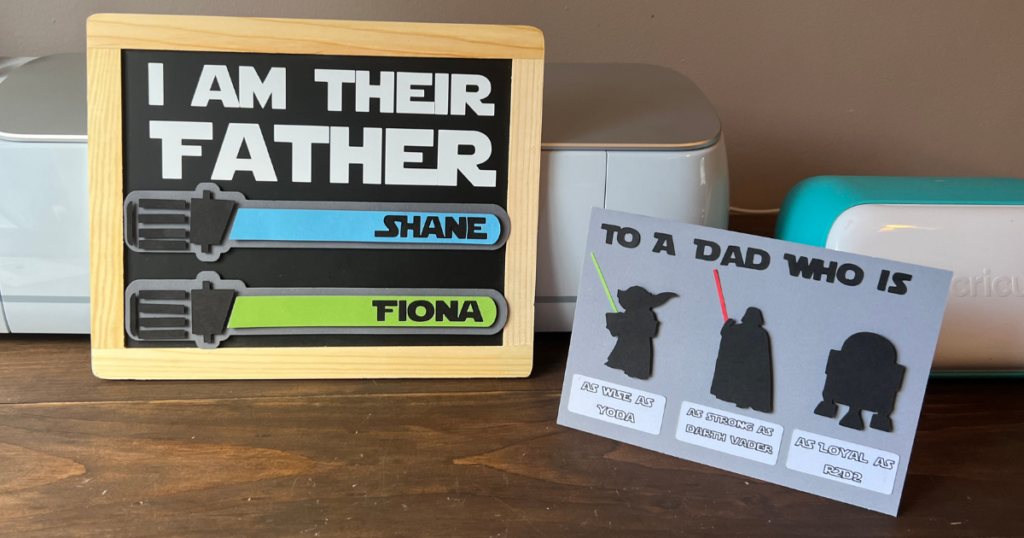
Some guys are just tough to buy for and my husband is one of them. Every birthday and holiday is tough. He’;s not a tie, candy or sports guy so it makes it tough. One thing he is though is a huge Star Wars fan! I saw this awesome sign on Facebook, but it was $50 to boy and I just could’t spend that when I knew I could make something like it. I know many guys out there love Star Wars too so I wanted to share how to create this cool Fathers Day present with Cricut.
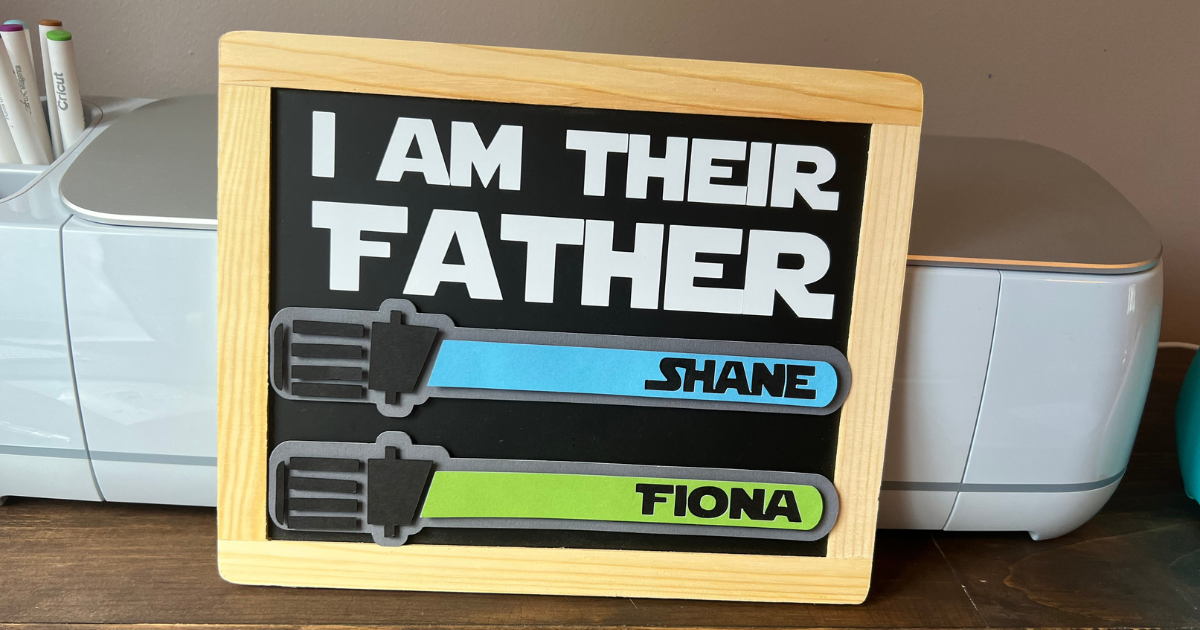
The supplies for this sign are probably items you already have (if you like to Cricut) and are easy to get. It’s also quick to put together. You know I love simple and easy projects.
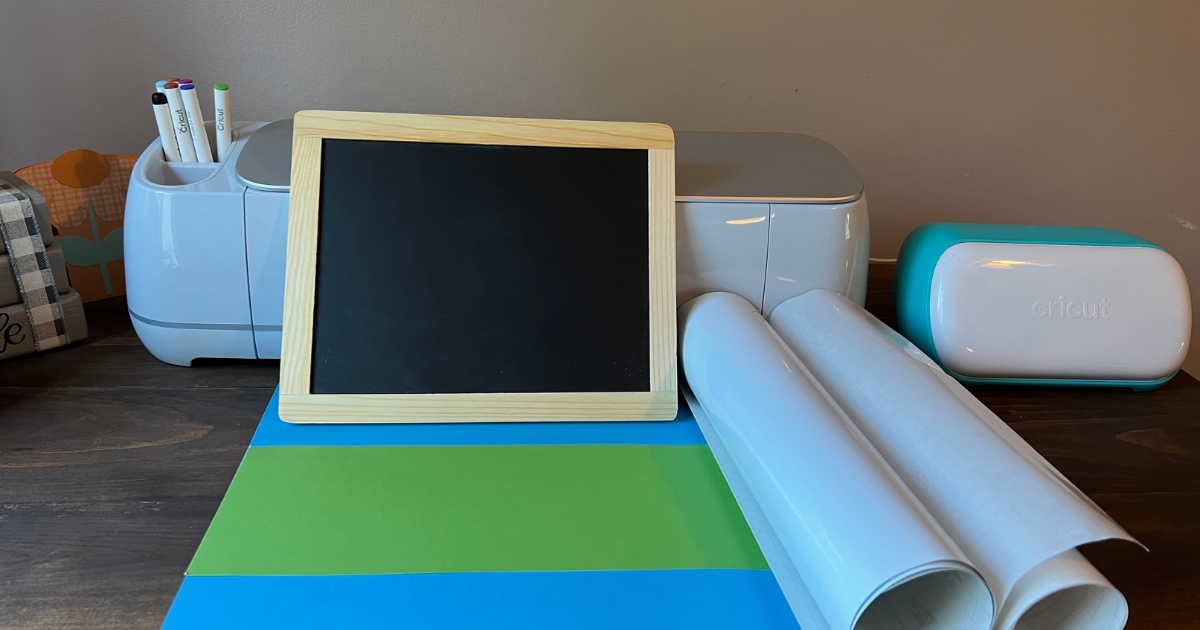
Supplies for Cricut Star Wars Idea
White Permanent Vinyl- Oracal 651
How to Make a Fathers Day Present with Cricut for a Star Wars Dad
First decide if you want to paint or stain the edge of your sign. I went back and forth about what color to make it, but I decided to leave it as is. Paint or stain the sign, then go and create the design as it dries.
Start by opening a new project in Cricut Design Space.
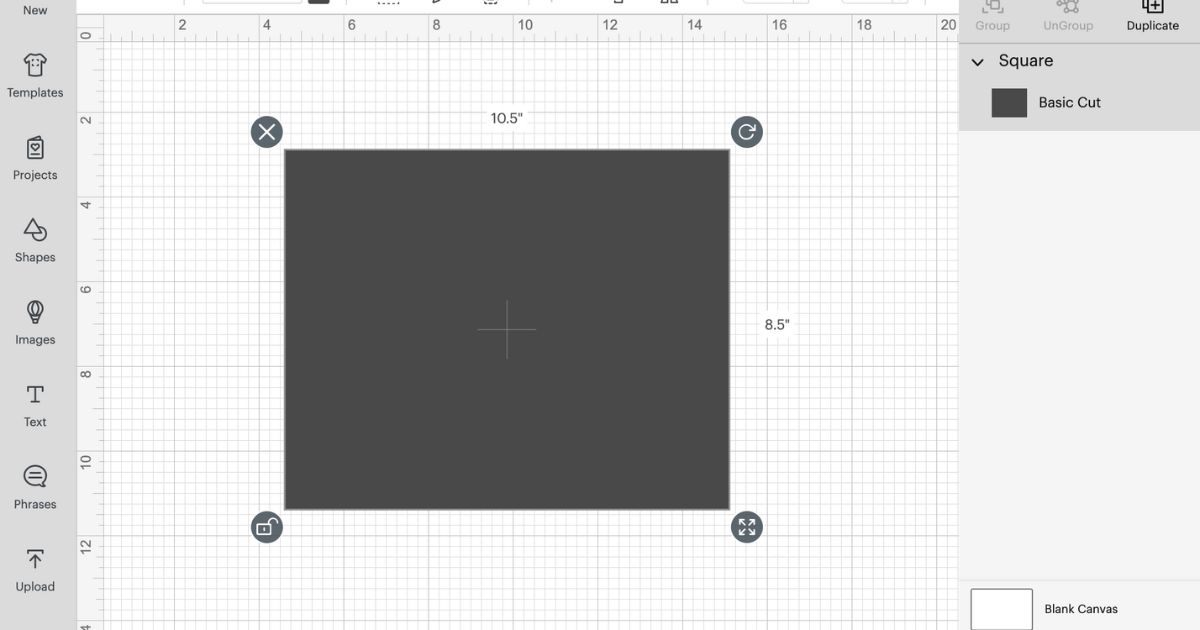
Using a shape from the shape icon, create the shape the size of your blank that you are making the sign on. I made my rectangle 8.5×10.5 because that’s the size of my sign.
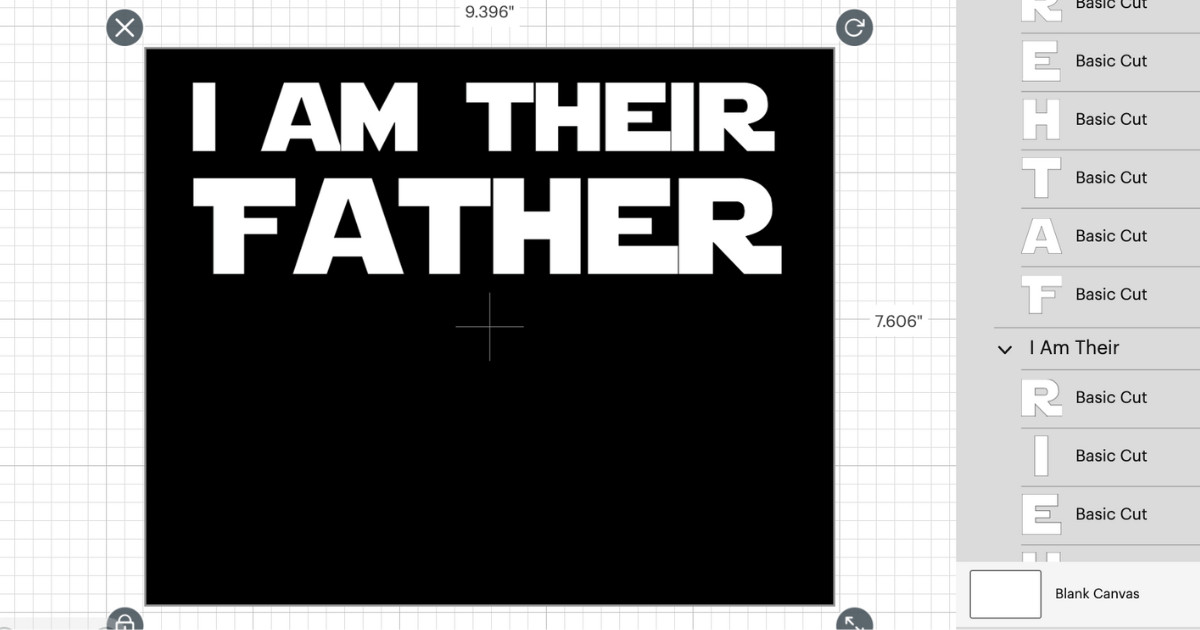
I dowloaded the font, Star Jedi to use because it looks just like the logo. So download the free font because this is what you will need for the sign. Don’t forget to check out the matching Star Wars Fathers Day Card that I made to go with this.
Creating the Sign in Cricut Design Space
Start by adding the text “I Am Their Father” to the top of the sign with the Star Jedi font.
I was shocked that the Star Wars Images in Design Space didn’t have a light saber so I had to find one. Google free light saber svg and choose which one you would like to use. Next upload it to Design Space.
Size the light sabers to fit on the sign and choose the light saber colors
The kids picked what color they wanted their light saber to be. My son is really into the color blue right now and my daughter said green because it’s the good side. We are totally raising Star Wars kids! When my daughter was a toddler, we bought her the cutest BB8 shirt in purple and pink and she rocked it. I was so sad when it didn’t fit anymore.
Duplicate the light saber and change the color to black. This is will be the part under each of the children’s names. Create an offset of the light saber to glue all the pieces too.
Here are the 3 pieces that each light saber should have- the black light saber for underneath, the light saber with the name sliced out and the offset.
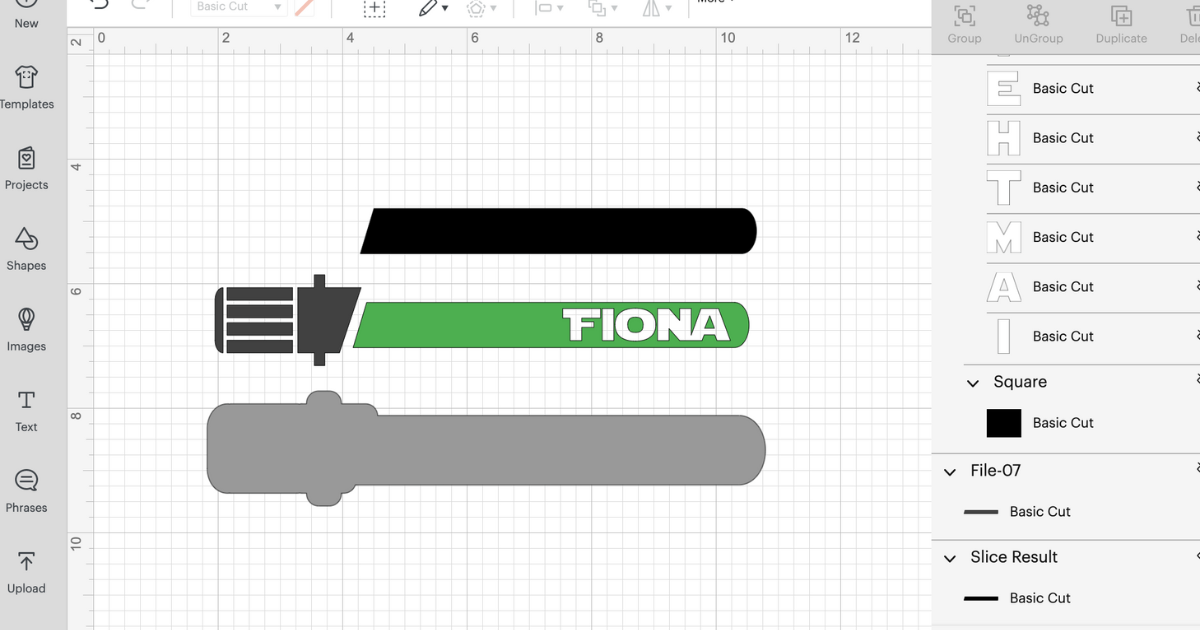
To slice the children’s names out of the light sabers, use text to type their name in the Star Jedi font. Place the child’s name on the light saber and size it to fit. In the layers column, highlight the light saber and the child’s name and click slice. This will cut the child’s name out of the light saber. Do this for each child in your family.
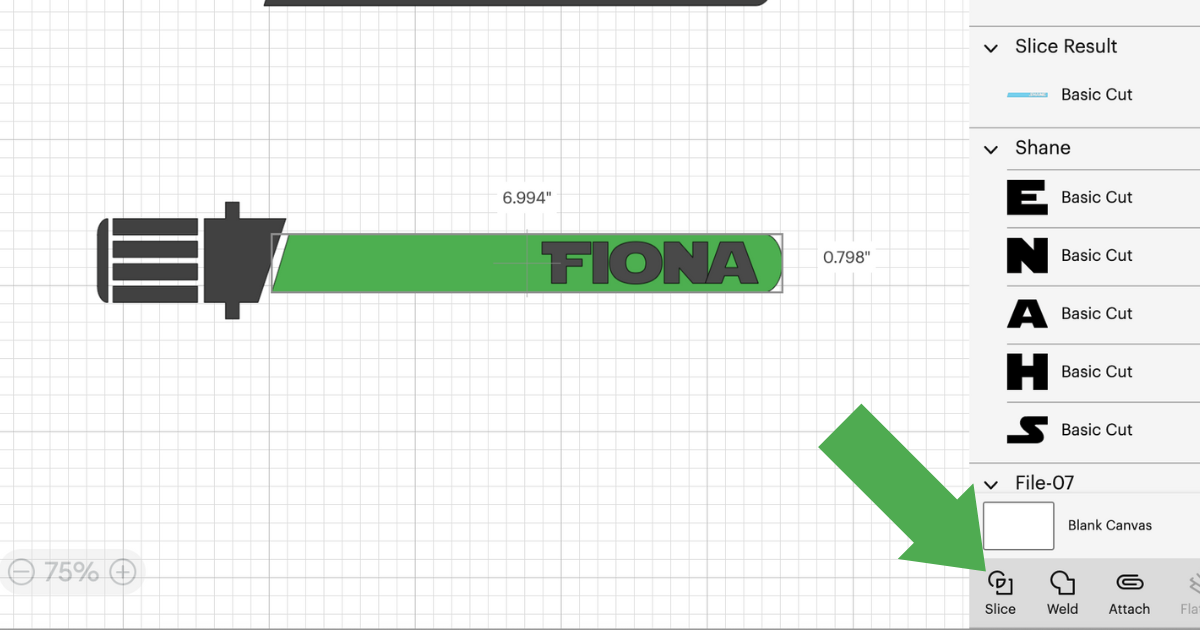
Now all the pieces of your Star Wars Father’s Day present are made in Design Space, it’s time to make it a reality. Follow the instructions in Design Space to cut the design. I’m using white vinyl for the sign title and cardstock for the light sabers. Also when cutting out the light sabers, save the small inside pieces of the letters for the children’s names.
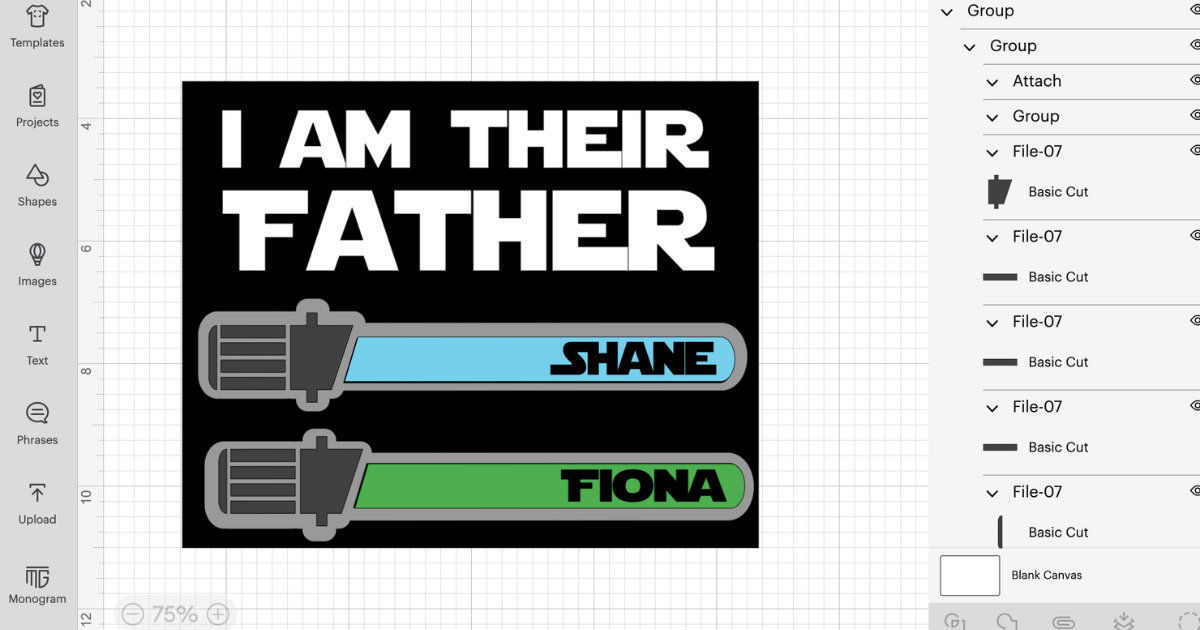
Putting the Best Fathers Day Present with Cricut in the Galaxy Together
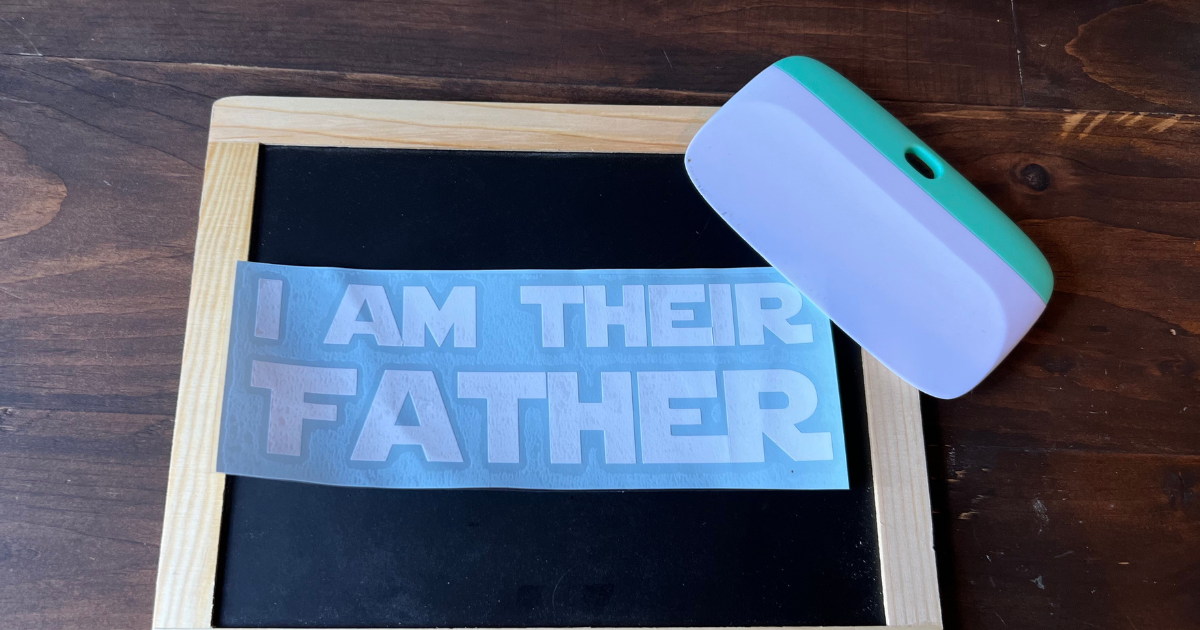
Start with weeding the vinyl title and placing it in the center of the sign at the top. I’m making my sign horizontal. Use transfer tape to add it to your sign.
Then add the light sabers. Glue the colored light saber to the black piece and glue in the small pieces of the letters in the children’s names. Using 3D foam dots/tape add the light saber to the offset.
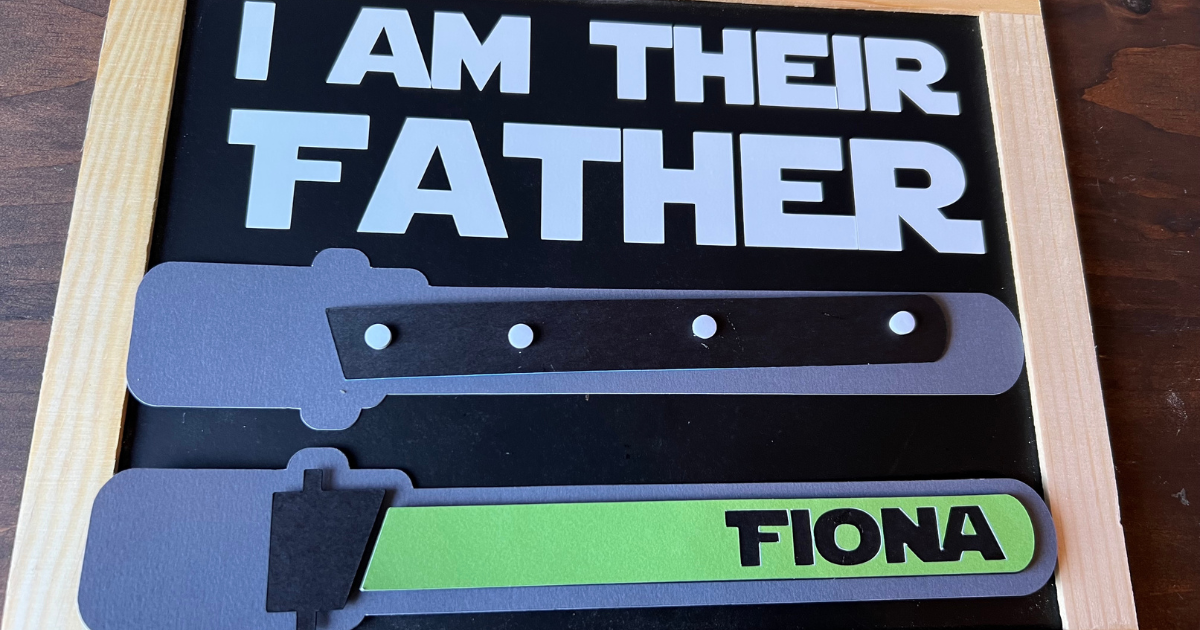
I used 3D foam dots on all pieces of the light saber, but I had to use my Cricut TrueControl Knife to cut the pieces small enough for the small light saber pieces. I highly recommend 3D foam tape for this, but I cut the circles that I had. It was a little tough, but worked.
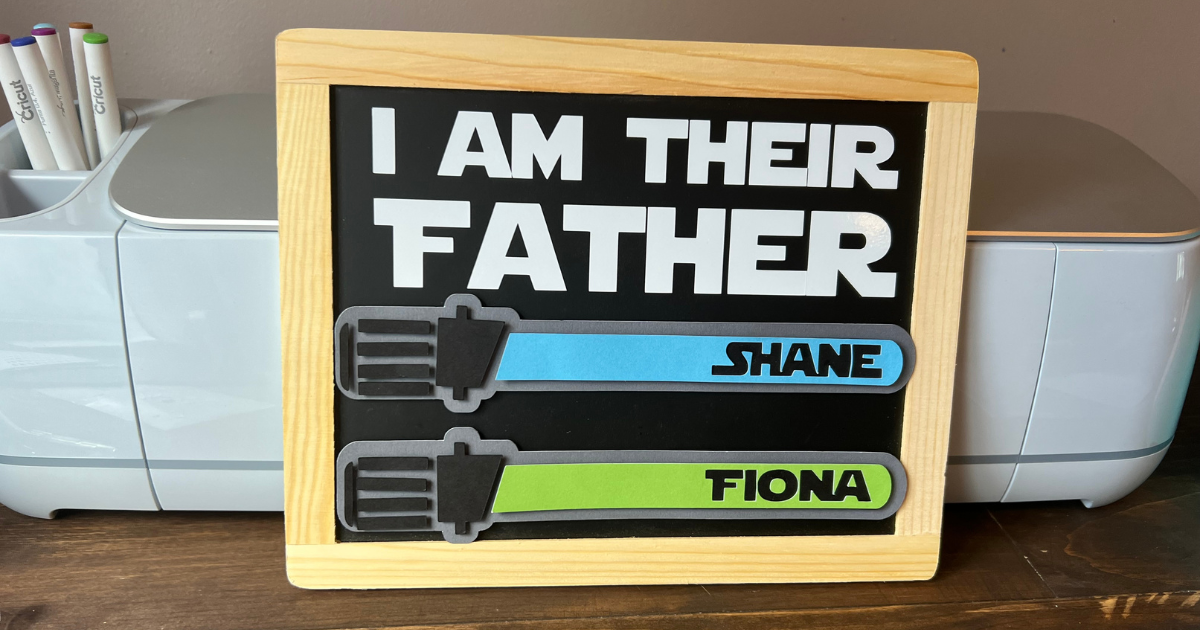
I’m in love with this Father’s Day present with Cricut and my husband is going to love it. He has caught glimpses of it on my lap top and was like “Oh light sabers.” I swear it’s impossible, I think he’s busy at work and then there he is. I’m so glad I have my Cricut and can make homemade signs like this. I get to save money and make stuff!
