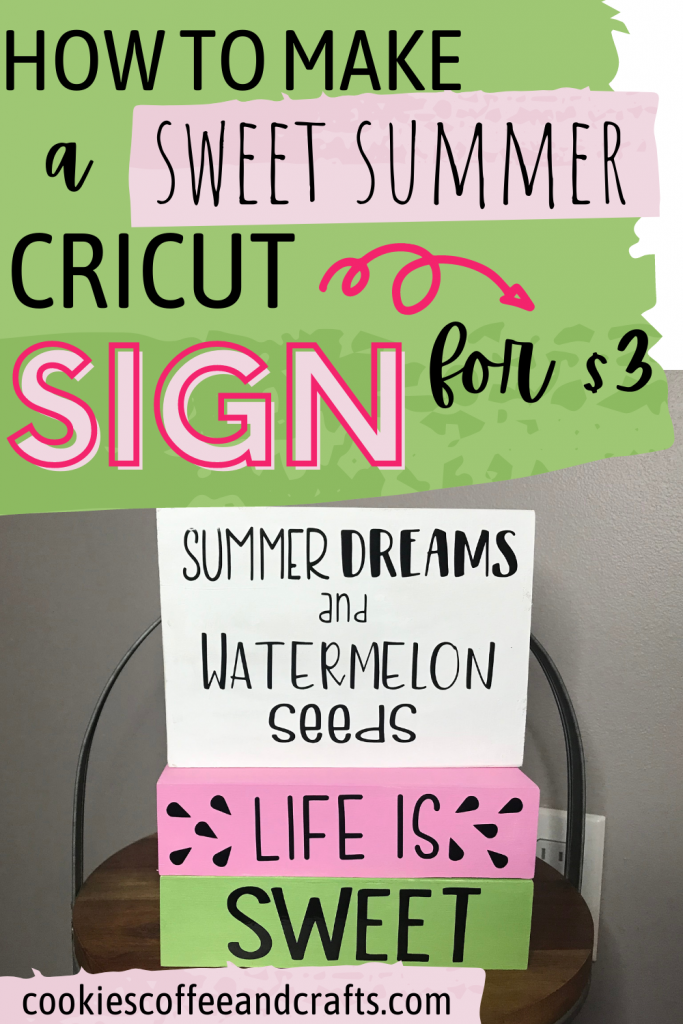
Sweet Cricut Summer Project- $3 Dollar Tree Craft
Note: As an Amazon Associate, I earn from qualifying purchases. If you click on a link from Amazon or another of my advertising affliates, I will earn a small commission at no additional cost to you. Please see my full disclosure policy here.
How about that new Dollar Tree craft section? It is so good! It’s also the thrill of the hunt because you never know what you will find. I’m now obsessed with these wooden trays. They are the cutest and can be used to make so many things. I took 3 of the wooden trays and created this really cute Cricut summer project. Super simple, super affordable and super fun!
My summer decor has always been flip flops. I don’t go crazy with summer decor, but my doors and a few signs have always been flip flop themed. Flip flops are still my favorites, but this summer I’m decorating with some watermelon decorations. I think it’s going to look great and I’m loving the pink and green colors together. Making pizza pan door hangers is also one of my favorite Dollar Tree crafts and I created this one for ** summer.
Supplies for Dollar Tree Cricut Crafts
3 Dollar Tree Trays
Black Cricut Permanent Vinyl
Transfer Tape
Cricut Tools
Cricut Joy (Buy on Cricut/Buy on Amazon)
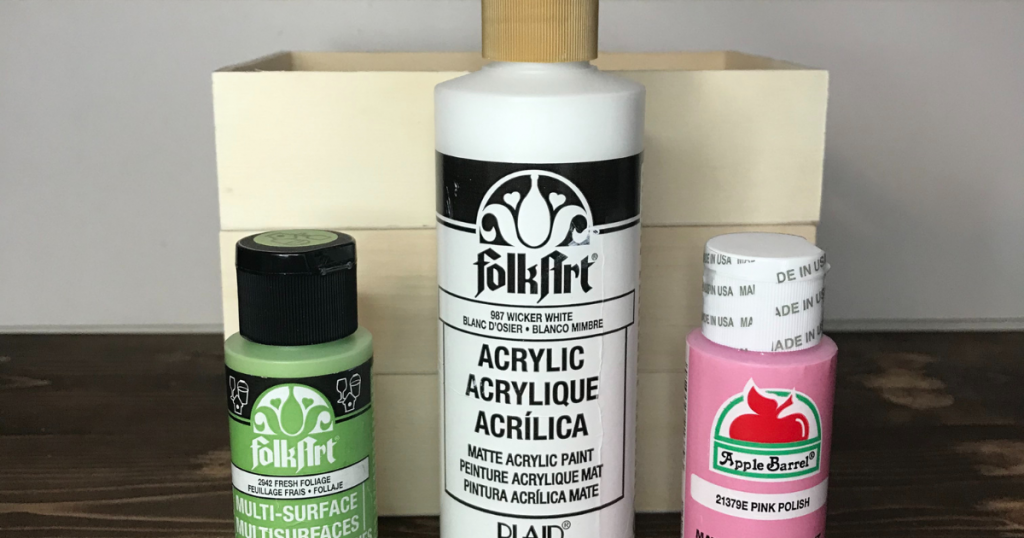
Paint: Folkart Wicker White, Fresh Foliage and Apple Barrel Pink Polish
Paint Brushes
Cricut Design Space File for Watermelon Signs
Let’s Create a Sweet Cricut Summer Project- $3 Dollar Tree Craft

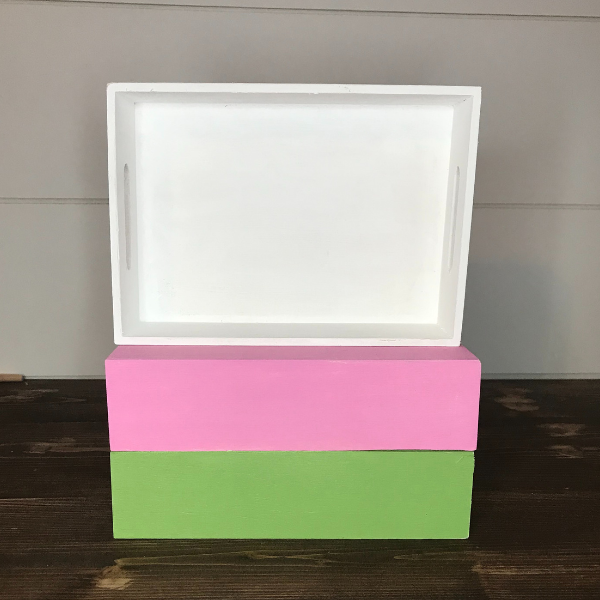
One of my most popular DIY Crafts are my 2×4 wooden book stack, but if you never use 2×4’s or cut wood, here is another way to make a wood book stack. The side of these trays are perfect for a wooden book stack. That’s how this Dollar Tree craft started because wooden book stacks are one of my favorite ways to decorate for holidays and seasons. The trays fit perfectly on top of each other and stack nicely.
Painting the Dollar Store Crates for Cricut Summer Craft
Get started by painting the trays. The white crate will be completely painted on all sides. I did one white coat and lightly sanded the edges and corners for a white washed look. For the two watermelon themed crates, turn them upside and only paint the bottom and sides. You can paint the inside, but it’s up to you. After two coats, lightly sand the edges and corners of the crates. These colors look so much like watermelon, it’s unreal.
Making the Sign Design in Cricut Design Space
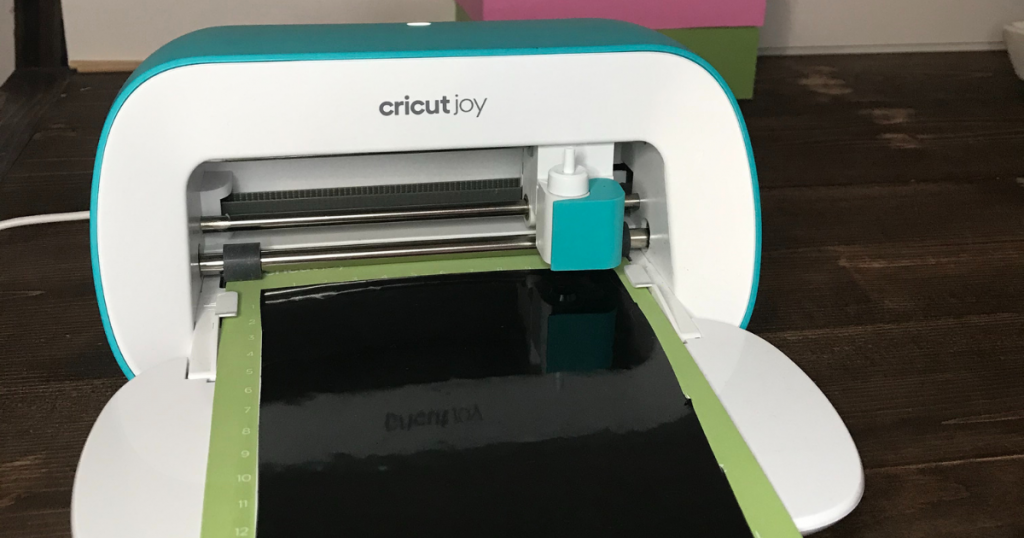
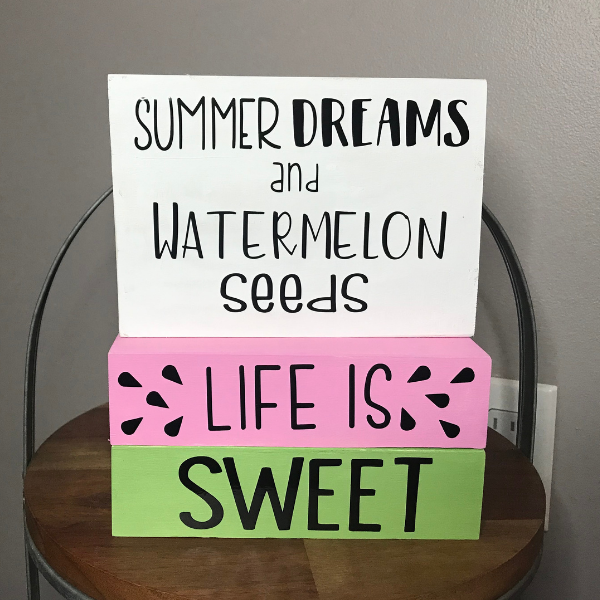
In Cricut Design Space™ create or use this file for the sign saying “Summer Dreams and Watermelon Seeds “ and the “Life is Sweet” for the sides of the trays. I used Design Space images and the font Bumble Bee (seeds and) and Felix for watermelon. I like to make templates the size of the trays to size my designs on, then I hide them before cutting the design.
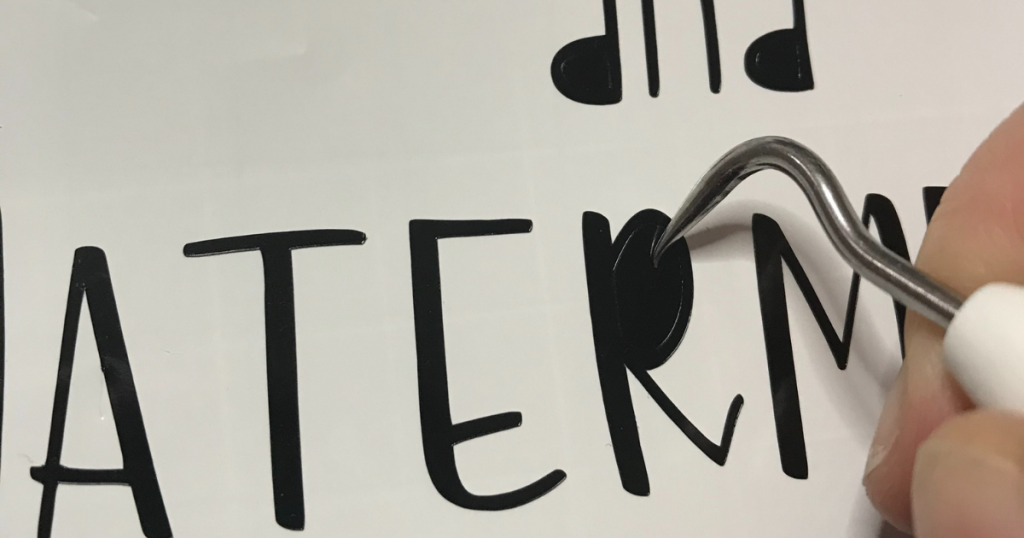
Using my Cricut Joy, I cut all of the designs in permanent black vinyl. I always buy this bulk roll of Cricut vinyl in white and black. Weed the designs by removing all the pieces you don’t need for the design. This one was super easy to weed (these are my favorite kind of Cricut projects).
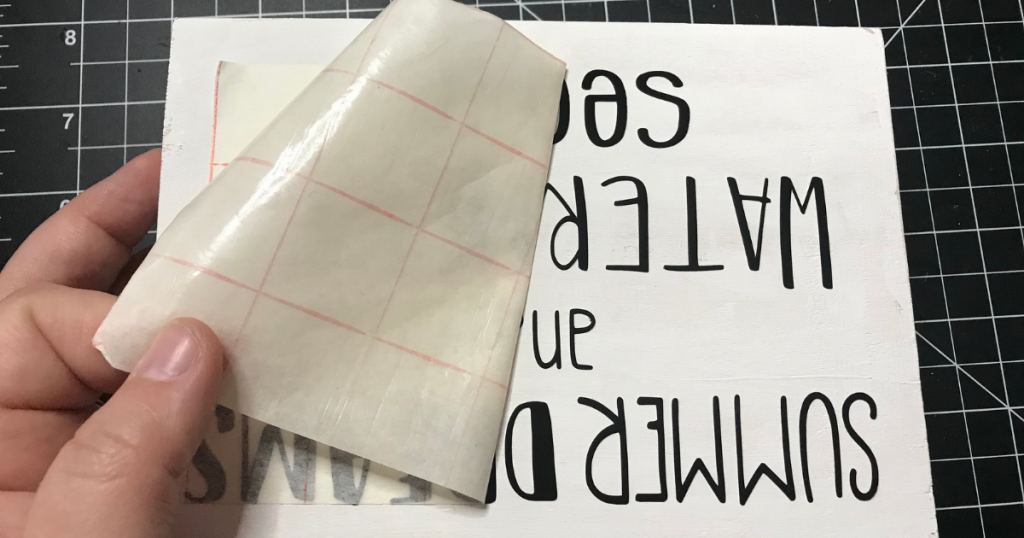
Take transfer tape and add the sayings to the trays. I put the life is and sweet in the center of the trays on the side.
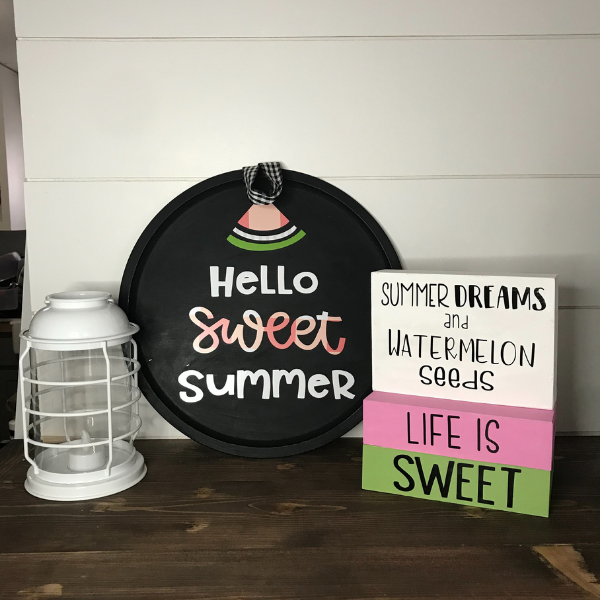
After looking at the signs for a little bit, I really felt like the pink one was missing something. It needed some watermelon seeds. I cut 10 seeds and put 5 on each side of life is. I just added them randomly like stickers.

Just put the trays on top fo each other like in the photo and you have an amazing new sign for your summer home decor. You can’t beat a sign that cost only $3. I only had to buy the trays, but it’s still a really affordable sign.
