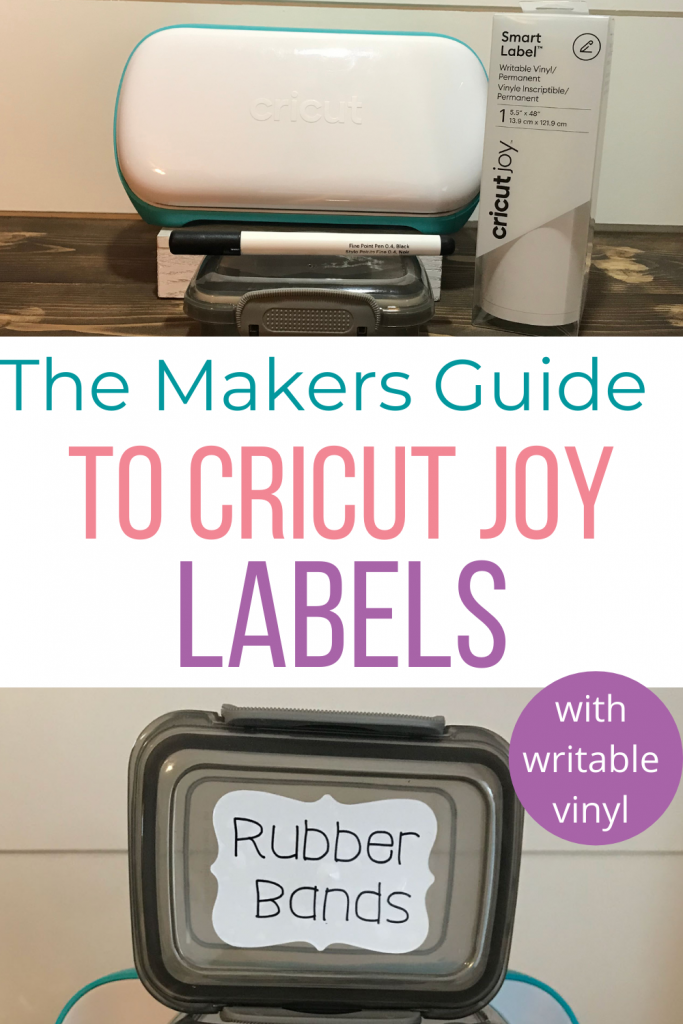
The Makers Guide to Cricut Joy Labels
Note: As an Amazon Associate, I earn from qualifying purchases. If you click on a link from Amazon or another of my advertising affliates, I will earn a small commission at no additional cost to you. Please see my full disclosure policy here.
Did you know that the Circuit Joy is the perfect machine to help you get organized this year? You can use it to add cute labels to your home and finally get organized! Cricut Joy Smart Labels say to me “hey you’ve got it going on!” I’m super excited about this because it’s time for me to start labeling stuff. I’ve used the Cricut writable paper to make planner stickers and that was great. Today I’m going to share about using the writable vinyl for creating Cricut Joy labels. Just think of all the places you can use this in your home.
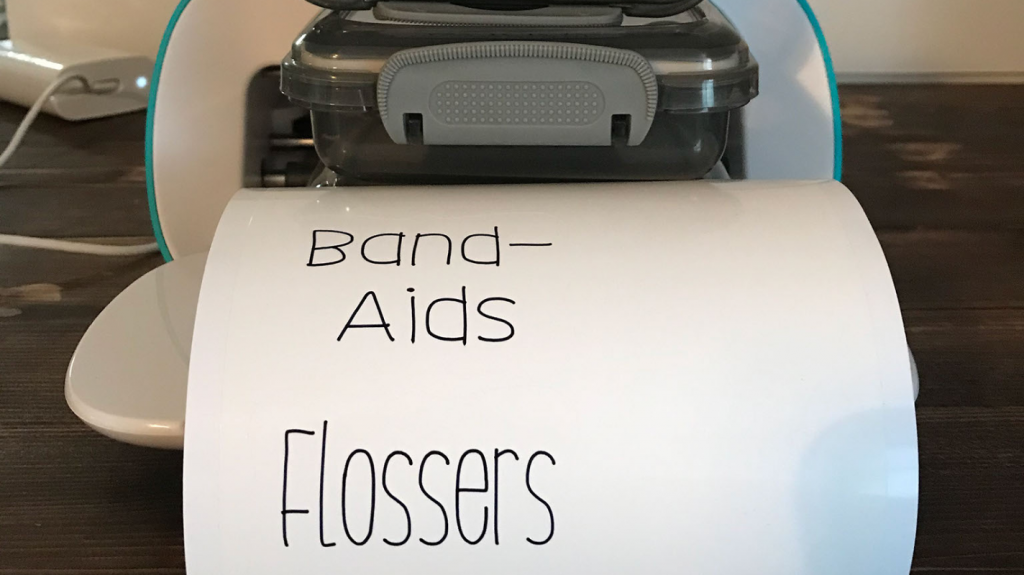
As with all Cricut Joy Smart Materials, you don’t have to use a mat. Thank you so much Cricut for this! It makes it so easy to slide the material in. This project only requires a few simple supplies and you can have labels made in less than 15 minutes.
Materials for Custom Writeable Labels
Cricut Joy (Buy on Cricut/Buy on Amazon)
Cricut Joy Pens (Buy on Cricut/Buy on Amazon)
Smart Writeable Vinyl (Buy on Cricut/Buy on Amazon)
Let’s Create Cricut Joy Labels
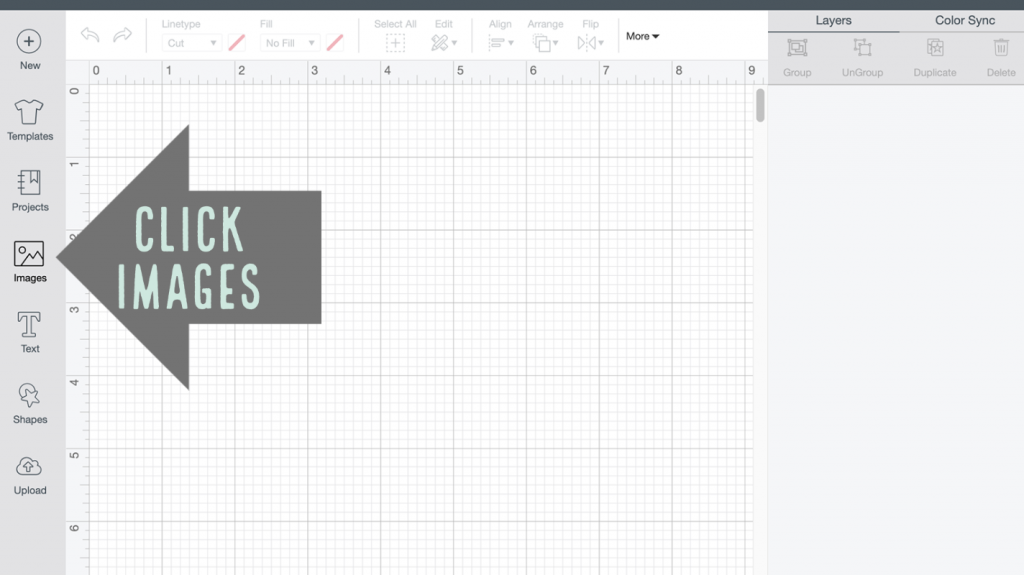
To get started go into Cricut Design Space™ and search images for “labels.”
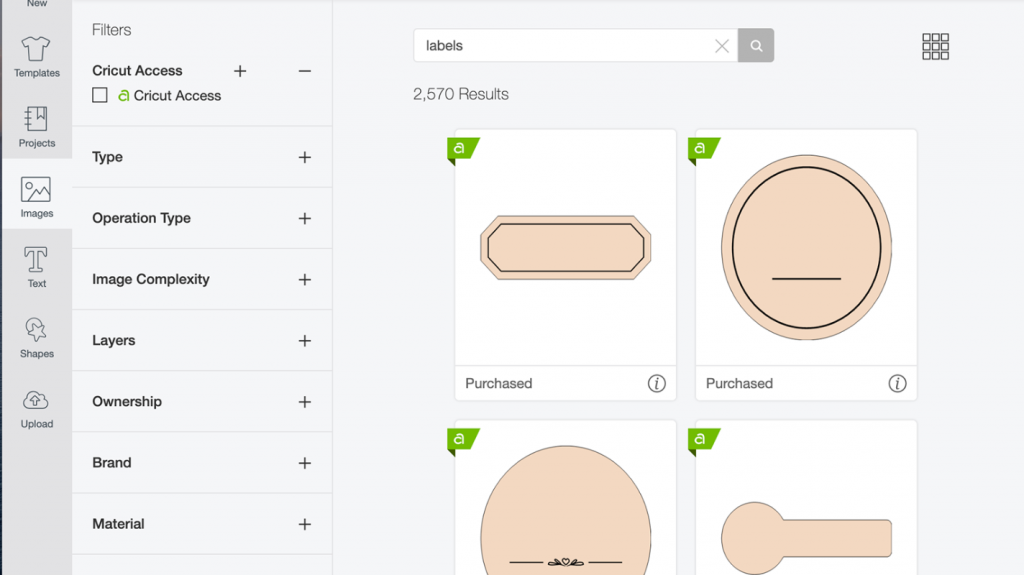
Choose a label that will fit best on your container. I chose the mason jar label base #M12A80B9C (it’s a zero before the B). Most of the labels are free with Cricut Access Standard.
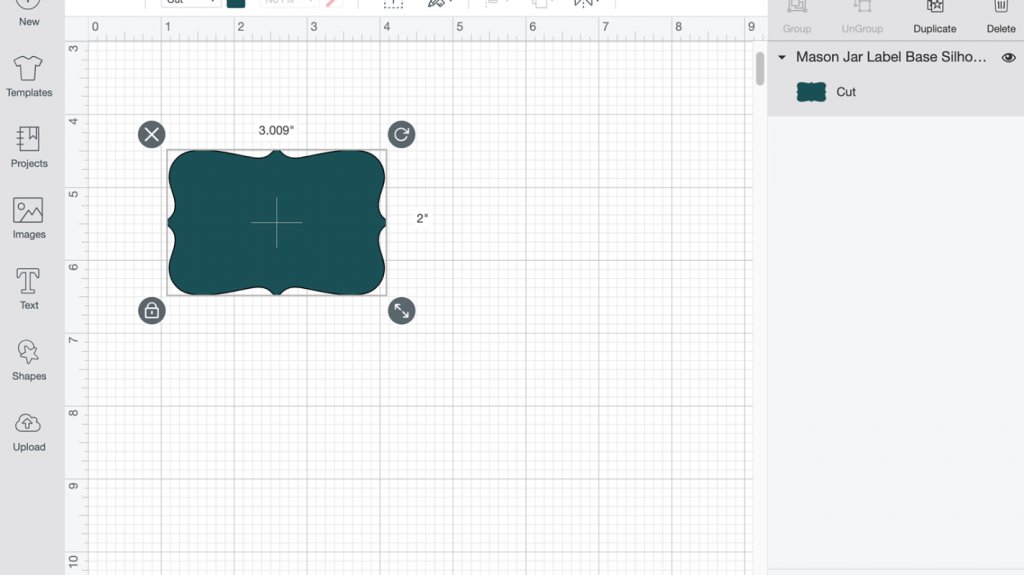
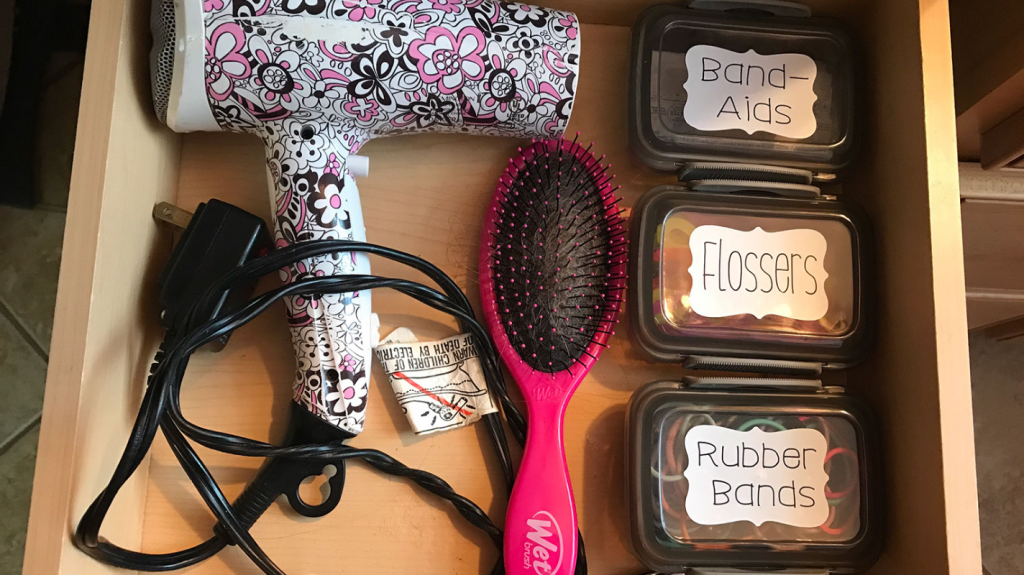
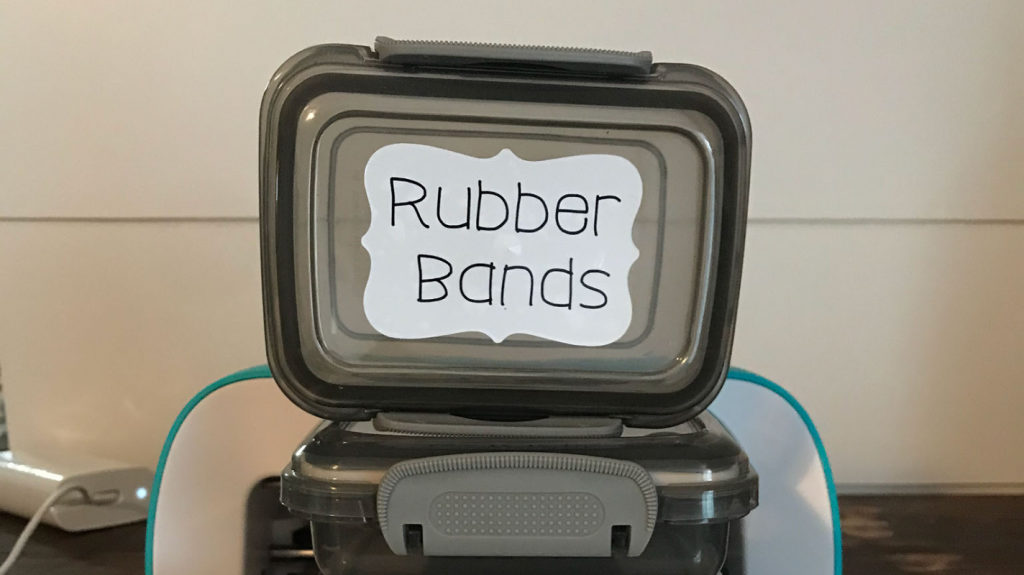
I’m putting my label on top of Dollar Tree Lock Top boxes. These are going to work great in the bathroom for small stuff like hair rubber bands/bobbypins, band aids, and the kids flossers. Finally this stuff won’t be all over the bathroom cupboard and drawers. So size your Smart Label for your container then get ready to write.

Next choose a Cricut Writing Font and add the custom text to your Joy writeable vinyl label. For these labels, I chose the writing font “Little White Lies.”This font is a part of the Cricut Access Fonts. Since the kids will be reading these (and they have no idea how to read cursive) I went with a simple print font.
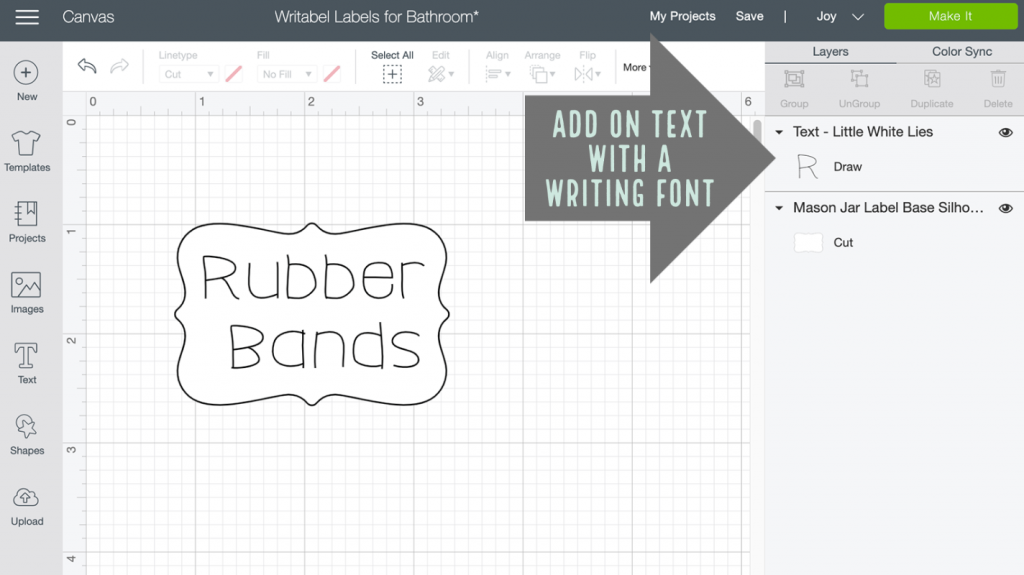
Place the text where you want it, highlight everything and hit attach.
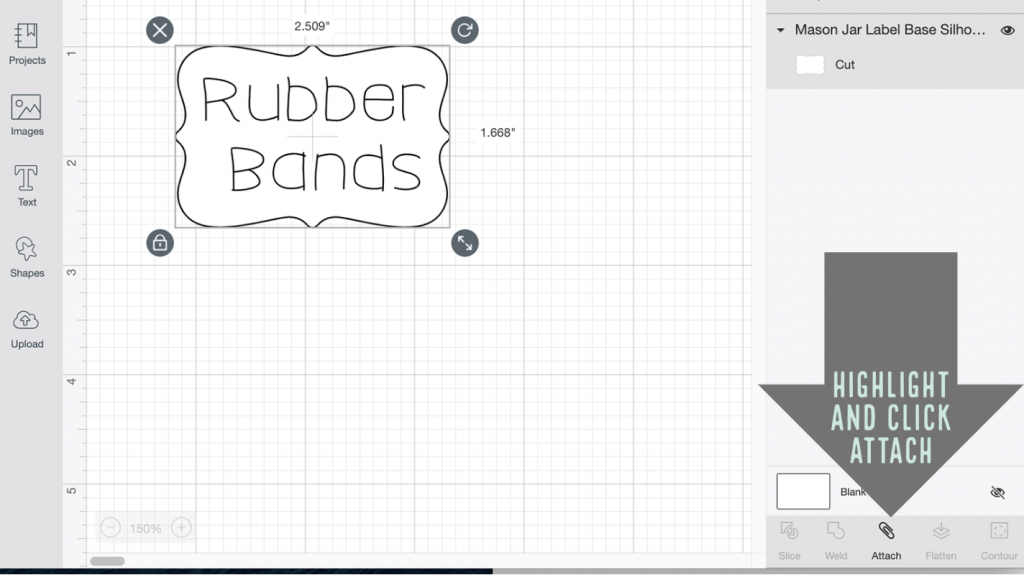
Now it’s time to create the writable labels with the Cricut Joy, Cricut Joy Pen and the Smart Writable Vinyl.
Steps to Cut the Smart Writeable VInyl
- Make sure your machine is on Joy
- Click Make It
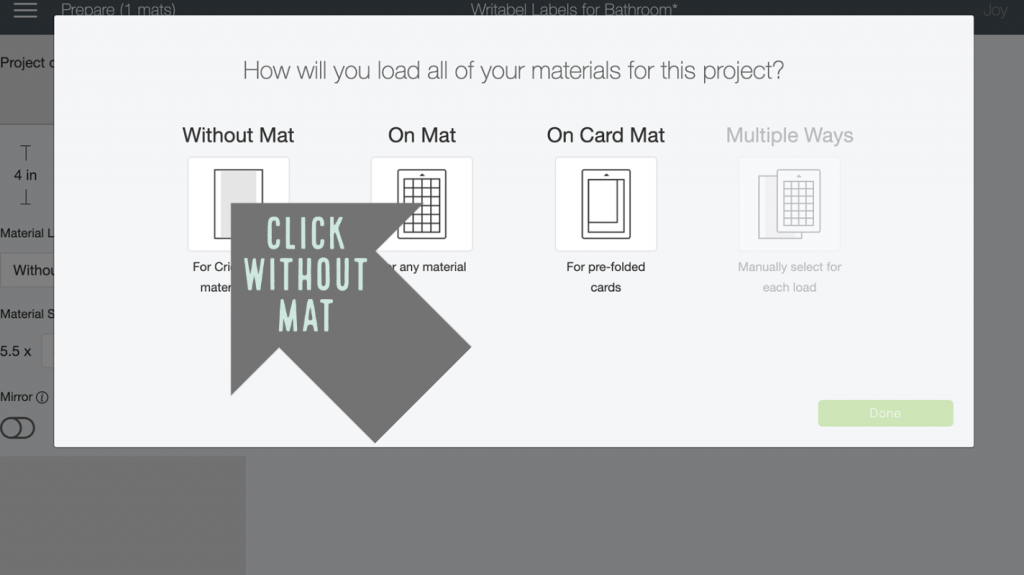
- Choose Without Mat, click Continue

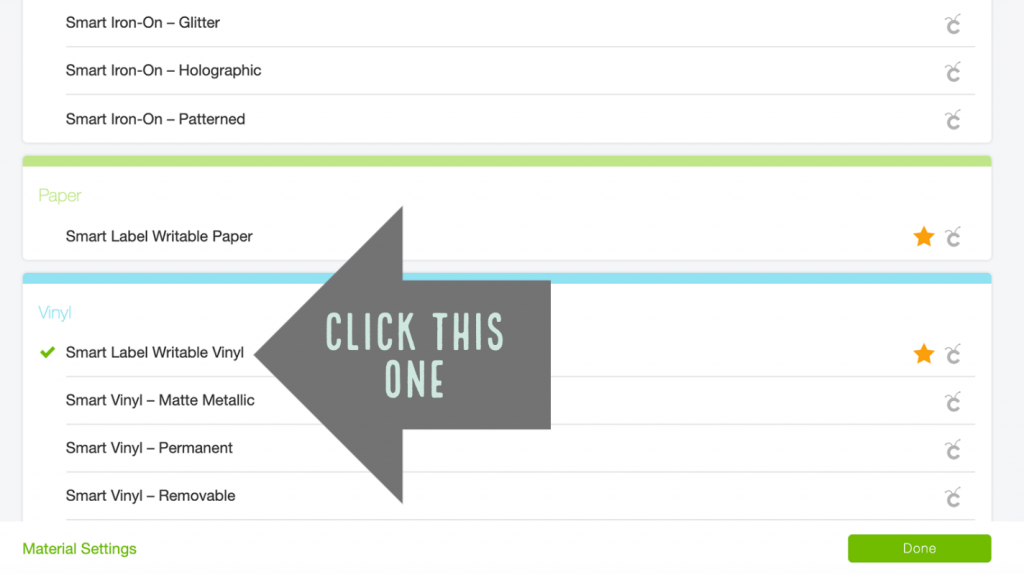
- For materials, pick Smart Label Writable Vinyl

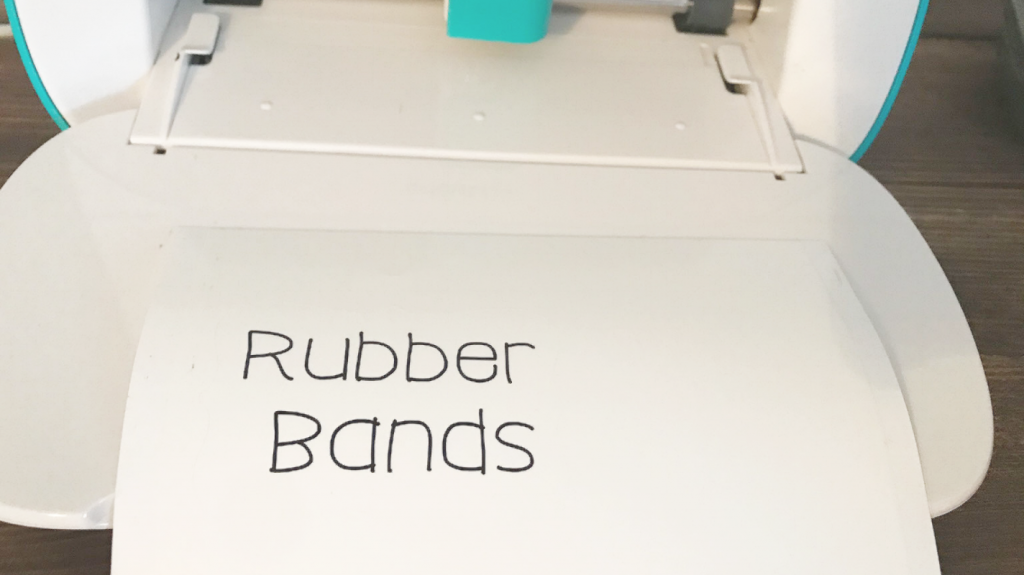
- Follow the onscreen prompts to load the pen and hit go
- Cricut Joy will tell you to put in the pen and hit continue

Once your label is created, just peel it off like a sticker, and add it to your container.
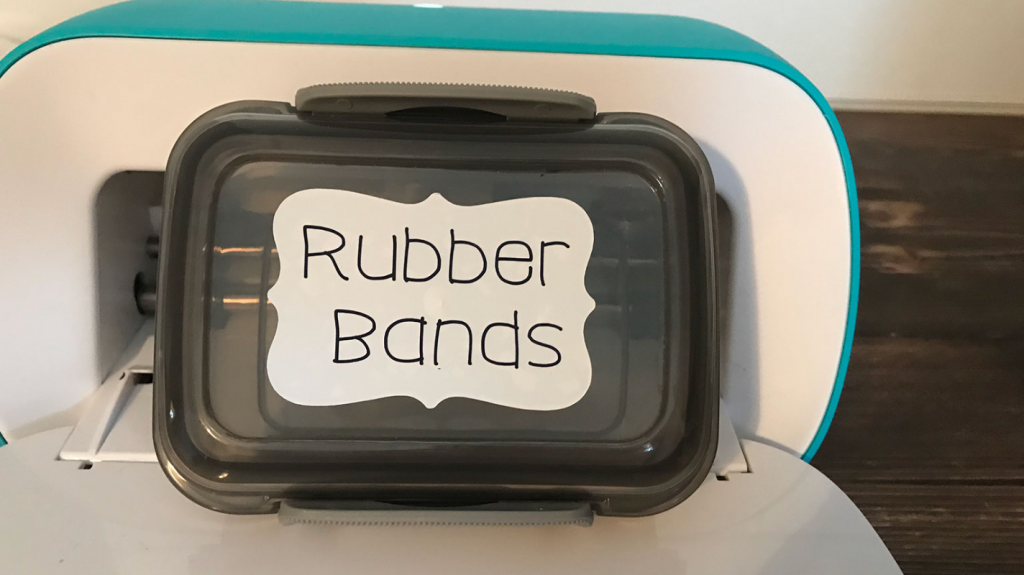
Doesn’t it look amazing? I can’t wait to label and organize everything!
